本文主要是介绍搭建python3.8虚拟环境+CUDA 11.2+cudnn 8.1.1安装+解决‘libcudart.so.11.0‘和‘libnvinfer.so.7‘动态库缺失,希望对大家解决编程问题提供一定的参考价值,需要的开发者们随着小编来一起学习吧!
搭建python虚拟环境+CUDA+cudnn安装
- 1. 利用conda搭建python3.8环境
- 搭建结束出现:
- 2. 激活虚拟环境
- 3. 安装需要的包
- 4. CUDA安装
- 5. cuDNN安装(对应版本8.1.1)
- 6. [番外:重新安装了自己的账户安装了python 3.8.8](https://blog.csdn.net/u012080686/article/details/112600252)
- 7. 又又又miniconda 3.8.10
- 8. 2022.09.27重新布置服务器后出现报错问题的解决
1. 利用conda搭建python3.8环境
命令 conda create -n 2021myenv python=3.8
2021myenv 为自定义的虚拟环境名称,3.8为需要的python版本号。
搭建结束出现:
To activate this environment, use conda activate 2021myenv
To deactivate an active environment, use conda deactivate
2. 激活虚拟环境
命令source activate 2021myenv
即进入虚拟环境:(2021myenv) usr@cygnus:~/python_env$ python
3. 安装需要的包
显示已经安装了什么包:pip list
Successfully installed numpy-1.21.4
Successfully installed joblib-1.1.0
pip install -U git+git://github.com/hypergravity/laspec
Successfully installed laspec-2021.1114.0
Successfully installed torch-1.10.0 typing-extensions-4.0.0
Successfully installed absl-py-1.0.0 astunparse-1.6.3 cachetools-4.2.4 charset-normalizer-2.0.7 flatbuffers-2.0 gast-0.4.0 google-auth-2.3.3 google-auth-oauthlib-0.4.6 google-pasta-0.2.0 grpcio-1.41.1 h5py-3.5.0 idna-3.3 keras-2.7.0 keras-preprocessing-1.1.2 libclang-12.0.0 markdown-3.3.4 oauthlib-3.1.1 opt-einsum-3.3.0 protobuf-3.19.1 pyasn1-0.4.8 pyasn1-modules-0.2.8 requests-2.26.0 requests-oauthlib-1.3.0 rsa-4.7.2 six-1.16.0 tensorboard-2.7.0 tensorboard-data-server-0.6.1 tensorboard-plugin-wit-1.8.0 tensorflow-2.7.0 tensorflow-estimator-2.7.0 tensorflow-io-gcs-filesystem-0.22.0 termcolor-1.1.0 urllib3-1.26.7 werkzeug-2.0.2 wrapt-1.13.3
Successfully installed scikit-learn-1.0.1 scipy-1.7.2 sklearn-0.0 threadpoolctl-3.0.0
4. CUDA安装
4.1. cat /proc/version (Linux查看当前操作系统版本信息)
4.2. cuda 11.2.0下载网址:
https://developer.nvidia.com/cuda-11.2.0-download-archive?target_os=Linux&target_arch=x86_64&target_distro=Ubuntu&target_version=1804&target_type=runfilelocal
notes: 按照网页的提示信息进行安装。
# 先对安装包《cuda_10.0.130_410.48_linux.run》的属性进行修改为可执行;chmod 755  cuda_11.2.0_460.27.04_linux.run # 不要使用 sudo 进行安装
sh cuda_11.2.0_460.27.04_linux.run
4.3. 注意跳入options进行路径设置。
安装结束提示信息如下:
===========
= Summary =
===========Driver:   Not Selected
Toolkit:  Installed in /home/liujunhui/cuda_11_2/
Samples:  Not SelectedPlease make sure that-   PATH includes /home/liujunhui/cuda_11_2/bin-   LD_LIBRARY_PATH includes /home/liujunhui/cuda_11_2/lib64, or, add /home/liujunhui/cuda_11_2/lib64 to /etc/ld.so.conf and run ldconfig as rootTo uninstall the CUDA Toolkit, run cuda-uninstaller in /home/liujunhui/cuda_11_2/bin
***WARNING: Incomplete installation! This installation did not install the CUDA Driver. A driver of version at least 460.00 is required for CUDA 11.2 functionality to work.
To install the driver using this installer, run the following command, replacing <CudaInstaller> with the name of this run file:sudo <CudaInstaller>.run --silent --driverLogfile is /tmp/cuda-installer.log
4.4 环境变量的配置
vim .bashrc# 在最下方添加刚刚安装cuda的路径:
---
export PATH="/home/liujunhui/cuda_11_2/bin:$PATH"
export LD_LIBRARY_PATH="/home/liujunhui/cuda_11_2/lib64:$LD_LIBRARY_PATH"
---# 保存之后,使配置生效:
source .bashrc
命令行输入 nvcc -V 查看cuda版本,效果如下:
liujunhui@cygnus:~$ nvcc -V
nvcc: NVIDIA (R) Cuda compiler driver
Copyright (c) 2005-2020 NVIDIA Corporation
Built on Mon_Nov_30_19:08:53_PST_2020
Cuda compilation tools, release 11.2, V11.2.67
Build cuda_11.2.r11.2/compiler.29373293_0
5. cuDNN安装(对应版本8.1.1)
参考文章 :https://blog.csdn.net/daydaydreamer/article/details/107172364
5.1 下载
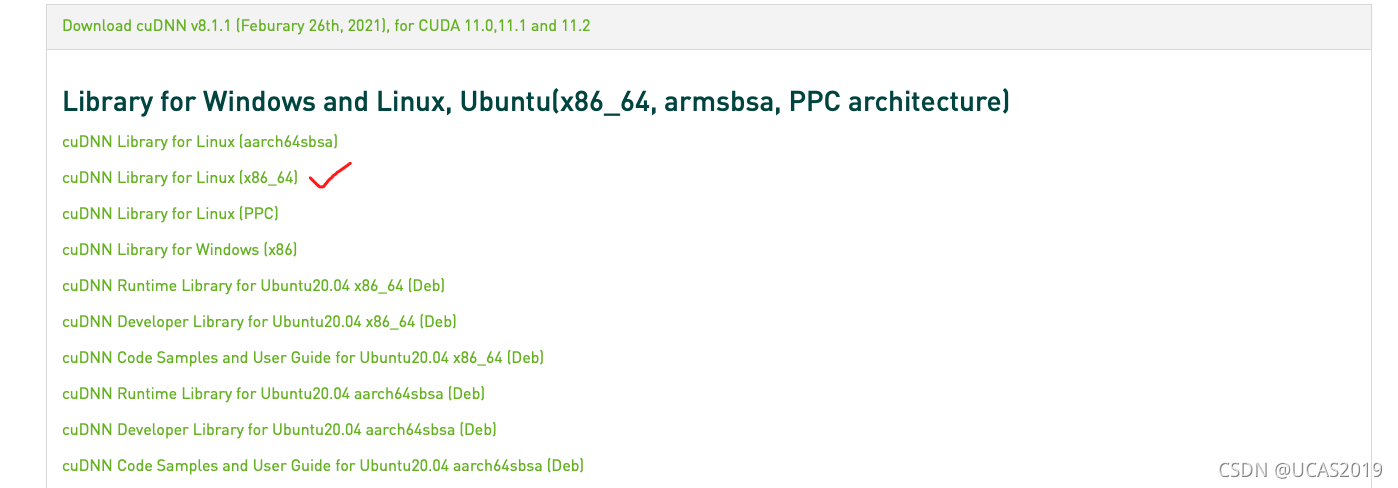
5.2 其实下载了deb文件(图上的文件没有资源)
解压操作
解压后文件存于 cuda 文件夹。
5.3 3 安装配置【替换即可】
cp /home/liujunhui/cuda/include/x86_64-linux-gnu/cudnn*.h /home/liujunhui/cuda_11_2/include/cp /home/liujunhui/cuda/lib64/x86_64-linux-gnu/libcudnn* /home/liujunhui/cuda_11_2/lib64chmod 755 ~/cudnn*.h# 查看cudnn版本 cat /home/liujunhui/cuda_11_2/include/cudnn_version_v8.h | grep CUDNN_MAJOR -A 2结果如下:
liujunhui@cygnus:~$ cat /home/liujunhui/cuda_11_2/include/cudnn_version_v8.h | grep CUDNN_MAJOR -A 2
#define CUDNN_MAJOR 8
#define CUDNN_MINOR 1
#define CUDNN_PATCHLEVEL 1
--
#define CUDNN_VERSION (CUDNN_MAJOR * 1000 + CUDNN_MINOR * 100 + CUDNN_PATCHLEVEL)#endif /* CUDNN_VERSION_H */
参考链接:https://www.pianshen.com/article/99731665661/
https://positive.blog.csdn.net/article/details/118080925
pytorch https://pytorch.org/get-started/cloud-partners/
其他:
查看torch支持的cuda版本:
进入python torch.version torch.version.cuda
所有Cuba下载链接:
https://developer.nvidia.com/cuda-toolkit-archive
cuda 11.2.2
wget https://developer.download.nvidia.com/compute/cuda/11.2.2/local_installers/cuda_11.2.2_460.32.03_linux.run
6. 番外:重新安装了自己的账户安装了python 3.8.8
# 我也使用的wget ,我下载到了home中
wget https://www.python.org/ftp/python/3.8.8/Python-3.8.8.tgz
# 在home中解压
tar -zxf Python-3.8.8.tgz
# 进入python3.9
cd Python-3.8.8# 编译文件  时间大概有1-3分钟
./configure --prefix=/usr/local/python3# 编译好后,会有另外一个提示,让run ./configure xxx,忘了复制了
./configure --enable-optimizations# 安装
make && make install# 结束
7. 又又又miniconda 3.8.10
- 下载
到清华镜像源下载miniconda安装程序 https://mirrors.tuna.tsinghua.edu.cn/anaconda/miniconda/
挑选合适的下载,例如:
wget -c https://mirrors.tuna.tsinghua.edu.cn/anaconda/miniconda/Miniconda3-py37_4.8.3-Linux-x86_64.sh
- 安装
bash Miniconda3-py37_4.8.3-Linux-x86_64.sh
遇到Do you accept the license terms? [yes|no]
回车
q键退出阅读license
yes
Miniconda3 will now be installed into this location:
/home/hfy/miniconda3
回车默认
可以选择不初始化,使用conda时需要先source ~/miniconda3/bin/activate
Do you wish the installer to initialize Miniconda3
by running conda init? [yes|no]
启动
source ~/miniconda3/bin/activate
————————————————
参考链接:https://blog.csdn.net/weixin_44387339/article/details/109171325
8. 2022.09.27重新布置服务器后出现报错问题的解决
按照1-5的方法完成程序安装后,出现报错如下:
2022-09-27 10:37:52.398989: I tensorflow/core/platform/cpu_feature_guard.cc:193] This TensorFlow binary is optimized with oneAPI Deep Neural Network Library (oneDNN) to use the following CPU instructions in performance-critical operations:  AVX2 AVX512F AVX512_VNNI FMA
To enable them in other operations, rebuild TensorFlow with the appropriate compiler flags.
2022-09-27 10:37:52.895733: I tensorflow/core/util/util.cc:169] oneDNN custom operations are on. You may see slightly different numerical results due to floating-point round-off errors from different computation orders. To turn them off, set the environment variable `TF_ENABLE_ONEDNN_OPTS=0`.
2022-09-27 10:37:52.908081: W tensorflow/stream_executor/platform/default/dso_loader.cc:64] Could not load dynamic library 'libcudart.so.11.0'; dlerror: libcudart.so.11.0: cannot open shared object file: No such file or directory
2022-09-27 10:37:52.908190: I tensorflow/stream_executor/cuda/cudart_stub.cc:29] Ignore above cudart dlerror if you do not have a GPU set up on your machine.
2022-09-27 10:37:52.978592: E tensorflow/stream_executor/cuda/cuda_blas.cc:2981] Unable to register cuBLAS factory: Attempting to register factory for plugin cuBLAS when one has already been registered
2022-09-27 10:37:55.389742: W tensorflow/stream_executor/platform/default/dso_loader.cc:64] Could not load dynamic library 'libnvinfer.so.7'; dlerror: libnvinfer.so.7: cannot open shared object file: No such file or directory
2022-09-27 10:37:55.390086: W tensorflow/stream_executor/platform/default/dso_loader.cc:64] Could not load dynamic library 'libnvinfer_plugin.so.7'; dlerror: libnvinfer_plugin.so.7: cannot open shared object file: No such file or directory
2022-09-27 10:37:55.390125: W tensorflow/compiler/tf2tensorrt/utils/py_utils.cc:38] TF-TRT Warning: Cannot dlopen some TensorRT libraries. If you would like to use Nvidia GPU with TensorRT, please make sure the missing libraries mentioned above are installed properly.
解决方法:
(其实在安装cuda之前,楼主已经安装了tensorflow)解决方法正是重新安装tensorflow,不过是使用conda进行安装,后所有错误消失。
参考文章:https://blog.csdn.net/weixin_41194129/article/details/120215865?ops_request_misc=%257B%2522request%255Fid%2522%253A%2522166426390916800192293369%2522%252C%2522scm%2522%253A%252220140713.130102334.pc%255Fall.%2522%257D&request_id=166426390916800192293369&biz_id=0&utm_medium=distribute.pc_search_result.none-task-blog-2allfirst_rank_ecpm_v1~rank_v31_ecpm-1-120215865-null-null.142v50control,201v3control_1&utm_term=Could%20not%20load%20dynamic%20library%20libnvinfer_plugin.so.7&spm=1018.2226.3001.4187
这篇关于搭建python3.8虚拟环境+CUDA 11.2+cudnn 8.1.1安装+解决‘libcudart.so.11.0‘和‘libnvinfer.so.7‘动态库缺失的文章就介绍到这儿,希望我们推荐的文章对编程师们有所帮助!


