本文主要是介绍美人鱼图像双目配准-Mermaid,希望对大家解决编程问题提供一定的参考价值,需要的开发者们随着小编来一起学习吧!

前言:
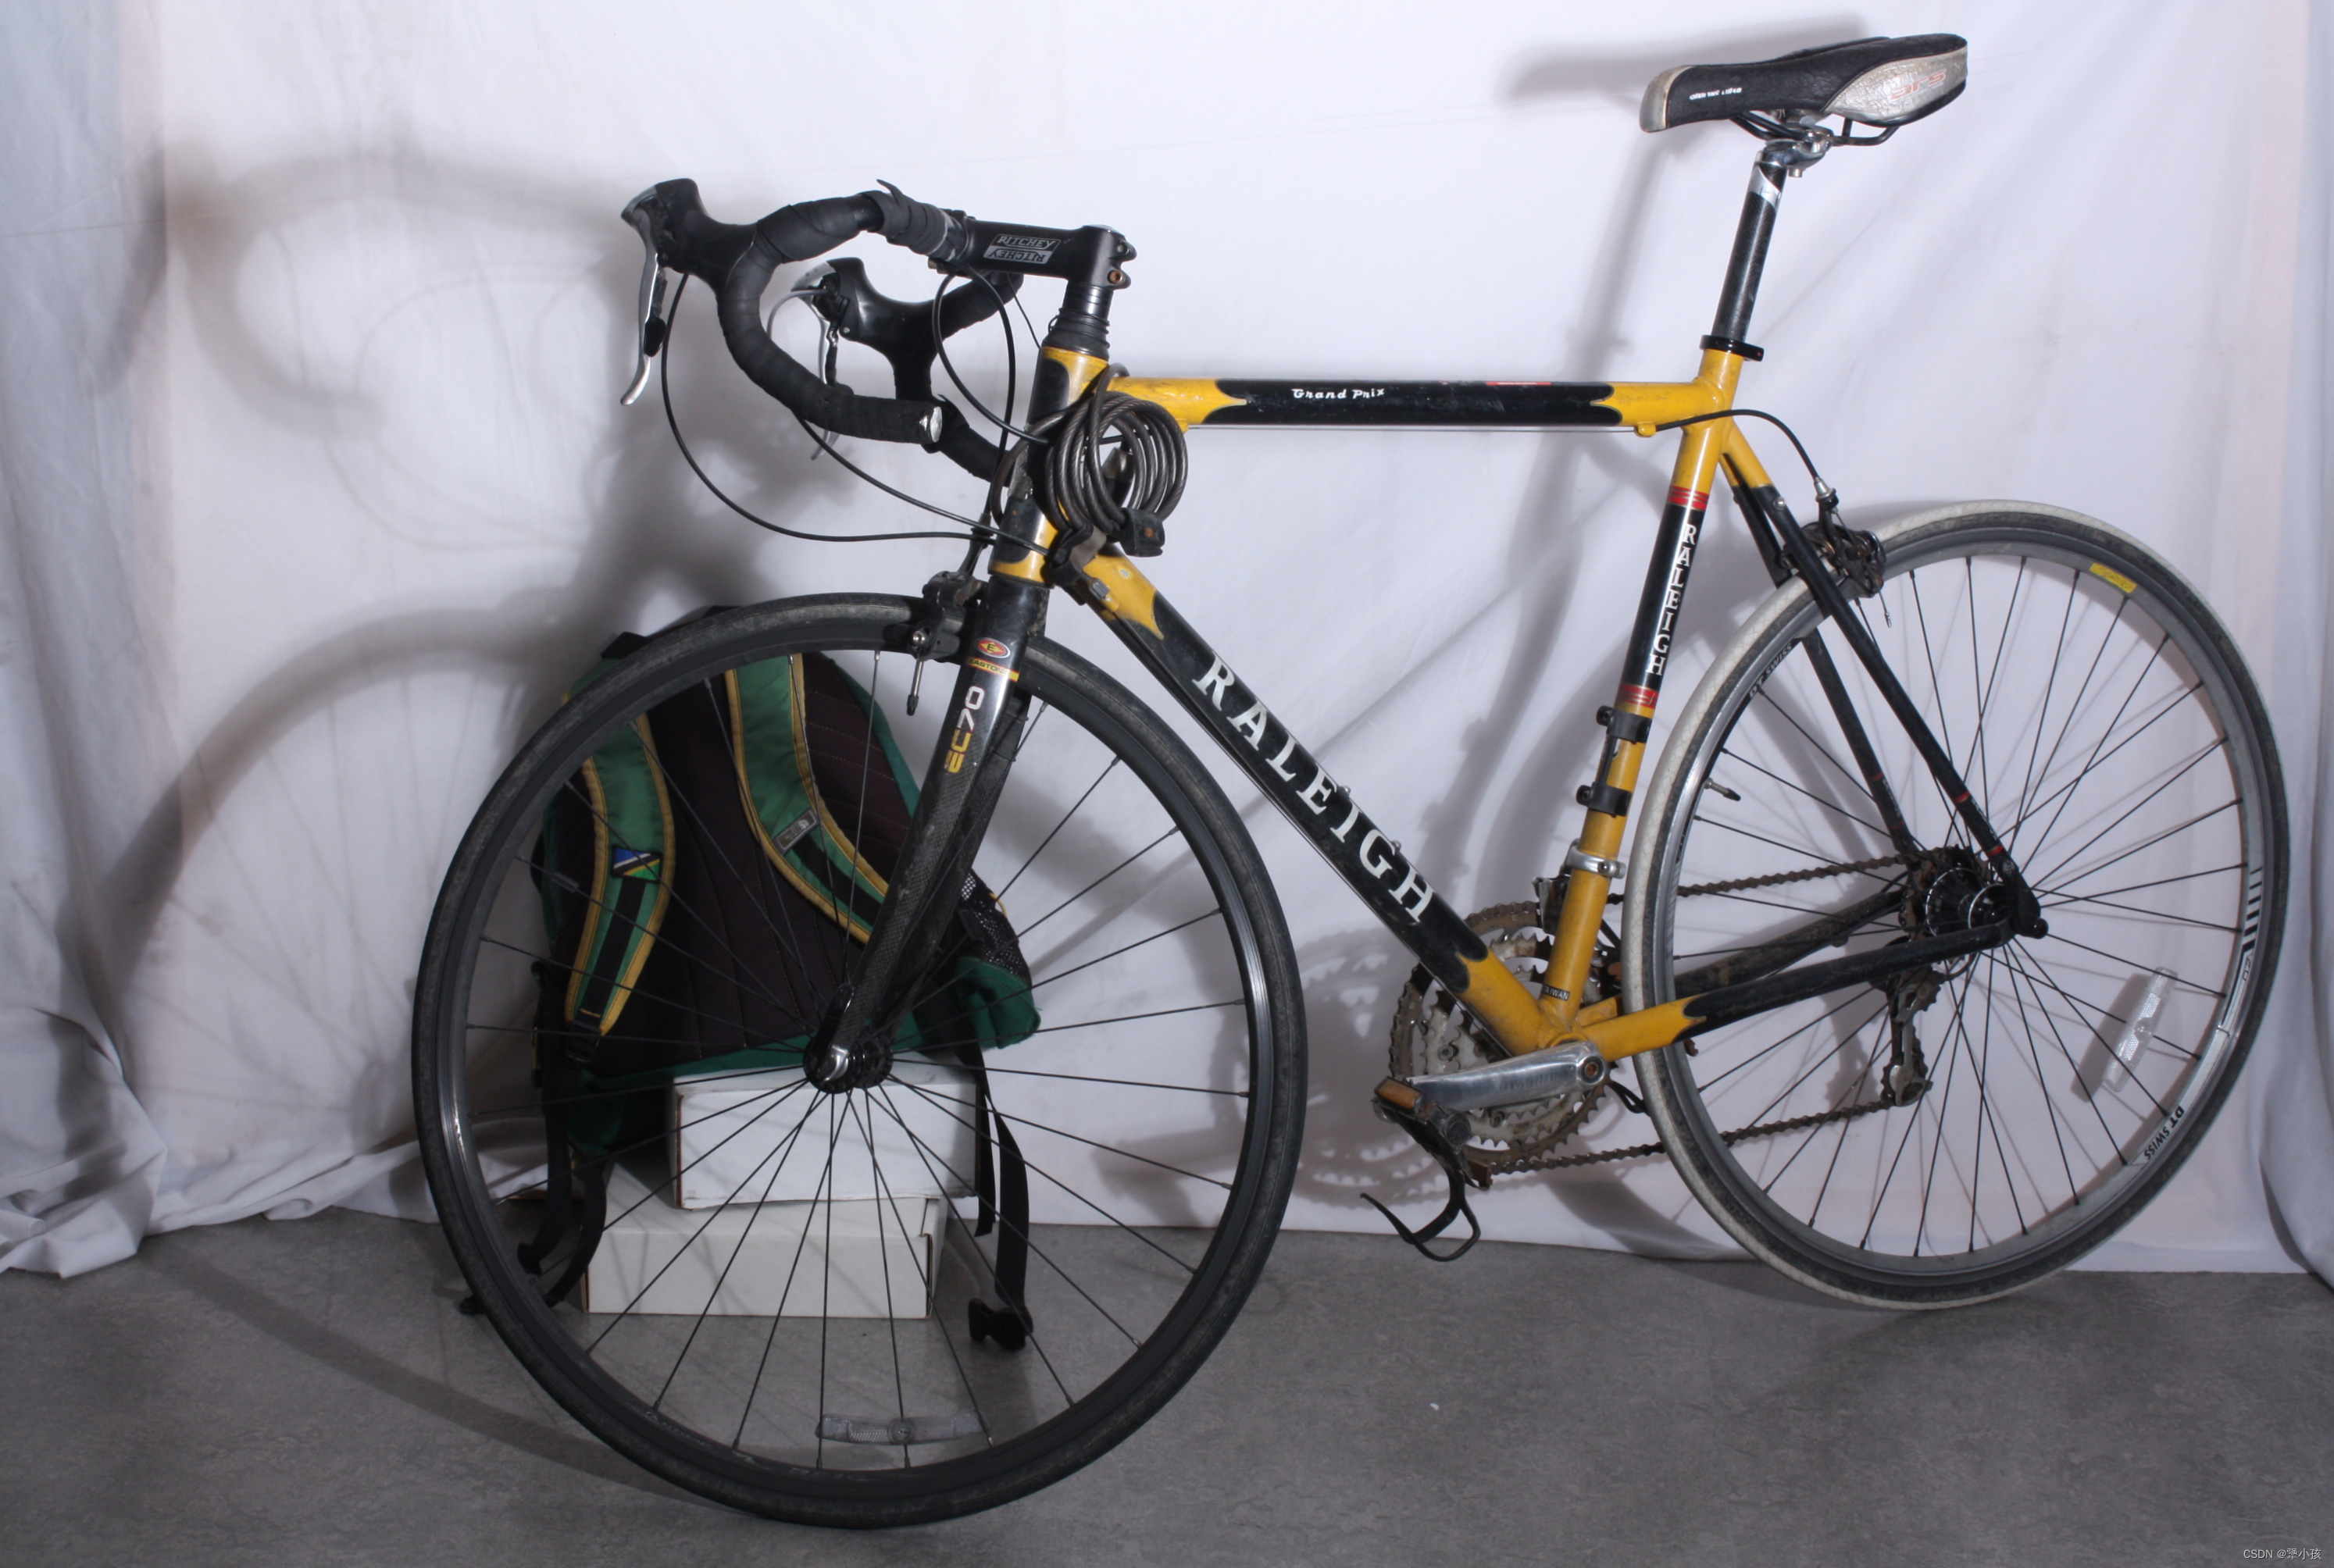
我在进行一项双目测距的项目,已经通过matlab 进行了相机标定,如果手动选择左右图像里的相同物体,是可以给出可接受距离的。
但是现在我希望能够让左视图的坐标点和右视图的坐标点进行匹配(如下图)

于是,我分别使用了ORB 关键点匹配进行投射变换、美人鱼图像配准得到变换矩阵
ORB 关键点匹配

思路:
先进行关键点匹配,由于双目图像已经是标定后的,所以一般来说可以认为图像是水平的。
那么可以过滤一下匹配点,把斜率超过0.1的全部筛掉,只保留水平匹配线。
效果:
不是那么理想,进行变换后,发现由于物体的远近,导致配准时候只保留了最前端物体的匹配。所有只有部分数据是可以进行距离测量的。
代码:
'''
-*- coding: utf-8 -*-
@File  : match.py
@Author: Shanmh
@Time  : 2024/03/22 上午9:50
@Function: 关键点匹配进行投射变换
'''import cv2
import imutils
import numpy as np
import math
import time
import osdef align_images(image, template, maxFeatures=100000, keepPercent=1,debug=False):# use the homography matrix to align the images(h, w) = template.shape[:2]print(image.shape)print(template.shape)# convert both the input image and template to grayscaleimageGray = cv2.cvtColor(image, cv2.COLOR_BGR2GRAY)templateGray = cv2.cvtColor(template, cv2.COLOR_BGR2GRAY)# use ORB to detect keypoints and extract (binary) local# invariant featuresorb = cv2.ORB_create(nfeatures = maxFeatures,scaleFactor = 1.2,nlevels = 32,edgeThreshold = 16,firstLevel = 2,WTA_K = 4,scoreType = 1,patchSize = 8,fastThreshold = 20)(kpsA, descsA) = orb.detectAndCompute(imageGray, None)(kpsB, descsB) = orb.detectAndCompute(templateGray, None)method = cv2.DESCRIPTOR_MATCHER_BRUTEFORCE_HAMMINGmatcher = cv2.DescriptorMatcher_create(method)matches = matcher.match(descsA, descsB, None)# sort the matches by their distance (the smaller the distance,matchesall = sorted(matches, key=lambda x: x.distance)keep = int(len(matchesall) * 0.5)matches=matchesall[:keep]new_match=[]image_show=np.concatenate((image,template),axis=1)# 匹配角度过滤for match in matches:query_idx = match.queryIdxtrain_idx = match.trainIdxdistance = match.distancept1=(int(kpsA[query_idx].pt[0]),int(kpsA[query_idx].pt[1]))pt2=int(kpsB[train_idx].pt[0]+w),int(kpsB[train_idx].pt[1])dw=abs(pt1[0]-pt2[0])dh=abs(pt1[1]-pt2[1])if dh/dw<0.1  :if debug:# cv2.line(image_show,pt1,pt2,(0,0,255), thickness=1)cv2.circle(image_show, pt1, 2, (0, 255, 0), -1)cv2.circle(image_show, pt2, 2, (0, 255, 0), -1)new_match.append(match)if debug:cv2.imshow("show",image_show)matches=new_match# check to see if we should visualize the matched keypointsif debug:matchedVis = cv2.drawMatches(image, kpsA, template, kpsB,matches, None)matchedVis = imutils.resize(matchedVis, width=1000)cv2.imshow("Matched Keypoints", matchedVis)cv2.waitKey(0)ptsA = np.zeros((len(matches), 2), dtype="float")ptsB = np.zeros((len(matches), 2), dtype="float")for (i, m) in enumerate(matches):ptsA[i] = kpsA[m.queryIdx].ptptsB[i] = kpsB[m.trainIdx].pt(H, mask) = cv2.findHomography(ptsA, ptsB, method=cv2.RANSAC)(h, w) = template.shape[:2]print(template.shape)# aligned2 = cv2.warpPerspective(image, H, (w, h))return Hif __name__ == '__main__':passimgl=cv2.imread("../test240421/llll.jpg")[100:-100,:,:]imgl=cv2.imread("/home/hxzh/PycharmProjects/StereoVision/im1E.png")imgl=cv2.resize(imgl,(900,720))imgr=cv2.imread("../test240421/rrrr.jpg")[100:-100,:,:]imgr=cv2.imread("/home/hxzh/PycharmProjects/StereoVision/im1L.png")imgr=cv2.resize(imgr,(900,720))homography=align_images(imgl,imgr,debug=True)image_con = np.concatenate((imgl, imgr), axis=1)# 定义imgl上的点pointl=[607,425]srcPoint = np.array([[pointl]], dtype=np.float32)# 进行坐标变换dstPoint = cv2.perspectiveTransform(srcPoint, homography)[0][0]print(dstPoint)cv2.line(image_con, pointl, [int(dstPoint[0]+imgr.shape[1]),int(dstPoint[1])], (0, 0, 255), thickness=1)cv2.imshow("aaaaaaaa",image_con)align = cv2.warpPerspective(imgl, homography, imgr.shape[:2][::-1])cv2.imshow("imgl",imgl)cv2.imshow("imgr",imgr)cv2.imshow("align",align)cv2.imwrite("testimg.jpg",align)cv2.imwrite("imgr.jpg",imgr)cv2.imwrite("imgl.jpg",imgl)print(align.shape)cv2.waitKey(0)
美人鱼配准
github:GitHub - uncbiag/mermaid: Image registration using pytorch
doc:mermaid: iMagE Registration via autoMAtIc Differentiation — mermaid 0.1 documentation
思路:
使用美人鱼进行迭代配准,得到转换矩阵,计算对应坐标
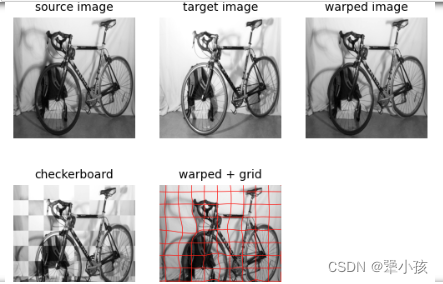
效果:
可以看到红色栅格线,已经进行了流变换,保证了左右视图物体对应。对于这种背景单一,只有一个物体的效果还是不错的。但是这种对左右视图要求比较高,左右视图对应物体最好不要超过一个网格的距离。
代码:
需要先参考doc配置好环境,然后再jupyter运行,迭代到 relF 为0 就差不多了

'''pip install -U numpy==1.22.4'''import time
import cv2
import numpy as np
import matplotlib.pyplot as plt
import mermaid.module_parameters as pars
import mermaid.example_generation as EGtime.sleep(10)
def show_warped_with_grid(I, phi, title):plt.imshow(I[0,0,:,:] ,cmap='gray')plt.contour(phi[0, 0, :, :],np.linspace(-1, 1, 20),colors='r',linestyles='solid',linewidths=0.5)plt.contour(phi[0, 1, :, :],np.linspace(-1, 1, 20),colors='r',linestyles='solid',linewidths=0.5)
def show_image(I, title):plt.imshow(I[0,0,:,:], cmap='gray')plt.axis('off')plt.title(title)#创建大小黑格
params = pars.ParameterDict()
use_synthetic_test_case = True
add_noise_to_bg = True
dim = 2
sz = 64
szEx = np.tile(sz, dim)
I0_syn, I1_syn, spacing_syn = EG.CreateSquares(dim, add_noise_to_bg).create_image_pair(szEx, params)
print("I0_syn",I0_syn.dtype,I0_syn)
print("I1_syn",I1_syn.dtype,I1_syn)
print("spacing_syn",spacing_syn.dtype ,spacing_syn)print('Size I0:', I0_syn.shape)
print('Size I1:', I1_syn.shape)
plt.figure(figsize=(10,4))
plt.subplot(121)
plt.imshow(I0_syn[0,0,:,:],cmap='gray')
plt.title('Source')
plt.axis('off');
plt.subplot(122)
plt.imshow(I1_syn[0,0,:,:],cmap='gray')
plt.title('Target')
plt.axis('off');
img=cv2.imread("/home/hxzh/PycharmProjects/StereoVision/im1E.png",0)
targetimg=cv2.imread("/home/hxzh/PycharmProjects/StereoVision/im1L.png",0)img=cv2.resize(img,(640,640))/255.
targetimg=cv2.resize(targetimg,(640,640))/255.print(img.shape)
print(targetimg.shape)I0_syn = img.reshape([1, 1] + list(img.shape)).astype(np.float32)
I1_syn = (targetimg.reshape([1, 1] + list(targetimg.shape))).astype(np.float32)
spacing_syn=spacing = 1. / (np.array(I0_syn.shape)[2::] - 1)   print("I0_syn",I0_syn.dtype,I0_syn)
print("I1_syn",I1_syn.dtype,I1_syn)
print("spacing_syn",spacing_syn.dtype ,spacing_syn)print('Size I0:', I0_syn.shape)
print('Size I1:', I1_syn.shape)
plt.figure(figsize=(10,4))
plt.subplot(121)
plt.imshow(I0_syn[0,0,:,:],cmap='gray')
plt.title('Source')
plt.axis('off');
plt.subplot(122)
plt.imshow(I1_syn[0,0,:,:],cmap='gray')
plt.title('Target')
plt.axis('off');
import time#LDDDM (shooting, scalar momentum)
import torch
import mermaid.utils as utils
import mermaid.visualize_registration_results as vizreg
from __future__ import print_function
import numpy as np
import matplotlib.pyplot as pltimport mermaid.simple_interface as SIimport cv2si = SI.RegisterImagePair()
si.print_available_models()I_0 = torch.from_numpy(I0_syn)
I_1 = torch.from_numpy(I1_syn)
phi = si.get_map()
# I_W = utils.compute_warped_image_multiNC(I_0,
# phi,
# spacing_syn,
# spline_order=1)
# vizreg.show_current_images(len(si.get_history()['energy']),
# I_0,
# I_1,
# I_W,
# phiWarped=phi)si.register_images(I0_syn, I1_syn, spacing_syn, model_name='lddmm_shooting_scalar_momentum_image',nr_of_iterations=100,use_multi_scale=True,visualize_step=True,optimizer_name='sgd',learning_rate=0.5,rel_ftol=1e-7,json_config_out_filename=('test2d_tst.json', 'test2d_tst_with_comments.json'),params='./mermaid_demos/2d_example_synth/lddmm_setting.json',
# params="test/json/test_lddmm_shooting_scalar_momentum_image_multi_scale_config.json",recording_step=1)
参考:
给几个双目相机标定的参考文章:
双目摄像头Matlab参数定标_matlab双目相机标定参数-CSDN博客
YOLO v5与双目测距结合,实现目标的识别和定位测距_yolo双目测距-CSDN博客
这篇关于美人鱼图像双目配准-Mermaid的文章就介绍到这儿,希望我们推荐的文章对编程师们有所帮助!


