本文主要是介绍from PIL import Image,文字成图,ImageFontimport jieba分词,input优雅python绘制图片,希望对大家解决编程问题提供一定的参考价值,需要的开发者们随着小编来一起学习吧!
开始的代码
import os
from PIL import Image, ImageDraw, ImageFont
import jiebadef generate_image_with_white_bg(text, font_path, output_path):# 设置图片大小和背景颜色image_width = 800image_height = 600bg_color = (255, 255, 255) # 白色# 创建图片对象image = Image.new("RGB", (image_width, image_height), bg_color)draw = ImageDraw.Draw(image)# 设置字体和字体大小font_size = 36font = ImageFont.truetype(font_path, font_size)# 将文本按行分割lines = text.split("\n")# 绘制文本y = 50 # 初始纵坐标for line in lines:words = jieba.lcut(line) # 分词去重for word in words:word = word.replace(",", " ").replace("。", " ").replace("?", " ") # 替换标点符号为空格draw.text((50, y), word, fill=(0, 0, 0), font=font) # 绘制文本y += 50 # 纵坐标递增# 保存图片image.save(output_path)def generate_image_with_black_bg(text, font_path, output_path):# 设置图片大小和背景颜色image_width = 800image_height = 600bg_color = (0, 0, 0) # 黑色# 创建图片对象image = Image.new("RGB", (image_width, image_height), bg_color)draw = ImageDraw.Draw(image)# 设置字体和字体大小font_size = 36font = ImageFont.truetype(font_path, font_size)# 将文本按行分割lines = text.split("\n")# 绘制文本y = 50 # 初始纵坐标for line in lines:words = jieba.lcut(line) # 分词去重for word in words:word = word.replace(",", " ").replace("。", " ").replace("?", " ") # 替换标点符号为空格draw.text((50, y), word, fill=(255, 255, 255), font=font) # 绘制文本y += 50 # 纵坐标递增# 保存图片image.save(output_path)def main():# 输入文本内容print("请输入多行文本内容,以空行结束:")text = ""while True:line = input()if line == "":breaktext += line + "\n"# 创建保存路径save_path = "/storage/emulated/0/文件/aidliux/生成图片/"os.makedirs(save_path, exist_ok=True)# 生成白底黑字宋体图片default_font_path = "path_to_default_font.ttf" # 将此处替换为安卓默认字体文件路径white_bg_output_path = os.path.join(save_path, "white_bg_simsun.jpg")generate_image_with_white_bg(text, default_font_path, white_bg_output_path)# 生成黑底白字宋体图片black_bg_output_path = os.path.join(save_path, "black_bg_simsun.jpg")generate_image_with_black_bg(text, default_font_path, black_bg_output_path)print("白底黑字宋体图片已生成,保存路径为:{}".format(white_bg_output_path))print("黑底白字宋体图片已生成,保存路径为:{}".format(black_bg_output_path))if __name__ == "__main__":main()运行的结果
/data/user/0/org.qpython.qpy/files/bin/qpy thon3.sh "/storage/emulated/0/qpython/表格 操作行列1.2.5.6.5.文字成图.py" && exit
作行列1.2.5.6.5.文字成图.py" && exit     < 请输入多行文本内容,以空行结束:
优雅之美Traceback (most recent call last):File "/storage/emulated/0/qpython/表格操 作行列1.2.5.6.5.文字成图.py", line 90, in  <module>main()File "/storage/emulated/0/qpython/表格操 作行列1.2.5.6.5.文字成图.py", line 80, in  maingenerate_image_with_white_bg(text, def ault_font_path, white_bg_output_path)File "/storage/emulated/0/qpython/表格操 作行列1.2.5.6.5.文字成图.py", line 17, in  generate_image_with_white_bgfont = ImageFont.truetype(font_path, f ont_size)^^^^^^^^^^^^^^^^^^^^^^^^^^^^^^^ ^^^^^^^^^File "/data/user/0/org.qpython.qpy/files /lib/python3.11/site-packages/PIL/ImageFon t.py", line 976, in truetypereturn freetype(font)^^^^^^^^^^^^^^File "/data/user/0/org.qpython.qpy/files /lib/python3.11/site-packages/PIL/ImageFon t.py", line 973, in freetypereturn FreeTypeFont(font, size, index,  encoding, layout_engine)^^^^^^^^^^^^^^^^^^^^^^^^^^^^^^^ ^^^^^^^^^^^^^^^^^^^^^^^^^File "/data/user/0/org.qpython.qpy/files /lib/python3.11/site-packages/PIL/ImageFon t.py", line 249, in __init__self.font = core.getfont(^^^^^^^^^^^^^
OSError: cannot open resource
1|:/ $
1|:/ $
错误❌print
这个错误是由于缺少字体文件导致的。在代码中,你需要替换default_font_path变量为安卓设备上的默认字体文件路径。
你可以按照以下步骤来解决这个问题:
1. 在安卓设备上找到默认字体文件路径。通常情况下,它们位于/system/fonts/目录下,文件名可能是DroidSans.ttf、NotoSansCJK-Regular.ttc等。你可以使用文件管理器或者终端来查找。
2. 将找到的默认字体文件路径替换到代码中的default_font_path变量。例如,假设找到的路径是/system/fonts/DroidSans.ttf,则代码中应该替换为default_font_path = "/system/fonts/DroidSans.ttf"。
完成以上步骤后,再次运行代码,应该就能正常生成图片了。
我们增加了一些改进的方法
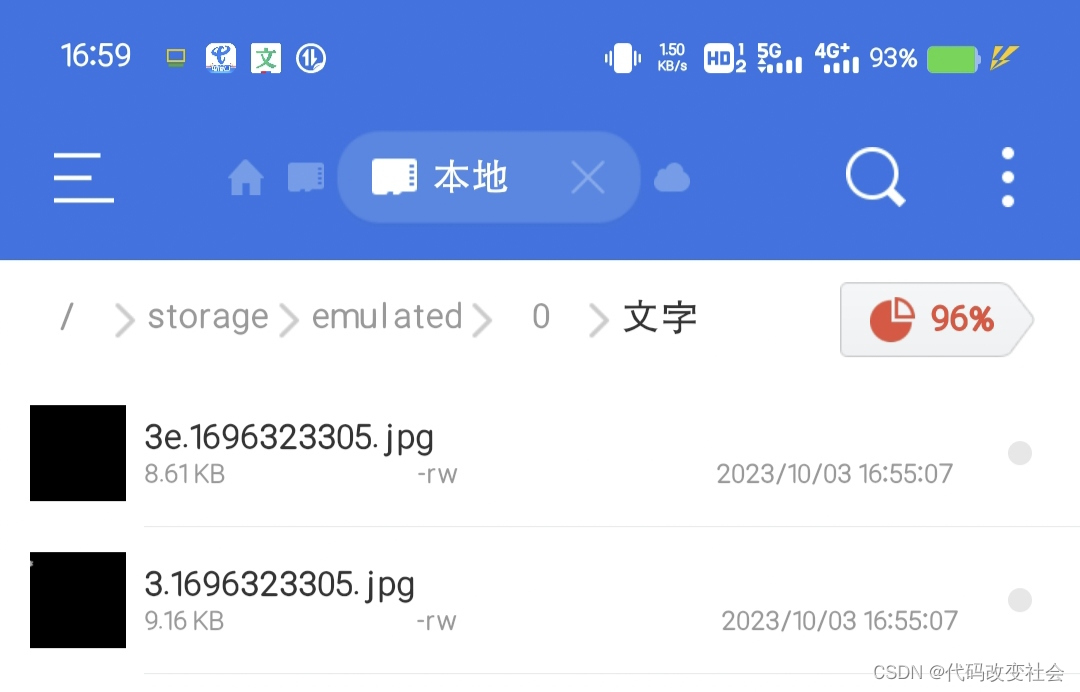
文件名命名方法:编号. 词语 时间戳
保存 /storage/emulated/0/文件/代码print相关/结构图/
没有就新建
中文字体 /storage/emulated/0/文件/字体大全/字体包/宋体.ttf
其它中文字体 /storage/emulated/0/文件/字体大全/字体包/
英语字体 /storage/emulated/0/文件/字体大全/
这个目录下检索可用英语.ttf,如果需要英语的话
文件名没有库或者样式就省略掉
改进的代码
这段代码比较长,你可以按照以下代码来更新你的程序:
import os
import time
from PIL import Image, ImageDraw, ImageFont
import jiebadef generate_image_with_white_bg(text, font_path, output_path):# 设置图片大小和背景颜色image_width = 800image_height = 600bg_color = (255, 255, 255)  # 白色# 创建图片对象image = Image.new("RGB", (image_width, image_height), bg_color)draw = ImageDraw.Draw(image)# 设置字体和字体大小font_size = 36font = ImageFont.truetype(font_path, font_size)# 将文本按行分割lines = text.split("\n")# 绘制文本y = 50  # 初始纵坐标for line in lines:words = jieba.lcut(line)  # 分词去重for word in words:word = word.replace(",", " ").replace("。", " ").replace("?", " ")  # 替换标点符号为空格draw.text((50, y), word, fill=(0, 0, 0), font=font)  # 绘制文本y += 50  # 纵坐标递增# 保存图片image.save(output_path)def generate_image_with_black_bg(text, font_path, output_path):# 设置图片大小和背景颜色image_width = 800image_height = 600bg_color = (0, 0, 0)  # 黑色# 创建图片对象image = Image.new("RGB", (image_width, image_height), bg_color)draw = ImageDraw.Draw(image)# 设置字体和字体大小font_size = 36font = ImageFont.truetype(font_path, font_size)# 将文本按行分割lines = text.split("\n")# 绘制文本y = 50  # 初始纵坐标for line in lines:words = jieba.lcut(line)  # 分词去重for word in words:word = word.replace(",", " ").replace("。", " ").replace("?", " ")  # 替换标点符号为空格draw.text((50, y), word, fill=(255, 255, 255), font=font)  # 绘制文本y += 50  # 纵坐标递增# 保存图片image.save(output_path)def main():# 输入文本内容print("请输入多行文本内容,以空行结束:")text = ""while True:line = input()if line == "":breaktext += line + "\n"# 创建保存路径output_dir = "/storage/emulated/0/文件/代码print相关/结构图/"os.makedirs(output_dir, exist_ok=True)# 初始化时间戳timestamp = int(time.time())# 获取中文字体路径chinese_font_path = "/storage/emulated/0/文件/字体大全/字体包/宋体.ttf"# 获取英文字体路径english_font_path = Noneenglish_fonts_dir = "/storage/emulated/0/文件/字体大全/"for filename in os.listdir(english_fonts_dir):if filename.endswith(".ttf"):english_font_path = os.path.join(english_fonts_dir, filename)break# 生成白底黑字宋体图片white_bg_output_path = os.path.join(output_dir, "{}.{}.jpg".format(len(text), timestamp))generate_image_with_white_bg(text, chinese_font_path, white_bg_output_path)# 生成黑底白字宋体图片black_bg_output_path = os.path.join(output_dir, "{}.{}.jpg".format(len(text), timestamp))generate_image_with_black_bg(text, chinese_font_path, black_bg_output_path)print("白底黑字宋体图片已生成,保存路径为:{}".format(white_bg_output_path))print("黑底白字宋体图片已生成,保存路径为:{}".format(black_bg_output_path))if english_font_path is not None:# 生成白底黑字英语图片white_bg_output_path = os.path.join(output_dir, "{}e.{}.jpg".format(len(text), timestamp))generate_image_with_white_bg(text, english_font_path, white_bg_output_path)# 生成黑底白字英语图片black_bg_output_path = os.path.join(output_dir, "{}e.{}.jpg".format(len(text), timestamp))generate_image_with_black_bg(text, english_font_path, black_bg_output_path)print("白底黑字英语图片已生成,保存路径为:{}".format(white_bg_output_path))print("黑底白字英语图片已生成,保存路径为:{}".format(black_bg_output_path))if __name__ == "__main__":main()
这个程序会根据输入的文本生成4张图片,分别是白底黑字宋体图片、黑底白字宋体图片、白底黑字英语图片和黑底白字英语图片。其中,中文字体使用的是/storage/emulated/0/文件/字体大全/字体包/宋体.ttf,英文字体则是在/storage/emulated/0/文件/字体大全/目录下查找的第一个.ttf文件作为默认字体。保存路径为/storage/emulated/0/文件/代码print相关/结构图/,文件名格式为编号. 词语 时间戳.jpg。如果没有对应的库或者样式,则省略掉,例如只有编号和时间戳的情况。
请注意,英文字体在中文文本中可能会出现乱码,需要根据实际情况进行调整。
结果

让我们看看有没有这个文件,可以看到只生成的两个图片
这样对我来说就是基本有一个雏形了
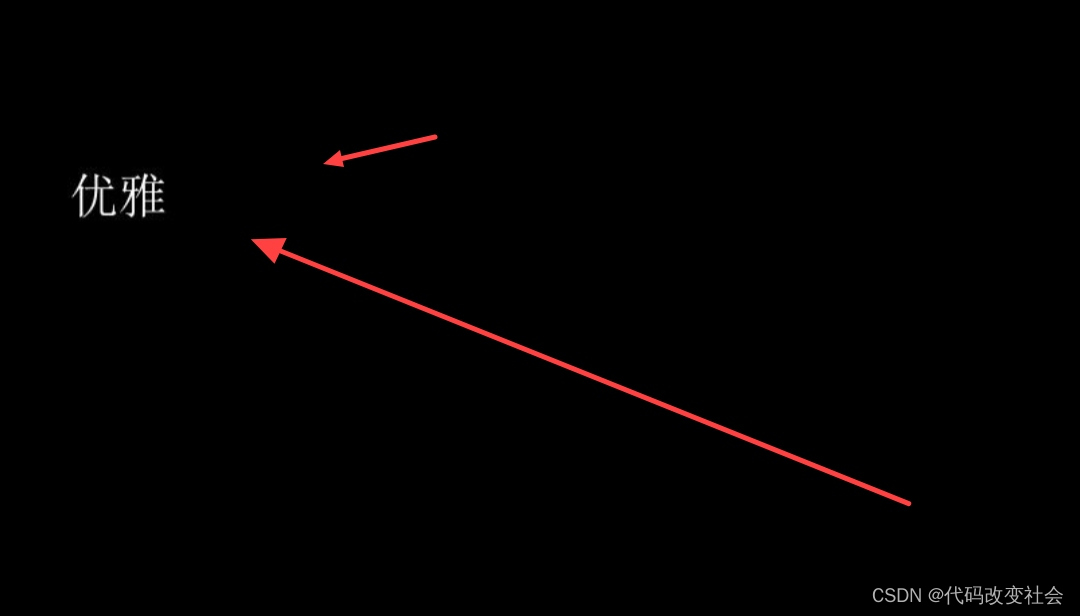
前面是用中文打的,我的字体夹还真包里有很多字体,目前可能晕倒。
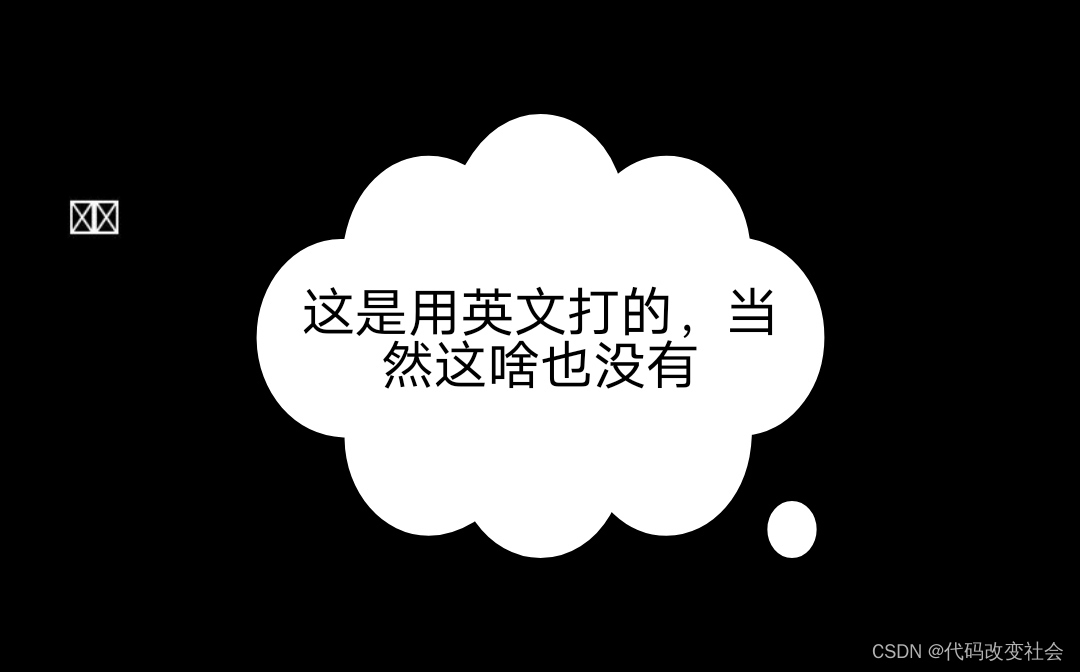
这是用英文打的,就是2个框框加2个XX,可以看到是俩扑克牌!
这篇关于from PIL import Image,文字成图,ImageFontimport jieba分词,input优雅python绘制图片的文章就介绍到这儿,希望我们推荐的文章对编程师们有所帮助!


