本文主要是介绍C#和python端通信之使用共享内存,希望对大家解决编程问题提供一定的参考价值,需要的开发者们随着小编来一起学习吧!
一、前言
本篇主要实验通过使用共享内存实现C#端代码和python端代码之间的通信,主要目的是相较于直接传输较大的数据(例如图像数据),该方式更节省时间。
二、代码
C#端:
创建了一个大小为1的共享内存,名为flag1,存放一个byte变量,初始写入0
创建了一个大小为1的共享内存,名为done,存放一个byte变量,初始写入1
创建了一个大小为1024 * 16的共享内存,名为result,存放一个string变量,初始写入""
之后读取图像,并创建和写入至一个大小为960*640*4的共享内存,名为cam1,存放一个byte[]变量 , 然后 flag1 写入1,循环读取done内存,若为1,则将result 内存读取出为string 并显示textBox1
using System;
using System.Collections.Generic;
using System.ComponentModel;
using System.Data;
using System.Drawing;
using System.Linq;
using System.Text;
using System.Threading.Tasks;
using System.Windows.Forms;using System.Drawing.Imaging;
using System.IO.MemoryMappedFiles;
using System.Runtime.InteropServices;namespace testShareMemory
{public partial class Form1 : Form{public Form1(){InitializeComponent();}private void test_0(){// 读取图片string imagePath = "E:/cshape_test/testShareMemory/001.png";Bitmap bitmap = new Bitmap(imagePath);// 确保图片大小为960x640if (bitmap.Width != 960 || bitmap.Height != 640){Console.WriteLine("图片尺寸不符合要求,必须为960x640");return;}MemoryMappedFile mmfCam1 = MemoryMappedFile.CreateOrOpen("cam1", bitmap.Width * bitmap.Height * 4);MemoryMappedViewAccessor accessor = mmfCam1.CreateViewAccessor();BitmapData bitmapData = bitmap.LockBits(new Rectangle(0, 0, bitmap.Width, bitmap.Height), ImageLockMode.ReadOnly, PixelFormat.Format32bppArgb);byte[] buffer = new byte[bitmapData.Stride * bitmapData.Height];Marshal.Copy(bitmapData.Scan0, buffer, 0, buffer.Length);accessor.WriteArray(0, buffer, 0, buffer.Length);bitmap.UnlockBits(bitmapData);// 创建共享内存 flag , 并写入1var flagMMF = MemoryMappedFile.CreateOrOpen("flag1", 1);var flagAccessor = flagMMF.CreateViewAccessor();byte flagToWrite = 1;flagAccessor.Write(0, flagToWrite);//创建共享内存 done , 并写入0var doneMMF = MemoryMappedFile.CreateOrOpen("done", 1);var doneAccessor = doneMMF.CreateViewAccessor();byte doneToWrite = 0;doneAccessor.Write(0, doneToWrite);//创建共享内存 result , 并写入""int res_lens = 1024 * 32;MemoryMappedFile mmfResult = MemoryMappedFile.CreateOrOpen("result", res_lens);MemoryMappedViewAccessor resAccessor = mmfResult.CreateViewAccessor();byte[] strBytes = Encoding.UTF8.GetBytes("");//resAccessor.Write(0, strBytes.Length); // 首先写入字符串长度resAccessor.WriteArray(0, strBytes, 0, strBytes.Length); // 然后写入字符串字节内容// 循环间隔1秒,读取共享内存bool done = false;int search_times = 0;while (!done){byte doneValue = doneAccessor.ReadByte(0);byte flagValue = flagAccessor.ReadByte(0);if (doneValue == 1 && flagValue == 2){// 读取共享内存"result"string result;// 读取字符串长度(前4个字节)int length = resAccessor.ReadInt32(0);// 创建字节数组来存储字符串数据byte[] buffer_str = new byte[length];// 从共享内存读取字符串数据resAccessor.ReadArray(4, buffer_str, 0, length);// 将字节数组转换为字符串string resultString = Encoding.UTF8.GetString(buffer_str);textBox1.Text = "查询到的结果为: " + resultString;done = true; // 设置标志,退出循环}else{// 等待一段时间再继续轮询System.Threading.Thread.Sleep(1000); // 等待1秒search_times++;if (search_times > 100){//Console.WriteLine("查询超时!"   );textBox1.Text = "查询超时!";break;}}}}private void Form1_Load(object sender, EventArgs e){test_0();}}
}
python端:
循环读取flag1共享内存,若为1,则读取cam1数据,还原为图像数据,将2写入flag1,并将json字符串data写入result内存区,将1写入done,显示图像数据
# -*- coding: utf-8 -*-
"""
Created on Tue Feb 27 17:10:01 2024@author: WIN10
"""import os , cv2
import numpy as npfrom multiprocessing import shared_memory
import time
import structimport json# 创建/打开共享内存
def create_or_open_shared_memory(name, size):try:shm = shared_memory.SharedMemory(create=False, name=name)except FileNotFoundError:shm = shared_memory.SharedMemory(create=True, name=name, size=size)return shmdef main():flag_name = "flag1"cam1_name = "cam1"done_name = "done"# 图像大小width, height, channels = 960, 640, 4image_size = width * height * channelsflag_shm = create_or_open_shared_memory(flag_name, size=1)  # 1个字节,用 uint8flag_array = np.ndarray((1,), dtype= np.uint8  , buffer=flag_shm.buf)done_shm = create_or_open_shared_memory(done_name, size=1)done_array = np.ndarray((1,), dtype=np.uint8, buffer=done_shm.buf)# 初始化 cam1 共享内存cam1_shm = create_or_open_shared_memory(cam1_name, size=image_size)cam1_array = np.ndarray((height, width, channels), dtype=np.uint8, buffer=cam1_shm.buf)res_shm =  create_or_open_shared_memory("result", size= 1024*16 )while True:if flag_array[0] == 1:# 读取图像数据image_rgba = np.copy(cam1_array)img  = cv2.cvtColor(image_rgba, cv2.COLOR_RGBA2RGB)  #C#端的bitmap传过来的是4通道的,应该转为3通道# 将 2 写入 flagflag_array[0] = 2#写入 jason字符串到 resultdata = {"name": "Mario","age": 28,}json_str = json.dumps(data)json_bytes = json_str.encode('utf-8')res_shm.buf[:4] = struct.pack('i', len(json_bytes))res_shm.buf[4:4 + len(json_bytes)] = json_bytesdone_array[0] = 1  #done 区域写入1# 显示读取到的图像cv2.imshow('Shared Memory Image', img )cv2.waitKey(0)break# 每隔100毫秒检测一次time.sleep(0.1)# 关闭共享内存cam1_shm.close()flag_shm.close()res_shm.close()done_shm.close()if __name__=="__main__":main()
三、运行结果
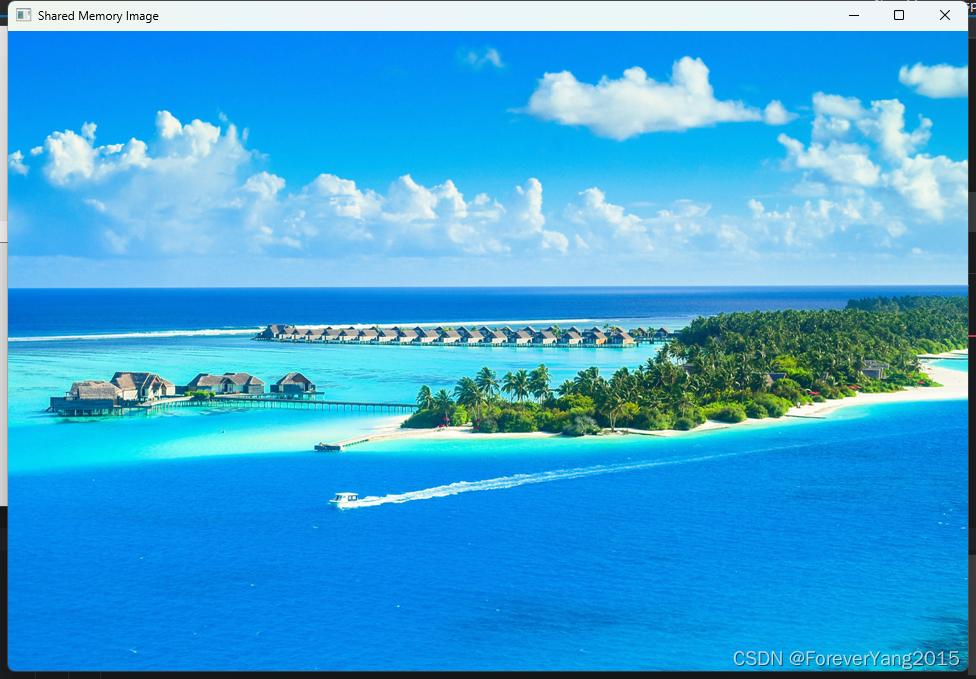
先运行C# ,再运行python端
python端结果,显示接受到的图像
C#端结果,显示收到python端写入的json字符串

这篇关于C#和python端通信之使用共享内存的文章就介绍到这儿,希望我们推荐的文章对编程师们有所帮助!


