本文主要是介绍27、Qt自定义标题栏,希望对大家解决编程问题提供一定的参考价值,需要的开发者们随着小编来一起学习吧!
一、说明
QtWidget及其子类有默认的标题栏,但是这个标题栏不能美化,有时候满足不了我们的使用需求,所以进行自定义标题栏
二、下载图标
在下面的链接中下载两种颜色的最大化、向下还原、最大化和关闭八个图片,并找一张当做图标的图片
iconfont-阿里巴巴矢量图标库

三、新建项目
新建Qt项目

更改项目名称和位置

选择编译器

基类选择QWidget;
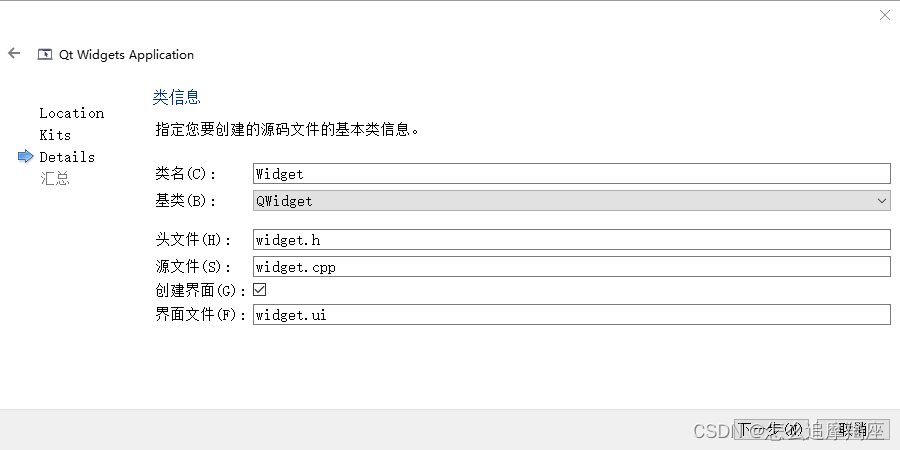
默认
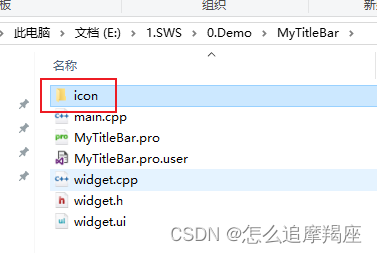
把刚才下载的图片拷贝到工程目录下
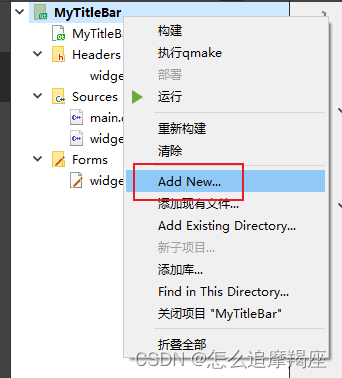
右击项目名称,选择“Add New”
选择如下模板

输入名称

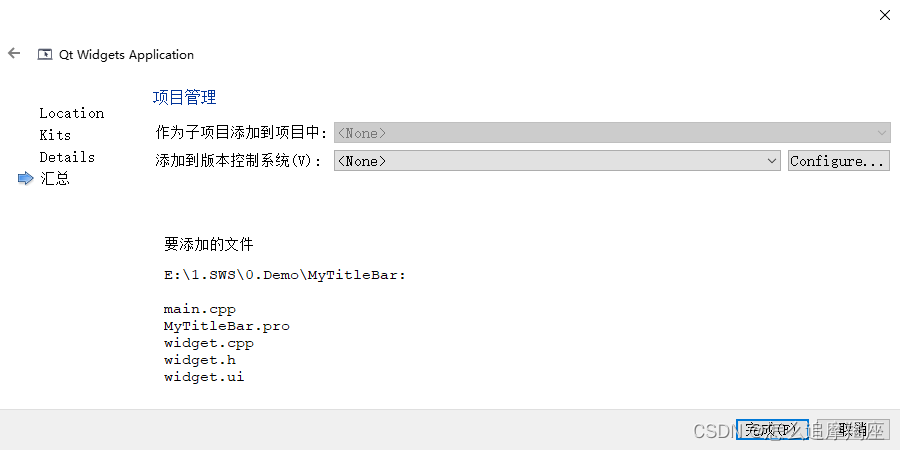
默认

选择添加、添加前缀
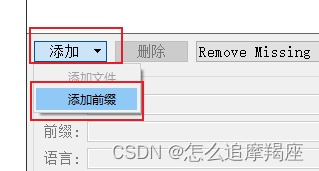
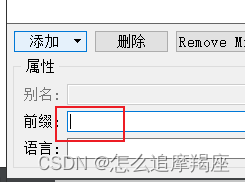
清空前缀中的原有内容
选择添加、添加文件
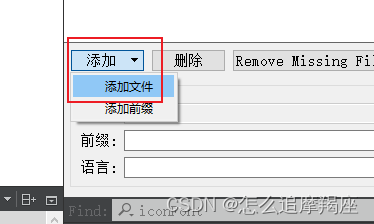
选择拷贝过来的所以图片


Ctrl+S保存

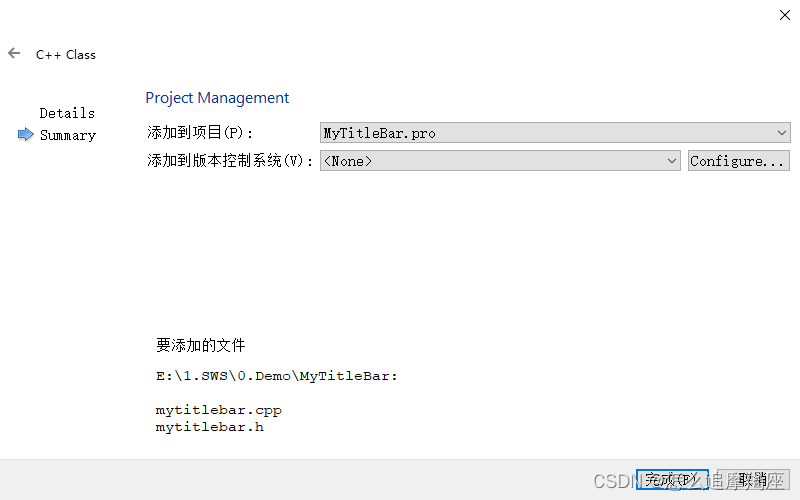
四、创建自定义类

选择“C++ Class"模板

基类选择QWidget
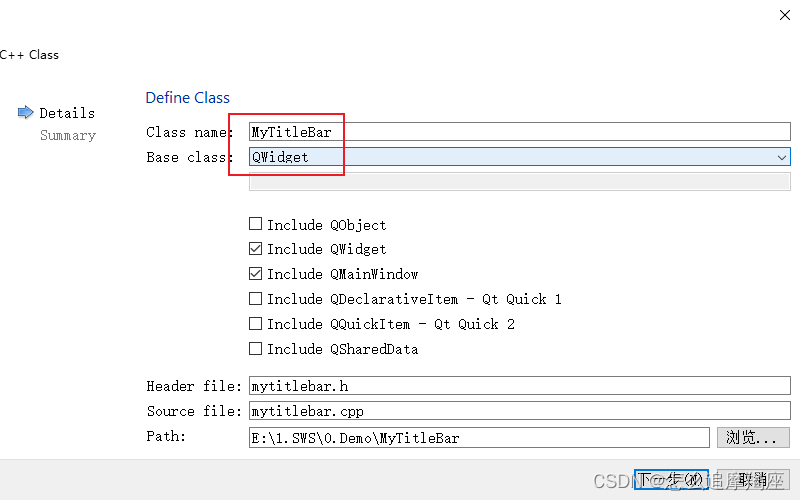
默认
更改mytitlebar.h中的代码
#ifndef MYTITLEBAR_H
#define MYTITLEBAR_H#include <QMainWindow>
#include <QWidget>
#include <QLabel>
#include <QPushButton>class MyTitleBar : public QWidget
{Q_OBJECT
public:explicit MyTitleBar(QWidget *parent = nullptr);void setColor(QString backgroundColor, QString fontColor, QString selectedFontColor); //设置颜色
protected://界面拖动void mousePressEvent(QMouseEvent* event); //鼠标按下void mouseMoveEvent(QMouseEvent* event); //鼠标移动void mouseReleaseEvent(QMouseEvent* event); //鼠标抬起void mouseDoubleClickEvent(QMouseEvent* event); //双击标题栏进行界面的最大化/还原bool eventFilter(QObject *obj, QEvent *event); //事件过滤器private slots:void onClicked(); //进行最小化、最大化/还原、关闭操作void updateMaximize(); //最大化/还原private:QLabel* m_iconLabel; //显示图标QLabel* m_titleLabel; //显示标题QPushButton* m_minimizeButton; //最小化按键QPushButton* m_maximizeButton; //最大化/还原按键QPushButton* m_closeButton; //关闭按键QPoint m_mousePosition; //鼠标按下时的位置bool m_isMousePressed; //鼠标是否摁下
};#endif // MYTITLEBAR_H
更改mytitlebar.cpp中的代码
#include "mytitlebar.h"
#include <QHBoxLayout>
#include <QEvent>
#include <QMouseEvent>
#include <QApplication>MyTitleBar::MyTitleBar(QWidget *parent) : QWidget(parent)
{setFixedHeight(30);//控件初始化m_iconLabel = new QLabel(this);m_titleLabel = new QLabel(this);m_minimizeButton = new QPushButton(this);m_maximizeButton = new QPushButton(this);m_closeButton = new QPushButton(this);//图片自适应控件大小m_iconLabel->setFixedSize(20, 20);m_iconLabel->setScaledContents(true);//设置控件在布局(layout)里面的大小变化的属性m_titleLabel->setMinimumHeight(25);m_titleLabel->setSizePolicy(QSizePolicy::Expanding, QSizePolicy::Expanding);m_titleLabel->setAlignment(Qt::AlignCenter); //居中//设置控件的最小大小和最大大小m_minimizeButton->setFixedSize(30, 25);m_maximizeButton->setFixedSize(30, 25);m_closeButton->setFixedSize(30, 25);//设置控件唯一标识符m_titleLabel->setObjectName("whiteLabel");m_minimizeButton->setObjectName("minimizeButton");m_maximizeButton->setObjectName("maximizeButton");m_closeButton->setObjectName("closeButton");m_minimizeButton->setIcon(QIcon(":/icon/minWhite.png"));m_minimizeButton->setToolTip(tr("最小化"));m_minimizeButton->installEventFilter(this);m_maximizeButton->setIcon(QIcon(":/icon/restoreWhite.png"));m_maximizeButton->setToolTip(tr("向下还原"));m_maximizeButton->installEventFilter(this);m_closeButton->setIcon(QIcon(":/icon/closeWhite.png"));m_closeButton->setToolTip(tr("关闭"));m_closeButton->installEventFilter(this);//按键背景透明,图标颜色为m_fontColorm_titleLabel->setStyleSheet(QString("color:white;"));m_minimizeButton->setStyleSheet(QString("background-color:rgba(0,0,0,0);"));m_maximizeButton->setStyleSheet(QString("background-color:rgba(0,0,0,0);"));m_closeButton->setStyleSheet(QString("background-color:rgba(0,0,0,0);"));//控件布局QHBoxLayout *pLayout = new QHBoxLayout(this);pLayout->addWidget(m_iconLabel);pLayout->addSpacing(5);pLayout->addWidget(m_titleLabel);pLayout->addWidget(m_minimizeButton);pLayout->addWidget(m_maximizeButton);pLayout->addWidget(m_closeButton);pLayout->setSpacing(0);setLayout(pLayout);//信号槽绑定connect(m_minimizeButton, SIGNAL(clicked(bool)), this, SLOT(onClicked()));connect(m_maximizeButton, SIGNAL(clicked(bool)), this, SLOT(onClicked()));connect(m_closeButton, SIGNAL(clicked(bool)), this, SLOT(onClicked()));
}/**
* @brief MainWindow::mousePressEvent 鼠标双击:界面最大化或还原
* @param event 鼠标事件
*/
void MyTitleBar::mouseDoubleClickEvent(QMouseEvent *event)
{Q_UNUSED(event);emit m_maximizeButton->clicked();
}/**
* @brief MainWindow::mousePressEvent 鼠标按下:准备移动
* @param event 鼠标事件
*/
void MyTitleBar::mousePressEvent(QMouseEvent *event)
{m_mousePosition = event->pos(); //鼠标在控件中的位置m_isMousePressed = true;
}/**
* @brief MainWindow::mousePressEvent 鼠标移动
* @param event 鼠标事件
*/
void MyTitleBar::mouseMoveEvent(QMouseEvent *event)
{if(m_isMousePressed == true ){QWidget *pWindow = this->window();if(pWindow->isMaximized()) //界面最大时,先还原再移动{pWindow->showNormal();//防止鼠标指针在界面之外m_mousePosition = QPoint(200, 10);pWindow->move(event->globalPos().x() - 200, event->globalPos().y());}else{QPoint movePot = event->globalPos() - m_mousePosition;pWindow->move(movePot);}}
}/**
* @brief MainWindow::mousePressEvent 鼠标抬起:移动结束
* @param event 鼠标事件
*/
void MyTitleBar::mouseReleaseEvent(QMouseEvent *event)
{Q_UNUSED(event);m_isMousePressed = false;
}/**
* @brief MyTitleBar::eventFilter 事件过滤器
* @param obj 过滤对象
* @param event 事件
* @return
*/
bool MyTitleBar::eventFilter(QObject *obj, QEvent *event)
{switch(event->type()){case QEvent::WindowTitleChange: //更改标题显示内容{QWidget *pWidget = qobject_cast<QWidget *>(obj);if(pWidget){m_titleLabel->setText(pWidget->windowTitle());}}break;case QEvent::WindowIconChange: //更改图标{QWidget *pWidget = qobject_cast<QWidget *>(obj);if(pWidget){QIcon icon = pWidget->windowIcon();m_iconLabel->setPixmap(icon.pixmap(m_iconLabel->size()));}}break;case QEvent::WindowStateChange:case QEvent::Resize:updateMaximize(); //最大化/还原break;case QEvent::Enter: //鼠标悬停在控件上,控件变色{if(obj == m_minimizeButton){m_minimizeButton->setIcon(QIcon(":/icon/minRed.png"));}else if(obj == m_closeButton){m_closeButton->setIcon(QIcon(":/icon/closeRed.png"));}else if(obj == m_maximizeButton){if(m_maximizeButton->property("maximizeProperty") == "向下还原"){m_maximizeButton->setIcon(QIcon(":/icon/restoreRed.png"));}else{m_maximizeButton->setIcon(QIcon(":/icon/maxRed.png"));}}}break;case QEvent::Leave: //鼠标离开控件,颜色恢复{if(obj == m_minimizeButton){m_minimizeButton->setIcon(QIcon(":/icon/minWhite.png"));}else if(obj == m_closeButton){m_closeButton->setIcon(QIcon(":/icon/closeWhite.png"));}else if(obj == m_maximizeButton){if(m_maximizeButton->property("maximizeProperty") == "向下还原"){m_maximizeButton->setIcon(QIcon(":/icon/restoreWhite.png"));}else{m_maximizeButton->setIcon(QIcon(":/icon/maxWhite.png"));}}}break;default:break;}return QWidget::eventFilter(obj, event);
}/**
* @brief MyTitleBar::onClicked 进行最小化、最大化/还原、关闭操作
*/
void MyTitleBar::onClicked()
{QPushButton *pButton = qobject_cast<QPushButton *>(sender());QWidget *pWindow = this->window();if(pWindow->isTopLevel()){if(pButton == m_minimizeButton) //最小化{pWindow->showMinimized();}else if (pButton == m_maximizeButton) //最大化、还原{pWindow->isMaximized() ? pWindow->showNormal() : pWindow->showMaximized();}else if (pButton == m_closeButton) //关闭{pWindow->close();}}
}/**
* @brief MyTitleBar::updateMaximize 最大化/还原时,更改图标样式
*/
void MyTitleBar::updateMaximize()
{QWidget *pWindow = this->window();if(pWindow->isTopLevel()){if(pWindow->isMaximized()){m_maximizeButton->setToolTip(tr("向下还原"));m_maximizeButton->setProperty("maximizeProperty", "向下还原");m_maximizeButton->setIcon(QIcon(":/icon/restoreWhite.png"));}else{m_maximizeButton->setProperty("maximizeProperty", "最大化");m_maximizeButton->setToolTip(tr("最大化"));m_maximizeButton->setIcon(QIcon(":/icon/maxWhite.png"));}m_maximizeButton->setStyle(QApplication::style());}
}
更改widget.h中的代码
#ifndef WIDGET_H
#define WIDGET_H#include <QWidget>
#include "mytitlebar.h"namespace Ui {
class Widget;
}class Widget : public QWidget
{Q_OBJECTpublic:explicit Widget(QWidget *parent = nullptr);~Widget();protected:void resizeEvent(QResizeEvent *event);private:Ui::Widget *ui;MyTitleBar* m_titleBar; //自定义标题栏
};#endif // WIDGET_H
更改widget.cpp中的代码
#include "widget.h"
#include "ui_widget.h"
#include <QLayout>Widget::Widget(QWidget *parent) :
QWidget(parent),
ui(new Ui::Widget)
{ui->setupUi(this);//第一个是去掉原边框及标题栏,第二个是保留最小化及还原功能,主要是为了还原,最小化下面实现了this->setWindowFlags(Qt::FramelessWindowHint | Qt::WindowMinimizeButtonHint);QVBoxLayout *layout = new QVBoxLayout;//自定义标题栏m_titleBar = new MyTitleBar;m_titleBar->resize(this->width(), 30);installEventFilter(m_titleBar);setWindowTitle("自定义标题栏"); //设置标题内容setWindowIcon(QIcon(":/icon/capricorn.png")); //设置图标QWidget *centerWidget = new QWidget; //中间窗口layout->addWidget(m_titleBar);layout->addWidget(centerWidget);layout->setContentsMargins(5, 0, 5, 2); //设置左侧、右侧边距为5this->setLayout(layout);this->showMaximized(); //最大化显示QString backgroundColor = "black"; //背景色QString fontColor = "white"; //字体色//渐变背景this->setStyleSheet(QString("QWidget#Widget{background-color:qlineargradient(x1:0,     y1:0, x2:1, y2:1, stop:0 %1, stop:1 %2);}")
.arg(backgroundColor).arg(fontColor));
}Widget::~Widget()
{delete ui;
}/**
* @brief MainWindow::resizeEvent 当界面大小改变时更改标题栏大小
* @param event
*/
void Widget::resizeEvent(QResizeEvent *event)
{Q_UNUSED(event);m_titleBar->resize(this->width(), 30); //更改标题栏大小
}
五、运行测试
可以进行放大缩小移动等


这篇关于27、Qt自定义标题栏的文章就介绍到这儿,希望我们推荐的文章对编程师们有所帮助!


