本文主要是介绍如何将Maven与TestNG集成,希望对大家解决编程问题提供一定的参考价值,需要的开发者们随着小编来一起学习吧!
我们已经讨论了如何在maven中执行单元测试用例,但那些是JUnit测试用例,而不是TestNG。当maven使用“mvn test”命令进入测试阶段时,这些用例被执行。
本文将介绍如何将Maven与TestNG集成,并在maven进入测试阶段时执行TestNG测试。
默认情况下,Maven执行src/test/java目录中的单元测试用例,我们将只遵循这个规范,并在src/test/java目录中生成用例。
我们将通过一系列步骤将Maven与TestNG集成在一起-
- 创建maven项目
- 添加maven依赖项和插件
- 添加TestNG测试
- 创建testng.xml文件
- 最后, 执行TestNG测试
创建maven项目
我们可以通过在命令行工具上运行下面的命令来轻松地创建一个项目。
mvn archetype:generate -DgroupId=org.website.codekru -DartifactId=DemoProject -DpackageName=org.website.codekru -Dversion=1.0-SNAPSHOT -DarchetypeArtifactId=maven-archetype-quickstart -DinteractiveMode=false请阅读这篇文章,了解更多关于如何创建maven项目的信息。
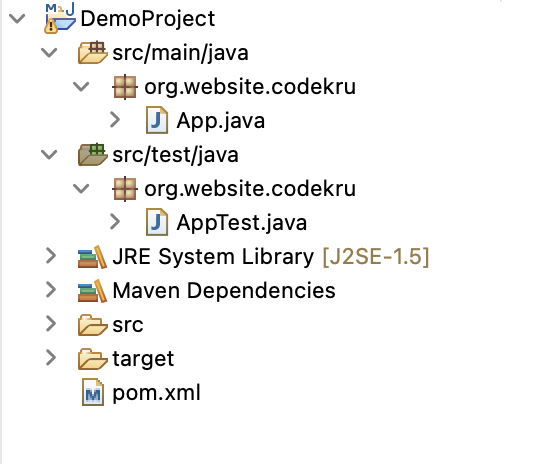
接下来,将在我们运行命令的目录中创建一个maven项目,它将具有maven创建的默认项目结构。
添加maven依赖项和插件
我们将在pom.xml文件中添加TestNG maven依赖项和maven surefire插件。
TestNG maven dependency
<dependency><groupId>org.testng</groupId><artifactId>testng</artifactId><version>7.6.1</version>
</dependency>
Maven surefire plugin dependency
<build><plugins><plugin><groupId>org.apache.maven.plugins</groupId><artifactId>maven-surefire-plugin</artifactId><version>3.0.0-M7</version></plugin></plugins></build>整个pom.xml现在将是这样的-
<project xmlns="http://maven.apache.org/POM/4.0.0" xmlns:xsi="http://www.w3.org/2001/XMLSchema-instance" xsi:schemaLocation="http://maven.apache.org/POM/4.0.0 http://maven.apache.org/maven-v4_0_0.xsd"><modelVersion>4.0.0</modelVersion><groupId>org.website.codekru</groupId><artifactId>DemoProject</artifactId><packaging>jar</packaging><version>1.0-SNAPSHOT</version><name>DemoProject</name><url>http://maven.apache.org</url><dependencies><dependency><groupId>junit</groupId><artifactId>junit</artifactId><version>3.8.1</version><scope>test</scope></dependency><!-- https://mvnrepository.com/artifact/org.testng/testng --><dependency><groupId>org.testng</groupId><artifactId>testng</artifactId><version>7.6.1</version></dependency></dependencies><build><plugins><plugin><groupId>org.apache.maven.plugins</groupId><artifactId>maven-surefire-plugin</artifactId><version>3.0.0-M7</version></plugin></plugins></build>
</project>
添加TestNG测试
我们现在将在AppTest类中添加TestNG测试。一个测试用例是一个用TestNG的@Test注释标记的方法。
package org.website.codekru;import org.testng.annotations.Test;public class AppTest {@Testpublic void test1() {System.out.println("Executing test1");}@Testpublic void test2() {System.out.println("Executing test2");}
}
我们在AppTest类中添加了两个TestNG测试。现在我们必须处理这些案件。
创建testng.xml文件
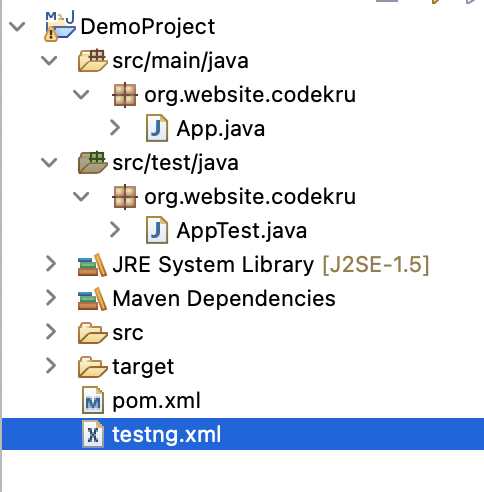
在项目的根目录下创建一个testng.xml文件。xml文件有助于在TestNG中执行测试用例。
下面是testng.xml文件中的内容。
<!DOCTYPE suite SYSTEM "https://testng.org/testng-1.0.dtd" ><suite name="codekru"><test name="codekruTest"><classes><class name="org.website.codekru.AppTest" /></classes></test>
</suite>上面的XML文件将执行AppTest类中的所有用例。请阅读本文以了解如何创建testng.xml文件。
这是我们更新的项目结构。
执行测试用例
这些测试用例应该在maven执行其测试阶段时执行。
为此,我们必须对XML文件进行一些更改。如果你还记得的话,我们在前面添加了maven surefire插件,现在我们必须为插件添加一些配置。
早些时候
<build><plugins><plugin><groupId>org.apache.maven.plugins</groupId><artifactId>maven-surefire-plugin</artifactId><version>3.0.0-M7</version></plugin></plugins></build>现在
<build><plugins><plugin><groupId>org.apache.maven.plugins</groupId><artifactId>maven-surefire-plugin</artifactId><version>3.0.0-M7</version><configuration><suiteXmlFiles><suiteXmlFile>testng.xml</suiteXmlFile></suiteXmlFiles></configuration></plugin></plugins>
</build>
新添加的配置将在maven执行测试阶段时运行上述testng.xml文件。
所以,现在我们更新的pom.xml将是
<project xmlns="http://maven.apache.org/POM/4.0.0" xmlns:xsi="http://www.w3.org/2001/XMLSchema-instance" xsi:schemaLocation="http://maven.apache.org/POM/4.0.0 http://maven.apache.org/maven-v4_0_0.xsd"><modelVersion>4.0.0</modelVersion><groupId>org.website.codekru</groupId><artifactId>DemoProject</artifactId><packaging>jar</packaging><version>1.0-SNAPSHOT</version><name>DemoProject</name><url>http://maven.apache.org</url><dependencies><dependency><groupId>junit</groupId><artifactId>junit</artifactId><version>3.8.1</version><scope>test</scope></dependency><!-- https://mvnrepository.com/artifact/org.testng/testng --><dependency><groupId>org.testng</groupId><artifactId>testng</artifactId><version>7.6.1</version></dependency></dependencies><build><plugins><plugin><groupId>org.apache.maven.plugins</groupId><artifactId>maven-surefire-plugin</artifactId><version>3.0.0-M7</version><configuration><suiteXmlFiles><suiteXmlFile>testng.xml</suiteXmlFile></suiteXmlFiles></configuration></plugin></plugins></build>
</project>
现在,从命令行运行“mvn test”命令,现在也将执行TestNG测试。
但是如果你得到下面的错误。

请在pom.xml文件中添加以下属性。
<properties><maven.compiler.source>1.8</maven.compiler.source> <maven.compiler.target>1.8</maven.compiler.target>
</properties>
所以,现在更新的pom.xml文件将是-
<project xmlns="http://maven.apache.org/POM/4.0.0" xmlns:xsi="http://www.w3.org/2001/XMLSchema-instance" xsi:schemaLocation="http://maven.apache.org/POM/4.0.0 http://maven.apache.org/maven-v4_0_0.xsd"><modelVersion>4.0.0</modelVersion><groupId>org.website.codekru</groupId><artifactId>DemoProject</artifactId><packaging>jar</packaging><version>1.0-SNAPSHOT</version><name>DemoProject</name><url>http://maven.apache.org</url><properties><maven.compiler.source>1.8</maven.compiler.source><maven.compiler.target>1.8</maven.compiler.target></properties><dependencies><dependency><groupId>junit</groupId><artifactId>junit</artifactId><version>3.8.1</version><scope>test</scope></dependency><!-- https://mvnrepository.com/artifact/org.testng/testng --><dependency><groupId>org.testng</groupId><artifactId>testng</artifactId><version>7.6.1</version></dependency></dependencies><build><plugins><plugin><groupId>org.apache.maven.plugins</groupId><artifactId>maven-surefire-plugin</artifactId><version>3.0.0-M7</version><configuration><suiteXmlFiles><suiteXmlFile>testng.xml</suiteXmlFile></suiteXmlFiles></configuration></plugin></plugins></build>
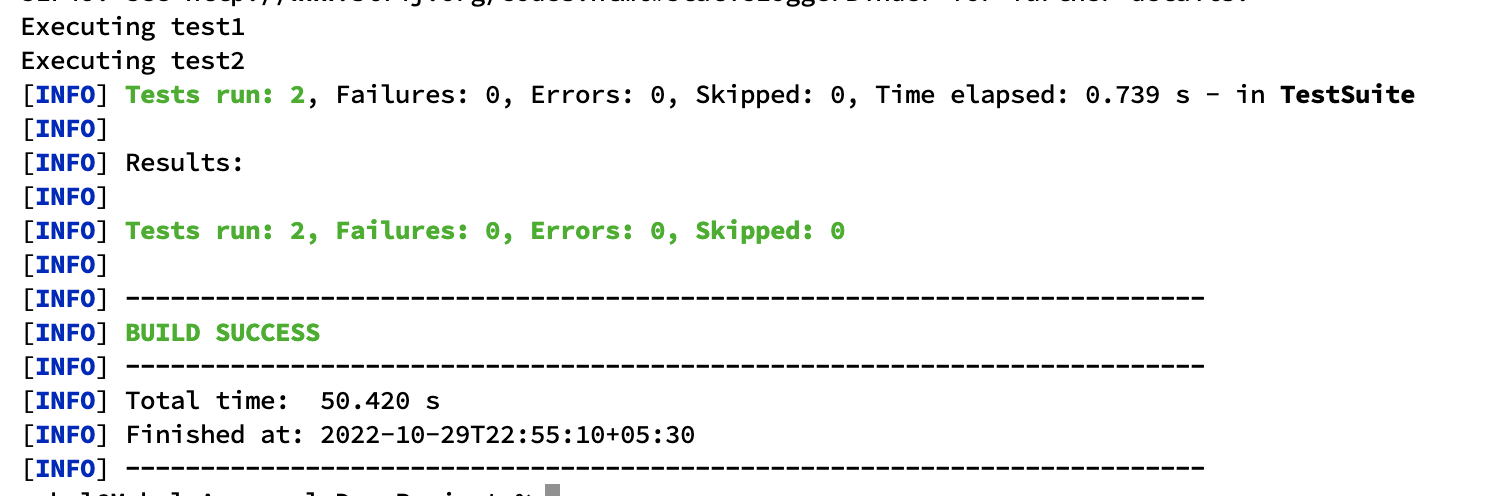
</project>从命令行再次运行“mvn test”命令,它将执行TestNG测试。

最后,执行了TestNG测试;这就是我们如何通过使用maven surefire插件来集成maven和TestNG
这篇关于如何将Maven与TestNG集成的文章就介绍到这儿,希望我们推荐的文章对编程师们有所帮助!


