本文主要是介绍Pyglet图形界面版2048游戏——详尽实现教程(上),希望对大家解决编程问题提供一定的参考价值,需要的开发者们随着小编来一起学习吧!
目录
Pyglet图形界面版2048游戏
一、色块展示
二、绘制标题
三、方阵色块
四、界面布局
五、键鼠操作
Pyglet图形界面版2048游戏
一、色块展示
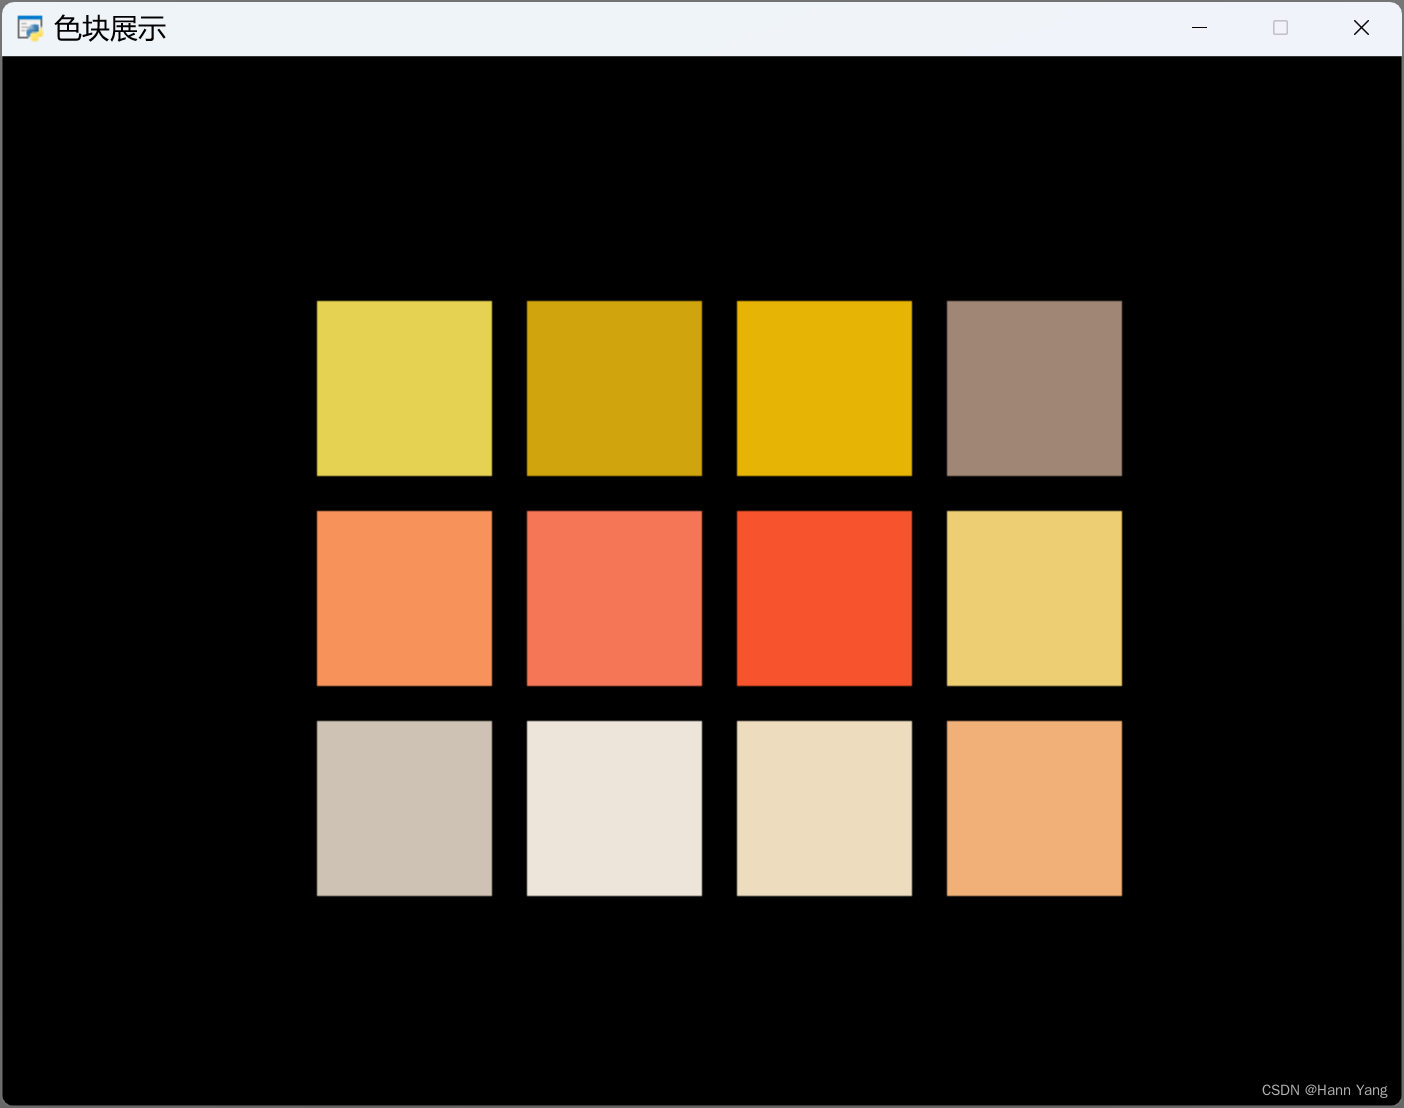
准备好游戏数字的背景颜色,如以下12种:
COLOR = ((206, 194, 180, 255), (237, 229, 218, 255), (237, 220, 190, 255),
(241, 176, 120, 255), (247, 146, 90, 255), (245, 118, 86, 255),
(247, 83, 44, 255), (237, 206, 115, 255), (229, 210, 82, 255),
(208, 164, 13, 255), (230, 180, 5, 255), (160, 134, 117, 255))
这些颜色用于pyglet.shapes.Rectangle()绘制方块,用法:
Rectangle(x, y, width, height, color=(255, 255, 255, 255), batch=None, group=None)
示例代码:
import pygletwindow = pyglet.window.Window(800, 600, caption='色块展示')COLOR = ((206, 194, 180), (237, 229, 218), (237, 220, 190), (241, 176, 120),(247, 146, 90), (245, 118, 86), (247, 83, 44), (237, 206, 115),(229, 210, 82), (208, 164, 13), (230, 180, 5), (160, 134, 117))batch = pyglet.graphics.Batch()
shape = [pyglet.shapes.Rectangle(180+i%4*120, 120+i//4*120, 100, 100, color=COLOR[i], batch=batch) for i in range(len(COLOR))]@window.event
def on_draw():window.clear()batch.draw()pyglet.app.run()
运行效果:
二、绘制标题
使用pyglet.text.Label()+pyglet.shapes.Rectangle()绘制标题图片,为美化效果把数字0转过一定角度,属性.rotaion为旋转角度,属性.anchor_position为旋转中心坐标,属性.x和.y为控件坐标,可以对个别控件的位置作出调整。
示例代码:
import pyglet
from pyglet import shapes,textwindow = pyglet.window.Window(800, 600, caption='2048')
batch = pyglet.graphics.Batch()x, y = 280, 260
width, height = 70, 80
coord = (x, y), (x+120, y), (x+70, y+60), (x+200, y)
color = (230, 182, 71), (220, 112, 82), (245, 112, 88), (248, 160, 88)
label = [text.Label(s,font_name='Arial',font_size=42,bold=True,x=coord[i][0]+width//2, y=coord[i][1]+height//2,anchor_x='center', anchor_y='center',  batch=batch) for i,s in enumerate('2408')]
rectangle = [shapes.Rectangle(coord[i][0], coord[i][1], width, height,color=color[i], batch=batch) for i in range(4)]
rectangle[2].anchor_position = (15, 15)
rectangle[2].rotation = 30
label[2].rotation = 30
label[2].x += 10
label[2].y -= 25@window.event
def on_draw():window.clear()batch.draw()pyglet.app.run()
运行效果:

三、方阵色块
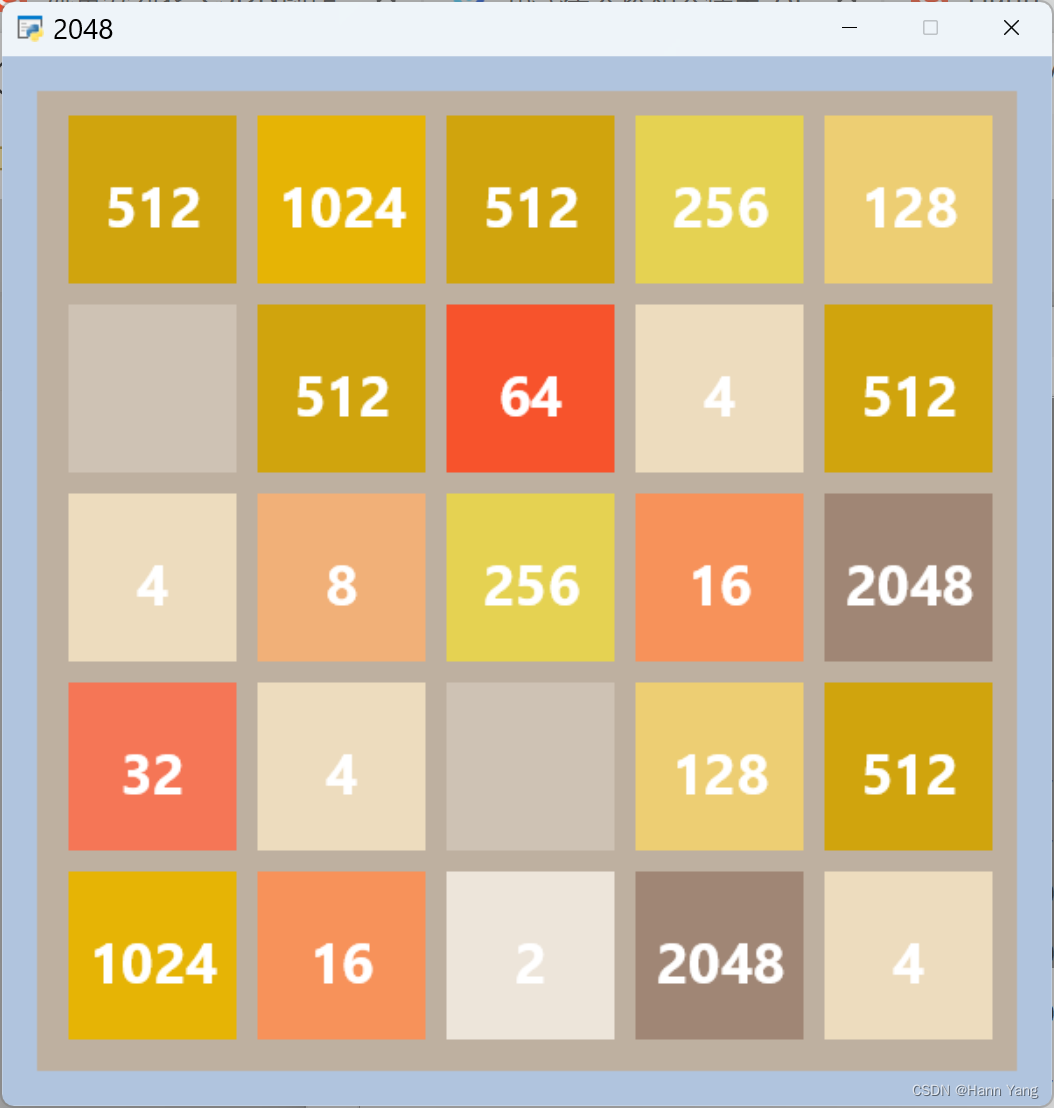
方阵色块和数字设置成一个类class Game2048,从2阶到9阶,数字色块的背景随数字的变化而变化,色块和数字也使用 Rectangle 和 Label 绘制。
self.shapes = []
self.labels = []
for i in range(order**2):
x, y = i%order*(size+margin)+38, i//order*(size+margin)+38
index = randint(0, min(self.index, len(COLOR)-1))
示例代码:
import pyglet
from pyglet import shapes,text
from random import randintwindow = pyglet.window.Window(600, 600, caption='2048')pyglet.gl.glClearColor(176/255, 196/255, 222/255, 0.6)COLOR = ((206, 194, 180), (237, 229, 218), (237, 220, 190), (241, 176, 120), (247, 146, 90),(245, 118, 86), (247, 83, 44), (237, 206, 115), (229, 210, 82), (208, 164, 13),(230, 180, 5), (160, 134, 117))batch = pyglet.graphics.Batch()class Game2048:def __init__(self, order=4):size = 255,165,120,96,77,65,55,48font_size = 128,60,30,24,21,16,12,11size = size[order-2]font_size = font_size[order-2]margin = 14 if order<5 else 12self.order = orderself.index = order+7 if order>3 else (4 if order==2 else 7)self.shape = shapes.Rectangle(20, 20, 560, 560, color=(190,176,160), batch=batch)self.shapes = []self.labels = []for i in range(order**2):x, y = i%order*(size+margin)+38, i//order*(size+margin)+38index = randint(0, min(self.index, len(COLOR)-1))self.shapes.append(shapes.Rectangle(x,y,size,size,color=COLOR[index],batch=batch))self.labels.append(text.Label(str(2**index) if index else '', font_size=font_size,x=x+size//2, y=y+size//2,anchor_x='center', anchor_y='center',bold=True,batch=batch))@window.event
def on_draw():window.clear()batch.draw()@window.event
def on_key_press(symbol, modifiers):global boxorder = symbol - 48 if symbol<100 else symbol - 65456if order in range(2,10):game = Game2048(order)box = Boxes(5)
pyglet.app.run()
运行效果:可以用键盘操作,数字2~9分别对应方阵的2~9阶。
四、界面布局
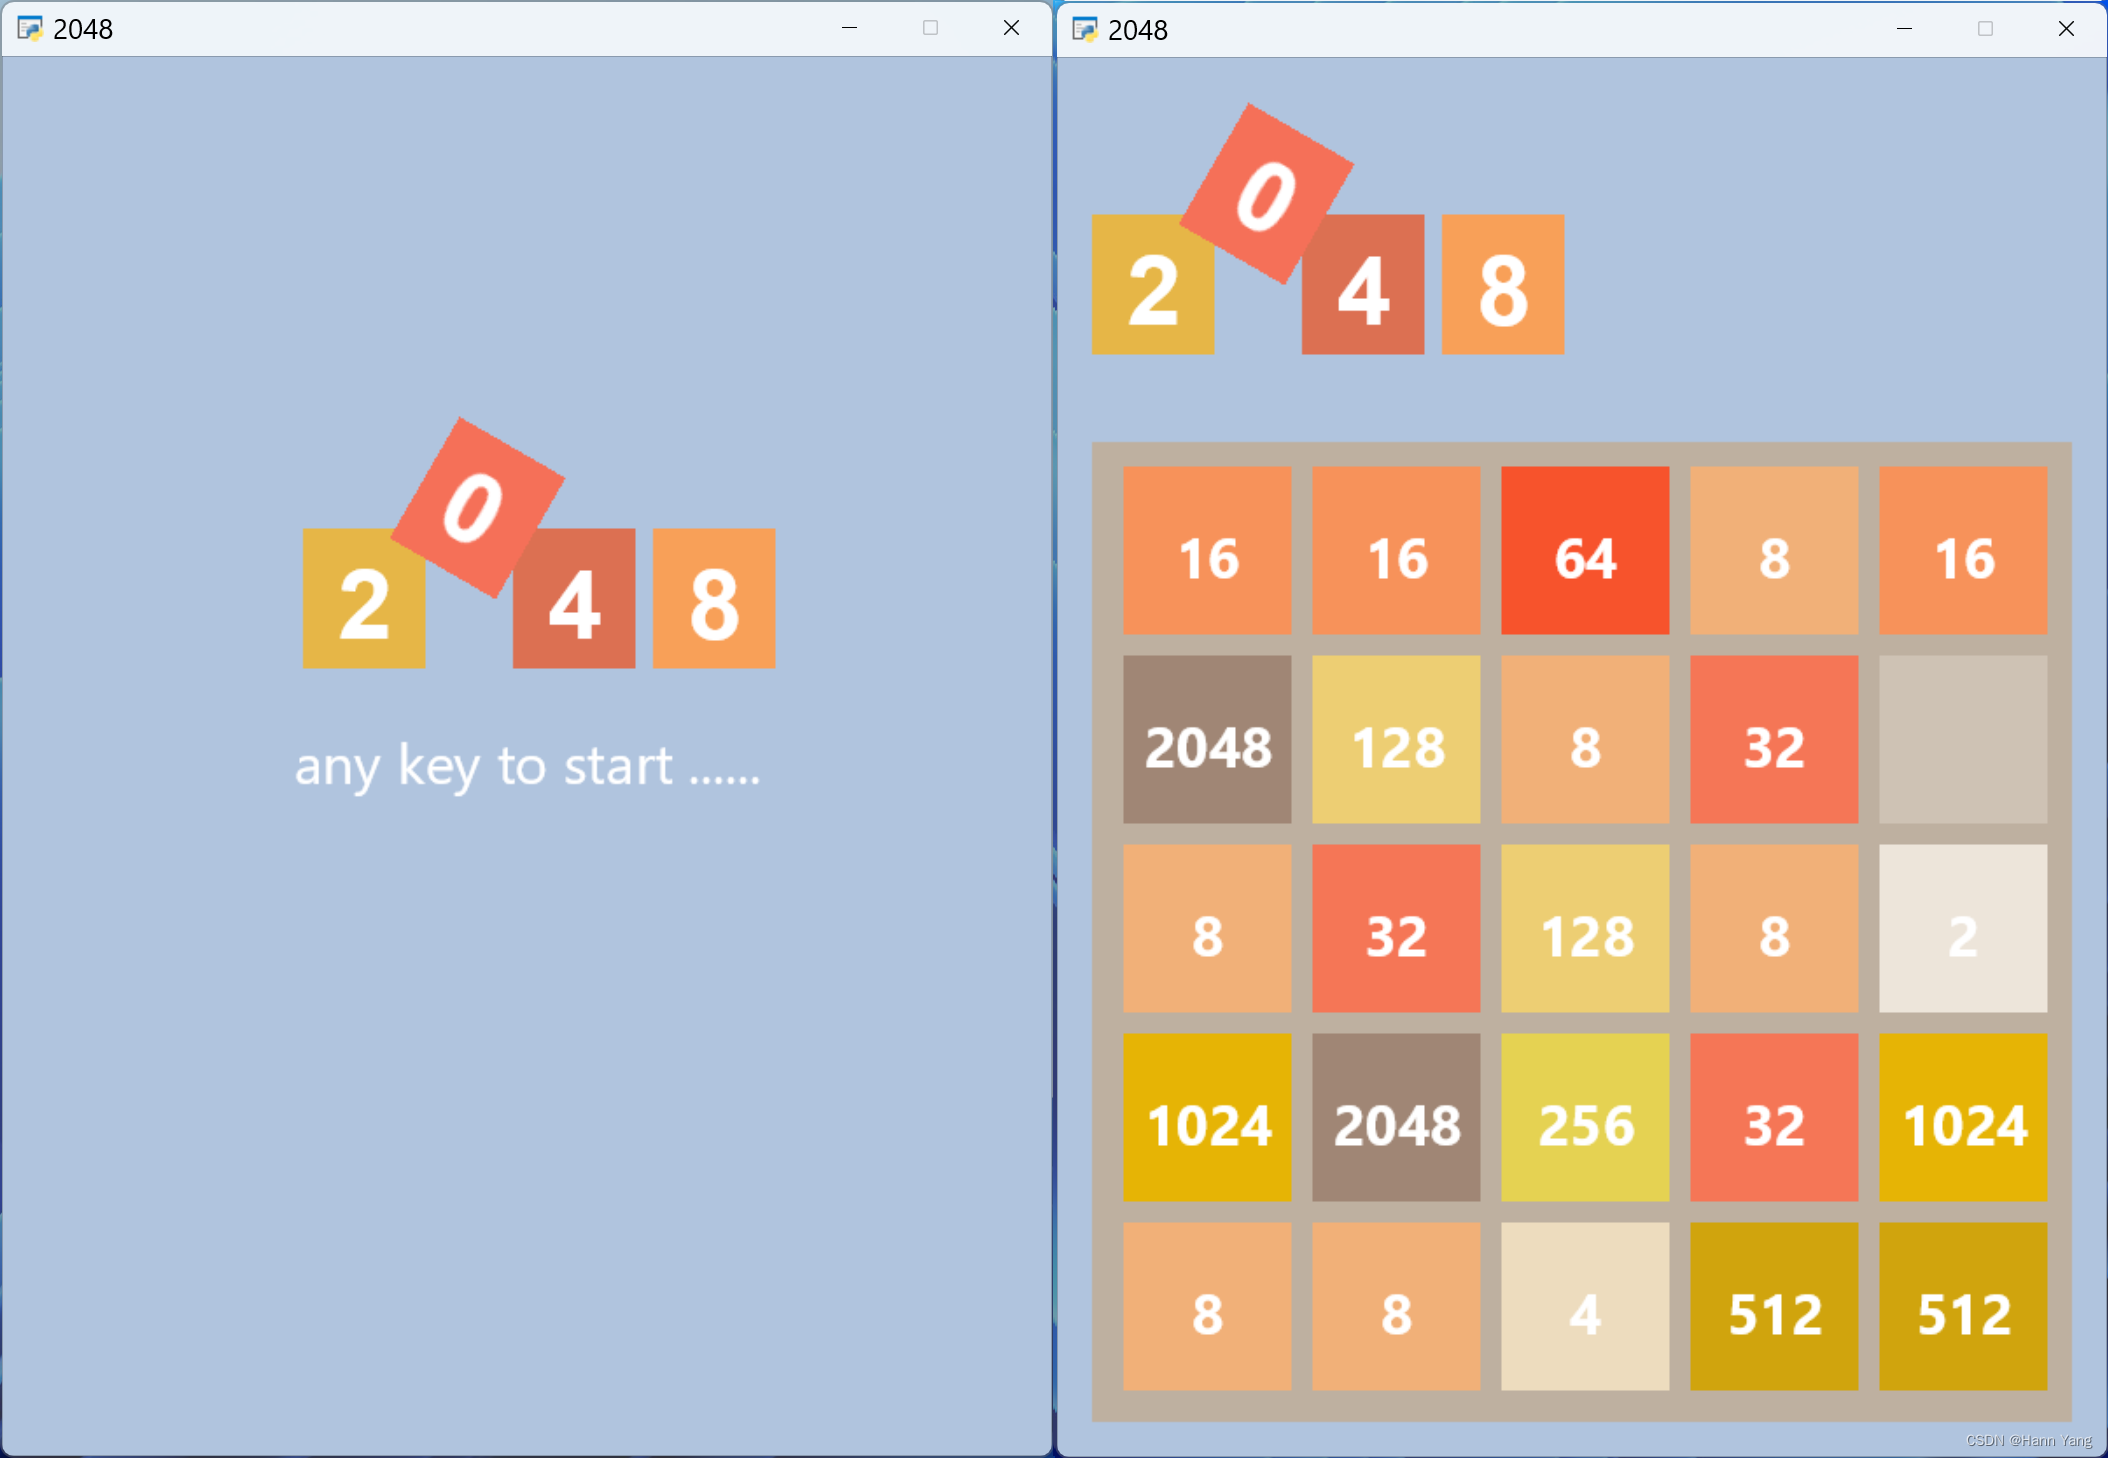
把以上内容结合到一起成为游戏的主界面,在屏幕中央显示标题图以及提示语,任意键后显示标题移到界面左上方,色块盘则显示在界面下方。另外,使用pyglet.clock.schedule_interval()切换提示语的可见性,产生动画效果:
def switch_visible(event):
any_key_label.visible = not any_key_label.visiblepyglet.clock.schedule_interval(switch_visible, 0.5)
完整示例代码:
import pyglet
from pyglet import shapes,text
from random import randintwindow = pyglet.window.Window(600, 800, caption='2048')pyglet.gl.glClearColor(176/255, 196/255, 222/255, 0.6)COLOR = ((206, 194, 180), (237, 229, 218), (237, 220, 190), (241, 176, 120), (247, 146, 90),(245, 118, 86), (247, 83, 44), (237, 206, 115), (229, 210, 82), (208, 164, 13),(230, 180, 5), (160, 134, 117))batch = pyglet.graphics.Batch()
group = pyglet.graphics.Group()def title2048(x=170, y=450):global label,rectanglewidth, height = 70, 80coord = (x, y), (x+width*2-20, y), (x+width, y+height), (x+width*3-10, y)color = (230, 182, 71), (220, 112, 82), (245, 112, 88), (248, 160, 88)label = [text.Label(s, font_name='Arial', font_size=42, bold=True, batch=batch, group=group,x=coord[i][0]+width//2, y=coord[i][1]+height//2, anchor_x='center',anchor_y='center') for i,s in enumerate('2408')]rect = lambda i:(coord[i][0], coord[i][1], width, height)rectangle = [shapes.Rectangle(*rect(i), color=color[i], batch=batch, group=group) for i in range(4)]rectangle[2].anchor_position = (15, 15)rectangle[2].rotation = 30label[2].rotation = 30label[2].x += 10label[2].y -= 25class Game2048:def __init__(self, order=4):size = 255,165,120,96,77,65,55,48font_size = 128,60,30,24,21,16,12,11size = size[order-2]font_size = font_size[order-2]margin = 14 if order<5 else 12self.order = orderself.index = order+7 if order>3 else (4 if order==2 else 7)self.shape = shapes.Rectangle(20, 20, 560, 560, color=(190, 176, 160), batch=batch)self.shapes = []self.labels = []for i in range(order**2):x, y = i%order*(size+margin)+38, i//order*(size+margin)+38index = randint(0, min(self.index, len(COLOR)-1))rect = x, y, size, sizeself.shapes.append(shapes.Rectangle(*rect, color=COLOR[index], batch=batch))text = str(2**index) if index else ''self.labels.append(text.Label(text, font_size=font_size, x=x+size//2, y=y+size//2,anchor_x='center', anchor_y='center', bold=True, batch=batch))any_key = True
any_key_label = text.Label("any key to start ......", x=window.width//2, y=window.height//2,font_size=24, anchor_x='center', anchor_y='center')@window.event
def on_draw():window.clear()batch.draw()if any_key:any_key_label.draw()@window.event
def on_key_press(symbol, modifiers):global any_key, gameif any_key:any_key = Falsetitle2048(20, 630)game = Game2048(5)returnorder = symbol - 48 if symbol<100 else symbol - 65456if order in range(2,10):game = Game2048(order) @window.event
def on_mouse_press(x, y, button, modifier):if any_key:on_key_press(0, 0)def switch_visible(event):any_key_label.visible = not any_key_label.visibleif any_key:pyglet.clock.schedule_interval(switch_visible, 0.5)title2048()
pyglet.app.run()
运行效果:
五、键鼠操作
增加上下左右方向的键盘操作,左手操作也可以用ASDW四个字符键;鼠标操作则检测在色块盘的位置,如下图所示,对角线分割出的四个区域分别分表上下左右。四个区域由y=x,y=-x+600两条直线方程所分割,并且满足0<x,y<580即可。测试用控件放在class Game2048类里:
'''以下控件测试用'''
self.line1 = shapes.Line(20, 20, 580, 580, width=4, color=(255, 0, 0), batch=batch)
self.line2 = shapes.Line(20, 580, 580, 20, width=4, color=(255, 0, 0), batch=batch)
self.box = shapes.Box(18, 18, 564, 564, thickness=4, color=(255, 0, 0), batch=batch)
self.text = text.Label("", x=450, y=650, font_size=24, color=(250, 0, 0, 255),
anchor_x='center', anchor_y='center', bold=True, batch=batch)

键盘操作:
@window.event
def on_key_press(symbol, modifiers):
if symbol in (key.A, key.LEFT):
move_test('left')
elif symbol in (key.D, key.RIGHT):
move_test('right')
elif symbol in (key.W, key.UP):
move_test('up')
elif symbol in (key.S, key.DOWN):
move_test('down')
鼠标操作:
@window.event
def on_mouse_press(x, y, button, modifier):
if any_key:
on_key_press(0, 0)
if direction == 'left':
move_test('left')
elif direction == 'right':
move_test('right')
elif direction == 'up':
move_test('up')
elif direction == 'down':
move_test('down')@window.event
def on_mouse_motion(x, y, dx, dy):
global direction
if 20<x<y<580 and x+y<600:
direction = 'left'
elif 20<y<x<580 and x+y>600:
direction = 'right'
elif 20<x<y<580 and x+y>600:
direction = 'up'
elif 20<y<x<580 and x+y<600:
direction = 'down'
else:
direction = None
完整代码:
import pyglet
from pyglet import shapes,text
from pyglet.window import key
from random import randintwindow = pyglet.window.Window(600, 800, caption='2048')pyglet.gl.glClearColor(176/255, 196/255, 222/255, 0.6)COLOR = ((206, 194, 180), (237, 229, 218), (237, 220, 190), (241, 176, 120), (247, 146, 90),(245, 118, 86), (247, 83, 44), (237, 206, 115), (229, 210, 82), (208, 164, 13),(230, 180, 5), (160, 134, 117))batch = pyglet.graphics.Batch()
group = pyglet.graphics.Group()def title2048(x=170, y=450):global label,rectanglewidth, height = 70, 80coord = (x, y), (x+width*2-20, y), (x+width, y+height), (x+width*3-10, y)color = (230, 182, 71), (220, 112, 82), (245, 112, 88), (248, 160, 88)label = [text.Label(s, font_name='Arial', font_size=42, bold=True, batch=batch, group=group,x=coord[i][0]+width//2, y=coord[i][1]+height//2, anchor_x='center',anchor_y='center') for i,s in enumerate('2408')]rect = lambda i:(coord[i][0], coord[i][1], width, height)rectangle = [shapes.Rectangle(*rect(i), color=color[i], batch=batch, group=group) for i in range(4)]rectangle[2].anchor_position = (15, 15)rectangle[2].rotation = 30label[2].rotation = 30label[2].x += 10label[2].y -= 25class Game2048:def __init__(self, order=4):size = 255,165,120,96,77,65,55,48font_size = 128,60,30,24,21,16,12,11size = size[order-2]font_size = font_size[order-2]margin = 14 if order<5 else 12self.order = orderself.index = order+7 if order>3 else (4 if order==2 else 7)self.shape = shapes.Rectangle(20, 20, 560, 560, color=(190, 176, 160), batch=batch)self.shapes = []self.labels = []for i in range(order**2):x, y = i%order*(size+margin)+38, i//order*(size+margin)+38index = randint(0, min(self.index, len(COLOR)-1))rect = x, y, size, sizeself.shapes.append(shapes.Rectangle(*rect, color=COLOR[index], batch=batch))txt = str(2**index) if index else ''self.labels.append(text.Label(txt, font_size=font_size, x=x+size//2, y=y+size//2,anchor_x='center', anchor_y='center', bold=True, batch=batch))'''以下控件测试用'''self.line1 = shapes.Line(20, 20, 580, 580, width=4, color=(255, 0, 0), batch=batch)self.line2 = shapes.Line(20, 580, 580, 20, width=4, color=(255, 0, 0), batch=batch)self.box = shapes.Box(18, 18, 564, 564, thickness=4, color=(255, 0, 0), batch=batch)self.text = text.Label("", x=450, y=650, font_size=24, color=(250, 0, 0, 255),anchor_x='center', anchor_y='center', bold=True, batch=batch)any_key = True
any_key_label = text.Label("any key to start ......", x=window.width//2, y=window.height//2,font_size=24, anchor_x='center', anchor_y='center')@window.event
def on_draw():window.clear()batch.draw()if any_key:any_key_label.draw()def move_test(direction):global gamegame.text.text = direction.title()@window.event
def on_key_press(symbol, modifiers):global any_key, game, directionif any_key:any_key = Falsetitle2048(20, 630)game = Game2048(5)returnorder = symbol - 48 if symbol<100 else symbol - 65456if order in range(2,10):game = Game2048(order)if symbol in (key.A, key.LEFT):move_test('left')elif symbol in (key.D, key.RIGHT):move_test('right')elif symbol in (key.W, key.UP):move_test('up')elif symbol in (key.S, key.DOWN):move_test('down')direction = None@window.event
def on_mouse_press(x, y, button, modifier):if any_key:on_key_press(0, 0)if direction == 'left':move_test('left')elif direction == 'right':move_test('right')elif direction == 'up':move_test('up')elif direction == 'down':move_test('down')@window.event
def on_mouse_motion(x, y, dx, dy):global directionif 20<x<y<580 and x+y<600:direction = 'left'elif 20<y<x<580 and x+y>600:direction = 'right'elif 20<x<y<580 and x+y>600:direction = 'up'elif 20<y<x<580 and x+y<600:direction = 'down'else:direction = Nonedef switch_visible(event):any_key_label.visible = not any_key_label.visibleif any_key:pyglet.clock.schedule_interval(switch_visible, 0.5)title2048()
pyglet.app.run()
待续......
这篇关于Pyglet图形界面版2048游戏——详尽实现教程(上)的文章就介绍到这儿,希望我们推荐的文章对编程师们有所帮助!


