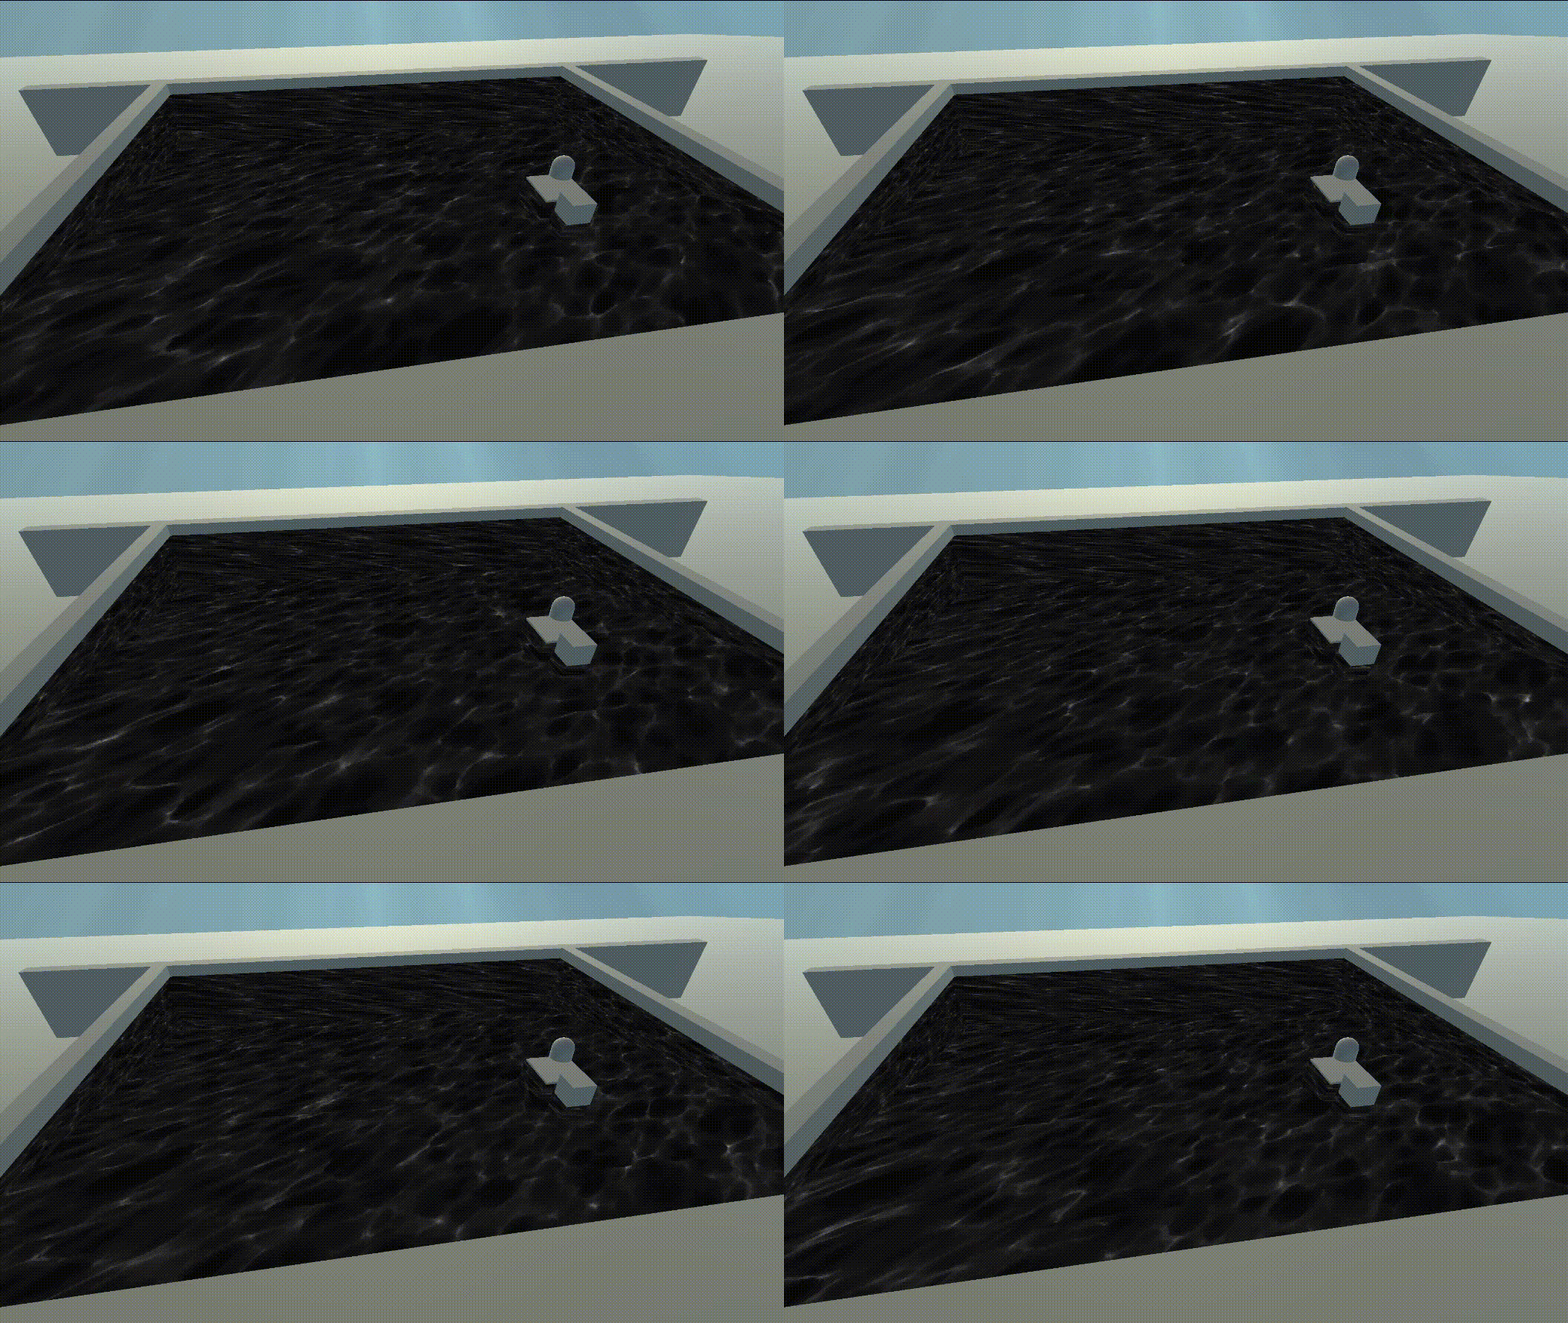
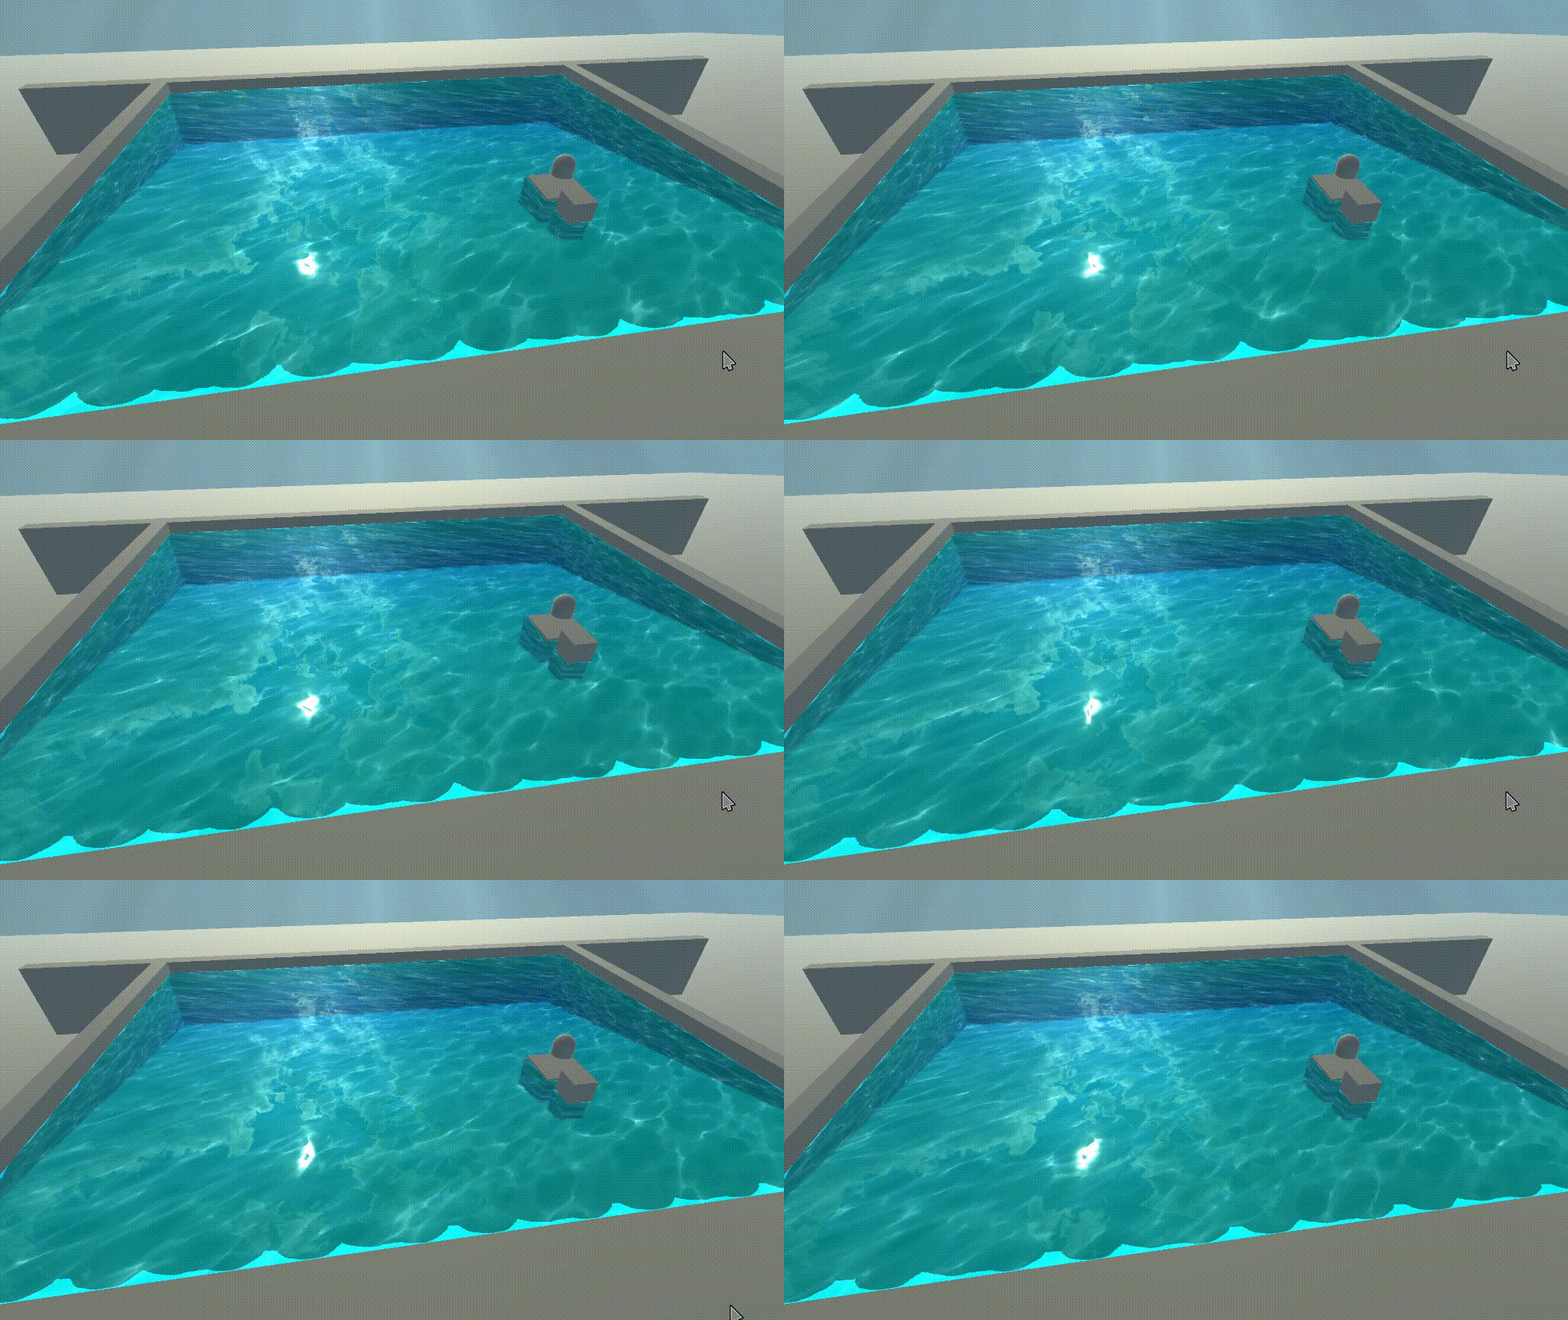
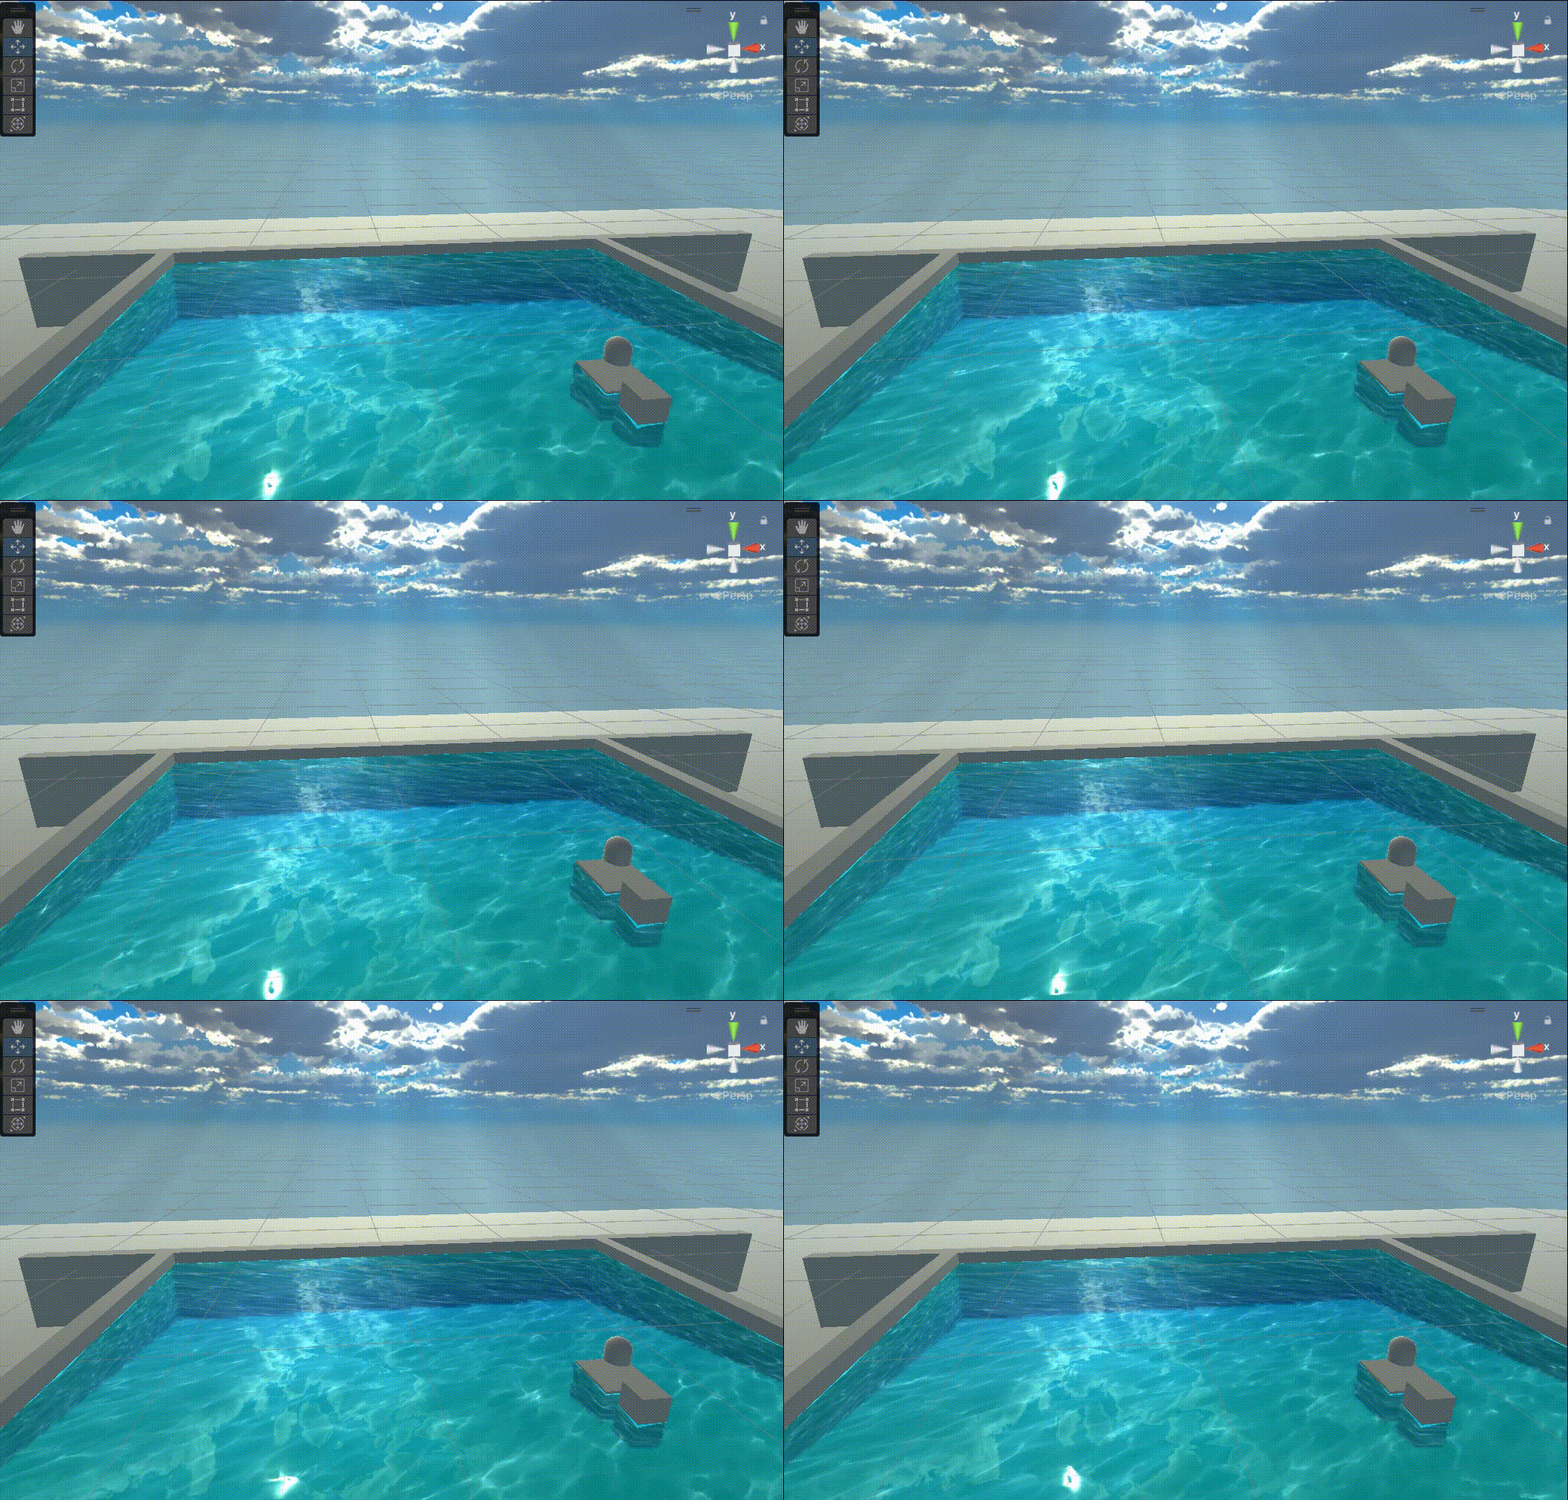
本文主要是介绍Unity中URP实现水体(水的焦散),希望对大家解决编程问题提供一定的参考价值,需要的开发者们随着小编来一起学习吧!
文章目录
- 前言
- 一、原理
- 1、 通过深度图,得到 对应像素 在 世界空间下的Z值
- 2、得到模型顶点在 观察空间 下的坐标
- 3、由以上两点得到 深度图像素 对应的 xyz 值
- 4、最后,转化到 模型本地空间下,用其对焦散纹理采样
- 二、实现
- 1、获取深度图
- 2、在顶点着色器中,转化 得到顶点在 观察空间下的坐标值
- 3、使用公式计算得到,深度图 z 对应的 xy 值
- 4、转化到模型的本地空间下
- 5、对定义和申明焦散纹理,并对其纹理采样
- 6、与之前文章的结果相加输出得出最终效果
- 三、最终代码
前言
在上篇文章中,我们实现了水面的反射。
- Unity中URP下实现水体(水面反射)
在这篇文章中,我们来实现一下水的焦散效果。
一、原理
和深度贴花使用的方法是一致的。
- Unity中URP下实现深度贴花
主要步骤:
1、 通过深度图,得到 对应像素 在 世界空间下的Z值
2、得到模型顶点在 观察空间 下的坐标
3、由以上两点得到 深度图像素 对应的 xyz 值
4、最后,转化到 模型本地空间下,用其对焦散纹理采样
二、实现
1、获取深度图
(因为要考虑之前的水下扭曲效果,需要把深度图扭曲一下)
- 获取 屏幕空间下的UV坐标
float2 screenUV = i.positionCS.xy / _ScreenParams.xy;
- 使用_Distort控制得到线性插值在 screenUV 和 normalTex之间的扭曲UV
(在之前的文章中,有完整过程)
float2 distortUV = lerp(screenUV,normalTex.xy,_Distort);
- 使用该UV采样得到,水下扭曲后的深度纹理
half4 depthDistortTex = SAMPLE_TEXTURE2D(_CameraDepthTexture,sampler_CameraDepthTexture,distortUV);
- 使深度图 转化到 观察空间下
half depthDistortScene = LinearEyeDepth(depthDistortTex.x,_ZBufferParams);
2、在顶点着色器中,转化 得到顶点在 观察空间下的坐标值
o.positionWS = TransformObjectToWorld(v.positionOS);
o.positionVS = TransformWorldToView(o.positionWS);
3、使用公式计算得到,深度图 z 对应的 xy 值
公式在贴花的那篇文章有推导
- W x = P x W z − P z W_x = \frac{P_xW_z}{-P_z} Wx=−PzPxWz
- W y = P y W z − P z W_y = \frac{P_yW_z}{-P_z} Wy=−PzPyWz
float4 depthVS = 1;
depthVS.xy = i.positionVS.xy * depthDistortScene / -i.positionVS.z;
depthVS.z = depthDistortScene;
4、转化到模型的本地空间下
float4 depthWS = mul(unity_CameraToWorld,depthVS);
float4 depthOS = mul(unity_WorldToObject,depthWS);
5、对定义和申明焦散纹理,并对其纹理采样
- 使用该本地空间坐标,计算得出两组方向不同的流动uv值
float2 uv1 = depthOS.xz * _CausticsTex_ST.xy + depthWS.y *0.1+ _Time.y * _WaterSpeed;
float2 uv2 = depthOS.xz * _CausticsTex_ST.xy + depthWS.y *0.1+ _Time.y * _WaterSpeed * float2(-1.1,1.3);
- 使用这两组 uv 分别进行 焦散纹理 的 纹理采样。
half4 causticsTex1 = SAMPLE_TEXTURE2D(_CausticsTex,sampler_CausticsTex,uv1);
half4 causticsTex2 = SAMPLE_TEXTURE2D(_CausticsTex,sampler_CausticsTex,uv2);
- 使用 min 函数制造随机混乱的效果
half4 causticsTex = min(causticsTex1,causticsTex2);

6、与之前文章的结果相加输出得出最终效果
half4 col = (foamColor + waterColor) * opaqueTex + (specular * reflection) + causticsTex;


三、最终代码
//水的深度
Shader "MyShader/URP/P4_8"
{Properties {[Header(Base)]_WaterColor1("WaterColor1",Color) = (1,1,1,1)_WaterColor2("WaterColor2",Color) = (1,1,1,1)[PowerSlider(3)]_WaterSpeed("WaterSpeed",Range(0,1)) = 0.1[Header(Foam)]_FoamTex("FoamTex",2D) = "white"{} _FoamColor("FoamColor",Color) = (1,1,1,1)_FoamRange("FoamRange",Range(0,5)) = 1_FoamNoise("FoamNoise",Range(0,3)) = 1[Header(Distort)]_NormalTex("NormalTex",2D) = "white"{}[PowerSlider(3)]_Distort("Distort",Range(0,0.3)) = 0[Header(Specular)]_SpecularColor("Specular Color",Color) = (1,1,1,1)[PowerSlider(3)]_SpecularIntensity("Specular Intensity",Range(0,1)) = 0.6_Smoothness("Smoothness",Range(0,10)) = 10[Header(Reflection)]_ReflectionTex("ReflectionTex",Cube) = "white"{}[PowerSlider(3)]_NormalIntensity("NormalIntensity",Range(0,1)) = 0.5[Header(Caustics)]_CausticsTex("CausticsTex",2D) = "white"{}}SubShader{Tags{//告诉引擎,该Shader只用于 URP 渲染管线"RenderPipeline"="UniversalPipeline"//渲染类型"RenderType"="Transparent"//渲染队列"Queue"="Transparent"}//Blend SrcAlpha OneMinusSrcAlphaZWrite OffPass{HLSLPROGRAM#pragma vertex vert#pragma fragment frag// Pragmas#pragma target 2.0// Includes#include "Packages/com.unity.render-pipelines.core/ShaderLibrary/Color.hlsl"#include "Packages/com.unity.render-pipelines.universal/ShaderLibrary/Core.hlsl"#include "Packages/com.unity.render-pipelines.universal/ShaderLibrary/Input.hlsl"#include "Packages/com.unity.render-pipelines.universal/ShaderLibrary/Lighting.hlsl"CBUFFER_START(UnityPerMaterial)half4 _WaterColor1;half4 _WaterColor2;half _WaterSpeed;half4 _FoamColor;half _FoamRange;half _FoamNoise;half4 _FoamTex_ST;half _Distort;half4 _NormalTex_ST;half4 _SpecularColor;half _SpecularIntensity;half _Smoothness;half _NormalIntensity;half4 _CausticsTex_ST;CBUFFER_ENDTEXTURE2D(_CameraDepthTexture);SAMPLER(sampler_CameraDepthTexture);TEXTURE2D(_FoamTex);SAMPLER(sampler_FoamTex);TEXTURE2D(_CameraOpaqueTexture);SAMPLER(sampler_CameraOpaqueTexture);TEXTURE2D(_NormalTex);SAMPLER(sampler_NormalTex);TEXTURECUBE(_ReflectionTex);SAMPLER(sampler_ReflectionTex);TEXTURE2D(_CausticsTex);SAMPLER(sampler_CausticsTex);//struct appdata//顶点着色器的输入struct Attributes{float3 positionOS : POSITION;float2 uv : TEXCOORD0;half3 normalOS : NORMAL;};//struct v2f//片元着色器的输入struct Varyings{float4 positionCS : SV_POSITION;float2 uv : TEXCOORD0;//foamUVfloat4 screenPos : TEXCOORD1;float3 positionVS : TEXCOORD2;float3 positionWS : TEXCOORD3;float3 normalWS : TEXCOORD4;float4 normalUV : TEXCOORD5;};//v2f vert(Attributes v)//顶点着色器Varyings vert(Attributes v){Varyings o = (Varyings)0;o.positionWS = TransformObjectToWorld(v.positionOS);o.positionVS = TransformWorldToView(o.positionWS);o.positionCS = TransformWViewToHClip(o.positionVS);o.screenPos = ComputeScreenPos(o.positionCS);//计算得到泡沫纹理采样需要的顶点世界空间下的坐标值的流动效果o.uv += o.positionWS.xz *_FoamTex_ST.xy + _Time.y * _WaterSpeed;//计算得到水下扭曲纹理的流动UVo.normalUV.xy = TRANSFORM_TEX(v.uv,_NormalTex) + _Time.y * _WaterSpeed;o.normalUV.zw = TRANSFORM_TEX(v.uv,_NormalTex) + _Time.y * _WaterSpeed * half2(-1.1,1.3);o.normalWS = TransformObjectToWorldNormal(v.normalOS);return o;}//fixed4 frag(v2f i) : SV_TARGET//片元着色器half4 frag(Varyings i) : SV_TARGET{//1、水的深度//获取屏幕空间下的 UV 坐标float2 screenUV = i.positionCS.xy / _ScreenParams.xy;half depthTex = SAMPLE_TEXTURE2D(_CameraDepthTexture,sampler_CameraDepthTexture,screenUV).x;//深度图转化到观察空间下float depthScene = LinearEyeDepth(depthTex,_ZBufferParams);//获取水面模型顶点在观察空间下的Z值(可以在顶点着色器中,对其直接进行转化得到顶点观察空间下的坐标)float4 depthWater = depthScene + i.positionVS.z;//2、水的颜色,线性插值得到水 和 接触物体的水的 颜色的过度half4 waterColor = lerp(_WaterColor1,_WaterColor2,depthWater);//3、水面泡沫//对泡沫纹理进行采样(这里使用顶点世界空间下的坐标进行纹理采样,防止水体缩放影响泡沫的平铺和重复方式)half4 foamTex = SAMPLE_TEXTURE2D(_FoamTex,sampler_FoamTex,i.uv.xy);foamTex = pow(abs(foamTex),_FoamNoise);//这里增加一个调整深度图范围的功能half4 foamRange = depthWater * _FoamRange;//使用泡沫纹理 和 泡沫范围 比较得到泡沫遮罩half4 foamMask = step(foamRange,foamTex);//给泡沫加上颜色half4 foamColor = foamMask * _FoamColor;//4、水下的扭曲half4 normalTex1 = SAMPLE_TEXTURE2D(_NormalTex,sampler_NormalTex,i.normalUV.xy);half4 normalTex2 = SAMPLE_TEXTURE2D(_NormalTex,sampler_NormalTex,i.normalUV.zw);half4 normalTex = normalTex1 * normalTex2;float2 distortUV = lerp(screenUV,normalTex.xy,_Distort);half4 depthDistortTex = SAMPLE_TEXTURE2D(_CameraDepthTexture,sampler_CameraDepthTexture,distortUV);half depthDistortScene = LinearEyeDepth(depthDistortTex.x,_ZBufferParams);half depthDistortWater = depthDistortScene + i.positionVS.z;float2 opaqueUV = distortUV;if(depthDistortWater<0) opaqueUV = screenUV;half4 opaqueTex = SAMPLE_TEXTURE2D(_CameraOpaqueTexture,sampler_CameraOpaqueTexture,opaqueUV);//5、水的高光//Specular = SpecularColor * Ks * pow(max(0,dot(N,H)), Shininess)Light light = GetMainLight();half3 L = light.direction;half3 V = normalize(_WorldSpaceCameraPos.xyz - i.positionWS.xyz);//修改法线实现,波光粼粼的效果half4 N = lerp(half4(i.normalWS,1),normalize(normalTex),_NormalIntensity);half3 H = normalize(L + V);half4 specular = _SpecularColor * _SpecularIntensity * pow(max(0,dot(N.xyz,H)),_Smoothness);//6、水的反射half3 reflectionUV = reflect(-V,N.xyz);half4 reflectionTex = SAMPLE_TEXTURECUBE(_ReflectionTex,sampler_ReflectionTex,reflectionUV);half fresnel = 1 - saturate(dot(i.normalWS,V));half4 reflection = reflectionTex * fresnel;//7、水的焦散float4 depthVS = 1;depthVS.xy = i.positionVS.xy * depthDistortScene / -i.positionVS.z;depthVS.z = depthDistortScene;float4 depthWS = mul(unity_CameraToWorld,depthVS);float4 depthOS = mul(unity_WorldToObject,depthWS);float2 uv1 = depthOS.xz * _CausticsTex_ST.xy + depthWS.y *0.1+ _Time.y * _WaterSpeed;float2 uv2 = depthOS.xz * _CausticsTex_ST.xy + depthWS.y *0.1+ _Time.y * _WaterSpeed * float2(-1.1,1.3);half4 causticsTex1 = SAMPLE_TEXTURE2D(_CausticsTex,sampler_CausticsTex,uv1);half4 causticsTex2 = SAMPLE_TEXTURE2D(_CausticsTex,sampler_CausticsTex,uv2);half4 causticsTex = min(causticsTex1,causticsTex2);half4 col = (foamColor + waterColor) * opaqueTex + (specular * reflection) + causticsTex;return col;}ENDHLSL}}FallBack "Hidden/Shader Graph/FallbackError"
}
这篇关于Unity中URP实现水体(水的焦散)的文章就介绍到这儿,希望我们推荐的文章对编程师们有所帮助!


