本文主要是介绍petalinux_zynq7 驱动DAC以及ADC模块之五:nodejs+vue3实现web网页波形显示,希望对大家解决编程问题提供一定的参考价值,需要的开发者们随着小编来一起学习吧!
前文:
petalinux_zynq7 C语言驱动DAC以及ADC模块之一:建立IP![]() https://blog.csdn.net/qq_27158179/article/details/136234296petalinux_zynq7 C语言驱动DAC以及ADC模块之二:petalinux
https://blog.csdn.net/qq_27158179/article/details/136234296petalinux_zynq7 C语言驱动DAC以及ADC模块之二:petalinux![]() https://blog.csdn.net/qq_27158179/article/details/136236138petalinux_zynq7 C语言驱动DAC以及ADC模块之三:实现C语言API并编译出库被python调用
https://blog.csdn.net/qq_27158179/article/details/136236138petalinux_zynq7 C语言驱动DAC以及ADC模块之三:实现C语言API并编译出库被python调用![]() https://blog.csdn.net/qq_27158179/article/details/136238093petalinux_zynq7 C语言驱动DAC以及ADC模块之四:python实现http_api
https://blog.csdn.net/qq_27158179/article/details/136238093petalinux_zynq7 C语言驱动DAC以及ADC模块之四:python实现http_api![]() https://blog.csdn.net/qq_27158179/article/details/136239572注意暂时mizar z7010暂时无法部署本web,提示堆栈内存不足,编译出错。但是可以在局域网内的linux或者windows机子上部署。nodejs是跨平台的。
https://blog.csdn.net/qq_27158179/article/details/136239572注意暂时mizar z7010暂时无法部署本web,提示堆栈内存不足,编译出错。但是可以在局域网内的linux或者windows机子上部署。nodejs是跨平台的。
0. 环境
- win10
- vscode
-ubuntu18
1. 搭建环境-win10
1.1 安装 node
安装 node-v20.10.0-x64.msi
安装到:
D:\Programs\nodejs\
cmd
node -v
npm -v
在node.js安装路径D:\Programs\nodejs下新建 node_cache 和 node_global 文件夹,
然后在cmd中运行
npm config set prefix "D:\Programs\nodejs\node_global"
npm config set cache “D:\Programs\nodejs\node_cache”
配置镜像加速,输入命令
npm config set registry=http://registry.npm.taobao.org
配置环境变量
在系统变量中新增
NODE_PATH D:\Programs\nodejs\node_global
在用户变量中的Path中新增
D:\Programs\nodejs\node_global
重新打开 cmd
1.2 全局安装 vue
npm install vue -g
npm install @vue/cli -g
vue -V
1.3 vue ui 创建项目
cmd
vue ui
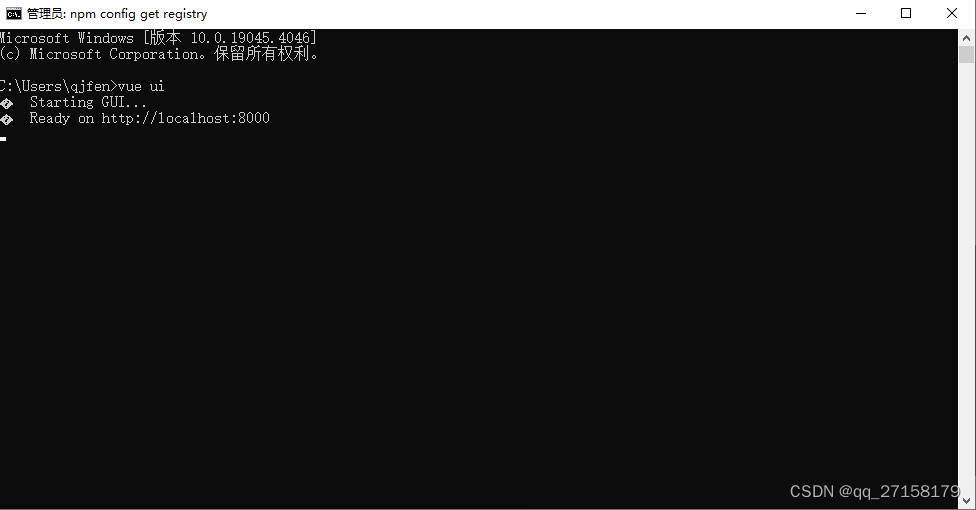
浏览器切换到:http://localhost:8000/project/select
-> Create
-> 文件夹浏览到: E:\Workspaces\web
-> + Create a new project here
-> Details.Project folder: adda_vue
-> Details.Package manager: npm
-> 取消勾选 Git repository
-> Next
-> Presets.Select a preset: Manual -> Next
-> Features.Enable features: 勾选 Babel, Router, Vuex, Linter
-> Pick a linter / formatter config: ESLint with error prevention only
-> Create project
-> Continue without saving
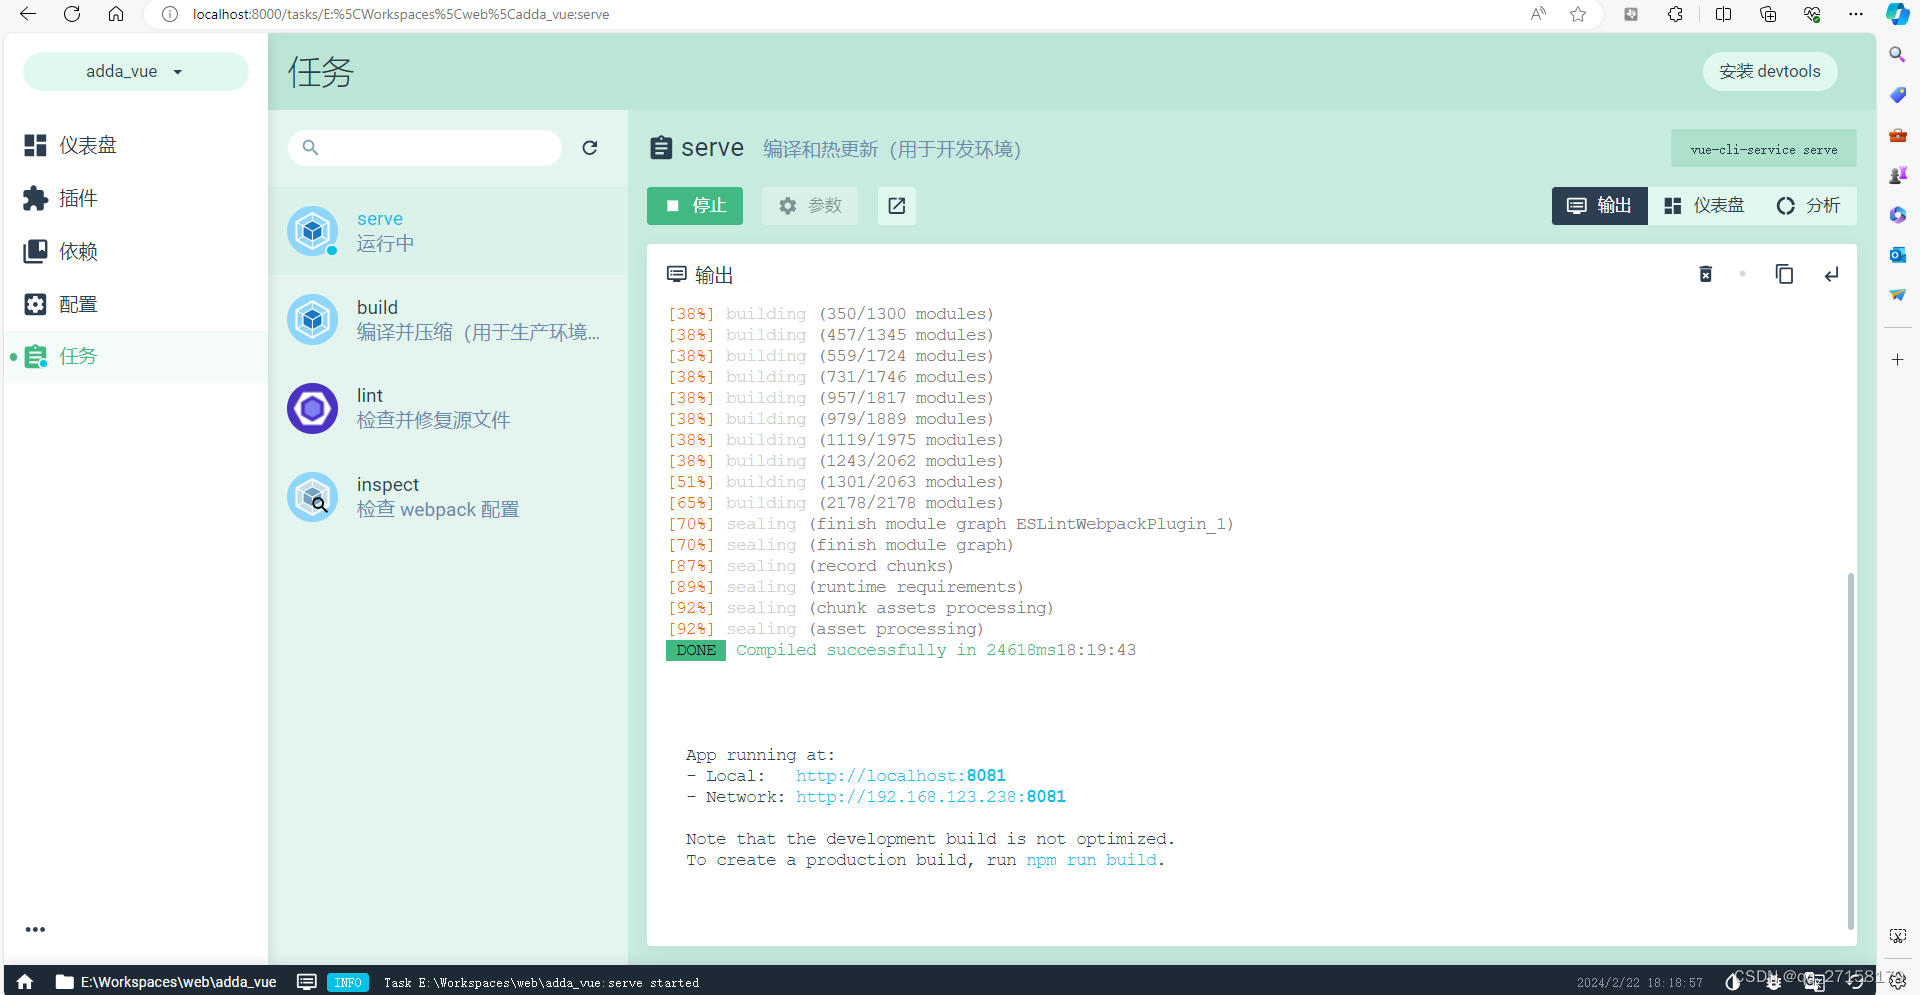
-> Project dashboard -> Tasks ->
-> build: Run task
-> serve: Run task
-> serve: Run task
-> 点击 输出
->
App running at:
- Local: http://localhost:8081/
- Network: http://192.168.123.238:8081/
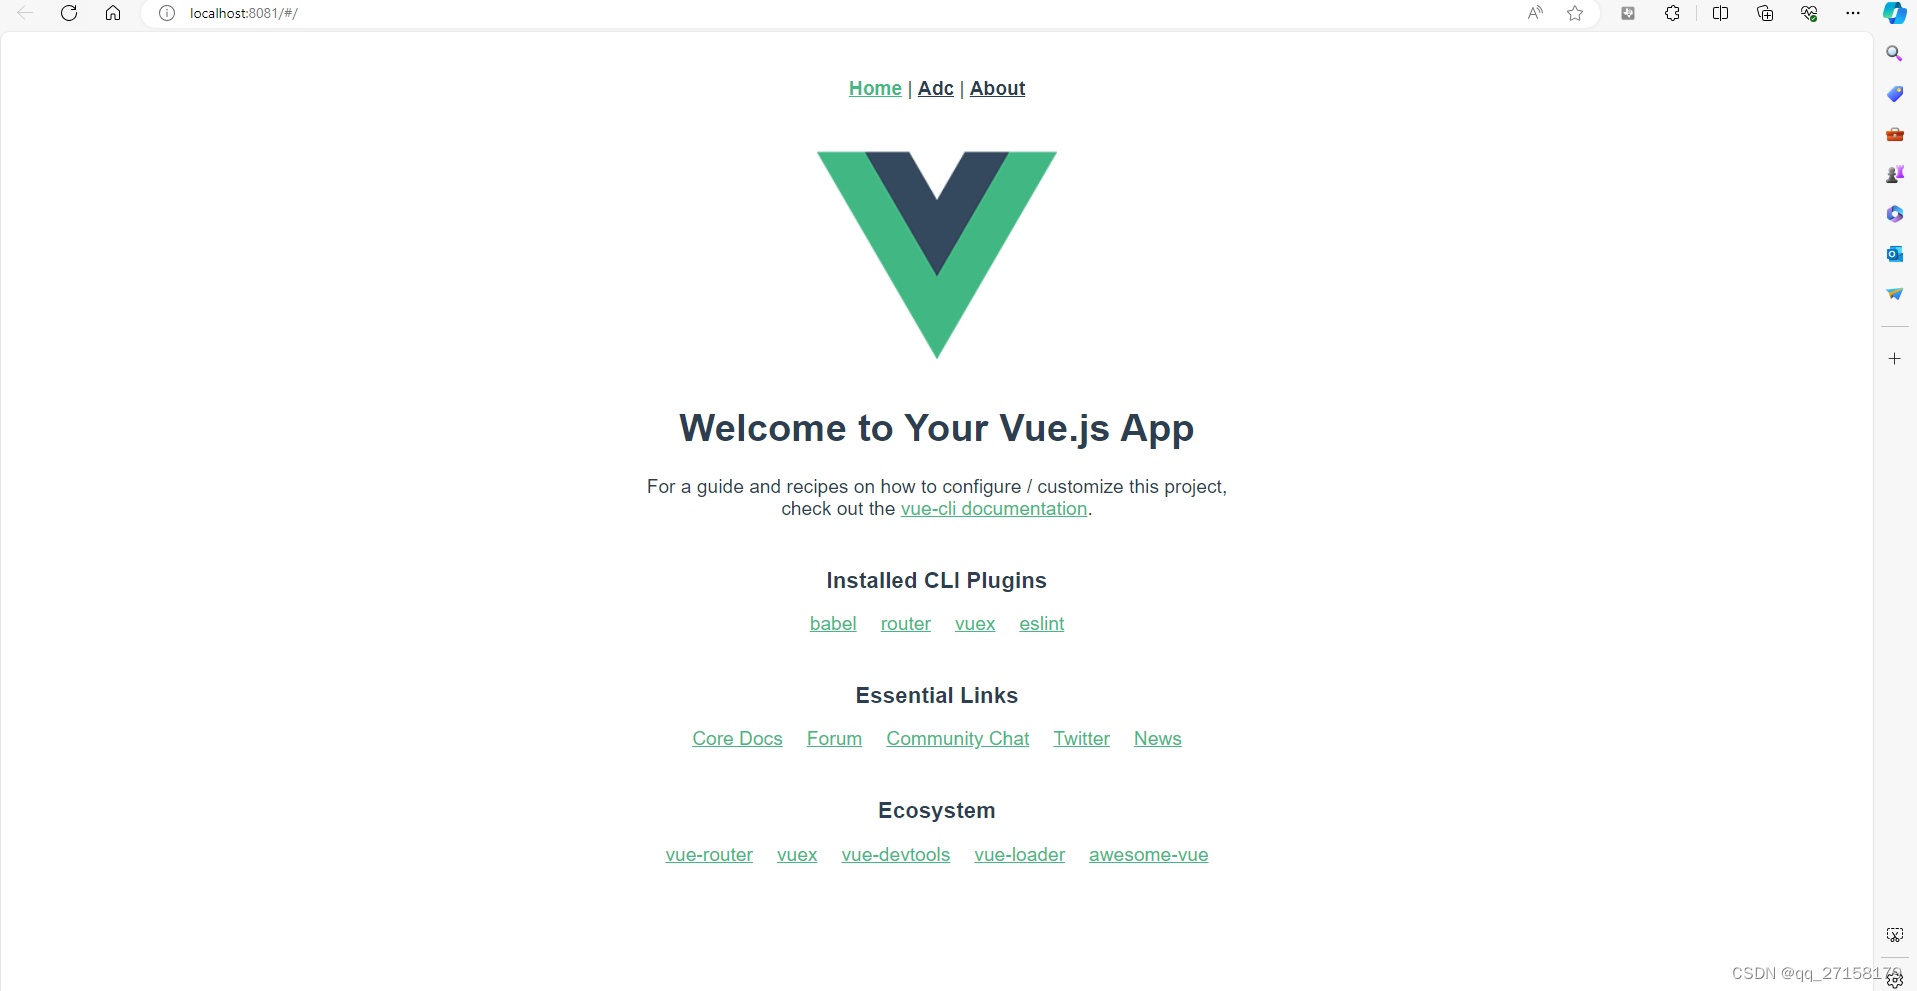
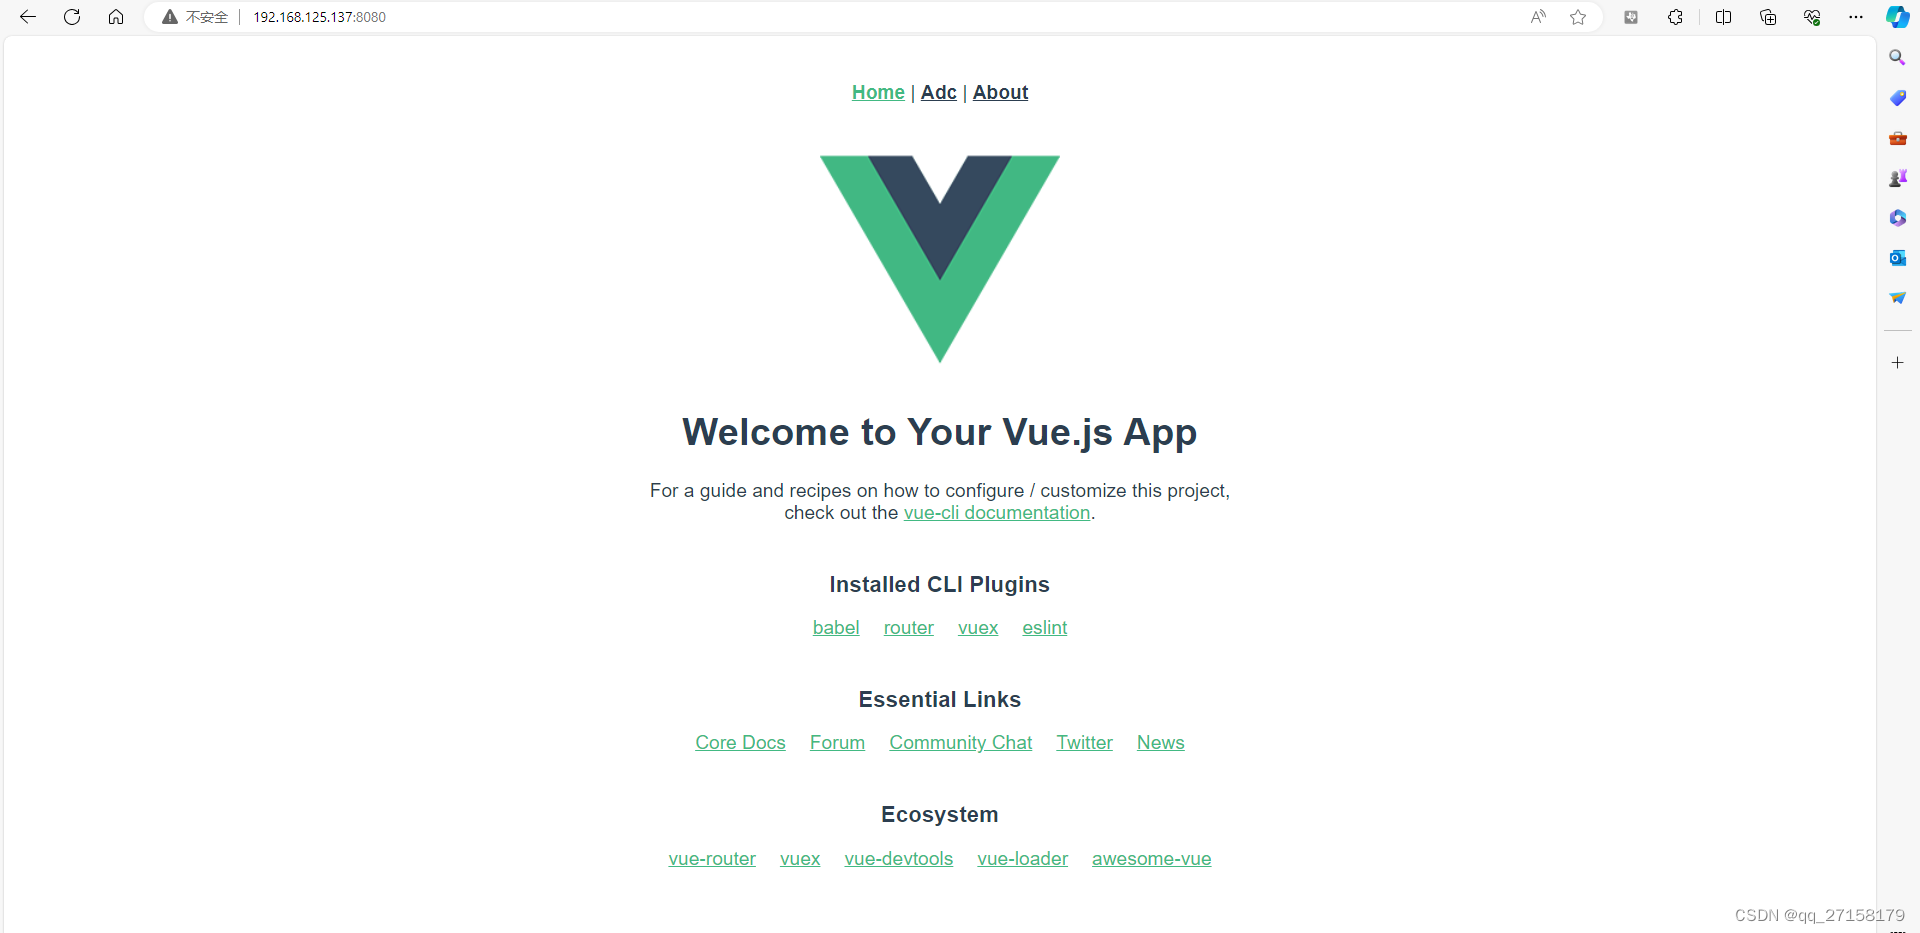
1.4 helloworld
浏览器打开 http://localhost:8081/
2. 搭建环境-ubuntu18
2.1 安装 nodejs
下载
https://nodejs.org/en/download/
得到
node-v16.20.2-linux-x64.tar.xz
解压
tar -xvf node-v16.20.2-linux-x64.tar.xz
export PATH=$PATH:/home/xxjianvm/work/node-v16.20.2-linux-x64/bin
node -v
npm -v
配置镜像加速,输入命令
npm config set registry=http://registry.npm.taobao.org2.2 全局安装 vue
npm install vue -g
npm install @vue/cli -g
npm install @vue/cli-init -g
vue -V
问题:FATAL ERROR: Reached heap limit Allocation failed - JavaScript heap out of memory
解决办法:npm install -g increase-memory-limit
在zynq上空白项目可以解决,但是后面增加了功能后仍会出现,暂未解决。
2.3 创建项目
用vue create
cd ~
mkdir work && cd work
vue create adda_vue
-> manual
-> Features.Enable features: 勾选 Babel, Router, Vuex, Linter
-> 3.x
-> ESLint with error prevention only
-> Lint on save
-> In dedicated config files
cd adda_vue
npm run serve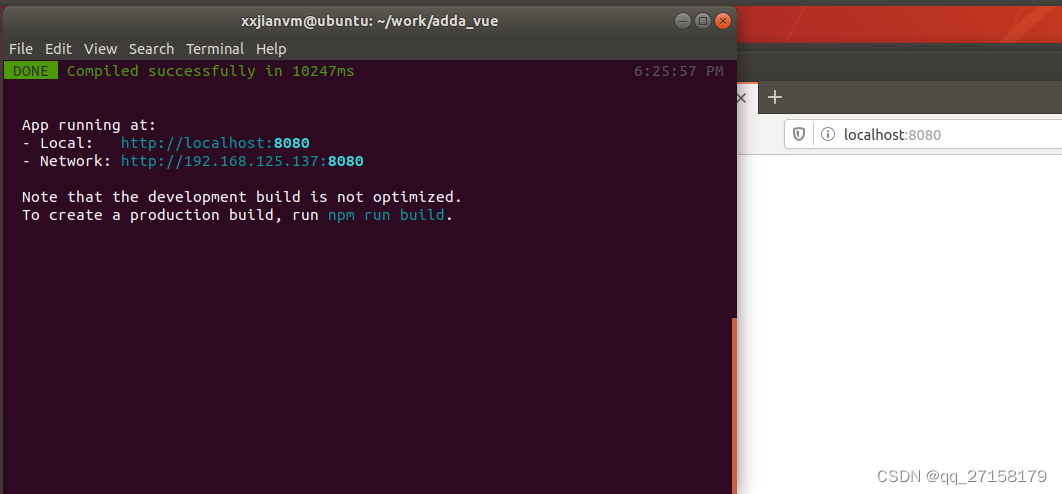
目前虚拟机内的ubuntu18自带火狐,显示白屏。和当前版本的nodejs + vue3不兼容。
浏览器打开 http://192.168.125.137:8080/
后续win10和ubuntu开发vue3的编程方法一样。
3. 新增页面Adc
切换目录
cd /home/xxjianvm/work/adda_vue/3.1 AdcWave.vue
添加文件:
gedit src/components/AdcWave.vue添加内容:
<template><div class="hello"><h1>{{ msg }}</h1><h2>Essential Links</h2><ul><li><a href="/">Home</a></li></ul></div></template><script>export default {name: 'AdcWave',props: {msg: String}}</script>3.2 index.js
修改 router/index.js
gedit src/router/index.js添加
import AdcWave from '@/components/AdcWave.vue'
const routes = [...{path: '/adc',name: 'adc',component: AdcWave},
]
3.3 App.vue
修改 App.vue
gedit src/App.vue
添加:
<router-link to="/adc">Adc</router-link> |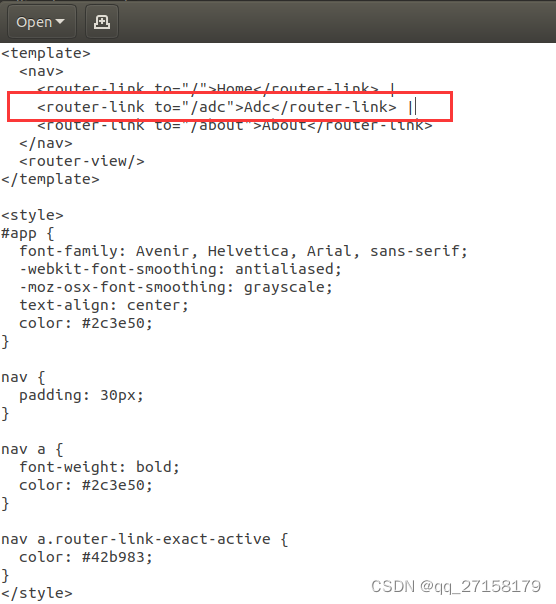
4. echarts 折线图 demo
4.1 安装依赖(vscode内的TERMINAL执行也可以)
需要进入项目目录安装
cd /home/xxjianvm/work/adda_vue
npm install vue-echarts echarts
4.2 main.js中全局注册组件
修改 main.js
gedit src/main.js添加:
import Echarts from "vue-echarts"
import * as echarts from "echarts"
把
createApp(App).use(store).use(router).mount('#app')
修改为:
const app = createApp(App)
app.component("v-chart", Echarts)
app.config.globalProperties.$echarts = echarts
app.use(store).use(router).use(Echarts).mount('#app')
4.3 修改页面
-> 修改 src/components/AdcWave.vue
gedit src/components/AdcWave.vue4.3.1 <template>添加内容:
<template>...<div class="echarts-box"><div id="myEcharts" :style="{ width: '900px', height: '300px' }"></div></div>
</template>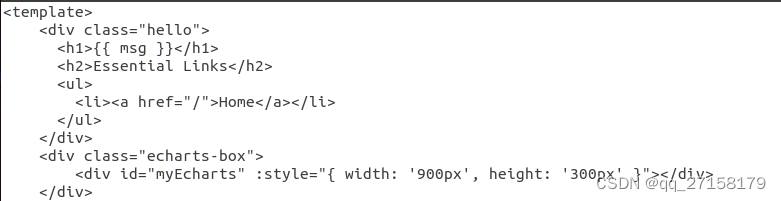
4.3.2 <script>
<script >
import * as echarts from "echarts"
import {onMounted} from "vue";export default {name: 'AdcWave',props: {msg: String},setup() {onMounted(() => { // 需要获取到element,所以是onMounted的Hooklet myChart = echarts.init(document.getElementById("myEcharts"));// 绘制图表myChart.setOption({xAxis: {type: 'category',data: ['Mon', 'Tue', 'Wed', 'Thu', 'Fri', 'Sat', 'Sun']},yAxis: {type: 'value'},series: [{data: [150, 230, 224, 218, 135, 147, 260],type: 'line'}]});window.onresize = function () { // 自适应大小myChart.resize();};});}
}
</script>
5. 输入文本配置采样频率和数据长度
5.1 安装依赖(vscode内的TERMINAL执行也可以)
需要进入项目目录安装
cd /home/xxjianvm/work/adda_vue
npm install element-plus
npm install axios
5.2 修改main.js中全局注册组件
修改 main.js
gedit src/main.js直接给出内容:
import { createApp } from 'vue'
import App from './App.vue'
import router from './router'
import store from './store'import Echarts from "vue-echarts"
import * as echarts from "echarts"import ElementPlus from "element-plus";
import "element-plus/dist/index.css";const app = createApp(App)
app.component("v-chart", Echarts)
app.config.globalProperties.$echarts = echarts
app.use(store).use(router).use(echarts).use(ElementPlus)
app.mount('#app')
5.3 vue.config.js
修改 工程根目录下的 vue.config.js
文件内容:
module.exports = {publicPath: './',transpileDependencies: true,devServer: {// 设置代理proxy: {"/api": {target: "http://192.168.123.138:5000", // 访问数据的计算机域名ws: true, // 是否启用websocketschangOrigin: true, //开启代理,pathRewrite: { // 重写代理规则,/api开头,代理到/'^/api': '/'// 例:/api/user/login代理到// http://localhost:5000/user/login},},},},
};
注意:192.168.123.138是ZYNQ的IP。
5.4 AdcWave.vue内容
编辑文件
gedit src/components/AdcWave.vue
修改内容:
给出文件内容:
<template><div class="hello"><h1>{{ msg }}</h1><h2>Essential Links</h2><ul><li><a href="/">Home</a></li></ul></div><div class="echarts-box"><div id="myEcharts" :style="{ width: '900px', height: '300px' }"></div></div><div class="home"><el-form ref="adcParamFormRef" :model="adcParamForm" class="demo-form-inline" label-width="150px"><el-form-item label="采样频率"><el-col :span="5"><el-input v-model="adcParamForm.sampleFrequency"></el-input></el-col></el-form-item><el-form-item label="采样长度"><el-col :span="5"><el-input v-model="adcParamForm.sampleLength"></el-input></el-col></el-form-item></el-form><el-button type="primary" @click.enter.prevent="toAdcStart()">开始</el-button><el-button type="primary" @click.enter.prevent="toAdcStop()">停止</el-button></div>
</template><script >
import {onMounted} from "vue";
// @ is an alias to /src
import axios from "axios";
import { ElMessage } from 'element-plus'import * as echarts from "echarts"export default {name: 'AdcWave',props: {msg: String},data () {return {// 这是登录表单的数据绑定对象adcParamForm: {sampleFrequency: '100000',sampleLength: '100'},}},setup() {onMounted(() => { // 需要获取到element,所以是onMounted的Hookvar chartDom = document.getElementById('myEcharts');var myChart = echarts.init(chartDom);var option;option = {title: {text: 'Dynamic Data & Time Axis'},tooltip: {trigger: 'axis',formatter: function (params) {params = params[0];return (String(params.value[1]));},axisPointer: {animation: false}},xAxis: {name: 'x',},yAxis: {name: 'y',},series: [{name: 'Fake Data',type: 'line',showSymbol: false,data: [],}]};function hexToArr(str) {// hex字符串长度通常都是2的倍数,但为了放止意外,判断一下长度,不是2的倍数就在最前面补0if (str.length % 2) str = "0" + strlet arr=[]for (let i = 0; i < str.length; i+=2) {let a=parseInt(str.slice(i,i+2),16)arr.push(a)}return arr}function trim(str) {var reg = /[\t\r\f\n\s]*/g;var trimStr;if (typeof str === 'string') {trimStr = str.replace(reg,'');}// console.log(trimStr)return trimStr}function generateDataFromArr(data_arr) {let data = [];for (let i = 0; i <= data_arr.length; i += 1) {data.push([i, data_arr[i]]);}return data;}setInterval(function () {var adc_enable = sessionStorage.getItem("adc_enable")if(adc_enable == undefined) return;else if(adc_enable == "false") return;else{var adc_sampleFrequency = parseInt(sessionStorage.getItem("adc_sampleFrequency"))var adc_sampleLength = parseInt(sessionStorage.getItem("adc_sampleLength"))console.log(adc_sampleFrequency)console.log(adc_sampleLength)axios.post("/api/adda/adc",{sampleFrequency: adc_sampleFrequency,adc_length: adc_sampleLength},{}).then((res) => {if (res.data.code === 0) {var adc_data_arr = hexToArr(trim(res.data.hexString))myChart.setOption({series: [{data: generateDataFromArr(adc_data_arr)}]});}});}}, 1000);option && myChart.setOption(option);});},methods: {toAdcStart(){ElMessage("开始采样");sessionStorage.setItem("adc_enable",true)sessionStorage.setItem("adc_sampleFrequency",this.adcParamForm.sampleFrequency)sessionStorage.setItem("adc_sampleLength",this.adcParamForm.sampleLength)},toAdcStop(){ElMessage("结束采样");sessionStorage.setItem("adc_enable",false);}}
}
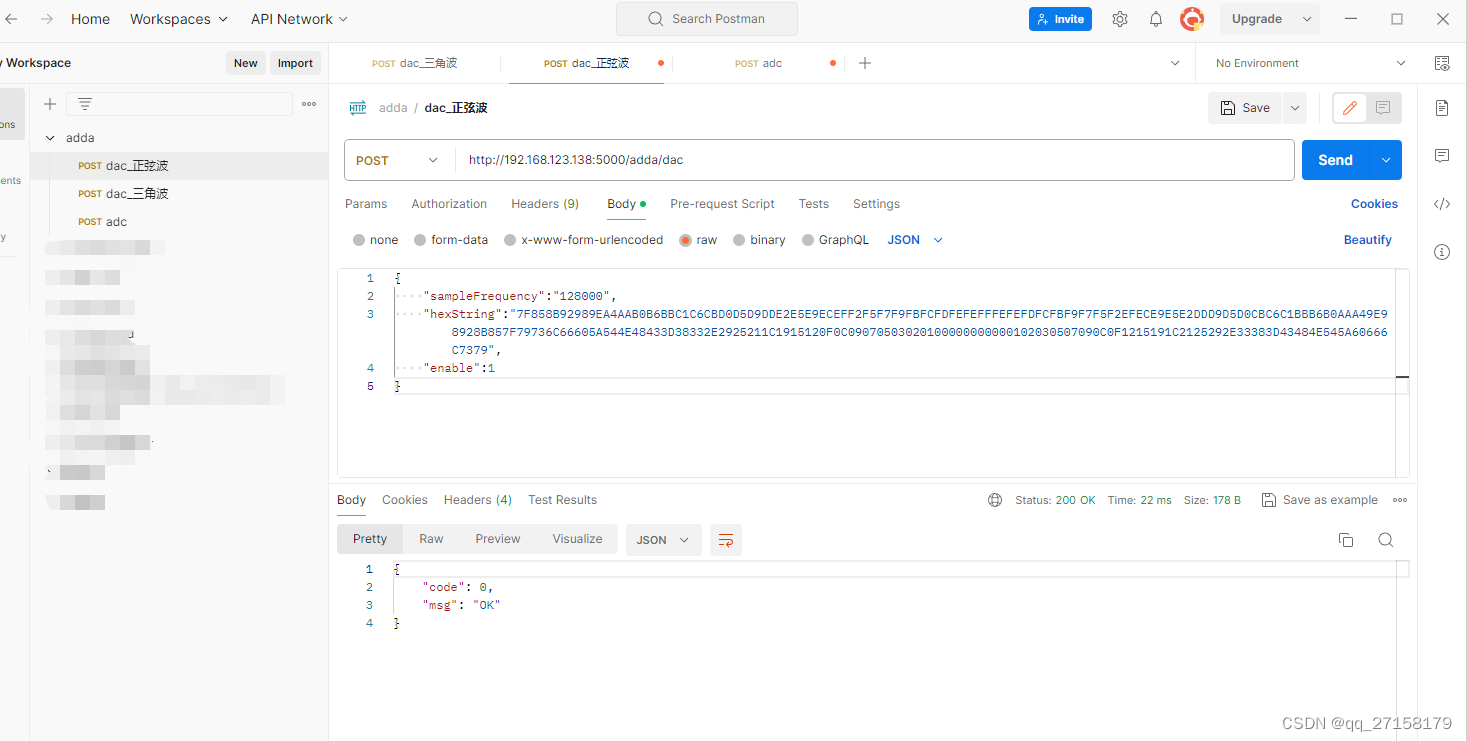
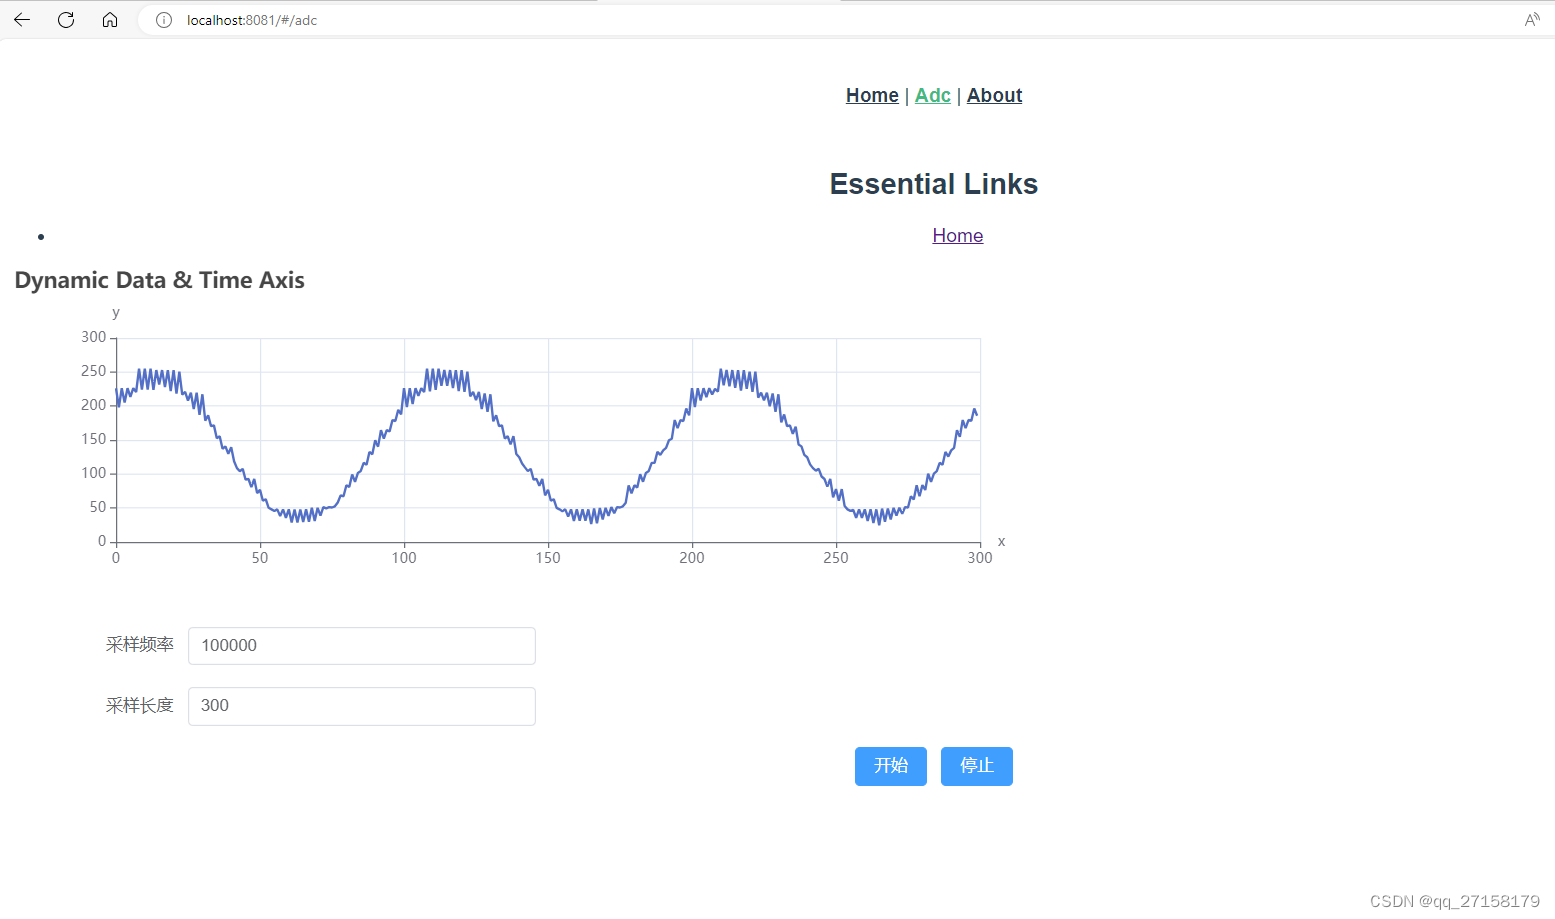
</script>6. 运行效果[PC]
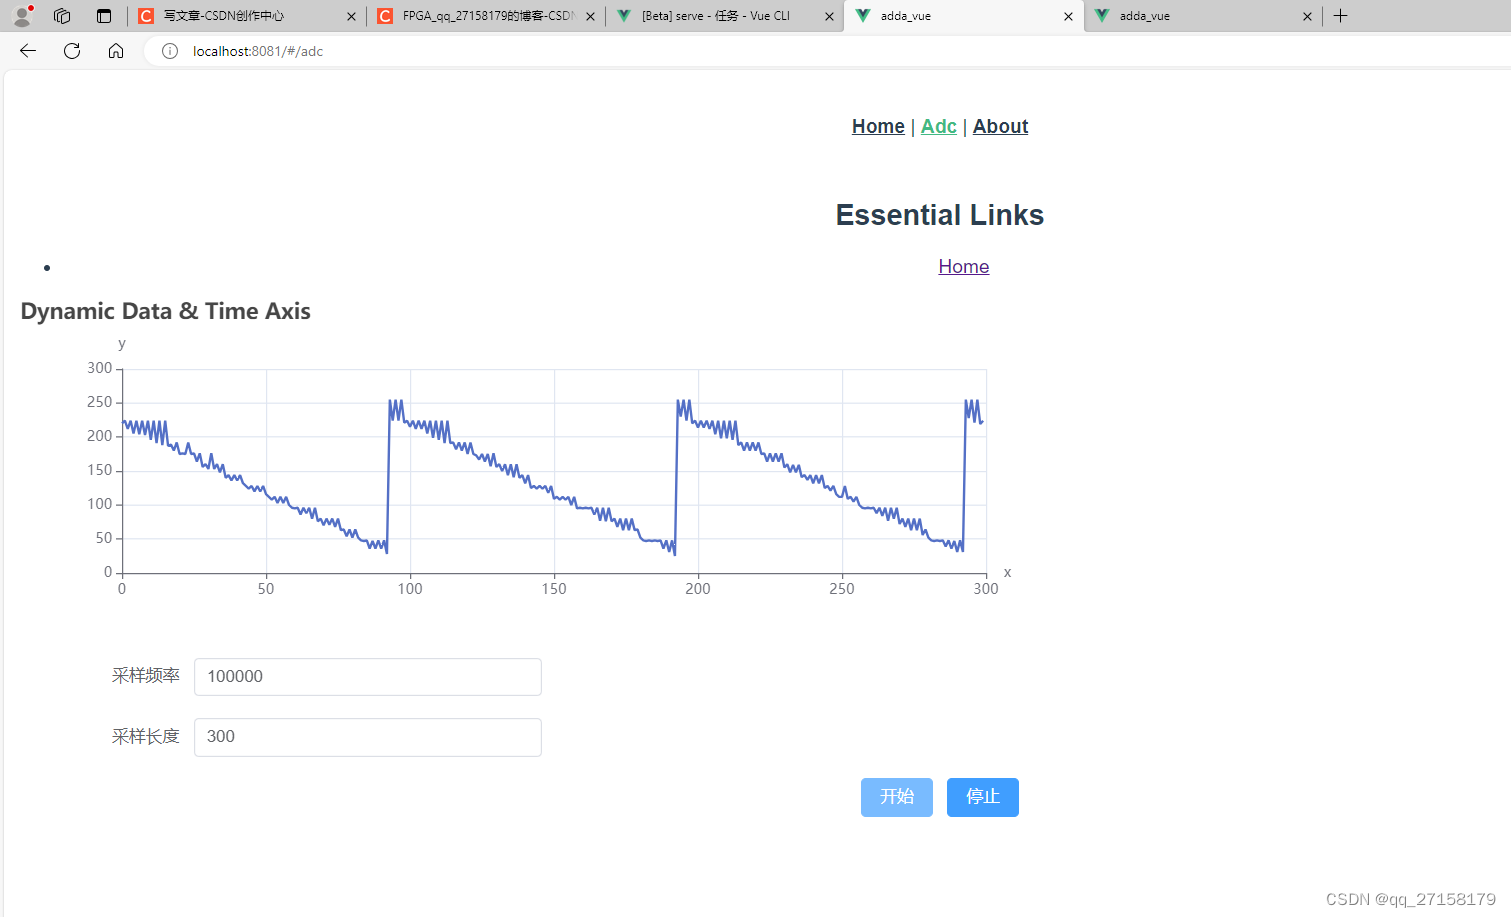
用postman修改为正弦波输出测试:
下篇:
petalinux_zynq7 C语言驱动DAC以及ADC模块之六:qt显示adc波形![]() https://blog.csdn.net/qq_27158179/article/details/136241236
https://blog.csdn.net/qq_27158179/article/details/136241236
这篇关于petalinux_zynq7 驱动DAC以及ADC模块之五:nodejs+vue3实现web网页波形显示的文章就介绍到这儿,希望我们推荐的文章对编程师们有所帮助!


