scrapy简单说明
scrapy 为一个框架 框架和第三方库的区别:库可以直接拿来就用,框架是用来运行,自动帮助开发人员做很多的事,我们只需要填写逻辑就好 命令:创建一个 项目 :cd 到需要创建工程的目录中,scrapy startproject stock_spider其中 stock_spider 为一个项目名称创建一个爬虫cd ./stock_spider/spidersscrapy genspider tonghuashun "http://basic.10jqka.com.cn/600004/company.html"其中 tonghuashun 为一个爬虫名称 "http://basic.10jqka.com.cn/600004/company.html" 为爬虫的地址
执行命令
1,创建一个工程:
cd 到需要创建工程的目录scrapy startproject my_spide 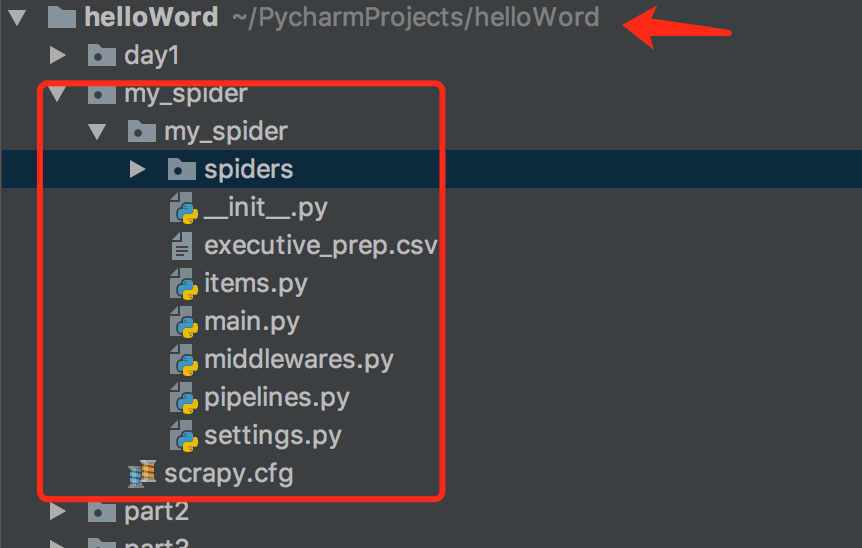
2,创建一个简单的爬虫
cd ./stock_spider/spidersscrapy genspider tonghuashun "http://basic.10jqka.com.cn/600004/company.html"其中 tonghuashun 为一个爬虫名称 "http://basic.10jqka.com.cn/600004/company.html" 为爬虫的地址
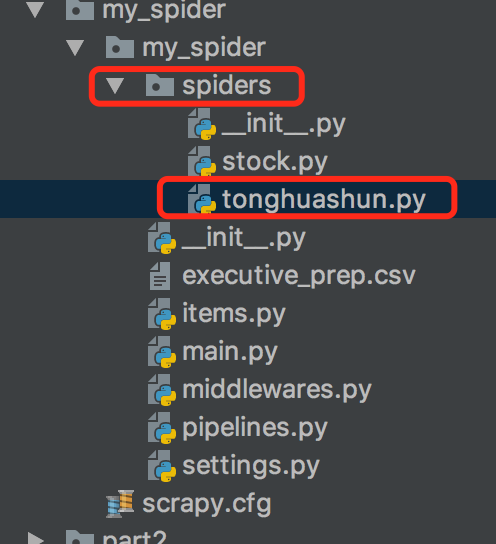
tonghuashun.py代码
import scrapyclass TonghuashunSpider(scrapy.Spider):name = 'tonghuashun'allowed_domains = ['http://basic.10jqka.com.cn/600004/company.html']start_urls = ['http://basic.10jqka.com.cn/600004/company.html']def parse(self, response):# //*[@id="maintable"]/tbody/tr[1]/td[2]/a# res_selector = response.xpath("//*[@id=\"maintable\"]/tbody/tr[1]/td[2]/a")# print(res_selector)# /Users/eddy/PycharmProjects/helloWord/stock_spider/stock_spider/spidersres_selector = response.xpath("//*[@id=\"ml_001\"]/table/tbody/tr[1]/td[1]/a/text()")name = res_selector.extract()print(name)tc_names = response.xpath("//*[@class=\"tc name\"]/a/text()").extract()for tc_name in tc_names:print(tc_name)positions = response.xpath("//*[@class=\"tl\"]/text()").extract()for position in positions:print(position)pass
xpath :
'''
xpath
/   从根节点来进行选择元素
//  从匹配选择的当前节点来对文档中的节点进行选择
.   选择当前的节点
..  选择当前节点的父节点
@   选择属性body/div    选取属于body的子元素中的所有div元素
//div       选取所有div标签的子元素,不管它们在html中的位置@lang  选取名称为lang的所有属性通配符* 匹配任意元素节点
@* 匹配任何属性节点//* 选取文档中的所有元素//title[@*]  选取所有带有属性的title元素|
在xpath中 | 是代表和的意思//body/div | //body/li  选取body元素中的所有div元素和li元素'''
scrapy shell 的使用过程:
'''
scrapy shell 的使用过程可以很直观的看到自己选择元素的打印命令:
scrapy shell http://basic.10jqka.com.cn/600004/company.html查看指定元素命令:
response.xpath("//*[@id=\"ml_001\"]/table/tbody/tr[1]/td[1]/a/text()").extract()查看 class="tc name" 的所有元素
response.xpath("//*[@class=\"tc name\"]").extract()查看 class="tc name" 的所有元素 下a标签的text
response.xpath("//*[@class=\"tc name\"]/a/text()").extract()['邱嘉臣', '刘建强', '马心航', '张克俭', '关易波', '许汉忠', '毕井双', '饶品贵', '谢泽煌', '梁慧', '袁海文', '邱嘉臣', '戚耀明', '武宇', '黄浩', '王晓勇', '于洪才', '莫名贞', '谢冰心']'''
scrapy框架在爬虫中的应用
在上个工程项目中cd 到 spidders 目录中,此处为存放爬虫类的包
栗子2:
cd  ./stock_spider/spidersscrapy genspider stock "pycs.greedyai.com"
stock.py
# -*- coding: utf-8 -*-
import scrapy
import refrom urllib import parse
from ..items import MySpiderItem2class StockSpider(scrapy.Spider):name = 'stock'allowed_domains = ['pycs.greedyai.com']start_urls = ['http://pycs.greedyai.com']def parse(self, response):hrefs = response.xpath("//a/@href").extract()for href in hrefs:yield scrapy.Request(url= parse.urljoin(response.url, href), callback=self.parse_detail, dont_filter=True)def parse_detail(self,response):stock_item = MySpiderItem2()# 董事会成员信息stock_item["names"] = self.get_tc(response)# 抓取性别信息stock_item["sexes"] = self.get_sex(response)# 抓取年龄信息stock_item["ages"] = self.get_age(response)# 股票代码stock_item["codes"] = self.get_cod(response)# 职位信息stock_item["leaders"] = self.get_leader(response,len(stock_item["names"]))yield stock_item# 处理信息def get_tc(self, response):names = response.xpath("//*[@class=\"tc name\"]/a/text()").extract()return namesdef get_sex(self, response):# //*[@id="ml_001"]/table/tbody/tr[1]/td[1]/div/table/thead/tr[2]/td[1]infos = response.xpath("//*[@class=\"intro\"]/text()").extract()sex_list = []for info in infos:try:sex = re.findall("[男|女]", info)[0]sex_list.append(sex)except(IndexError):continuereturn sex_listdef get_age(self, response):infos = response.xpath("//*[@class=\"intro\"]/text()").extract()age_list = []for info in infos:try:age = re.findall("\d+", info)[0]age_list.append(age)except(IndexError):continuereturn age_listdef get_cod(self, response):codes = response.xpath("/html/body/div[3]/div[1]/div[2]/div[1]/h1/a/@title").extract()code_list = []for info in codes:code = re.findall("\d+", info)[0]code_list.append(code)return code_listdef get_leader(self, response, length):tc_leaders = response.xpath("//*[@class=\"tl\"]/text()").extract()tc_leaders = tc_leaders[0 : length]return tc_leaders
items.py:
import scrapyclass MySpiderItem(scrapy.Item):# define the fields for your item here like:# name = scrapy.Field()passclass MySpiderItem2(scrapy.Item):names = scrapy.Field()sexes = scrapy.Field()ages = scrapy.Field()codes = scrapy.Field()leaders = scrapy.Field()
说明:
items.py中的MySpiderItem2 类中的字段用于存储在stock.py的StockSpider类中爬到的字段,交给pipelines.py中的MySpiderPipeline2处理,
需要到settings.py中设置
# -*- coding: utf-8 -*-# Scrapy settings for my_spider project
#
# For simplicity, this file contains only settings considered important or
# commonly used. You can find more settings consulting the documentation:
#
#     https://doc.scrapy.org/en/latest/topics/settings.html
#     https://doc.scrapy.org/en/latest/topics/downloader-middleware.html
#     https://doc.scrapy.org/en/latest/topics/spider-middleware.html

BOT_NAME = 'my_spider'SPIDER_MODULES = ['my_spider.spiders']
NEWSPIDER_MODULE = 'my_spider.spiders'# Crawl responsibly by identifying yourself (and your website) on the user-agent
#USER_AGENT = 'my_spider (+http://www.yourdomain.com)'# Obey robots.txt rules
ROBOTSTXT_OBEY = True# Configure maximum concurrent requests performed by Scrapy (default: 16)
#CONCURRENT_REQUESTS = 32# Configure a delay for requests for the same website (default: 0)
# See https://doc.scrapy.org/en/latest/topics/settings.html#download-delay
# See also autothrottle settings and docs
#DOWNLOAD_DELAY = 3
# The download delay setting will honor only one of:
#CONCURRENT_REQUESTS_PER_DOMAIN = 16
#CONCURRENT_REQUESTS_PER_IP = 16# Disable cookies (enabled by default)
#COOKIES_ENABLED = False# Disable Telnet Console (enabled by default)
#TELNETCONSOLE_ENABLED = False# Override the default request headers:
#DEFAULT_REQUEST_HEADERS = {
#   'Accept': 'text/html,application/xhtml+xml,application/xml;q=0.9,*/*;q=0.8',
#   'Accept-Language': 'en',
#}# Enable or disable spider middlewares
# See https://doc.scrapy.org/en/latest/topics/spider-middleware.html
#SPIDER_MIDDLEWARES = {
#    'my_spider.middlewares.MySpiderSpiderMiddleware': 543,
#}# Enable or disable downloader middlewares
# See https://doc.scrapy.org/en/latest/topics/downloader-middleware.html
#DOWNLOADER_MIDDLEWARES = {
#    'my_spider.middlewares.MySpiderDownloaderMiddleware': 543,
#}# Enable or disable extensions
# See https://doc.scrapy.org/en/latest/topics/extensions.html
#EXTENSIONS = {
#    'scrapy.extensions.telnet.TelnetConsole': None,
#}# Configure item pipelines
# See https://doc.scrapy.org/en/latest/topics/item-pipeline.html
ITEM_PIPELINES = {'my_spider.pipelines.MySpiderPipeline': 300,'my_spider.pipelines.MySpiderPipeline2': 1,
}# Enable and configure the AutoThrottle extension (disabled by default)
# See https://doc.scrapy.org/en/latest/topics/autothrottle.html
#AUTOTHROTTLE_ENABLED = True
# The initial download delay
#AUTOTHROTTLE_START_DELAY = 5
# The maximum download delay to be set in case of high latencies
#AUTOTHROTTLE_MAX_DELAY = 60
# The average number of requests Scrapy should be sending in parallel to
# each remote server
#AUTOTHROTTLE_TARGET_CONCURRENCY = 1.0
# Enable showing throttling stats for every response received:
#AUTOTHROTTLE_DEBUG = False# Enable and configure HTTP caching (disabled by default)
# See https://doc.scrapy.org/en/latest/topics/downloader-middleware.html#httpcache-middleware-settings
#HTTPCACHE_ENABLED = True
#HTTPCACHE_EXPIRATION_SECS = 0
#HTTPCACHE_DIR = 'httpcache'
#HTTPCACHE_IGNORE_HTTP_CODES = []
#HTTPCACHE_STORAGE = 'scrapy.extensions.httpcache.FilesystemCacheStorage'
pipelines.py
# -*- coding: utf-8 -*-# Define your item pipelines here
#
# Don't forget to add your pipeline to the ITEM_PIPELINES setting
# See: https://doc.scrapy.org/en/latest/topics/item-pipeline.htmlimport osclass MySpiderPipeline(object):def process_item(self, item, spider):return itemclass MySpiderPipeline2(object):'''# 类被加载时需要创建一个文件# 判断文件是否为空为空写:高管姓名,性别,年龄,股票代码,职位不为空:追加文件写数据'''def __init__(self):self.file = open("executive_prep.csv","a+")def process_item(self, item, spider):if os.path.getsize("executive_prep.csv"):# 写数据
            self.write_content(item)else:self.file.write("高管姓名,性别,年龄,股票代码,职位\n")self.file.flush()return itemdef write_content(self,item):names = item["names"]sexes = item["sexes"]ages = item["ages"]codes = item["codes"]leaders = item["leaders"]# print(names + sexes + ages + codes + leaders)
line = ""for i in range(len(names)):line = names[i] + "," + sexes[i] + "," + ages[i] + "," + codes[0] + "," + leaders[i] + "\n"self.file.write(line)
文件可以在同级目录中查看


