本文主要是介绍跟着cherno手搓游戏引擎【13】着色器(shader),希望对大家解决编程问题提供一定的参考价值,需要的开发者们随着小编来一起学习吧!
创建着色器类:
shader.h:初始化、绑定和解绑方法:
#pragma once
#include <string>
namespace YOTO {class Shader {public:Shader(const std::string& vertexSrc, const std::string& fragmentSrc);~Shader();void Bind()const;void UnBind()const;private:uint32_t m_RendererID;}
;
}
shader.cpp:主打一个粘贴代码
#include"ytpch.h"
#include "Shader.h"
#include <glad/glad.h>
#include <YOTO/Log.h>
namespace YOTO {Shader::Shader(const std::string& vertexSrc, const std::string& fragmentSrc){// 1.1.创建顶点着色器对象GLuint vertexShader = glCreateShader(GL_VERTEX_SHADER);// Send the vertex shader source code to GL// Note that std::string's .c_str is NULL character terminated.// 1.2.附加顶点着色器源码到顶点着色器对象中const GLchar* source = vertexSrc.c_str();glShaderSource(vertexShader, 1, &source, 0);// 1.3.编译顶点着色器对象glCompileShader(vertexShader);// 1.4.检查是否编译成功GLint isCompiled = 0;glGetShaderiv(vertexShader, GL_COMPILE_STATUS, &isCompiled);if (isCompiled == GL_FALSE) {// 1.4.2编译失败可以打印报错信息GLint maxLength = 0;glGetShaderiv(vertexShader, GL_INFO_LOG_LENGTH, &maxLength);// The maxLength includes the NULL characterstd::vector<GLchar> infoLog(maxLength);glGetShaderInfoLog(vertexShader, maxLength, &maxLength, &infoLog[0]);// We don't need the shader anymore.glDeleteShader(vertexShader);YT_CORE_ERROR("{0}", infoLog.data());YT_CORE_ASSERT(false, "Vertex shader compilation failure!");return;}// 片段着色器一样// 2.1.创建片段着色器对象GLuint fragmentShader = glCreateShader(GL_FRAGMENT_SHADER);// Send the fragment shader source code to GL// Note that std::string's .c_str is NULL character terminated.// 2.2.附加片段着色器源码到片段着色器对象中source = fragmentSrc.c_str();glShaderSource(fragmentShader, 1, &source, 0);// 2.3.编译片段着色器对象glCompileShader(fragmentShader);// 2.4.检查是否编译成功glGetShaderiv(fragmentShader, GL_COMPILE_STATUS, &isCompiled);if (isCompiled == GL_FALSE) {// 2.4.2编译失败可以打印报错信息GLint maxLength = 0;glGetShaderiv(fragmentShader, GL_INFO_LOG_LENGTH, &maxLength);// The maxLength includes the NULL characterstd::vector<GLchar> infoLog(maxLength);glGetShaderInfoLog(fragmentShader, maxLength, &maxLength, &infoLog[0]);// We don't need the shader anymore.glDeleteShader(fragmentShader);// Either of them. Don't leak shaders.glDeleteShader(vertexShader);YT_CORE_ERROR("{0}", infoLog.data());YT_CORE_ASSERT(false, "Fragment shader compilation failure!");return;}// Vertex and fragment shaders are successfully compiled.// Now time to link them together into a program.// Get a program object.// 3.1创建着色器程序对象m_RendererID = glCreateProgram();GLuint program = m_RendererID;// 3.2附加着色器对象给着色器程序对象glAttachShader(program, vertexShader);glAttachShader(program, fragmentShader);// 3.3链接着色器程序对象glLinkProgram(program);// 3.4可以检查链接是否成功// Note the different functions here: glGetProgram* instead of glGetShader*.GLint isLinked = 0;glGetProgramiv(program, GL_LINK_STATUS, (int*)&isLinked);if (isLinked == GL_FALSE) {GLint maxLength = 0;glGetProgramiv(program, GL_INFO_LOG_LENGTH, &maxLength);// The maxLength includes the NULL characterstd::vector<GLchar> infoLog(maxLength);glGetProgramInfoLog(program, maxLength, &maxLength, &infoLog[0]);// We don't need the program anymore.glDeleteProgram(program);// Don't leak shaders either.glDeleteShader(vertexShader);glDeleteShader(fragmentShader);YT_CORE_ERROR("{0}", infoLog.data());YT_CORE_ASSERT(false, "Shader link failure!");return;}// 4.删除着色器对象// Always detach shaders after a successful link.glDetachShader(program, vertexShader);glDetachShader(program, fragmentShader);}Shader::~Shader(){glDeleteProgram(m_RendererID);}void Shader::Bind() const{glUseProgram(m_RendererID);}void Shader::UnBind() const{glUseProgram(0);}
}
Shader和着色器类的使用:
Application.h:添加Shader类的指针
#pragma once
#include"Core.h"
#include"Event/Event.h"
#include"Event/ApplicationEvent.h"
#include "YOTO/Window.h"
#include"YOTO/LayerStack.h"
#include"YOTO/ImGui/ImGuiLayer.h"
#include <YOTO/Renderer/Shader.h>
namespace YOTO {class YOTO_API Application{public:Application();virtual ~Application();void Run();void OnEvent(Event &e);void PushLayer(Layer* layer);void PushOverlay(Layer* layer);inline static Application& Get() {return * s_Instance;}inline Window& GetWindow() { return *m_Window; }private:bool  OnWindowClosed(WindowCloseEvent& e);std::unique_ptr<Window>  m_Window;ImGuiLayer *  m_ImGuiLayer;bool m_Running = true;LayerStack m_LayerStack;unsigned int m_VertexArray, m_VertexBuffer, m_IndexBuffer;std::unique_ptr<Shader> m_Shader;static Application* s_Instance;};//在客户端定义Application* CreateApplication();
}
Application.cpp:实例化着色器并在Run的循环中绑定
#include"ytpch.h"
#include "Application.h"#include"Log.h"
#include<glad/glad.h>
#include"Input.h"namespace YOTO {
#define BIND_EVENT_FN(x) std::bind(&x, this, std::placeholders::_1)Application* Application::s_Instance = nullptr;Application::Application() {YT_CORE_ASSERT(!s_Instance, "Application需要为空!")s_Instance = this;//智能指针m_Window = std::unique_ptr<Window>(Window::Creat());//设置回调函数m_Window->SetEventCallback(BIND_EVENT_FN(Application::OnEvent));//new一个Layer,放在最后层进行渲染m_ImGuiLayer = new ImGuiLayer();PushOverlay(m_ImGuiLayer);  //unsigned int id;//glGenBuffers(1, &id);//顶点数组:glGenVertexArrays(1, &m_VertexArray);glBindVertexArray(m_VertexArray);//顶点缓冲区glGenBuffers(1, &m_VertexBuffer);glBindBuffer(GL_ARRAY_BUFFER,m_VertexBuffer);float vertices[3 * 3] = {-0.5f,-0.5f,0.0f,0.5f,-0.5f,0.0f,0.0f,0.5f,0.0f,};//把数据传送给gpu,GL_STATIC_DRAW不断的用新数据刷新数组。告诉opengl这个缓冲区的数据布局glBufferData(GL_ARRAY_BUFFER, sizeof(vertices), vertices, GL_STATIC_DRAW);//启用数据的索引0glEnableVertexAttribArray(0);//设置缓冲区数据格式:缓冲区序号、顶点属性的大小、什么数据类型、会不会被归一化、glVertexAttribPointer(0, 3, GL_FLOAT, GL_FALSE, 3 * sizeof(float),nullptr);//创建索引缓冲区glGenBuffers(1, &m_IndexBuffer);glBindBuffer(GL_ELEMENT_ARRAY_BUFFER, m_IndexBuffer);unsigned int indices[3] = { 0,1,2 };//设置缓冲区格式glBufferData(GL_ELEMENT_ARRAY_BUFFER, sizeof(indices), indices, GL_STATIC_DRAW);//着色器//顶点布局std::string vertexSource = R"(#version 330 corelayout(location = 0) in vec3 a_Position;out vec3 v_Position;void main(){v_Position=a_Position;gl_Position =vec4( a_Position+0.5,1.0);})";//绘制颜色std::string fragmentSource = R"(#version 330 corelayout(location = 0) out vec4 color;in vec3 v_Position;void main(){color=vec4(v_Position*0.5+0.5,1.0);})";m_Shader.reset(new Shader(vertexSource, fragmentSource));//shader}Application::~Application() {}/// <summary>/// 所有的Window事件都会在这触发,作为参数e/// </summary>/// <param name="e"></param>void Application::OnEvent(Event& e) {//根据事件类型绑定对应事件EventDispatcher dispatcher(e);dispatcher.Dispatch<WindowCloseEvent>(BIND_EVENT_FN(Application::OnWindowClosed));//输出事件信息YT_CORE_INFO("Application:{0}",e);for (auto it = m_LayerStack.end(); it != m_LayerStack.begin();) {(*--it)->OnEvent(e);if (e.m_Handled)break;}}bool Application::OnWindowClosed(WindowCloseEvent& e) {m_Running = false;return true;}void Application::Run() {WindowResizeEvent e(1280, 720);if (e.IsInCategory(EventCategoryApplication)) {YT_CORE_TRACE(e);}if (e.IsInCategory(EventCategoryInput)) {YT_CORE_ERROR(e);}while (m_Running){glClearColor(0.2f, 0.2f, 0.2f,1);glClear(GL_COLOR_BUFFER_BIT);glBindVertexArray(m_VertexArray);m_Shader->Bind();glDrawElements(GL_TRIANGLES,3,GL_UNSIGNED_INT,nullptr); for (Layer* layer : m_LayerStack) {layer->OnUpdate();}//将ImGui的刷新放到APP中,与Update分开m_ImGuiLayer->Begin();for (Layer* layer : m_LayerStack) {layer->OnImGuiRender();}m_ImGuiLayer->End();m_Window->OnUpdate();}}void Application::PushLayer(Layer* layer) {m_LayerStack.PushLayer(layer);layer->OnAttach();}void Application::PushOverlay(Layer* layer) {m_LayerStack.PushOverlay(layer);layer->OnAttach();}
}
测试:
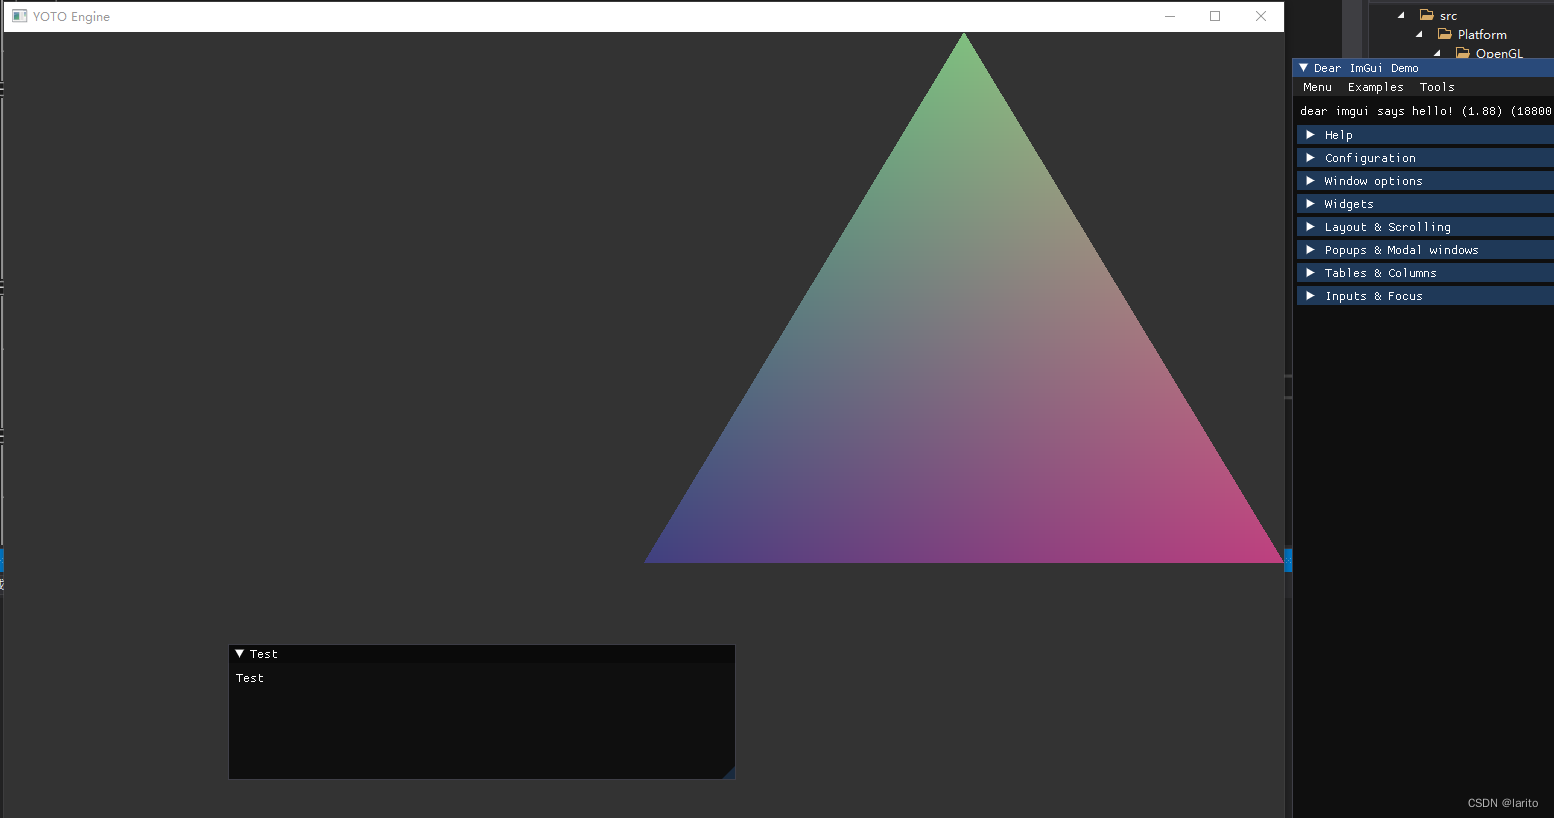
cool!(水一期)
这篇关于跟着cherno手搓游戏引擎【13】着色器(shader)的文章就介绍到这儿,希望我们推荐的文章对编程师们有所帮助!


