本文主要是介绍自定义Drawable实现点击水波纹涟漪效果,希望对大家解决编程问题提供一定的参考价值,需要的开发者们随着小编来一起学习吧!
自定义Drawable实现点击水波纹涟漪效果
- 系统水波纹
- 问题思考
- 开始写代码
- 初始化工作
- 侦测点击事件
- 捕获按下时手指的坐标
- 执行动画并绘制
- 退出的动画
- 总结
Google 在Android 5.0时代推出了Material Design设计风格, 其中包含水波纹涟漪效果, 虽然已经过去号几年了, 但我觉得还是有必要聊聊这个, 本文偏向于无界水波纹的实现, 主要起到抛砖引玉的作用, 不会写得太复杂
系统水波纹

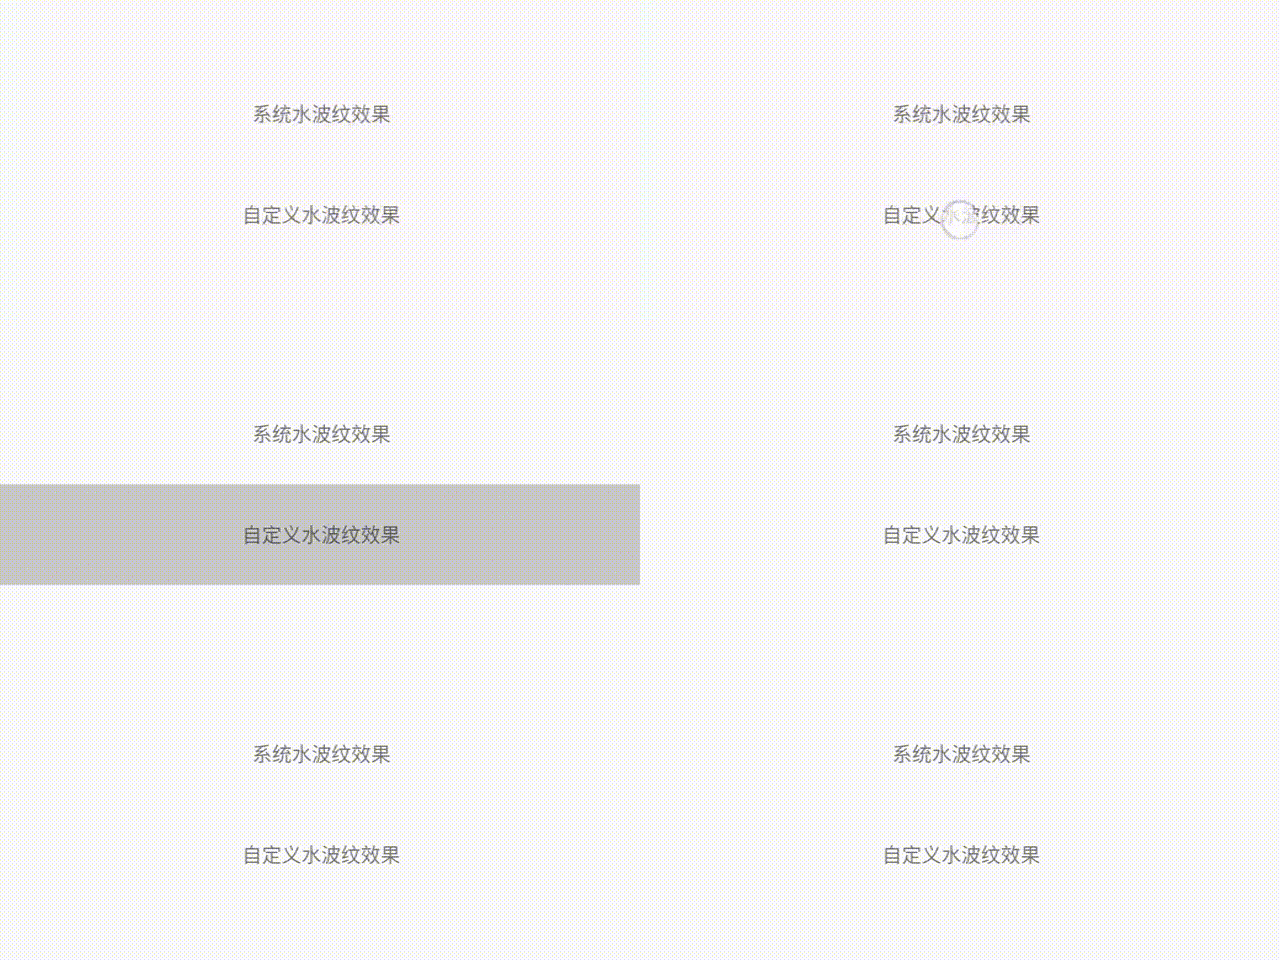
咱们先来看一个演示,如上图, 是系统的水波纹点击效果,通过以下代码为TextView添加的点击效果:
<TextViewandroid:id="@+id/tv_system"android:background="?android:attr/selectableItemBackground"android:layout_width="match_parent"android:layout_height="60dp"android:gravity="center"android:text="系统水波纹效果" />
代码很简单,就是给TextView加了一个背景,而这个背景其实就是一个 ripple 标签的Drawable, 如下代码也能创建一个系统的水波纹效果,ripple标签对应RippleDrawable,系统的水波纹都是在这个类里实现的。
<?xml version="1.0" encoding="utf-8"?>
<ripple xmlns:android="http://schemas.android.com/apk/res/android"android:color="@color/item_hover"><itemandroid:id="@android:id/mask"android:drawable="@android:color/white"/><item><shape android:shape="rectangle"><solid android:color="@color/transparent"/></shape></item>
</ripple>
问题思考
既然是自定义 Drawable 实现,那么有如下问题需要解答:
- 在
Drawable里怎么监听用户点击事件? 难道要外部调用吗? 系统可没有这么干 - 怎么监听点击的位置? (明显系统的效果是从点击位置开始扩散的)
- 水波纹效果分析, 包含哪些动画?
通过阅读系统的 RippleDrawable 源码,我获得了以上问题的答案,大家请不要急,一步一步的来。
开始写代码
既然要自定义 Drawable 实现, 我创建了类 CustomRippleDrawable ,继承 Drawable, 重写4个必须重写的方法,再MainActivity中添加一个TextView, 设置点击事件和背景:CustomRippleDrawable, 准备工作就完成了。
<TextViewandroid:id="@+id/tv_custom"android:layout_width="match_parent"android:layout_height="60dp"android:gravity="center"android:text="自定义水波纹效果" />
mTvCustom.setOnClickListener(v -> {/**/});
mTvCustom.setBackground(new CustomRippleDrawable());······N行代码public class CustomRippleDrawable extends Drawable {@Overridepublic void draw(@NonNull Canvas canvas) {}@Overridepublic void setAlpha(int alpha) {}@Overridepublic void setColorFilter(@Nullable ColorFilter colorFilter) {}@Overridepublic int getOpacity() {return 0;}
}
初始化工作
首先我们需要创建画笔,设置颜色,抗锯齿等
mPaint = new Paint();
mPaint.setAntiAlias(true);
mPaint.setStyle(Paint.Style.FILL);
mPaint.setColor(Color.parseColor("#33000000"));
mRealAlpha = mPaint.getAlpha();
侦测点击事件
当用户点击按钮时需要出发波纹动画,所以我们需要侦测点击事件,用于出发动画效果。
查看系统RippleDrawable源码后, 发现可以重写onStateChange方法:
/*** Override this in your subclass to change appearance if you recognize the* specified state.** @return Returns true if the state change has caused the appearance of* the Drawable to change (that is, it needs to be drawn), else false* if it looks the same and there is no need to redraw it since its* last state.*/
protected boolean onStateChange(int[] state) {return false;
}
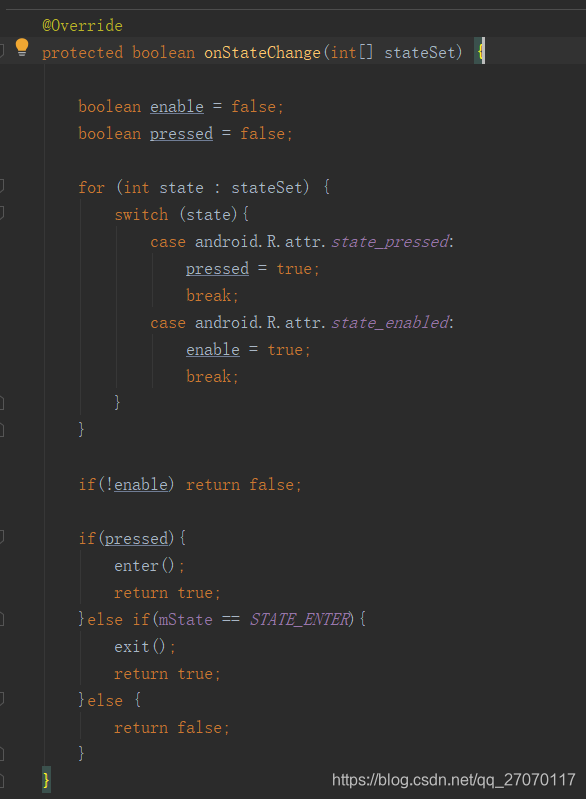
参数 int[] state 中是当前控件的所有状态, 当state包含 android.R.attr.state_pressed 时,代表用户按下了按钮,当不包含android.R.attr.state_pressed并且上个状态是按下状态时,即用户松开了按钮;返回值为true系统会认为Drawable需要重新绘制,才会走onDraw方法。
注意: 必须重写isStateful()方法并返回true,不然即使用户触发点击事件也不会走onStateChange方法。
/*** Indicates whether this drawable will change its appearance based on* state. Clients can use this to determine whether it is necessary to* calculate their state and call setState.** @return True if this drawable changes its appearance based on state,*         false otherwise.* @see #setState(int[])*/
public boolean isStateful() {return true;
}
如下图所示代码,我通过onStateChange侦测到了按下和抬起的事件。

捕获按下时手指的坐标
我们需要得到按下的坐标,以此为中心点,绘制一个逐渐扩散的圆。
获取手指坐标可以重写方法setHotspot(),此方法反馈了手指实时移动的轨迹,我们需要记录下最新的位置:
private PointF mCurrentPointF = new PointF();/*** Specifies the hotspot's location within the drawable.** @param x The X coordinate of the center of the hotspot* @param y The Y coordinate of the center of the hotspot*/
public void setHotspot(float x, float y) {	mCurrentPointF.set(x, y);
}
当按下时保存该位置,计算半径,开启扩散动画:
private void enter() {mState = STATE_ENTER;progress = 0;mPressedPointF.set(mCurrentPointF);Rect bounds = getBounds();mMaxRadius = Math.max(bounds.width(), bounds.height());startEnterAnimation();
}
执行动画并绘制
动画的执行我使用了ValueAnimator, 动画控制进度,draw方法根据进度绘制动画
private void startEnterAnimation() {mRunningAnimator = ValueAnimator.ofInt(progress, maxProgress);mRunningAnimator.setInterpolator(new LinearInterpolator());mRunningAnimator.setDuration(animationTime);//300msmRunningAnimator.addUpdateListener(animation -> {progress = (int) animation.getAnimatedValue();invalidateSelf();});mRunningAnimator.addListener(new AnimatorListenerAdapter() {@Overridepublic void onAnimationEnd(Animator animation) {if(pendingExit){pendingExit = false;mState = STATE_EXIT;startExitAnimation();}}});mRunningAnimator.start();
}@Override
public void draw(@NonNull Canvas canvas) {if(mState == STATE_ENTER){canvas.drawCircle(mPressedPointF.x, mPressedPointF.y, mMaxRadius * progress / maxProgress, mPaint);}
}
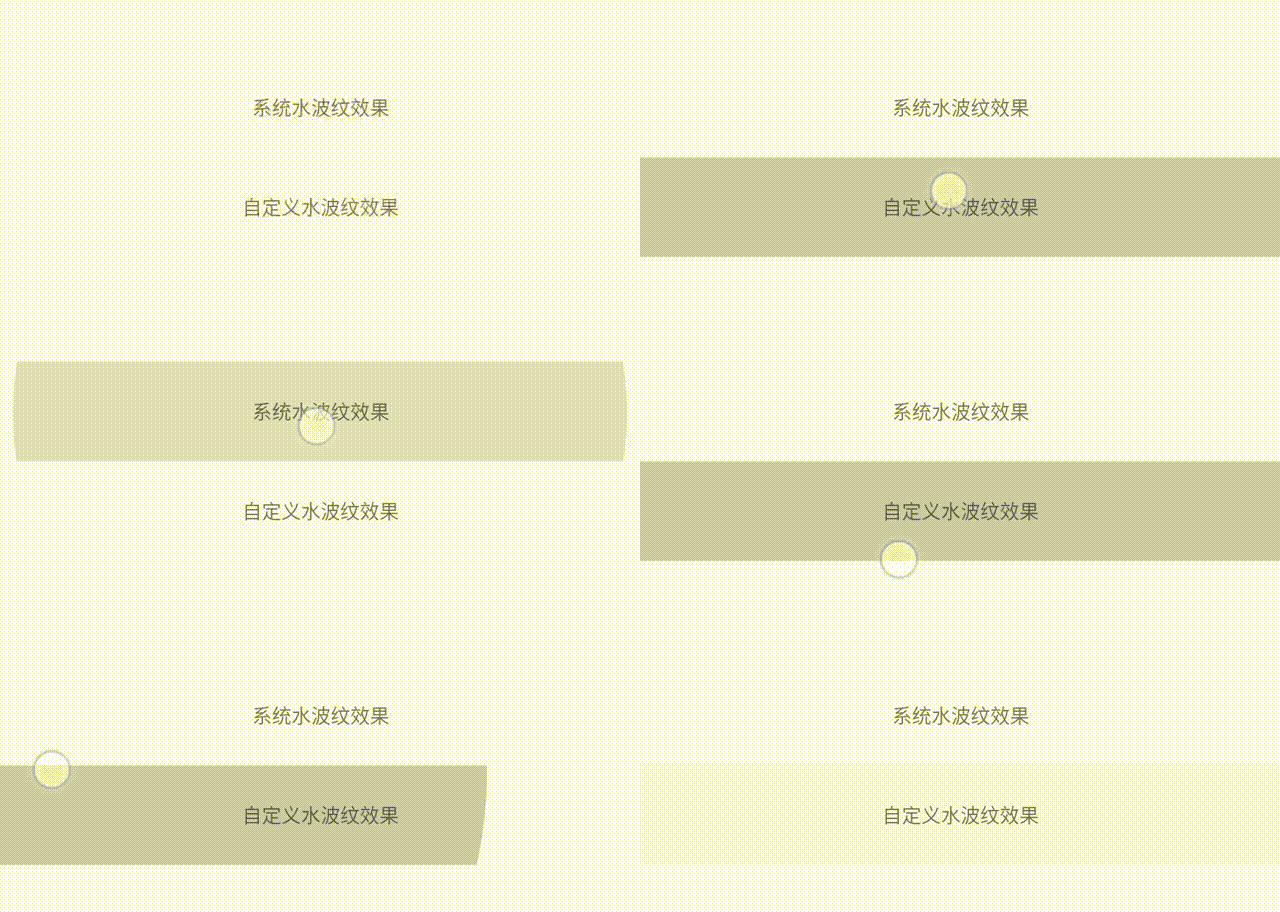
运行后效果如下:

退出的动画
细心的同学可能发现了,咱们自定义的明显比系统的生硬,仔细观察系统波纹效果,其实抬起的时候是有一个渐变的动画的,接下来就来实现这个渐变动画。
private void exit() {//如果正在执行扩散动画, 需要等待动画执行完毕再执行退出动画if(progress != maxProgress && mState == STATE_ENTER){pendingExit = true;}else {mState = STATE_EXIT;startExitAnimation();}
}private void startExitAnimation() {if(mRunningAnimator != null && mRunningAnimator.isRunning()){mRunningAnimator.cancel();}mRunningAnimator = ValueAnimator.ofInt(maxProgress, 0);mRunningAnimator.setInterpolator(new LinearInterpolator());mRunningAnimator.setDuration(animationTime);//300msmRunningAnimator.addUpdateListener(animation -> {progress = (int) animation.getAnimatedValue();invalidateSelf();});mRunningAnimator.start();
}@Override
public void draw(@NonNull Canvas canvas) {if(mState == STATE_ENTER){if(mPaint.getAlpha() != mRealAlpha){mPaint.setAlpha(mRealAlpha);}canvas.drawCircle(mPressedPointF.x, mPressedPointF.y, mMaxRadius * progress / maxProgress, mPaint);}else if(mState == STATE_EXIT){mPaint.setAlpha(mRealAlpha * progress / maxProgress);canvas.drawRect(getBounds(), mPaint);}
}
最终实现的效果如下:

总结
其实动画不难实现,关键点在于执行动画的时机,以及捕获手指位置的API需要阅读源码才能了解到,将这些结合起来其实基本效果很容易实现。当然自己定义的没有系统的灵活、全面,本文主要起到一个抛砖引玉的作用,掌握了基本原理之后大家都可以对动画效果深入定制。
另外,如果有人兴趣可以前往github下载 demo 源码:
https://github.com/EshelGuo/RippleDrawableDemo
这篇关于自定义Drawable实现点击水波纹涟漪效果的文章就介绍到这儿,希望我们推荐的文章对编程师们有所帮助!


