本文主要是介绍持续集成交付CICD:Jenkins使用基于SaltStack的CD流水线部署前后端应用,希望对大家解决编程问题提供一定的参考价值,需要的开发者们随着小编来一起学习吧!
目录
一、实验
1.Jenkins使用基于SaltStack的CD流水线部署后端应用
2.Jenkins使用基于SaltStack的CD流水线部署前端应用
一、实验
1.Jenkins使用基于SaltStack的CD流水线部署后端应用
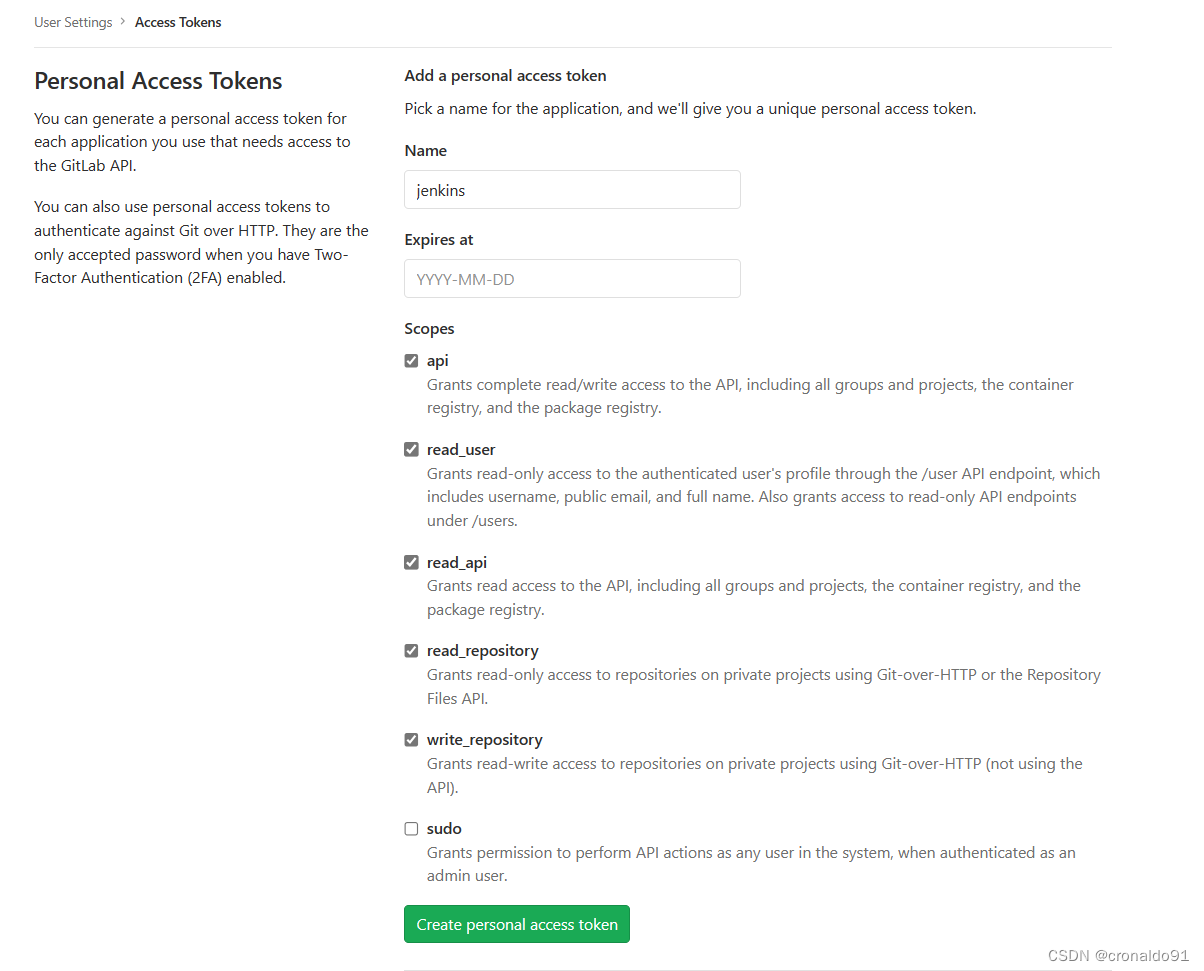
(1)GitLab添加Token


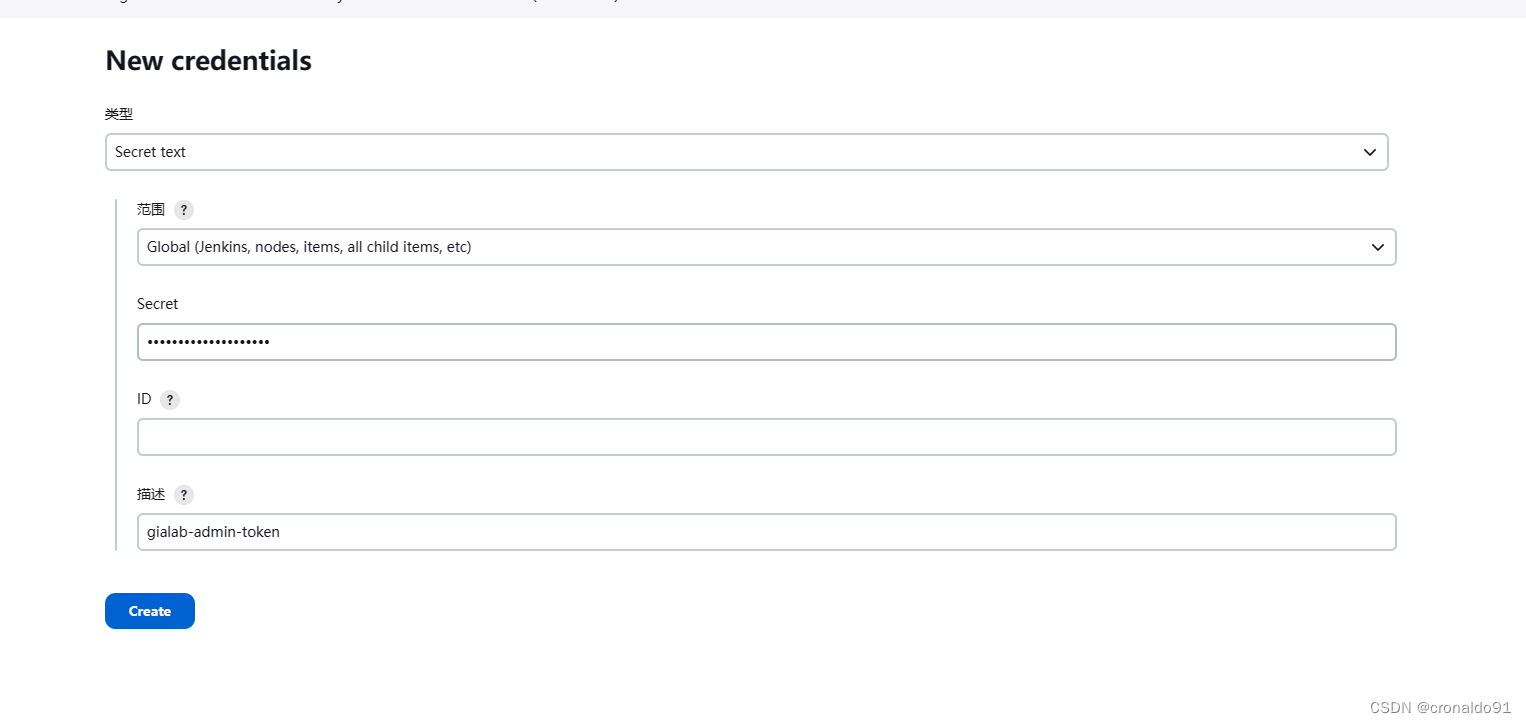
(2)Jenkins添加凭据
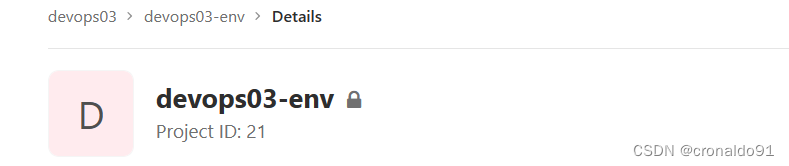
(3)devops03-env 添加脚本
# sh service.sh devops03-devops-service 1.1.1 9099 start
APPNAME=$1
VERSION=$2
PORT=$3start(){port_result=`netstat -anlpt | grep "${PORT}" || echo false`if [[ $port_result == "false" ]];thennohup java -jar -Dserver.port=${PORT}  ${APPNAME}-${VERSION}.jar >${APPNAME}.log.txt 2>&1 &elsestopsleep 5nohup java -jar -Dserver.port=${PORT}  ${APPNAME}-${VERSION}.jar >${APPNAME}.log.txt 2>&1 &fi
}stop(){pid=`netstat -anlpt | grep "${PORT}" | awk '{print $NF}' | awk -F '/' '{print $1}'`kill -15 $pid
}check(){proc_result=`ps aux | grep java | grep "${APPNAME}" | grep -v grep || echo false`port_result=`netstat -anlpt | grep "${PORT}" || echo false`url_result=`curl -s http://localhost:${PORT} || echo false `if [[ $proc_result == "false" || $port_result == "false" || $url_result == "false" ]];thenecho "error"elseecho "ok"fi
}case $4 instart)startsleep 5check;;stop)stopsleep 5check;;restart)stopsleep 5startsleep 5check;;check)check;;*)echo "sh service.sh {start|stop|restart|check}";;
esac
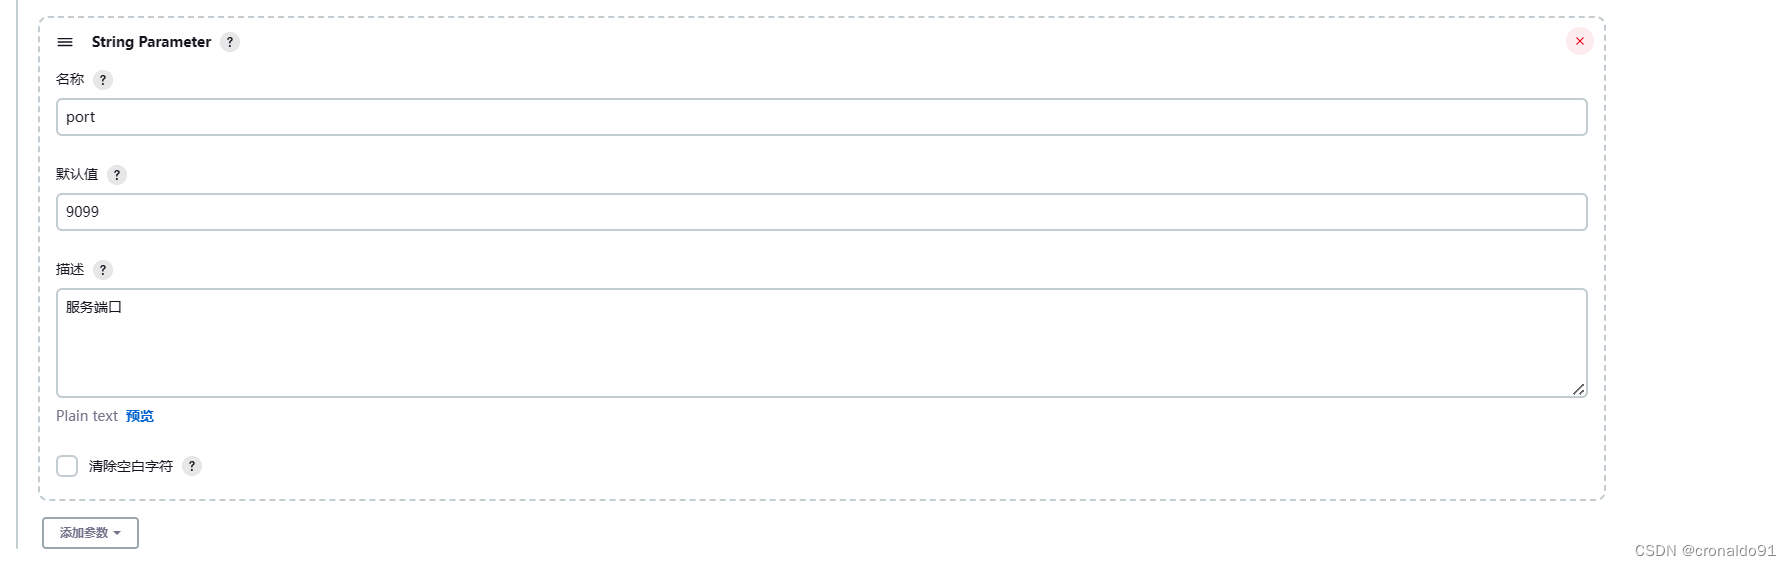
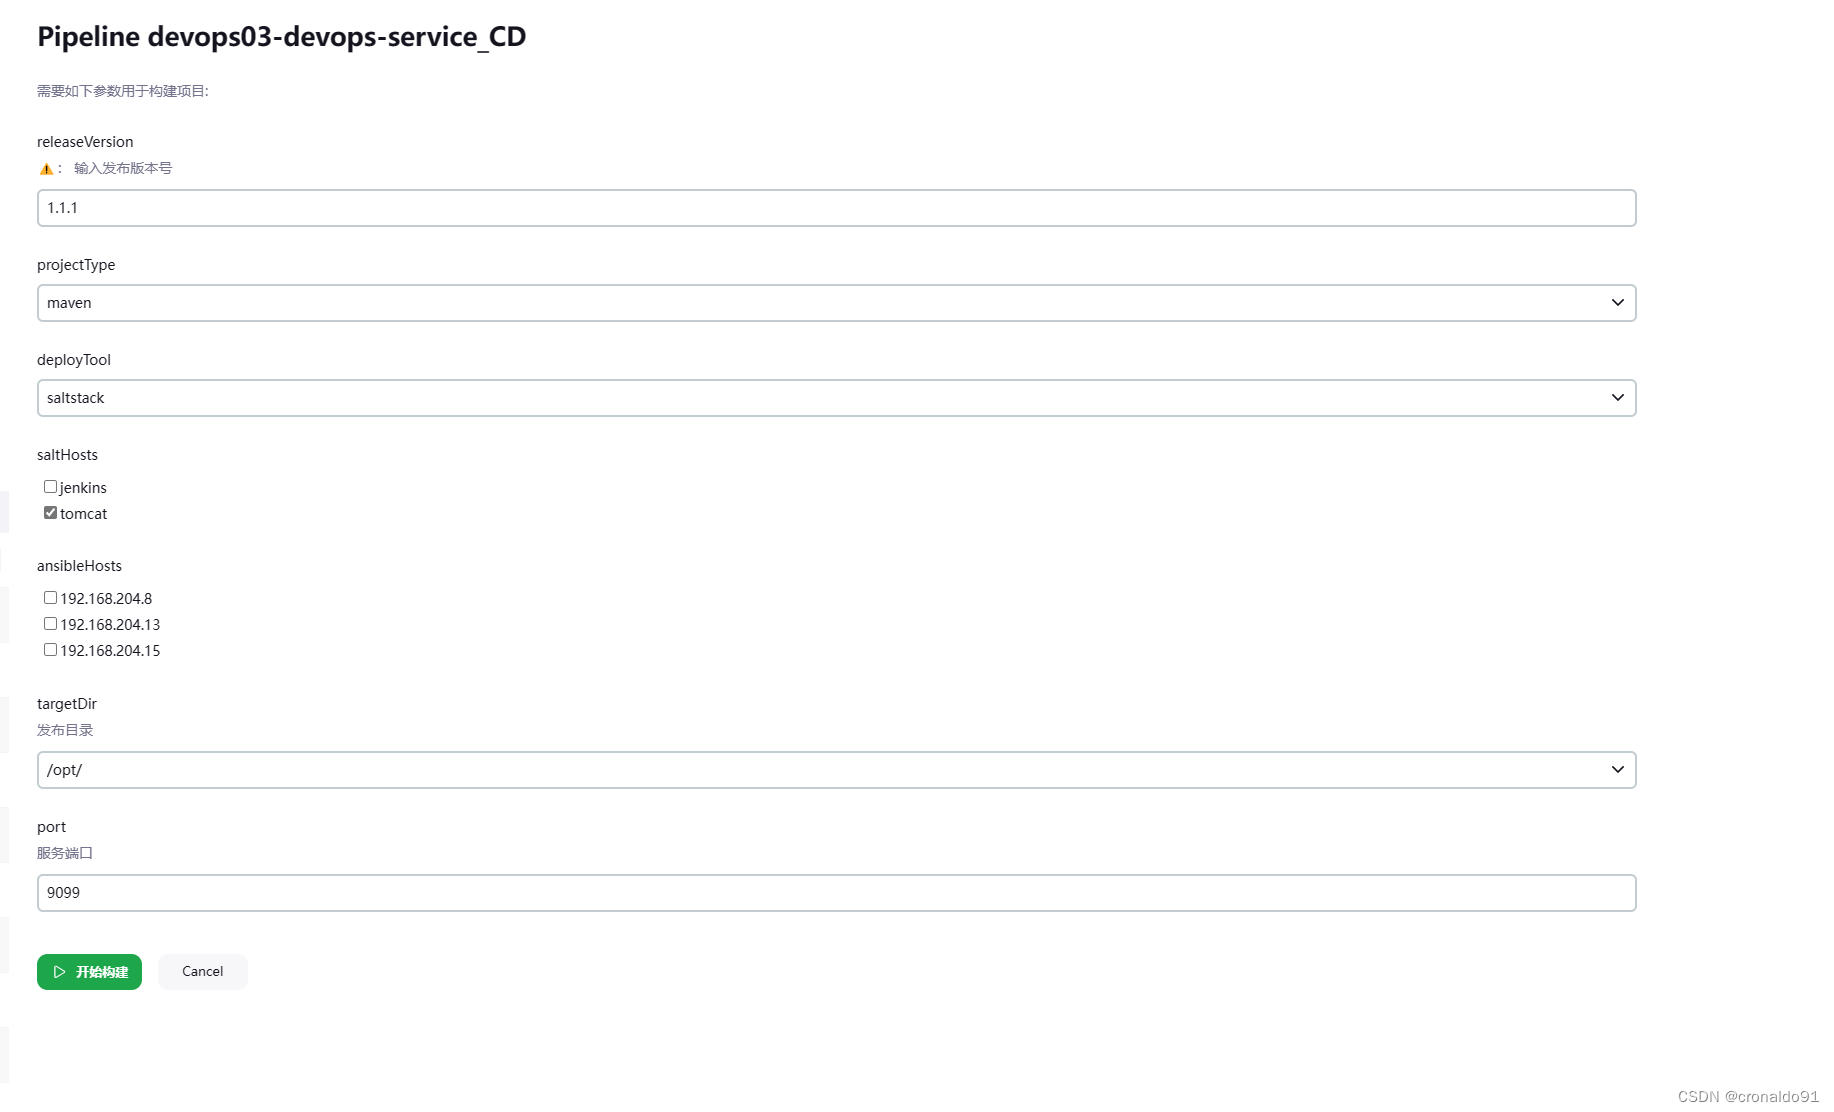
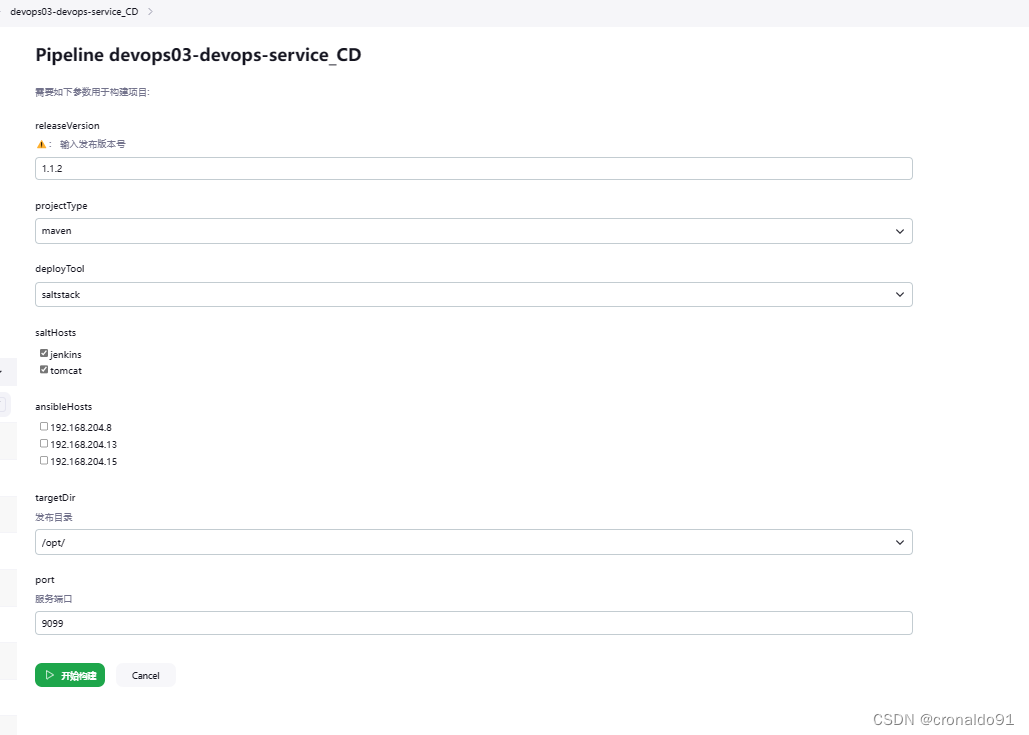
(4)Jenkins给后端项目CD流水线添加参数

(5)Jenkins安装插件HTTP Request


(5) 修改流水线代码
pipeline {agent { label "build" }stages{stage("PullArtifacts"){steps{script{repoName = "${JOB_NAME}".split("/")[0]env.projectName ="${JOB_NAME}".split("/")[-1].split("_")[0]if ("${env.projectType}" == "maven"){type="jar"}if ("${env.projectType}" == "npm"){type="tar.gz"}PullArtifacts("${env.releaseVersion}","${env.projectName}",repoName,type)env.pkgName="${env.projectName}-${env.releaseVersion}.${type}"}}}stage("DeployHost"){steps{script{print("DeployHost")// 文件内容写到本地response = GetRepoFile(21, "service.sh", "master")writeFile file: 'service.sh', text: "${response}"sh "ls -a "if ("${env.deployTool}" == "saltstack"){targetHosts = "${env.saltHosts}"println(targetHosts)localDeployDir = "/srv/salt/${env.projectName}"sh """[ -d ${localDeployDir} ] || mkdir -p ${localDeployDir}mv service.sh ${env.pkgName} ${localDeployDir}# 清理发布目录salt -L "${targetHosts}" cmd.run  "rm -fr ${targetDir}/${env.projectName}/* &&  mkdir -p ${targetDir}/${env.projectName} || echo file is exists"# 发布应用salt -L "${targetHosts}" cp.get_file salt://${env.projectName}/${env.pkgName} ${targetDir}/${env.projectName}# 发布启动脚本salt -L "${targetHosts}" cp.get_file salt://${env.projectName}/service.sh ${targetDir}/${env.projectName}# 启动服务salt -L "${targetHosts}" cmd.run  "cd ${targetDir}/${env.projectName} ;source /etc/profile  && sh service.sh ${env.projectName} ${env.releaseVersion} ${env.port} start"# 检查服务sleep 5salt -L "${targetHosts}" cmd.run  "cd ${targetDir}/${env.projectName} ;source /etc/profile  && sh service.sh ${env.projectName} ${env.releaseVersion} ${env.port} check""""}}}}stage("ServiceCtrl"){steps{script{print("ServiceCtrl")}}}stage("HealthCheck"){steps{script{print("HealthCheck")}}}}
}//下载制品
def PullArtifacts(version,projectName,repoName,type){repoUrl = "http://192.168.204.13:8081/repository"pkgPath = "${repoUrl}/${repoName}/${projectName}/${version}/${projectName}-${version}.${type}"sh "wget --http-user=admin --http-passwd=Admin123 ${pkgPath} -q"
}// 封装HTTP
def HttpReq(reqType, reqUrl,reqBody ){def gitServer = "http://192.168.204.8:82/api/v4"withCredentials([string(credentialsId: '02dce3ff-4e46-4de2-b079-5dd6093d4f64', variable: 'GITLABTOKEN')]) {response = httpRequest acceptType: 'APPLICATION_JSON_UTF8',consoleLogResponseBody: true,contentType: 'APPLICATION_JSON_UTF8',customHeaders: [[maskValue: false, name: 'PRIVATE-TOKEN', value: "${GITLABTOKEN}"]],httpMode: "${reqType}",url: "${gitServer}/${reqUrl}",wrapAsMultipart: false,requestBody: "${reqBody}"}return response
}//获取文件内容
def GetRepoFile(projectId,filePath, branchName ){//GET /projects/:id/repository/files/:file_path/rawapiUrl = "/projects/${projectId}/repository/files/${filePath}/raw?ref=${branchName}"response = HttpReq('GET', apiUrl, "")return response.content
}
(6)手动构建流水线
(7)watch命令观察
# watch -n 1 "ps aux | grep 9099"(8) 成功
(9) GitLab后端项目新建分支

(10)Jenkins后端项目CI流水线手动构建
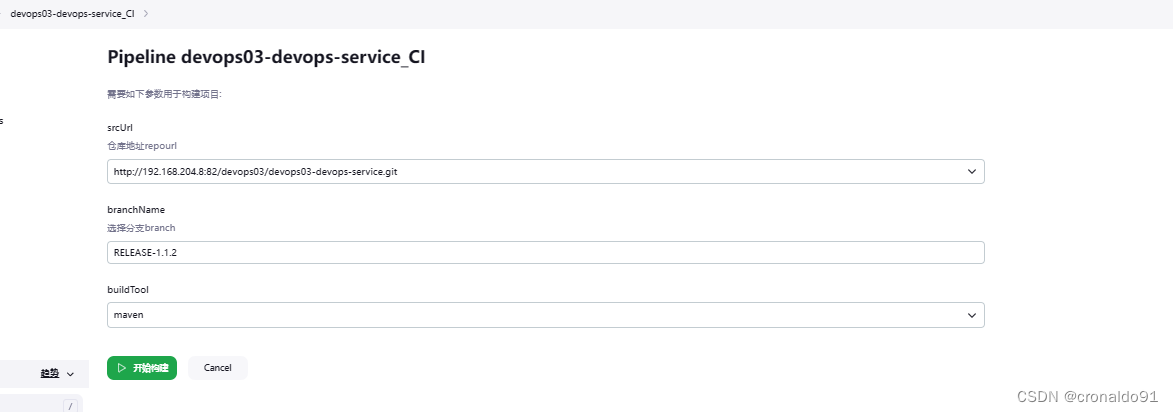
(11) 成功

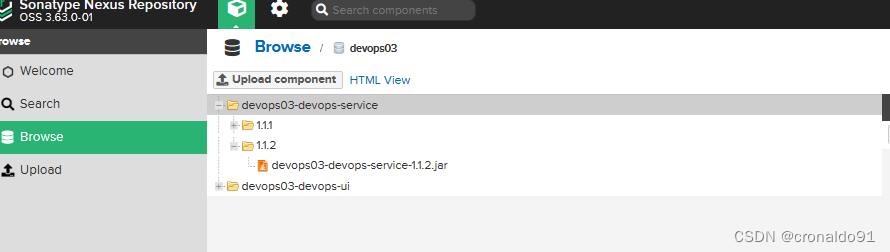
(12)Nexus查看
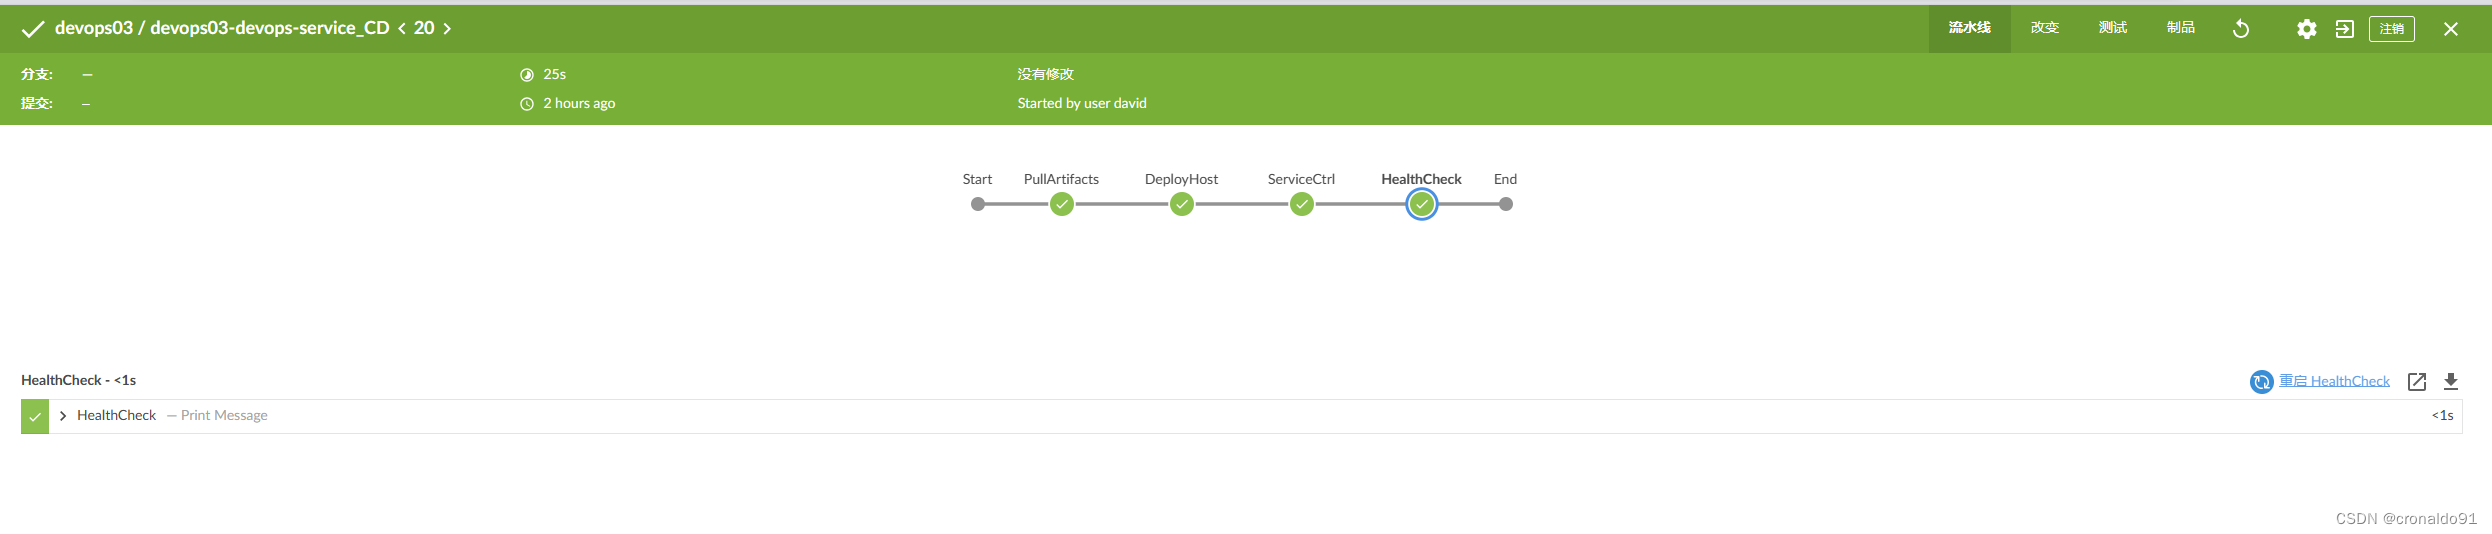
(13)Jenkins手动构建后端项目CD流水线
(14)成功

(15)查看本地目录
# cd /optdevops03-devops-service/
# ls

2.Jenkins使用基于SaltStack的CD流水线部署前端应用
(1)主机安装nginx
1)添加 nginx 到 yum 源中
sudo rpm -Uvh http://nginx.org/packages/centos/7/noarch/RPMS/nginx-release-centos-7-0.el7.ngx.noarch.rpm2)安装 nginx (在把nginx添加到 yum 源之后,就可以使用 yum 安装了)
sudo yum install -y nginx3)稍等一会,即可安装完成4)启动 nginx
sudo systemctl start nginx.service5)设置 nginx 开机自启动
sudo systemctl enable nginx.service![]()


(2)nginx 配置信息
1)网站文件存放默认位置(Welcome to nginx 页面)
/usr/share/nginx/html2)网站默认站点配置
/etc/nginx/conf.d/default.conf3)自定义 nginx 站点配置文件存放目录
/etc/nginx/conf.d/4)nginx 全局配置文件
/etc/nginx/nginx.conf5)启动 nginx
service nginx start6)关闭 nginx
service nginx stop7)重启 nginx
service nginx restart
service nginx reload8) 加成nginx
nginx -t
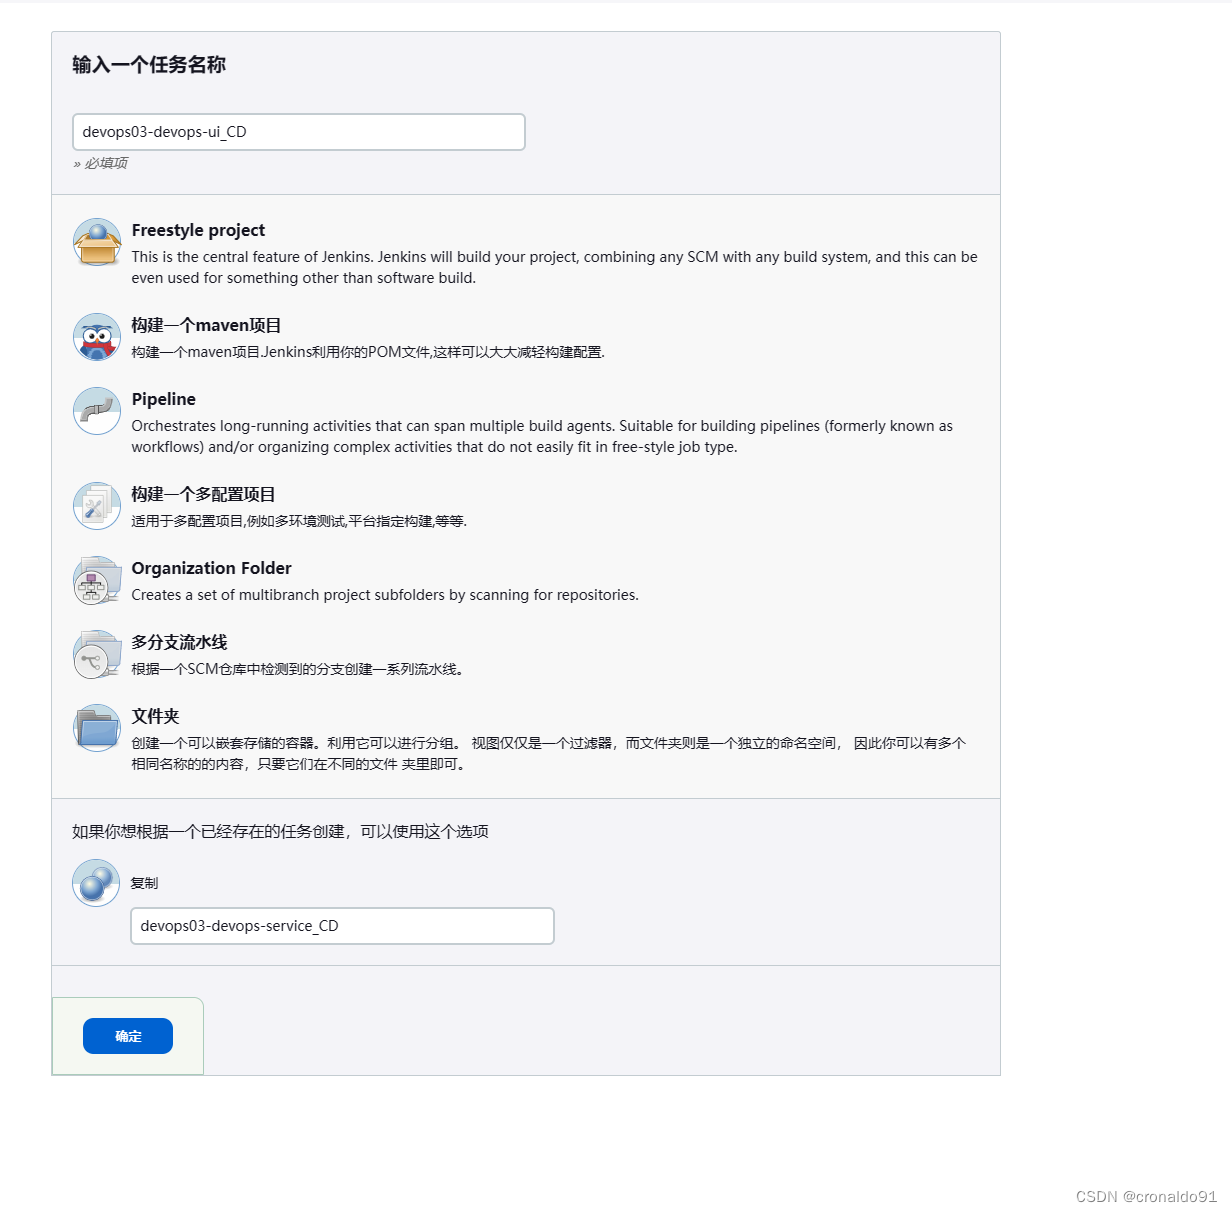
(3)Jenkins新建前端项目CD流水线
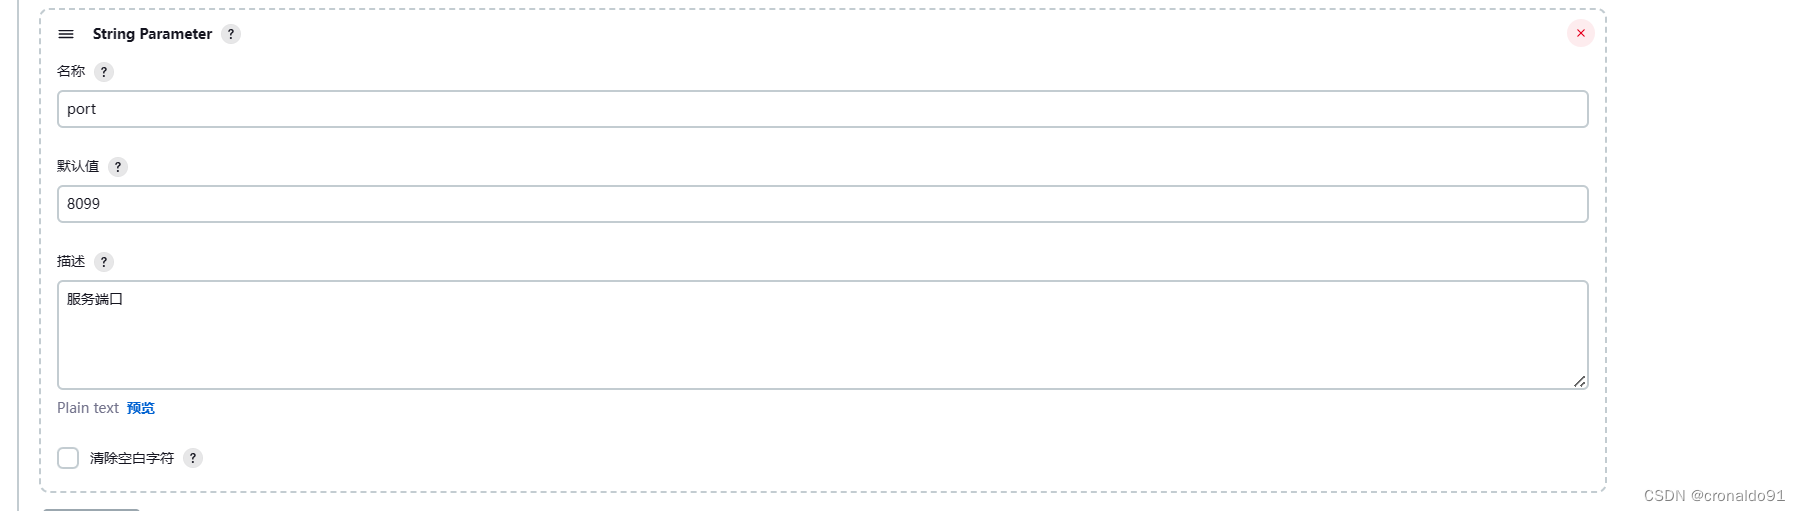
(4)添加参数

(5)修改nginx配置文件
# /etc/nginx/nginx.conf 1 2 user nginx;3 worker_processes auto;4 5 error_log /var/log/nginx/error.log notice;6 pid /var/run/nginx.pid;7 8 9 events {10 worker_connections 1024;11 }12 13 14 http {15 include /etc/nginx/mime.types;16 default_type application/octet-stream;17 18 log_format main '$remote_addr - $remote_user [$time_local] "$request" '19 '$status $body_bytes_sent "$http_referer" '20 '"$http_user_agent" "$http_x_forwarded_for"';21 22 access_log /var/log/nginx/access.log main;23 24 sendfile on;25 tcp_nopush on;26 tcp_nodelay on;27 types_hash_max_size 2048;28 29 30 keepalive_timeout 65;31 32 #gzip on;33 34 include /etc/nginx/conf.d/*.conf;35 36 37 server {38 listen 8099;39 server_name _;40 root /usr/share/nginx/html/devops03-devops-ui;41 42 # Load configuration files for the default server block.43 include /etc/nginx/default.d/*.conf;44 45 location / {46 }47 48 error_page 404 /404.html;49 location = /40x.html {50 }51 52 error_page 500 502 503 504 /50x.html;53 location = /50x.html {54 }55 }

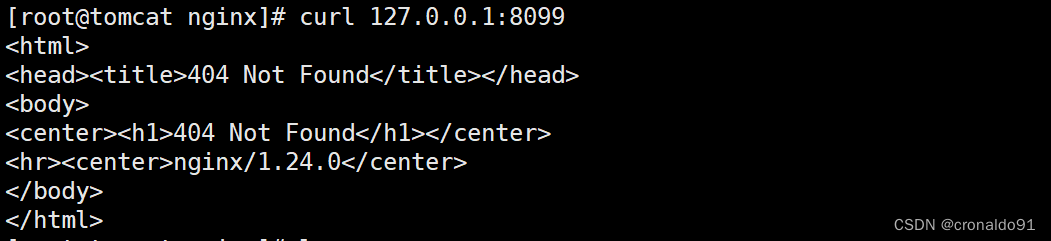
# nginx -t# curl 127.0.0.1:8099
验证:

(6)修改前端项目CD流水线代码
pipeline {agent { label "build" }stages{stage("PullArtifacts"){steps{script{repoName = "${JOB_NAME}".split("/")[0]env.projectName ="${JOB_NAME}".split("/")[-1].split("_")[0]if ("${env.projectType}" == "maven"){type="jar"}if ("${env.projectType}" == "npm"){type="tar.gz"}PullArtifacts("${env.releaseVersion}","${env.projectName}",repoName,type)env.pkgName="${env.projectName}-${env.releaseVersion}.${type}"}}}stage("DeployHost"){steps{script{print("DeployHost")if ("${env.deployTool}" == "saltstack"){targetHosts = "${env.saltHosts}"println(targetHosts)localDeployDir = "/srv/salt/${env.projectName}"sh """[ -d ${localDeployDir} ] || mkdir -p ${localDeployDir}mv ${env.pkgName} ${localDeployDir}# 清理发布目录salt -L "${targetHosts}" cmd.run  "rm -fr ${targetDir}/${env.projectName}/* &&  mkdir -p ${targetDir}/${env.projectName} || echo file is exists"# 发布应用salt -L "${targetHosts}" cp.get_file salt://${env.projectName}/${env.pkgName} ${targetDir}/${env.projectName}"""}}}}stage("ServiceCtrl"){steps{script{print("ServiceCtrl")localDeployDir = "/srv/salt/${env.projectName}"if ("${env.projectType}" == "maven") {// 文件内容写到本地response = GetRepoFile(21, "service.sh", "master")writeFile file: 'service.sh', text: "${response}"sh "ls -a "sh """mv service.sh  ${localDeployDir}# 发布启动脚本salt -L "${targetHosts}" cp.get_file salt://${env.projectName}/service.sh ${targetDir}/${env.projectName}# 启动服务salt -L "${targetHosts}" cmd.run  "cd ${targetDir}/${env.projectName} ;source /etc/profile  && sh service.sh ${env.projectName} ${env.releaseVersion} ${env.port} start"# 检查服务sleep 5salt -L "${targetHosts}" cmd.run  "cd ${targetDir}/${env.projectName} ;source /etc/profile  && sh service.sh ${env.projectName} ${env.releaseVersion} ${env.port} check""""}if ("${env.projectType}" == "npm") {sh """# 启动服务salt -L "${targetHosts}" cmd.run  "cd ${targetDir}/${env.projectName} ;tar zxf ${env.pkgName}""""}}}}stage("HealthCheck"){steps{script{print("HealthCheck")}}}}
}//下载制品
def PullArtifacts(version,projectName,repoName,type){repoUrl = "http://192.168.204.13:8081/repository"pkgPath = "${repoUrl}/${repoName}/${projectName}/${version}/${projectName}-${version}.${type}"sh "wget --http-user=admin --http-passwd=Admin123 ${pkgPath} -q"
}// 封装HTTP
def HttpReq(reqType, reqUrl,reqBody ){def gitServer = "http://192.168.204.8:82/api/v4"withCredentials([string(credentialsId: '02dce3ff-4e46-4de2-b079-5dd6093d4f64', variable: 'GITLABTOKEN')]) {response = httpRequest acceptType: 'APPLICATION_JSON_UTF8',consoleLogResponseBody: true,contentType: 'APPLICATION_JSON_UTF8',customHeaders: [[maskValue: false, name: 'PRIVATE-TOKEN', value: "${GITLABTOKEN}"]],httpMode: "${reqType}",url: "${gitServer}/${reqUrl}",wrapAsMultipart: false,requestBody: "${reqBody}"}return response
}//获取文件内容
def GetRepoFile(projectId,filePath, branchName ){//GET /projects/:id/repository/files/:file_path/rawapiUrl = "/projects/${projectId}/repository/files/${filePath}/raw?ref=${branchName}"response = HttpReq('GET', apiUrl, "")return response.content
}
(7)Jenkins手动构建前端项目CD流水线

(8)成功
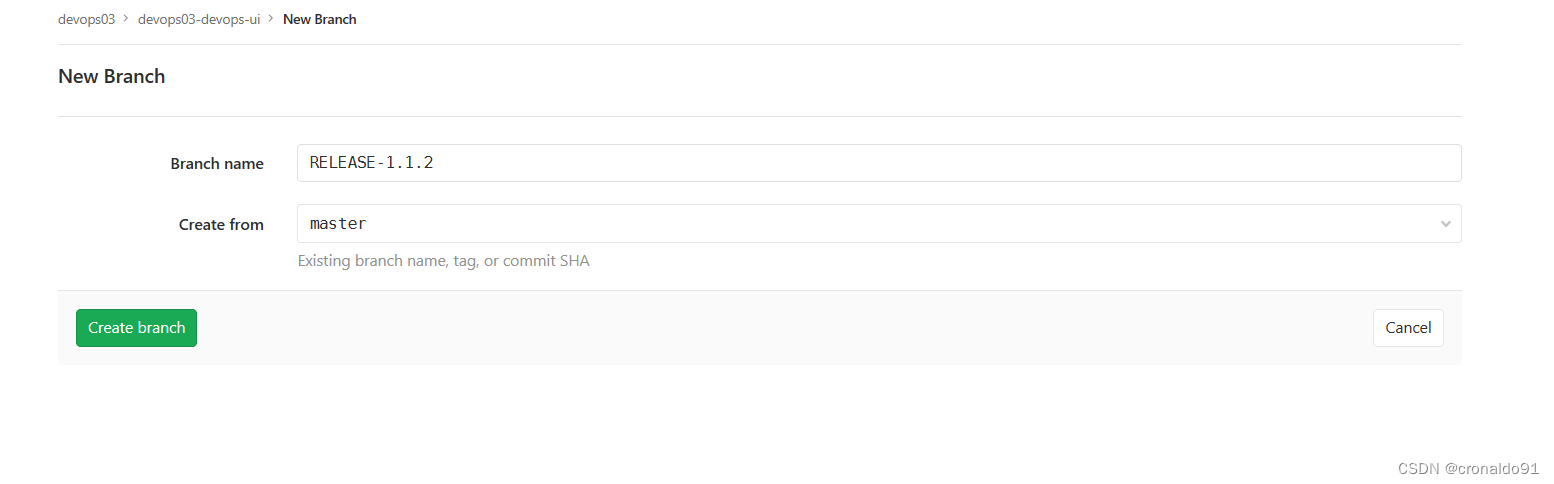
(9)GitLab前端项目新建分支
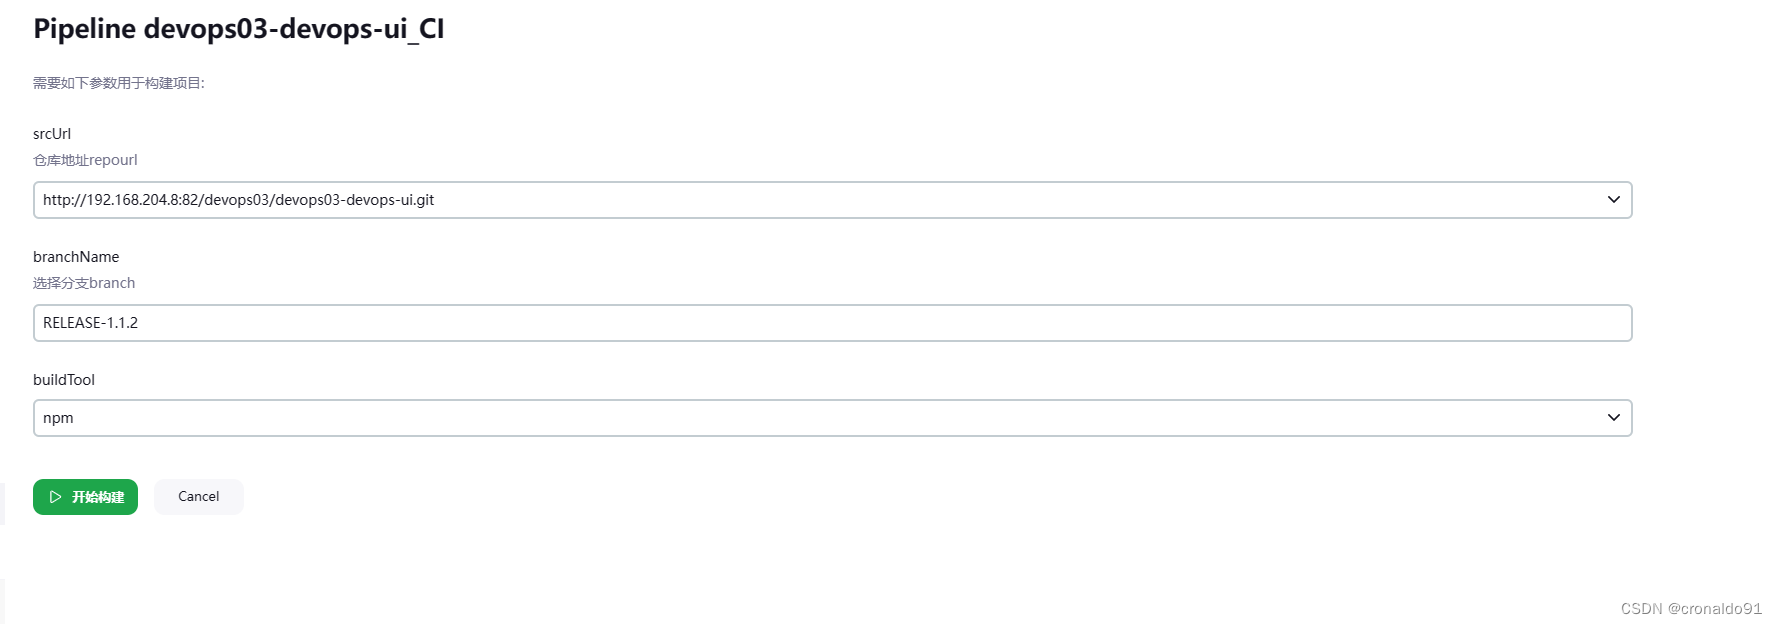
(10)Jenkins手动构建前端项目CI流水线
(11)成功

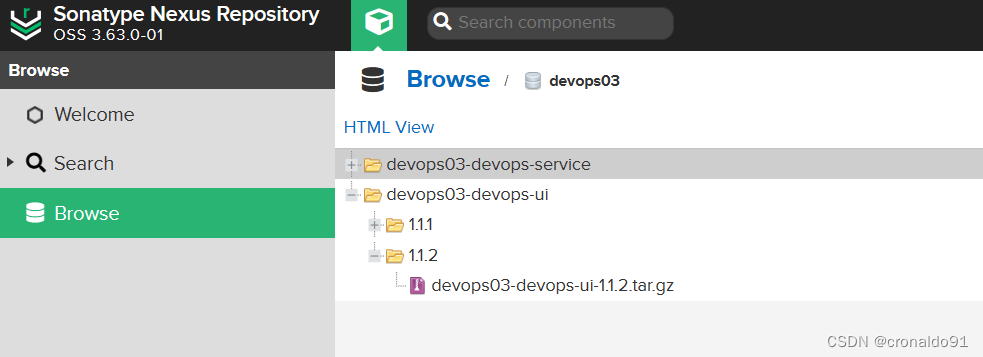
(12)Nexus查看
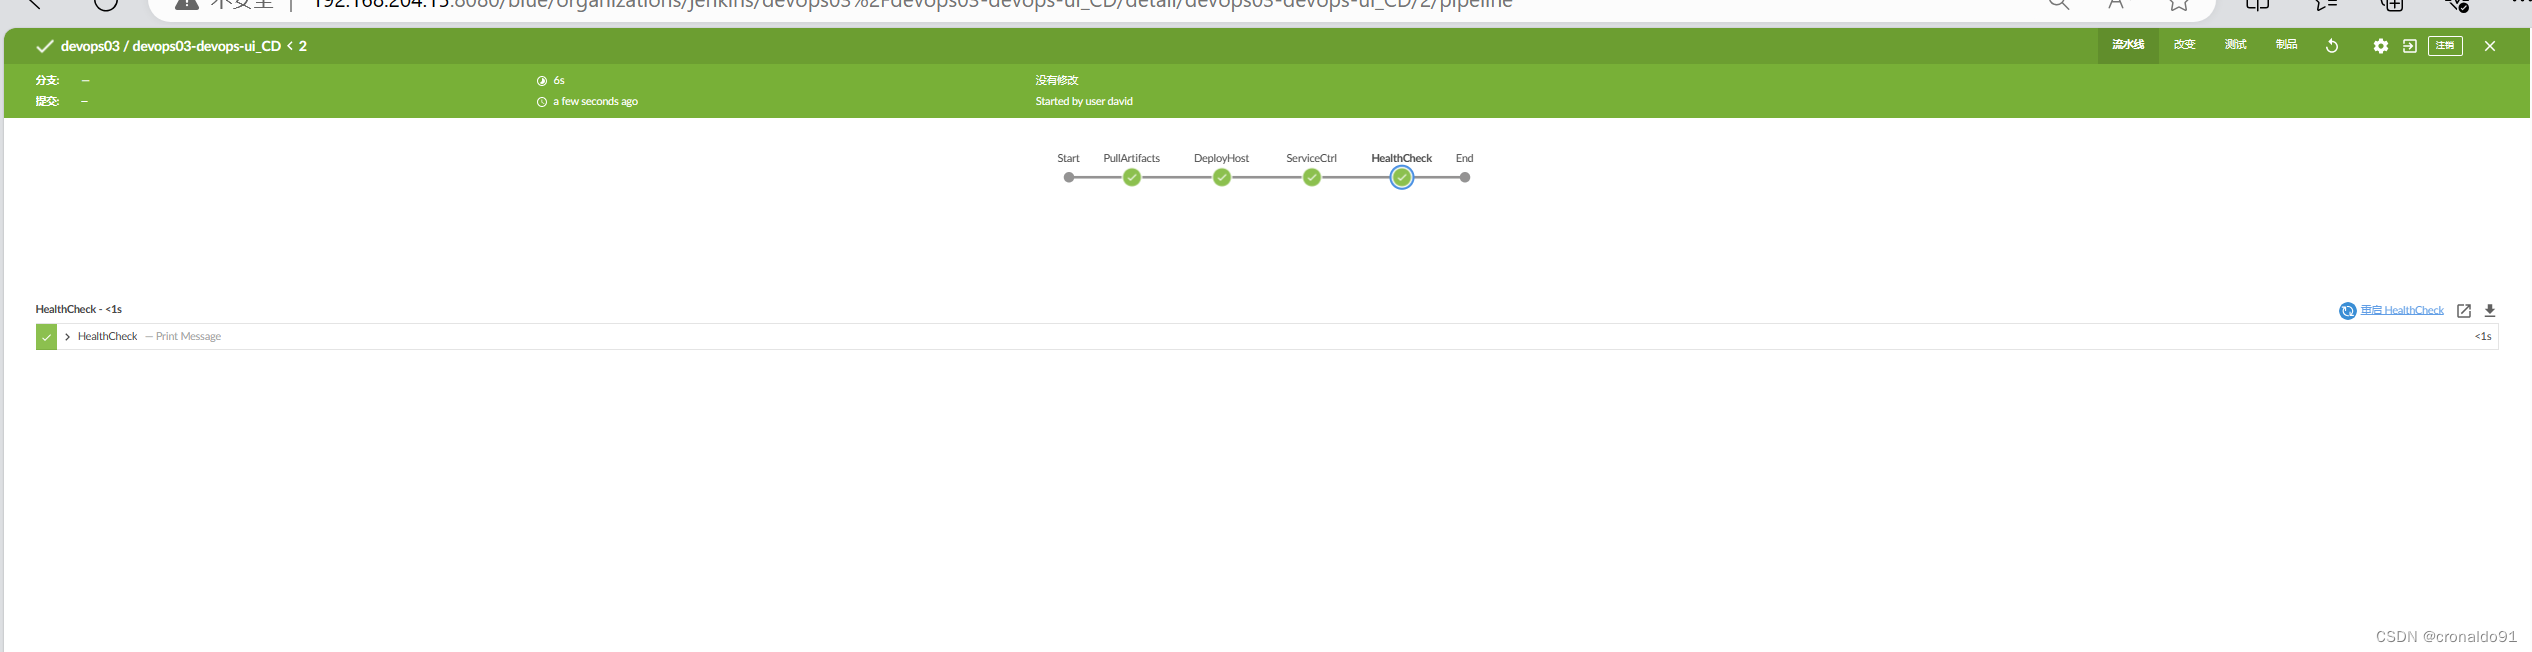
(13)Jenkins手动构建前端项目CD流水线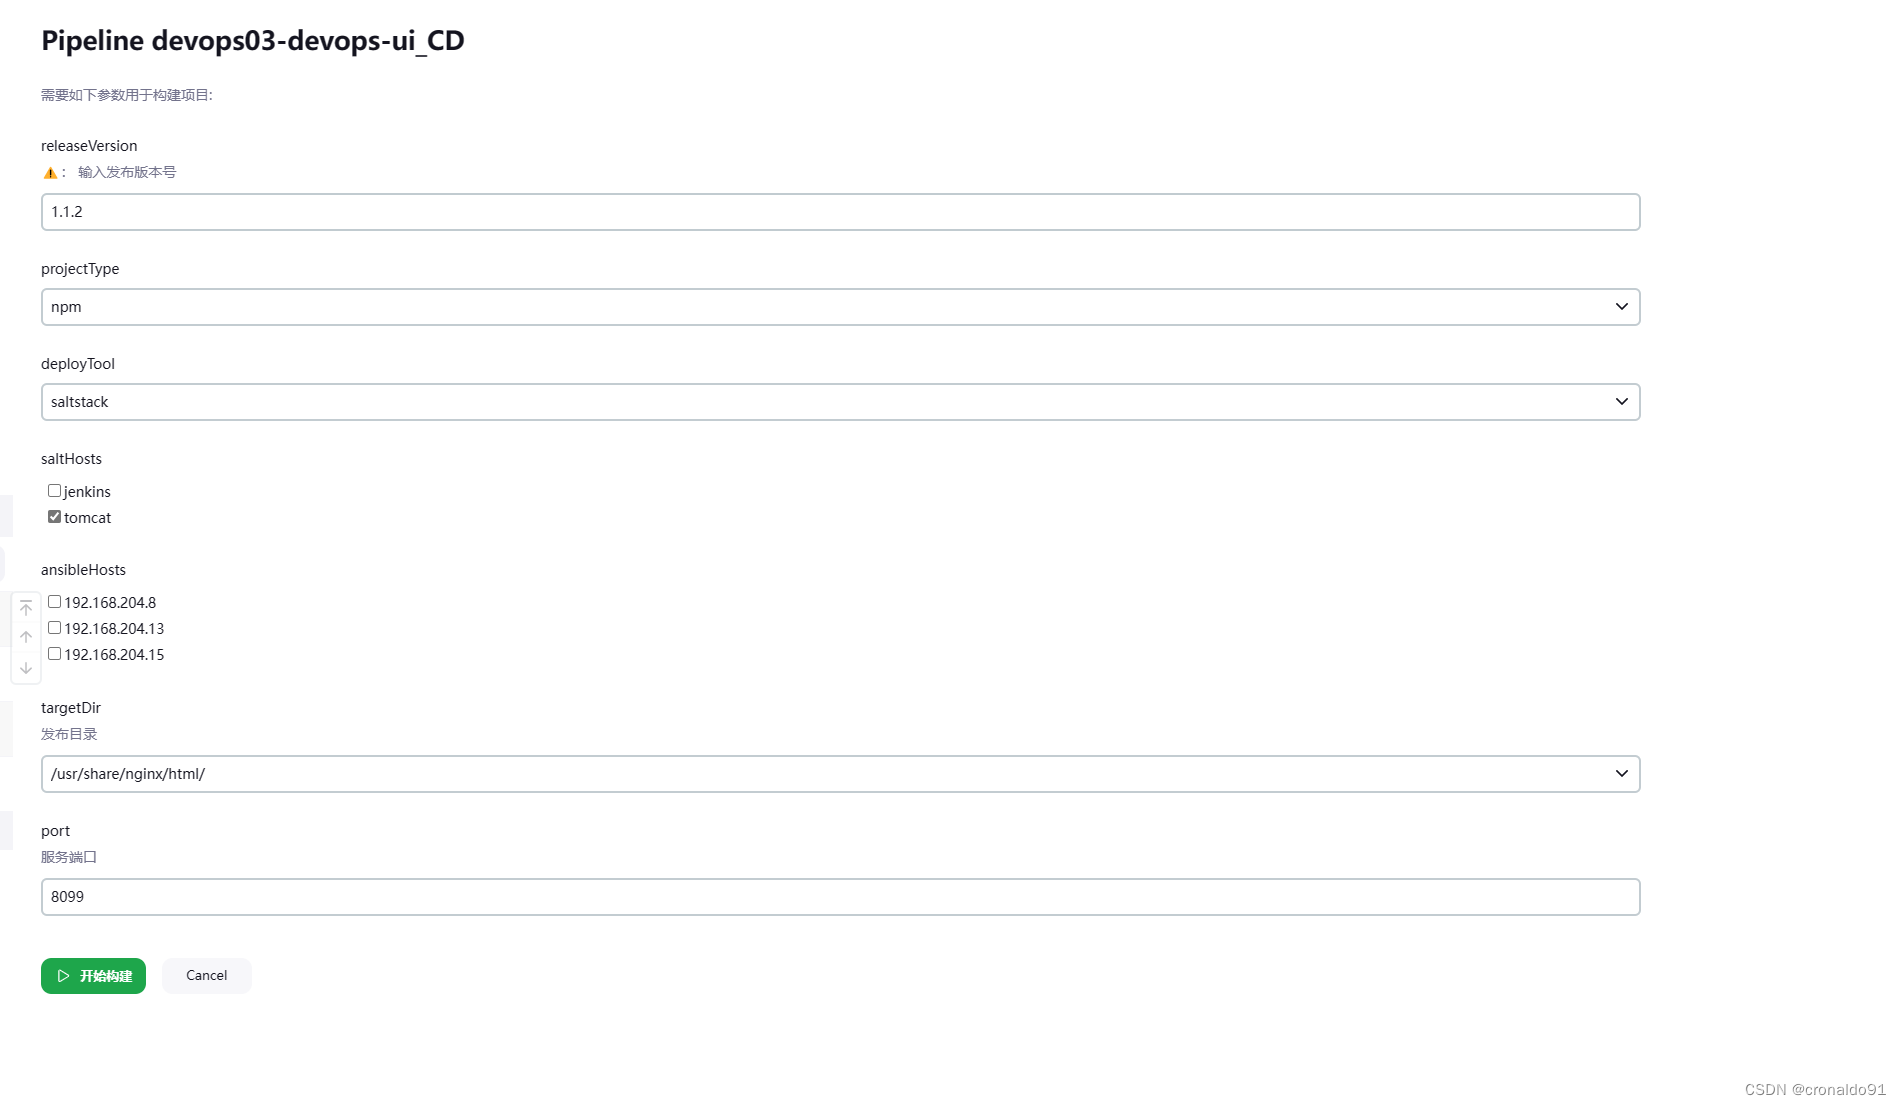
(14)命令观察
# watch -n 1 "ls devops03-devops-ui"

# for i in `seq 1000`; do sleep 1 ; curl http://127.0.0.1:8099; echo -e "\n\n\n";done

(15) 查看本地目录
# cd /usr/share/nginx/html/
# ls

这篇关于持续集成交付CICD:Jenkins使用基于SaltStack的CD流水线部署前后端应用的文章就介绍到这儿,希望我们推荐的文章对编程师们有所帮助!


