本文主要是介绍vue封装独立组件:实现分格密码输入框/验证码输入框,希望对大家解决编程问题提供一定的参考价值,需要的开发者们随着小编来一起学习吧!
目录
第一章 实现效果
第二章 核心实现思路
第三章 封装组件代码实现
第一章 实现效果
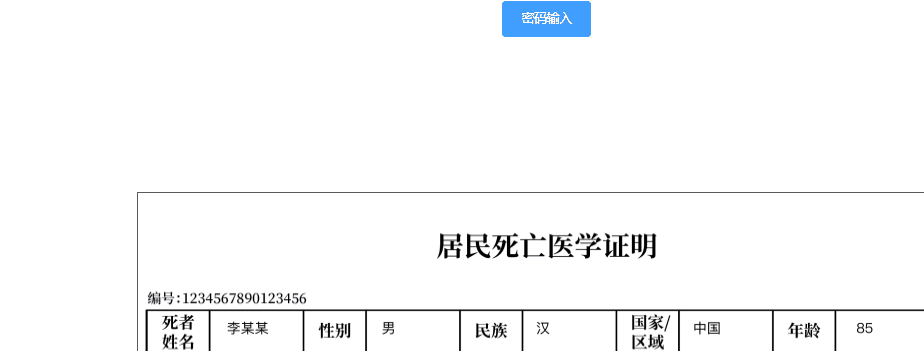
- 为了方便小编的父组件随便找了个页面演示的
- 通过点击按钮,展示子组件密码输入的输入框
- 通过点击子组件输入框获取焦点,然后输入验证码数字即可
- 子组件的确定按钮是验证输入的验证码是否正确
- 用到的工具:element-ui组件 + 原生Html + Css(当然用别的组件/原生input也可,实现思路大同小异)
第二章 核心实现思路
- 看图了解需求:我们需要6个单元格,但是单元格没有输入功能,想到input元素,但是我们如果每一个单元格代表一个input,又比较繁琐,而且还需要修改input的样式
- 小编的实现思路:
-- 制作6个小的正方形div,当做每一个input输入的单元格
-- 使用一个input元素即可,将其覆盖在6个div上,这样就不需要6个input框了
-- 然后给input设置透明(隐藏掉input),就相当于在input框输入数字,只是看不到
-- 最后将输入的每一个值对应到6个div的格子上即可
第三章 封装组件代码实现
- 父组件
<template><div>// 使用自定义子组件<inputComponent ref="inputPsdComponent"></inputComponent></div>
</template><script>
// 引入自定义封装的子组件
import inputComponent from './component/inputComponent.vue'
export default {data () {return {}},components: {inputComponent // 祖册自定义子组件},methods: {showInput () {this.$refs.inputPsdComponent.init() // 调用子组件的init方法}},
}
</script>- 子组件:详细说明在代码中
<template><el-dialog :title="title" :visible.sync="visible"><div class="input_box flexbox"><!-- 单元格页面 --><div class="codes"><!-- 通过长度与获取焦点标签控制单元格是否高亮 --><divclass="code_item":class="codeValue.length == 0 && inputFocus ? 'code_item_active' : ''">{{ codeValue[0] }}</div><divclass="code_item":class="codeValue.length == 1 && inputFocus ? 'code_item_active' : ''">{{ codeValue[1] }}</div><divclass="code_item":class="codeValue.length == 2 && inputFocus ? 'code_item_active' : ''">{{ codeValue[2] }}</div><divclass="code_item":class="codeValue.length == 3 && inputFocus ? 'code_item_active' : ''">{{ codeValue[3] }}</div><divclass="code_item":class="codeValue.length == 4 && inputFocus ? 'code_item_active' : ''">{{ codeValue[4] }}</div><divclass="code_item":class="codeValue.length == 5 && inputFocus ? 'code_item_active' : ''">{{ codeValue[5] }}</div></div><!-- input框:控制长度 --><el-inputclass="input_code":value="codeValue":maxlength="6"@blur="codeInputBlur"@focus="codeInputFocus"@input="codeInputChange"></el-input><div class="btn"><el-button type="primary" @click="confirm">确定</el-button></div></div></el-dialog>
</template><script>
export default {data() {return {visible: false,inputFocus: false,codeValue: '',title: '密码输入'}},props:{},methods: {init () {this.visible = true},// 校验输入的验证码/密码confirm () {if (this.codeValue.length === 6) {this.$message({showClose: true,message: '验证成功!',type: 'success'})this.codeValue = ''this.visible = false} else {this.$message({showClose: true,message: '验证码不正确!',type: 'error'})}},// 验证码输入框codeInputChange (e) {// 判断是否输入值if (e) {// 正则判断是否都是数字,如果都是数字则赋值,否则if ((/^\+?[0-9][0-9]*$/).test(e)) {this.codeValue = e}} else {this.codeValue = ''}},// 验证码输入框失去焦点codeInputBlur () {this.inputFocus = false},// 验证码输入框获取到焦点codeInputFocus () {this.inputFocus = true},}
}
</script><style lang="less" scoped>
.input_box {margin-top: 20px;height: 100px;position: relative;}.input_code {position: absolute;top: 0;left: 0;}.btn{position: absolute;top: 70px;left: 0;}.codes{position: absolute;top: 0;display: flex;justify-content: flex-start;.code_item {width: 50px;height: 50px;text-align: center;line-height: 50px;border: 1px solid #f0f0f0;margin-right: 10px;}}.code_item_active {border: 1px solid #F23026 !important;// box-sizing: border-box;}// 隐藏input.input_box {::v-deep .el-input__inner {width: 100%;height: 50px !important;background-color: transparent;border: none;color: transparent;}}::v-deep .el-dialog {min-height: 100px;}
</style>
这篇关于vue封装独立组件:实现分格密码输入框/验证码输入框的文章就介绍到这儿,希望我们推荐的文章对编程师们有所帮助!


