本文主要是介绍JAVA 实现PDF转图片(pdfbox版),希望对大家解决编程问题提供一定的参考价值,需要的开发者们随着小编来一起学习吧!
依赖:

pdf存放路径

正文开始:
pdf转换多张图片、长图
@Test
void pdf2Image() {String dstImgFolder = "";String PdfFilePath = "";String relativelyPath=System.getProperty("user.dir");PdfFilePath = relativelyPath + "/uploadTest/"+"文档.pdf";dstImgFolder = relativelyPath + "/uploadTest/";/* dpi越大转换后越清晰,相对转换速度越慢 */int dpi = 450;File file = new File(PdfFilePath);PDDocument pdDocument; // 创建PDF文档try {String imgPDFPath = file.getParent();int dot = file.getName().lastIndexOf('.');String imagePDFName = file.getName().substring(0, dot); // 获取图片文件名String imgFolderPath = null;if (dstImgFolder.equals("")) {imgFolderPath = imgPDFPath + File.separator;// 获取图片存放的文件夹路径} else {imgFolderPath = dstImgFolder + File.separator;}if (createDirectory(imgFolderPath)) {pdDocument = PDDocument.load(file);PDFRenderer renderer = new PDFRenderer(pdDocument);PdfReader reader = new PdfReader(PdfFilePath);int pages = reader.getNumberOfPages();StringBuffer imgFilePath = null;BufferedImage[] bufferedImages = new BufferedImage[pages];for (int i = 0; i < pages; i++) {String imgFilePathPrefix = imgFolderPath + File.separator;imgFilePath = new StringBuffer();imgFilePath.append(imgFilePathPrefix);imgFilePath.append("_");imgFilePath.append(i + 1);imgFilePath.append(".png");// File dstFile = new File(imgFilePath.toString());BufferedImage image = renderer.renderImageWithDPI(i, dpi);bufferedImages[i] = image;// ImageIO.write(image, "png", dstFile);}dstImgFolder = dstImgFolder + imagePDFName + ".png";// PDF文件全部页数转PNG图片,若多张展示注释即可 工具类贴在下面ImageMergeUtil.mergeImage(bufferedImages, 2, dstImgFolder);System.out.println("PDF文档转PNG图片成功!");} else {System.out.println("PDF文档转PNG图片失败:" + "创建" + imgFolderPath + "失败");}} catch (IOException e) {e.printStackTrace();}}private static boolean createDirectory(String folder) {File dir = new File(folder);if (dir.exists()) {return true;} else {return dir.mkdirs();}}
// ImageMergeUtil 图片的合并,多张图片合成长图
import javax.imageio.ImageIO;
import java.awt.image.BufferedImage;
import java.io.File;
import java.io.IOException;public class ImageMergeUtil {public static void main(String[] args) throws IOException {String filePath = "D:\\temp\\ImageMergeUtil\\";String path1 = filePath + "a.png";String path2 = filePath + "b.png";mergeImage(path1, path2, 2, filePath+"c.png");}/*** 图片拼接* @param path1 图片1路径* @param path2 图片2路径* @param type 1 横向拼接, 2 纵向拼接* (注意:必须两张图片长宽一致)*/public static void mergeImage( String path1, String path2, int type, String targetFile) throws IOException {File file1 = new File(path1);File file2 = new File(path2);//两张图片的拼接int len = 2;BufferedImage[] images = new BufferedImage[len];images[0] = ImageIO.read(file1);images[1] = ImageIO.read(file2);mergeImage(images, type, targetFile);}/*** 图片拼接* @param images 图片数组* @param type 1 横向拼接, 2 纵向拼接* (注意:必须两张图片长宽一致)*/public static void mergeImage(BufferedImage[] images, int type, String targetFile) throws IOException {int len = images.length;int[][] ImageArrays = new int[len][];for (int i = 0; i < len; i++) {int width = images[i].getWidth();int height = images[i].getHeight();ImageArrays[i] = new int[width * height];ImageArrays[i] = images[i].getRGB(0, 0, width, height, ImageArrays[i], 0, width);}int newHeight = 0;int newWidth = 0;for (int i = 0; i < images.length; i++) {// 横向if (type == 1) {newHeight = newHeight > images[i].getHeight() ? newHeight : images[i].getHeight();newWidth += images[i].getWidth();} else if (type == 2) {// 纵向newWidth = newWidth > images[i].getWidth() ? newWidth : images[i].getWidth();newHeight += images[i].getHeight();}}if (type == 1 && newWidth < 1) {return;}if (type == 2 && newHeight < 1) {return;}// 生成新图片try {BufferedImage ImageNew = new BufferedImage(newWidth, newHeight, BufferedImage.TYPE_INT_RGB);int height_i = 0;int width_i = 0;for (int i = 0; i < images.length; i++) {if (type == 1) {ImageNew.setRGB(width_i, 0, images[i].getWidth(), newHeight, ImageArrays[i], 0,images[i].getWidth());width_i += images[i].getWidth();} else if (type == 2) {ImageNew.setRGB(0, height_i, newWidth, images[i].getHeight(), ImageArrays[i], 0, newWidth);height_i += images[i].getHeight();}}//输出想要的图片ImageIO.write(ImageNew, "png", new File(targetFile));} catch (Exception e) {e.printStackTrace();}}
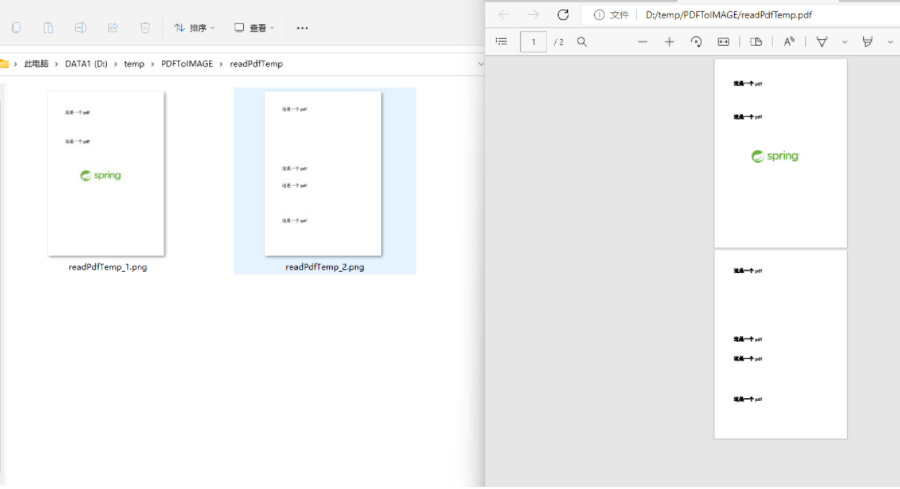
展示效果:
附加:小程序预览wxml代码

这篇关于JAVA 实现PDF转图片(pdfbox版)的文章就介绍到这儿,希望我们推荐的文章对编程师们有所帮助!


