本文主要是介绍Vue3+SpringBoot实现【登录】【毛玻璃】【渐变色】,希望对大家解决编程问题提供一定的参考价值,需要的开发者们随着小编来一起学习吧!
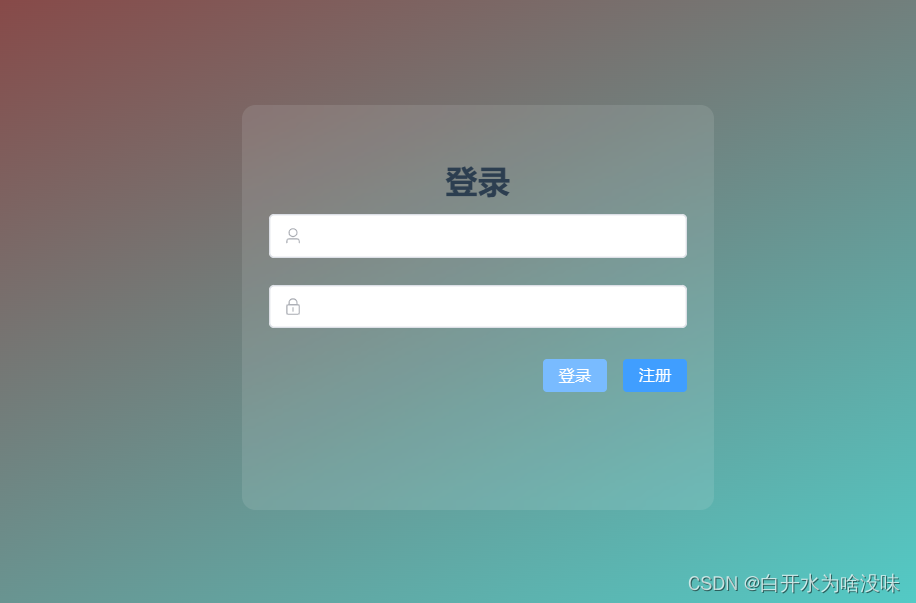
首先创建Login.vue,编写界面和样式
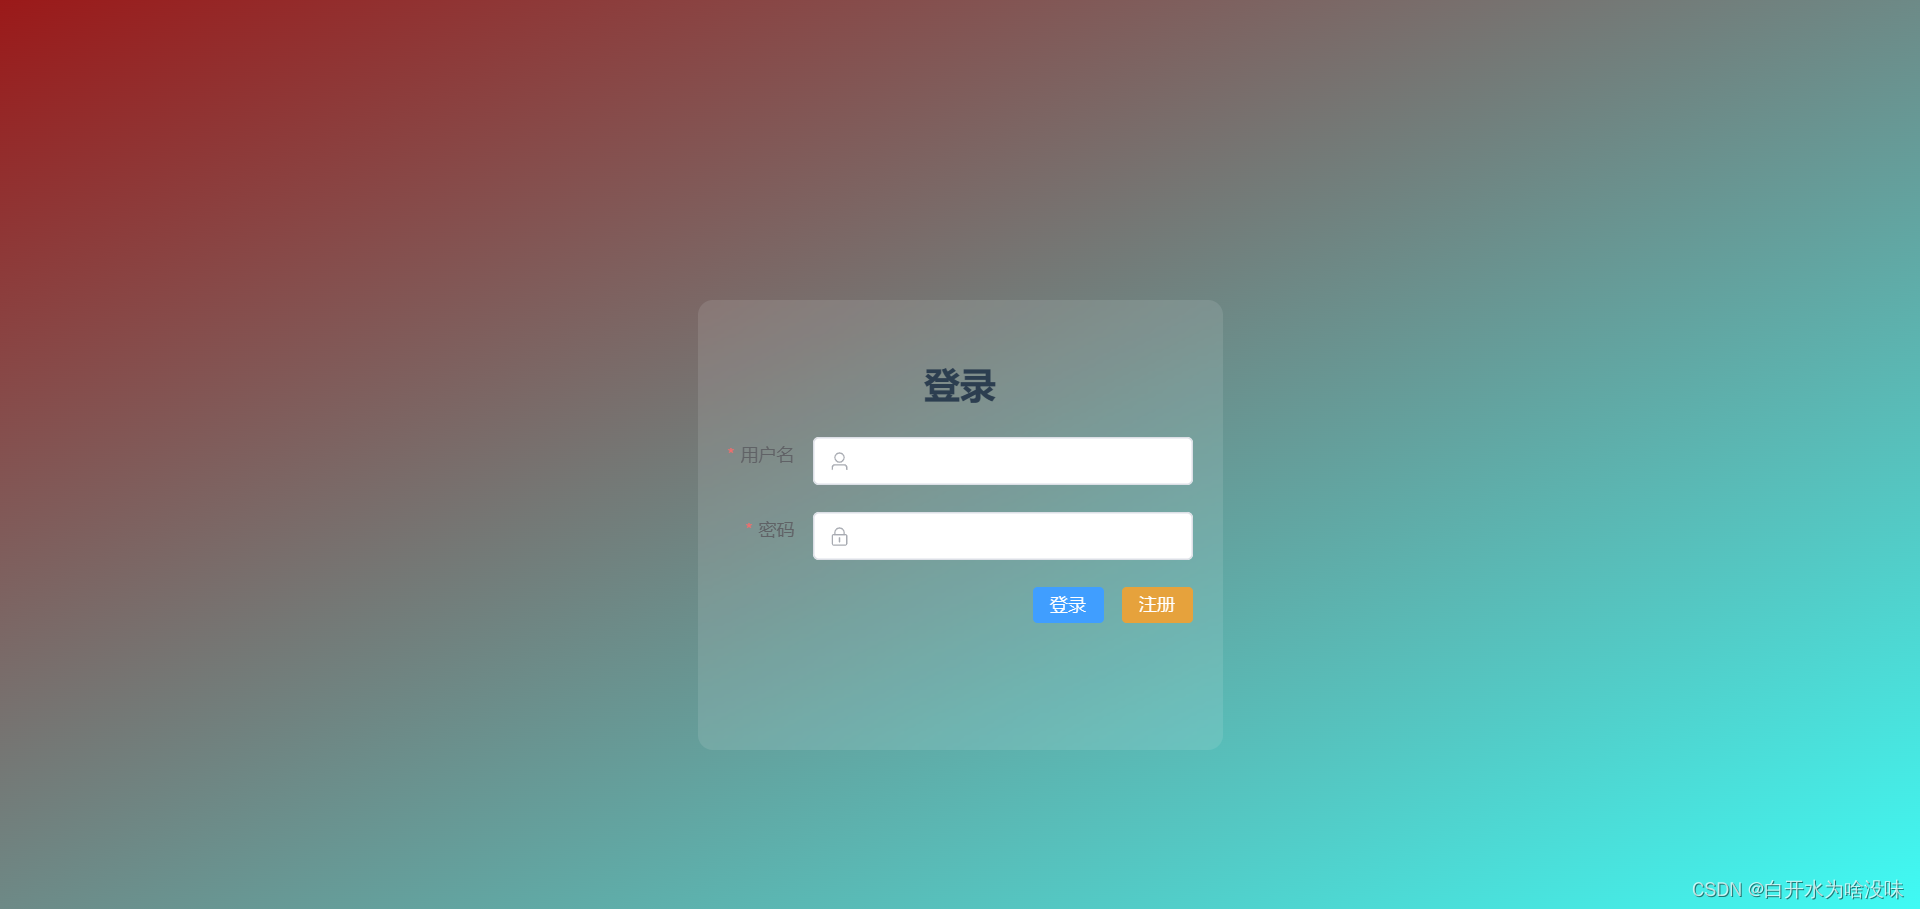
这个是渐变色背景,登陆框背景为白色
<template><div class="wrapper"><div style="margin: 200px auto; background-color: #fff; width: 350px; height: 300px;padding: 20px;border-radius: 10px"><div style="margin: 20px 0;text-align: center;font-size: 24px"><b>登录</b><el-input size="medium" style="margin: 10px 0" v-model="user.username"><template #prefix><el-icon class="el-input__icon"><user></user></el-icon></template></el-input><el-input size="medium" style="margin: 10px 0" show-password v-model="user.password"><template #prefix><el-icon class="el-input__icon"><lock></lock></el-icon></template></el-input><div style="margin: 10px 0; text-align: right"><el-button type="primary" size="small" autocomplete="off">登录</el-button><el-button type="primary" size="small" autocomplete="off">注册</el-button></div></div></div></div>
</template><script>
import {Lock, User} from "@element-plus/icons";
export default {name: "LoginView",components: {Lock, User},data(){return{user:{}}}
}
</script><style scoped>.wrapper{height: 100vh;background-image: linear-gradient(to bottom right,#FC466B,#3F5EFB);overflow:hidden;}
</style>
,如果想要登录框为毛玻璃,可以将上面第二个div的 “background-color: #fff;”去掉
然后把这个div设置为class=login,编写login类的样式如下
.login{background-color:rgba(255,255,255,0.1); //透明度backdrop-filter: blur(10px); //毛玻璃效果}效果: (如果换一个比较鲜艳的背景,毛玻璃效果会更明显)
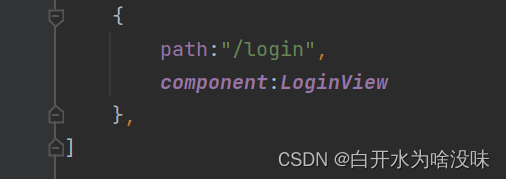
设置Login.vue的路由
绑定登陆按钮的点击时间login

编写login事件
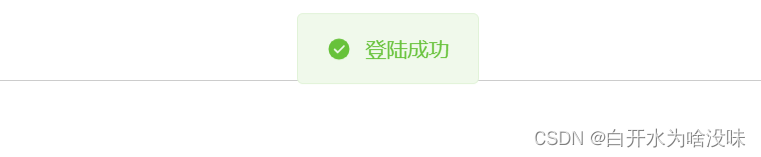
methods:{login(){this.request.post("http://localhost:8081/login",this.user).then(res =>{if(!res){this.$message.error("用户名或密码错误")}else {this.$message.success("登陆成功")this.$router.push("/new/home")}})}}定义一个UserDto类
import lombok.Data;/*
接受前端登陆请求的参数*/@Data
public class UserDto {private String username;private String password;}
编写接口:
//登陆的接口 RequestBody是将前端json传后端@PostMapping("/login")public boolean login(@RequestBody UserDto userDto){String username = userDto.getUsername();String password = userDto.getPassword();//这个if校验最好放在前端做if(StrUtil.isBlank(username)||StrUtil.isBlank(username)) {//判断是否为空,且使用了hutool里的工具类return false;}return userService.login(userDto);}编写业务层接口
public boolean login(UserDto userDto) {QueryWrapper<User> queryWrapper = new QueryWrapper<>();queryWrapper.eq("username",userDto.getUsername());queryWrapper.eq("password",userDto.getPassword());User one = getOne(queryWrapper);return one!=null;}即可实现登录功能
如果想要退出登陆,其实很简单,给退出绑定一个router-link就可以了
<el-dropdown-item><router-link to="/login" style="text-decoration: none">退出</router-link></el-dropdown-item>完善:
添加校验
(1)在把需要校验的部分用el-form表单标签括起来
<el-form :rules="rules"><el-input size="default" style="margin: 10px 0" v-model="user.username"><template #prefix><el-icon class="el-input__icon"><user></user></el-icon></template></el-input><el-input size="default" style="margin: 10px 0" show-password v-model="user.password"><template #prefix><el-icon class="el-input__icon"><lock></lock></el-icon></template></el-input><div style="margin: 10px 0; text-align: right"><el-button type="primary" size="small" autocomplete="off" @click="login">登录</el-button><el-button type="warning" size="small" autocomplete="off">注册</el-button></div></el-form>(2)在element-plus官网找到form那一块的校验 Form 表单 | Element Plus (element-plus.org)

将rules绑定属性填进form标签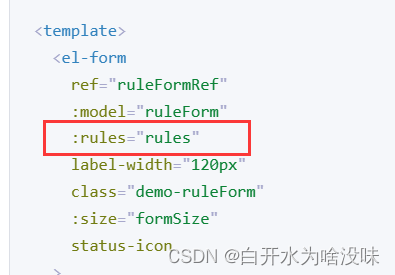
然后在return里填写官网给的rules返回的数据形式,编写校验的规则
return {user: {},rules: {username: [{required: true, message: '请输入用户名', trigger: 'blur'},{min: 3, max: 5, message: 'Length should be 3 to 5', trigger: 'blur'},],password: [{required: true, message: '请输入用户名', trigger: 'blur'},{min: 3, max: 5, message: 'Length should be 3 to 5', trigger: 'blur'},],}}再把我们的规则用prop传值写在el-form-item里面
<el-form-item label="用户名" prop="username" ><el-input size="default" v-model="user.username" ><template #prefix><el-icon class="el-input__icon"><user></user></el-icon></template></el-input></el-form-item><el-form-item label="密码" prop="password" ><el-input size="default" show-password v-model="user.password" ><template #prefix><el-icon class="el-input__icon"><lock></lock></el-icon></template></el-input></el-form-item>此时如果没有传值,会出提示,但是提示并不会消失
我们则需要在e-form处传一个校验:此时输入正确后,提示将会消失
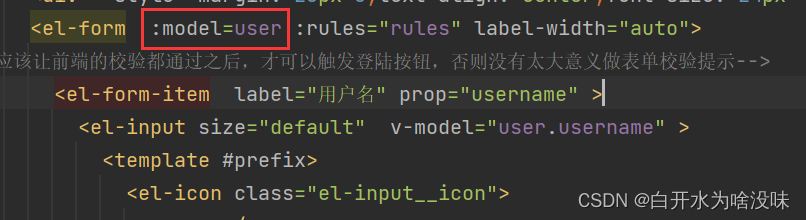
label-width=“auto”会让标签默认右对齐
最后效果:

简单版的login到这里就结束了,但是这样写登陆的业务逻辑判断不是很好。但是如果不是在公司做登陆,只是做一个简单的系统是足够的。
加强处理异常,和规范性
创建一个common的包,里面创建接口Constans和Result类
package com.lnw.common;public interface Constants {String CODE_200 = "200";      //成功String CODE_401 = "401";      //权限不足String CODE_400 = "400";      //参数错误String CODE_500 ="500";       //系统错误String CODE_600 = "600"; //其它业务异常
}
package com.lnw.common;import jdk.nashorn.internal.objects.annotations.Constructor;
import lombok.AllArgsConstructor;
import lombok.Data;
import lombok.NoArgsConstructor;/*
接口统一返回包装类*/@Data
@NoArgsConstructor
@AllArgsConstructor
public class Result {private String code;private String msg;private Object data;public static Result success(){return new Result(Constants.CODE_200,"",null);}public static Result success(Object data){return new Result(Constants.CODE_200,"",data);}public static Result error(String code,String msg){return new Result(code,msg,null);}public static Result error(){return new Result(Constants.CODE_500,"系统错误",null);}}
创建exception包,创建全局管理器和重写ServiceException
package com.lnw.exception;import com.lnw.common.Result;
import org.springframework.web.bind.annotation.ControllerAdvice;
import org.springframework.web.bind.annotation.ExceptionHandler;
import org.springframework.web.bind.annotation.ResponseBody;
//全局自定义异常处理器@ControllerAdvice
public class GlobalExceptionHandler {@ExceptionHandler(ServiceException.class)@ResponseBodypublic Result handle(ServiceException se ){return Result.error(se.getCode(),se.getMessage());}}
@Data
public class ServiceException extends RuntimeException {private String code;//构造器public ServiceException (String code, String msg){super(msg);this.code=code;}
}
重新封装接口 controller
//登陆的接口 RequestBody是将前端json传后端@PostMapping("/login")public Result login(@RequestBody UserDto userDto){String username = userDto.getUsername();String password = userDto.getPassword();//这个if校验最好放在前端做if(StrUtil.isBlank(username)||StrUtil.isBlank(username)) {//判断是否为空,且使用了hutool里的工具类return Result.error(Constants.CODE_400,"参数错误");}UserDto dto = userService.login(userDto);return Result.success(dto);}重新写前端接口
login(){this.request.post("http://localhost:8081/login",this.user).then(res =>{// if(!res){// this.$message.error("用户名或密码错误")// }else {// this.$message.success("登陆成功")// this.$router.push("/new/home")// }if(res.code === '200'){// 如果获取到,则存一个user对象 为了替换登录后右上角的个人用户名localStorage.setItem("user",JSON.stringify(res.data)) //存储用户信息到浏览器this.$router.push("/new/home")this.$message.success("登陆成功")}else {this.$message.error(res.msg)}})}这样就是更规范版本的登陆
这篇关于Vue3+SpringBoot实现【登录】【毛玻璃】【渐变色】的文章就介绍到这儿,希望我们推荐的文章对编程师们有所帮助!


