本文主要是介绍[iOS]拍照后人脸检测,希望对大家解决编程问题提供一定的参考价值,需要的开发者们随着小编来一起学习吧!
[iOS]拍照后人脸检测
Demo:http://download.csdn.net/detail/u012881779/9677467
#import "FaceStreamViewController.h"
#import <AVFoundation/AVFoundation.h>@interface FaceStreamViewController ()<AVCaptureMetadataOutputObjectsDelegate, UIAlertViewDelegate>@property (strong, nonatomic) AVCaptureSession            * session;
// AVCaptureSession对象来执行输入设备和输出设备之间的数据传递
@property (nonatomic, strong) AVCaptureDeviceInput        * videoInput;
// AVCaptureDeviceInput对象是输入流
@property (nonatomic, strong) AVCaptureStillImageOutput   * stillImageOutput;
// 照片输出流对象,当然这里照相机只有拍照功能,所以只需要这个对象就够了
@property (nonatomic, strong) AVCaptureVideoPreviewLayer  * previewLayer;
// 拍照按钮
@property (nonatomic, strong) UIButton                    * shutterButton;@property (nonatomic, strong ) UITapGestureRecognizer     * tapGesture;
@property (weak, nonatomic) IBOutlet UIButton             * tapPaizhaoBut;@end@implementation FaceStreamViewController- (void)viewDidLoad {[super viewDidLoad];[self session];[self swapFrontAndBackCameras];
}// 点击拍照
- (IBAction)tapShutterCameraAction:(id)sender {[self shutterCamera];
}-(void)viewWillAppear:(BOOL)animated {[super viewWillAppear:animated];[self.session startRunning];}- (void)dealloc {[self releaseAction];
}- (void)releaseAction {self.session = nil;self.videoInput = nil;self.stillImageOutput = nil;self.previewLayer = nil;self.shutterButton = nil;self.tapGesture = nil;
}- (void)viewDidAppear:(BOOL)animated {[super viewDidAppear:animated];self.tapGesture=[[UITapGestureRecognizer alloc] initWithTarget:self action:@selector(onViewClicked:)];[self.view addGestureRecognizer:self.tapGesture];}- (void)onViewClicked:(id)sender {[self swapFrontAndBackCameras];
}// Switching between front and back cameras
- (AVCaptureDevice *)cameraWithPosition:(AVCaptureDevicePosition)position {NSArray *devices = [AVCaptureDevice devicesWithMediaType:AVMediaTypeVideo];for ( AVCaptureDevice *device in devices )if ( device.position == position )return device;return nil;
}// 打开前置摄像头
- (void)swapFrontAndBackCameras {// Assume the session is already runningNSArray *inputs = self.session.inputs;for ( AVCaptureDeviceInput *input in inputs ) {AVCaptureDevice *device = input.device;if ( [device hasMediaType:AVMediaTypeVideo] ) {AVCaptureDevicePosition position = device.position;AVCaptureDevice *newCamera = nil;AVCaptureDeviceInput *newInput = nil;if (position == AVCaptureDevicePositionFront)newCamera = [self cameraWithPosition:AVCaptureDevicePositionBack];elsenewCamera = [self cameraWithPosition:AVCaptureDevicePositionFront];newInput = [AVCaptureDeviceInput deviceInputWithDevice:newCamera error:nil];// beginConfiguration ensures that pending changes are not applied immediately[self.session beginConfiguration];[self.session removeInput:input];[self.session addInput:newInput];// Changes take effect once the outermost commitConfiguration is invoked.[self.session commitConfiguration];break;}}
}- (AVCaptureSession *)session {if (!_session) {// 1.获取输入设备(摄像头)AVCaptureDevice *device = [AVCaptureDevice defaultDeviceWithMediaType:AVMediaTypeVideo];// 2.根据输入设备创建输入对象self.videoInput = [AVCaptureDeviceInput deviceInputWithDevice:device error:nil];if (self.videoInput == nil) {return nil;}// 3.创建输出对象self.stillImageOutput = [[AVCaptureStillImageOutput alloc] init];// 这是输出流的设置参数AVVideoCodecJPEG参数表示以JPEG的图片格式输出图片NSDictionary * outputSettings = [[NSDictionary alloc] initWithObjectsAndKeys:AVVideoCodecJPEG,AVVideoCodecKey,nil];[self.stillImageOutput setOutputSettings:outputSettings];// 4.创建会话(桥梁)AVCaptureSession *session = [[AVCaptureSession alloc]init];// 实现高质量的输出和摄像,默认值为AVCaptureSessionPresetHigh,可以不写[session setSessionPreset:AVCaptureSessionPresetHigh];// 5.添加输入和输出到会话中(判断session是否已满)if ([session canAddInput:self.videoInput]) {[session addInput:self.videoInput];}if ([session canAddOutput:self.stillImageOutput]) {[session addOutput:self.stillImageOutput];}// 6.创建预览图层self.previewLayer = [AVCaptureVideoPreviewLayer layerWithSession:session];[self.previewLayer setVideoGravity:AVLayerVideoGravityResizeAspectFill];self.previewLayer.frame = [UIScreen mainScreen].bounds;[self.view.layer insertSublayer:self.previewLayer atIndex:0];_session = session;}return _session;
}- (void) shutterCamera {AVCaptureConnection * videoConnection = [self.stillImageOutput connectionWithMediaType:AVMediaTypeVideo];if (!videoConnection) {NSLog(@"take photo failed!");return;}[self.stillImageOutput captureStillImageAsynchronouslyFromConnection:videoConnection completionHandler:^(CMSampleBufferRef imageDataSampleBuffer, NSError *error) {if (imageDataSampleBuffer == NULL) {return;}NSData * imageData = [AVCaptureStillImageOutput jpegStillImageNSDataRepresentation:imageDataSampleBuffer];UIImage * imagevv = [UIImage imageWithData:imageData];NSLog(@"\n已经获取到图片");imagevv = [self fixOrientation:imagevv];// 图片中是否包含人脸imagevv = [self judgeInPictureContainImage:imagevv];if(imagevv){imageData = UIImageJPEGRepresentation(imagevv, 0.5);NSString *sandboxPath = NSHomeDirectory();NSString *documentPath = [sandboxPath stringByAppendingPathComponent:@"Documents"];NSString *FilePath=[documentPath stringByAppendingPathComponent:@"headerImgData.jpg"];NSData *imgData = imageData;NSFileManager *fileManager = [NSFileManager defaultManager];//向一个文件中写入数据,属性字典允许你制定要创建[fileManager createFileAtPath:FilePath contents:imgData attributes:nil];}else{}}];
}- (UIImage *)fixOrientation:(UIImage *)aImage {// No-op if the orientation is already correctif (aImage.imageOrientation == UIImageOrientationUp)return aImage;// We need to calculate the proper transformation to make the image upright.// We do it in 2 steps: Rotate if Left/Right/Down, and then flip if Mirrored.CGAffineTransform transform = CGAffineTransformIdentity;switch (aImage.imageOrientation) {case UIImageOrientationDown:case UIImageOrientationDownMirrored:transform = CGAffineTransformTranslate(transform, aImage.size.width, aImage.size.height);transform = CGAffineTransformRotate(transform, M_PI);break;case UIImageOrientationLeft:case UIImageOrientationLeftMirrored:transform = CGAffineTransformTranslate(transform, aImage.size.width, 0);transform = CGAffineTransformRotate(transform, M_PI_2);break;case UIImageOrientationRight:case UIImageOrientationRightMirrored:transform = CGAffineTransformTranslate(transform, 0, aImage.size.height);transform = CGAffineTransformRotate(transform, -M_PI_2);break;default:break;}switch (aImage.imageOrientation) {case UIImageOrientationUpMirrored:case UIImageOrientationDownMirrored:transform = CGAffineTransformTranslate(transform, aImage.size.width, 0);transform = CGAffineTransformScale(transform, -1, 1);break;case UIImageOrientationLeftMirrored:case UIImageOrientationRightMirrored:transform = CGAffineTransformTranslate(transform, aImage.size.height, 0);transform = CGAffineTransformScale(transform, -1, 1);break;default:break;}// Now we draw the underlying CGImage into a new context, applying the transform// calculated above.CGContextRef ctx = CGBitmapContextCreate(NULL, aImage.size.width, aImage.size.height,CGImageGetBitsPerComponent(aImage.CGImage), 0,CGImageGetColorSpace(aImage.CGImage),CGImageGetBitmapInfo(aImage.CGImage));CGContextConcatCTM(ctx, transform);switch (aImage.imageOrientation) {case UIImageOrientationLeft:case UIImageOrientationLeftMirrored:case UIImageOrientationRight:case UIImageOrientationRightMirrored:// Grr...CGContextDrawImage(ctx, CGRectMake(0,0,aImage.size.height,aImage.size.width), aImage.CGImage);break;default:CGContextDrawImage(ctx, CGRectMake(0,0,aImage.size.width,aImage.size.height), aImage.CGImage);break;}// And now we just create a new UIImage from the drawing contextCGImageRef cgimg = CGBitmapContextCreateImage(ctx);UIImage *img = [UIImage imageWithCGImage:cgimg];CGContextRelease(ctx);CGImageRelease(cgimg);return img;
}// 图片中是否包含人脸
- (UIImage *)judgeInPictureContainImage:(UIImage *)thePicture {UIImage *newImg;UIImage *aImage = thePicture;CIImage *image = [CIImage imageWithCGImage:aImage.CGImage];NSDictionary  *opts = [NSDictionary dictionaryWithObject:CIDetectorAccuracyHighforKey:CIDetectorAccuracy];CIDetector* detector = [CIDetector detectorOfType:CIDetectorTypeFacecontext:niloptions:opts];//得到面部数据NSArray* features = [detector featuresInImage:image];for (CIFaceFeature *f in features){CGRect aRect = f.bounds;NSLog(@"%f, %f, %f, %f", aRect.origin.x, aRect.origin.y, aRect.size.width, aRect.size.height);CGRect newRect = CGRectMake(0, 0, aImage.size.width, aImage.size.height);float blFloat = 320/320.0;newRect.size.width = aImage.size.width;float heiFloat = aImage.size.width/(blFloat);newRect.size.height = heiFloat;float zFloat = (aImage.size.height - newRect.size.height)/2.0;newRect.origin.y = zFloat;newImg = [self imageFromImage:aImage inRect:newRect];//眼睛和嘴的位置if(f.hasLeftEyePosition) NSLog(@"Left eye %g %g\n", f.leftEyePosition.x, f.leftEyePosition.y);if(f.hasRightEyePosition) NSLog(@"Right eye %g %g\n", f.rightEyePosition.x, f.rightEyePosition.y);if(f.hasMouthPosition) NSLog(@"Mouth %g %g\n", f.mouthPosition.x, f.mouthPosition.y);}if(![self judgeChangePictureHaveFace:newImg]){newImg = nil;}return newImg;
}- (BOOL)judgeChangePictureHaveFace:(UIImage *)thePicture {BOOL result = NO;UIImage *aImage = thePicture;CIImage *image = [CIImage imageWithCGImage:aImage.CGImage];NSDictionary  *opts = [NSDictionary dictionaryWithObject:CIDetectorAccuracyHighforKey:CIDetectorAccuracy];CIDetector* detector = [CIDetector detectorOfType:CIDetectorTypeFacecontext:niloptions:opts];//得到面部数据NSArray* features = [detector featuresInImage:image];for (CIFaceFeature *f in features){result = YES;CGRect aRect = f.bounds;}return result;
}// 剪切图片
- (UIImage *)imageFromImage:(UIImage *)image inRect:(CGRect)rect {CGImageRef sourceImageRef = [image CGImage];CGImageRef newImageRef = CGImageCreateWithImageInRect(sourceImageRef, rect);UIImage *newImage = [UIImage imageWithCGImage:newImageRef];CGImageRelease(newImageRef);return newImage;
}@end
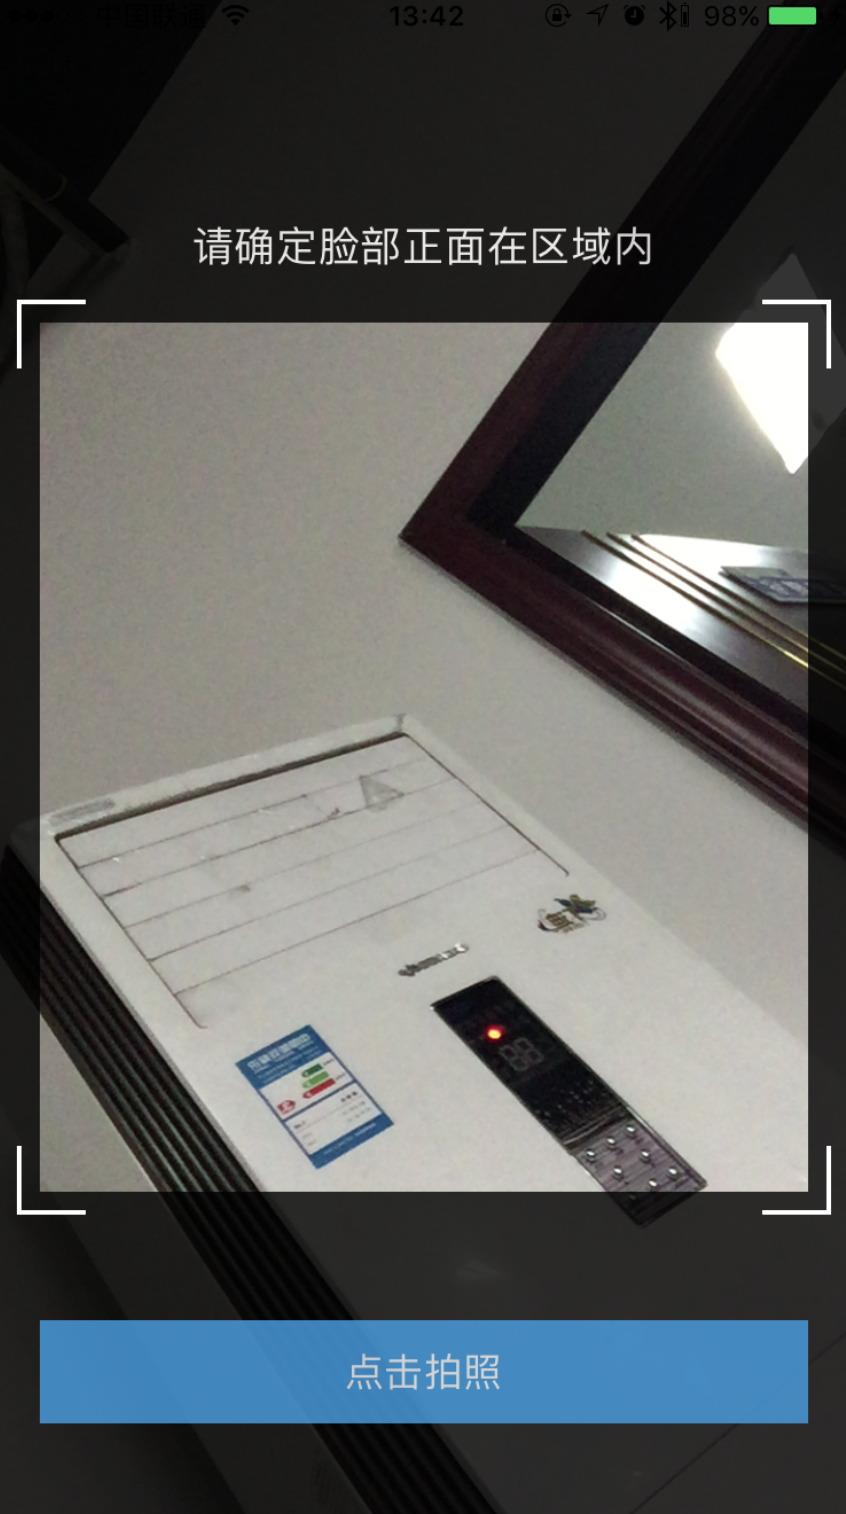
示图:
这篇关于[iOS]拍照后人脸检测的文章就介绍到这儿,希望我们推荐的文章对编程师们有所帮助!


