本文主要是介绍基于cocos2dx的RPG简单实用算法之3 - 多角色跟随阵型移动,希望对大家解决编程问题提供一定的参考价值,需要的开发者们随着小编来一起学习吧!

1. 确定到一个阵型中心对象。
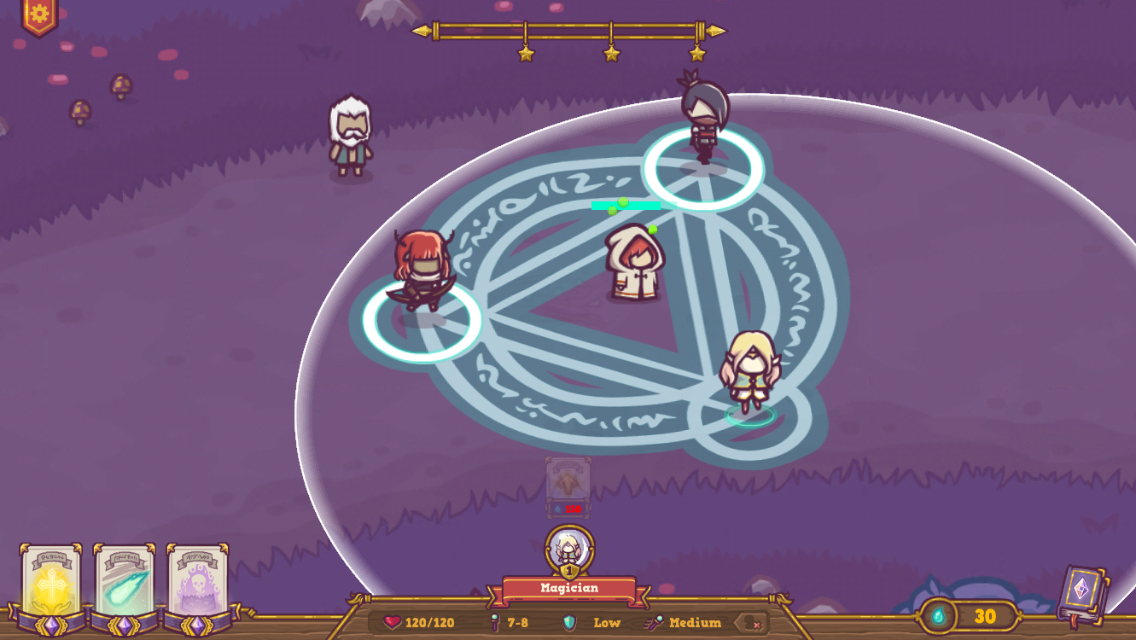
也许是一个英雄,也可以是一个隐藏的对象。也就是下文种的 GridCenter
2. 预先计算号每个阵型“槽” 相对中心对象的 向量。
void GameControlManager::startGridMode()
{
if(m_MainScene->heroList.empty())
return;
m_IsStartGridMode = true;
Point GridCenter = findGridCenter();
if(memberNumber == 1)
return;
else if(memberNumber == 2)
{
// 0
// 1
originRelativeVec[0] = Vec2(0,Grid_Slot_Radius);
originRelativeVec[1] = Vec2(0,-Grid_Slot_Radius);
}
else if(memberNumber == 3)
{
Point firstPos = GridCenter + Vec2(0,Grid_Slot_Radius);
Point secondPos = firstPos.rotateByAngle(GridCenter, CC_DEGREES_TO_RADIANS(-120));
Point thirdPos = secondPos.rotateByAngle(GridCenter, CC_DEGREES_TO_RADIANS(-120));
// 0
//
// 1 2
originRelativeVec[0] = firstPos - GridCenter;
originRelativeVec[1] = secondPos - GridCenter;
originRelativeVec[2] = thirdPos - GridCenter;
}
else if(memberNumber == 4)
{
Point firstPos = GridCenter + Vec2(0,Grid_Slot_Radius);
Point secondPos = firstPos.rotateByAngle(GridCenter, CC_DEGREES_TO_RADIANS(-90));
Point thirdPos = secondPos.rotateByAngle(GridCenter, CC_DEGREES_TO_RADIANS(-90));
Point fourthPos = thirdPos.rotateByAngle(GridCenter, CC_DEGREES_TO_RADIANS(-90));
// 0 战士
// 1 2 猎人 法师
// 3 牧师
originRelativeVec[0] = firstPos - GridCenter;
originRelativeVec[1] = fourthPos - GridCenter;
originRelativeVec[2] = secondPos - GridCenter;
originRelativeVec[3] = thirdPos - GridCenter;
}
//认领slot位置
int slotIndex = 0;
int minSpeed = 999;
for(auto hero : m_MainScene->heroList) //已经排序
{
if(!hero->getIsAlly() && !hero->getIsDead())
{
hero->setSlotIndex(slotIndex);
slotIndex ++;
auto actorInfo = GameData::getActorInfoFromMap(hero->getUnitID());
if(actorInfo->speed < minSpeed)
minSpeed = actorInfo->speed;
}
}
3. 根据一号英雄相对中心对象的方向来确定阵型初始朝向
Point firstmanPos = m_MainScene->heroList.front()->getCenterPoint();
// crossover_point(firstmanPos, GridCenter, )
Vec2 heroVec = firstmanPos - GridCenter;
heroVec.normalize();
m_GridAngle = getDirectionByChief(heroVec);
for(int index = 0; index < memberNumber; index++)
{
Vec2 cur = originRelativeVec[index];
Point curPoint = cur + GridCenter;
curPoint = curPoint.rotateByAngle(GridCenter, m_GridAngle);
cur = curPoint - GridCenter;
slotRelativeVec[index] = cur;
}
4. 所有英雄各就各位
for(auto hero : m_MainScene->heroList)
{
if(!hero->getIsAlly() && !hero->getIsDead())
{
Vec2 curVec = slotRelativeVec[hero->getSlotIndex()];
Point des = GridCenter + curVec;
hero->setDestinationPoint(des);
}
}
....
}
5. 当阵型移动,根据 ”中心对象“相对目的地位置 targetPos来更新阵型朝向角度GridAngle
再根据GridAngle刷新 每个槽的相对向量 cur
void GameControlManager::setGridDirection(Point targetPos)
{
//更新阵型朝向
auto GridCenter = getGridCenter();
Vec2 chiefVec = targetPos - GridCenter;
chiefVec.normalize();
m_GridAngle = getDirectionByChief(chiefVec);
for(int index = 0; index < memberNumber; index++)
{
Vec2 cur = originRelativeVec[index];
Point curPoint = cur + m_gridObject->getPosition();
curPoint = curPoint.rotateByAngle(m_gridObject->getPosition(),m_GridAngle); //在原基础上旋转
cur = curPoint - m_gridObject->getPosition();
slotRelativeVec[index] = cur;
}
m_gridObject->setRotation(CC_RADIANS_TO_DEGREES(-m_GridAngle));
}
6. 每一帧让角色移动到自己对应的槽
void GameControlManager::updateGridDirection()
{
Point slot = getSlotPosByIndex(hero->getSlotIndex());
if(hero->getCenterPoint().distance(slot) > getElasticRange())
{
hero->moveToward(slot);
}
}
这篇关于基于cocos2dx的RPG简单实用算法之3 - 多角色跟随阵型移动的文章就介绍到这儿,希望我们推荐的文章对编程师们有所帮助!


