本文主要是介绍对博客系统基本功能进行自动化测试(Junit + Selenium),希望对大家解决编程问题提供一定的参考价值,需要的开发者们随着小编来一起学习吧!
环境搭建:
- 浏览器:
- 本次测试使用Chrome浏览器
- 在jdk的bin目录下安装对应浏览器驱动(尽量选择与浏览器版本相近的驱动)chromedriver.storage.googleapis.com/index.html
- Junit依赖:
<!-- https://mvnrepository.com/artifact/org.junit.jupiter/junit-jupiter-api --><dependency><groupId>org.junit.jupiter</groupId><!--编写用例的基本注解--><artifactId>junit-jupiter-api</artifactId><version>5.9.1</version></dependency><dependency><!--参数化测试依赖--><groupId>org.junit.jupiter</groupId><artifactId>junit-jupiter-params</artifactId><version>5.9.1</version></dependency><dependency><!--这个库提供JUnit平台的核心功能,比如共享的测试接口、注解和工具类--><groupId>org.junit.platform</groupId><artifactId>junit-platform-commons</artifactId><version>1.9.1</version> <!-- 请根据需要调整为与JUnit 5.9.1兼容的版本 --></dependency><!-- https://mvnrepository.com/artifact/org.junit.platform/junit-platform-suite --><dependency><groupId>org.junit.platform</groupId><artifactId>junit-platform-suite</artifactId><version>1.9.1</version><scope>test</scope></dependency><dependency><groupId>org.junit.platform</groupId><artifactId>junit-platform-suite-api</artifactId><version>1.9.1</version></dependency><!--JUnit Jupiter的测试引擎,实现了JUnit Platform的TestEngine接口。它负责发现和执行使用JUnit Jupiter API编写的测试。--><dependency><groupId>org.junit.jupiter</groupId><artifactId>junit-jupiter-engine</artifactId><version>5.9.1</version><scope>test</scope></dependency> - Selenium依赖
<dependency><groupId>org.seleniumhq.selenium</groupId><artifactId>selenium-java</artifactId><version>3.141.59</version></dependency><dependency><groupId>org.seleniumhq.selenium</groupId><artifactId>selenium-support</artifactId><version>3.141.59</version></dependency>测试用例:
网站:登陆页面
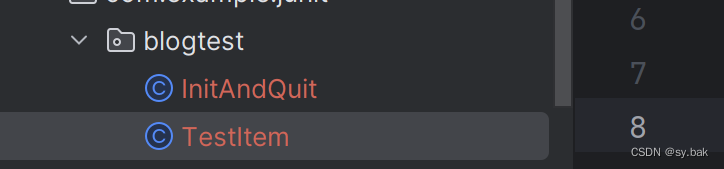
项目结构:
InitAndQuit进行测试初始化和收尾工作
TestItem包含对各个页面基本功能的自动化测试用例
初始化以及资源关闭:
/*** @ClassName InitAndQuit* @Description 初识化测试相关以及测试结束资源关闭* @Author 86153* @Date 2024/4/30 10:20* @Version 1.0**/
public class InitAndQuit {static WebDriver webDriver;@BeforeAllstatic void init() {webDriver = new ChromeDriver();}@AfterAllstatic void quit() {webDriver.quit();}
}
登录页面测试用例:

- 输入给定邮箱点击获取验证码:
//验证码private static String emailCode;//在注册页面点击获取验证码按钮@ParameterizedTest@CsvFileSource(resources = "login.csv")@Order(0)void loginTest(String account) throws InterruptedException {webDriver.get("http://8.130.70.131:8080/login.html");webDriver.manage().timeouts().implicitlyWait(10, TimeUnit.SECONDS);webDriver.findElement(By.cssSelector("#username")).sendKeys(account);WebDriverWait wait = new WebDriverWait(webDriver,10);//这里 获取验证码 和 提交按钮为俩个一样的button,所以需要进行按钮的选择WebElement clickElement = wait.until(ExpectedConditions.elementToBeClickable(By.cssSelector("#submit")));List<WebElement> elements = webDriver.findElements(By.cssSelector("#submit"));elements.get(0).click();}- 从邮箱中拿到验证码
/*邮箱登录拿到验证码*/@Test@Order(1)void getCaptcha() throws InterruptedException {webDriver.get("https://www.baidu.com/");webDriver.manage().timeouts().implicitlyWait(10, TimeUnit.SECONDS);webDriver.findElement(By.cssSelector(".s_ipt")).sendKeys("https://mail.qq.com/");webDriver.findElement(By.cssSelector("#su")).click();webDriver.manage().timeouts().implicitlyWait(5, TimeUnit.SECONDS);//保存当前窗口的句柄String originalWindow = webDriver.getWindowHandle();webDriver.findElement(By.cssSelector("#\\31 > div > div:nth-child(1) > h3 > a")).click();//切换窗口Set<String> set = webDriver.getWindowHandles();for(String cur : set) {if(!cur.equals(originalWindow)) {webDriver.switchTo().window(cur);}}//登录邮箱//注意这里切换frame时要先去选择获取到frameWebElement iframe = webDriver.findElement(By.cssSelector("#QQMailSdkTool_login_loginBox_qq > iframe"));webDriver.switchTo().frame(iframe);WebElement iframe1 = webDriver.findElement(By.cssSelector("#ptlogin_iframe"));webDriver.switchTo().frame(iframe1);//点击用户头像进行登录(电脑登陆了QQ)webDriver.findElement(By.cssSelector("#img_out_3224881242")).click();sleep(10000);//进入对应邮件webDriver.findElement(By.cssSelector("#mailMainApp > div.frame_main.mail_app > div > div > div > div.mailList_listWrapper > div.mailList_group > div:nth-child(1) > div.mailList_group_item_cnt > table > tbody > tr:nth-child(1)")).click();//拿到验证码WebElement element = webDriver.findElement(By.cssSelector("#readmail_content_html > span"));String text = element.getText();emailCode = text;}- 登录
//登陆页面测试@ParameterizedTest@CsvFileSource(resources = "login.csv")@Order(2)void loginTest(String account,String password) throws InterruptedException {//进入登陆页面webDriver.get("http://8.130.70.131:8080/login.html");//隐式等待webDriver.manage().timeouts().implicitlyWait(10, TimeUnit.SECONDS);//输入账号密码验证码webDriver.findElement(By.cssSelector("#username")).sendKeys(account);webDriver.findElement(By.cssSelector("#password")).sendKeys(password);webDriver.findElement(By.cssSelector("#captcha")).sendKeys(emailCode);//显示等待WebDriverWait wait = new WebDriverWait(webDriver,10);//这里 获取验证码 和 提交按钮为俩个一样的button,所以需要进行按钮的选择WebElement clickElement = wait.until(ExpectedConditions.elementToBeClickable(By.cssSelector("#submit")));List<WebElement> elements = webDriver.findElements(By.cssSelector("#submit"));elements.get(1).click();//显示等待,等待弹窗出现//注意这里是个坑,弹窗不属于页面内的元素,不能使用隐式等待wait.until(ExpectedConditions.alertIsPresent());//弹窗选择webDriver.switchTo().alert().accept();//等待进入新页面webDriver.manage().timeouts().implicitlyWait(10, TimeUnit.SECONDS);//校验urlString currentURL = webDriver.getCurrentUrl();Assertions.assertEquals("http://8.130.70.131:8080/myblog_list.html",currentURL);}
列表页测试用例:

//列表页自动化测试/*** 如果列表页博客数量不为0表示测试通过**/@Test@Order(3)void listTest() {webDriver.get("hhttp://8.130.70.131:8080/blog_list.html");webDriver.manage().timeouts().implicitlyWait(5,TimeUnit.SECONDS);int size = webDriver.findElements(By.cssSelector(".title")).size();System.out.println(size);Assertions.assertNotEquals(0,size);}个人列表页测试用例:
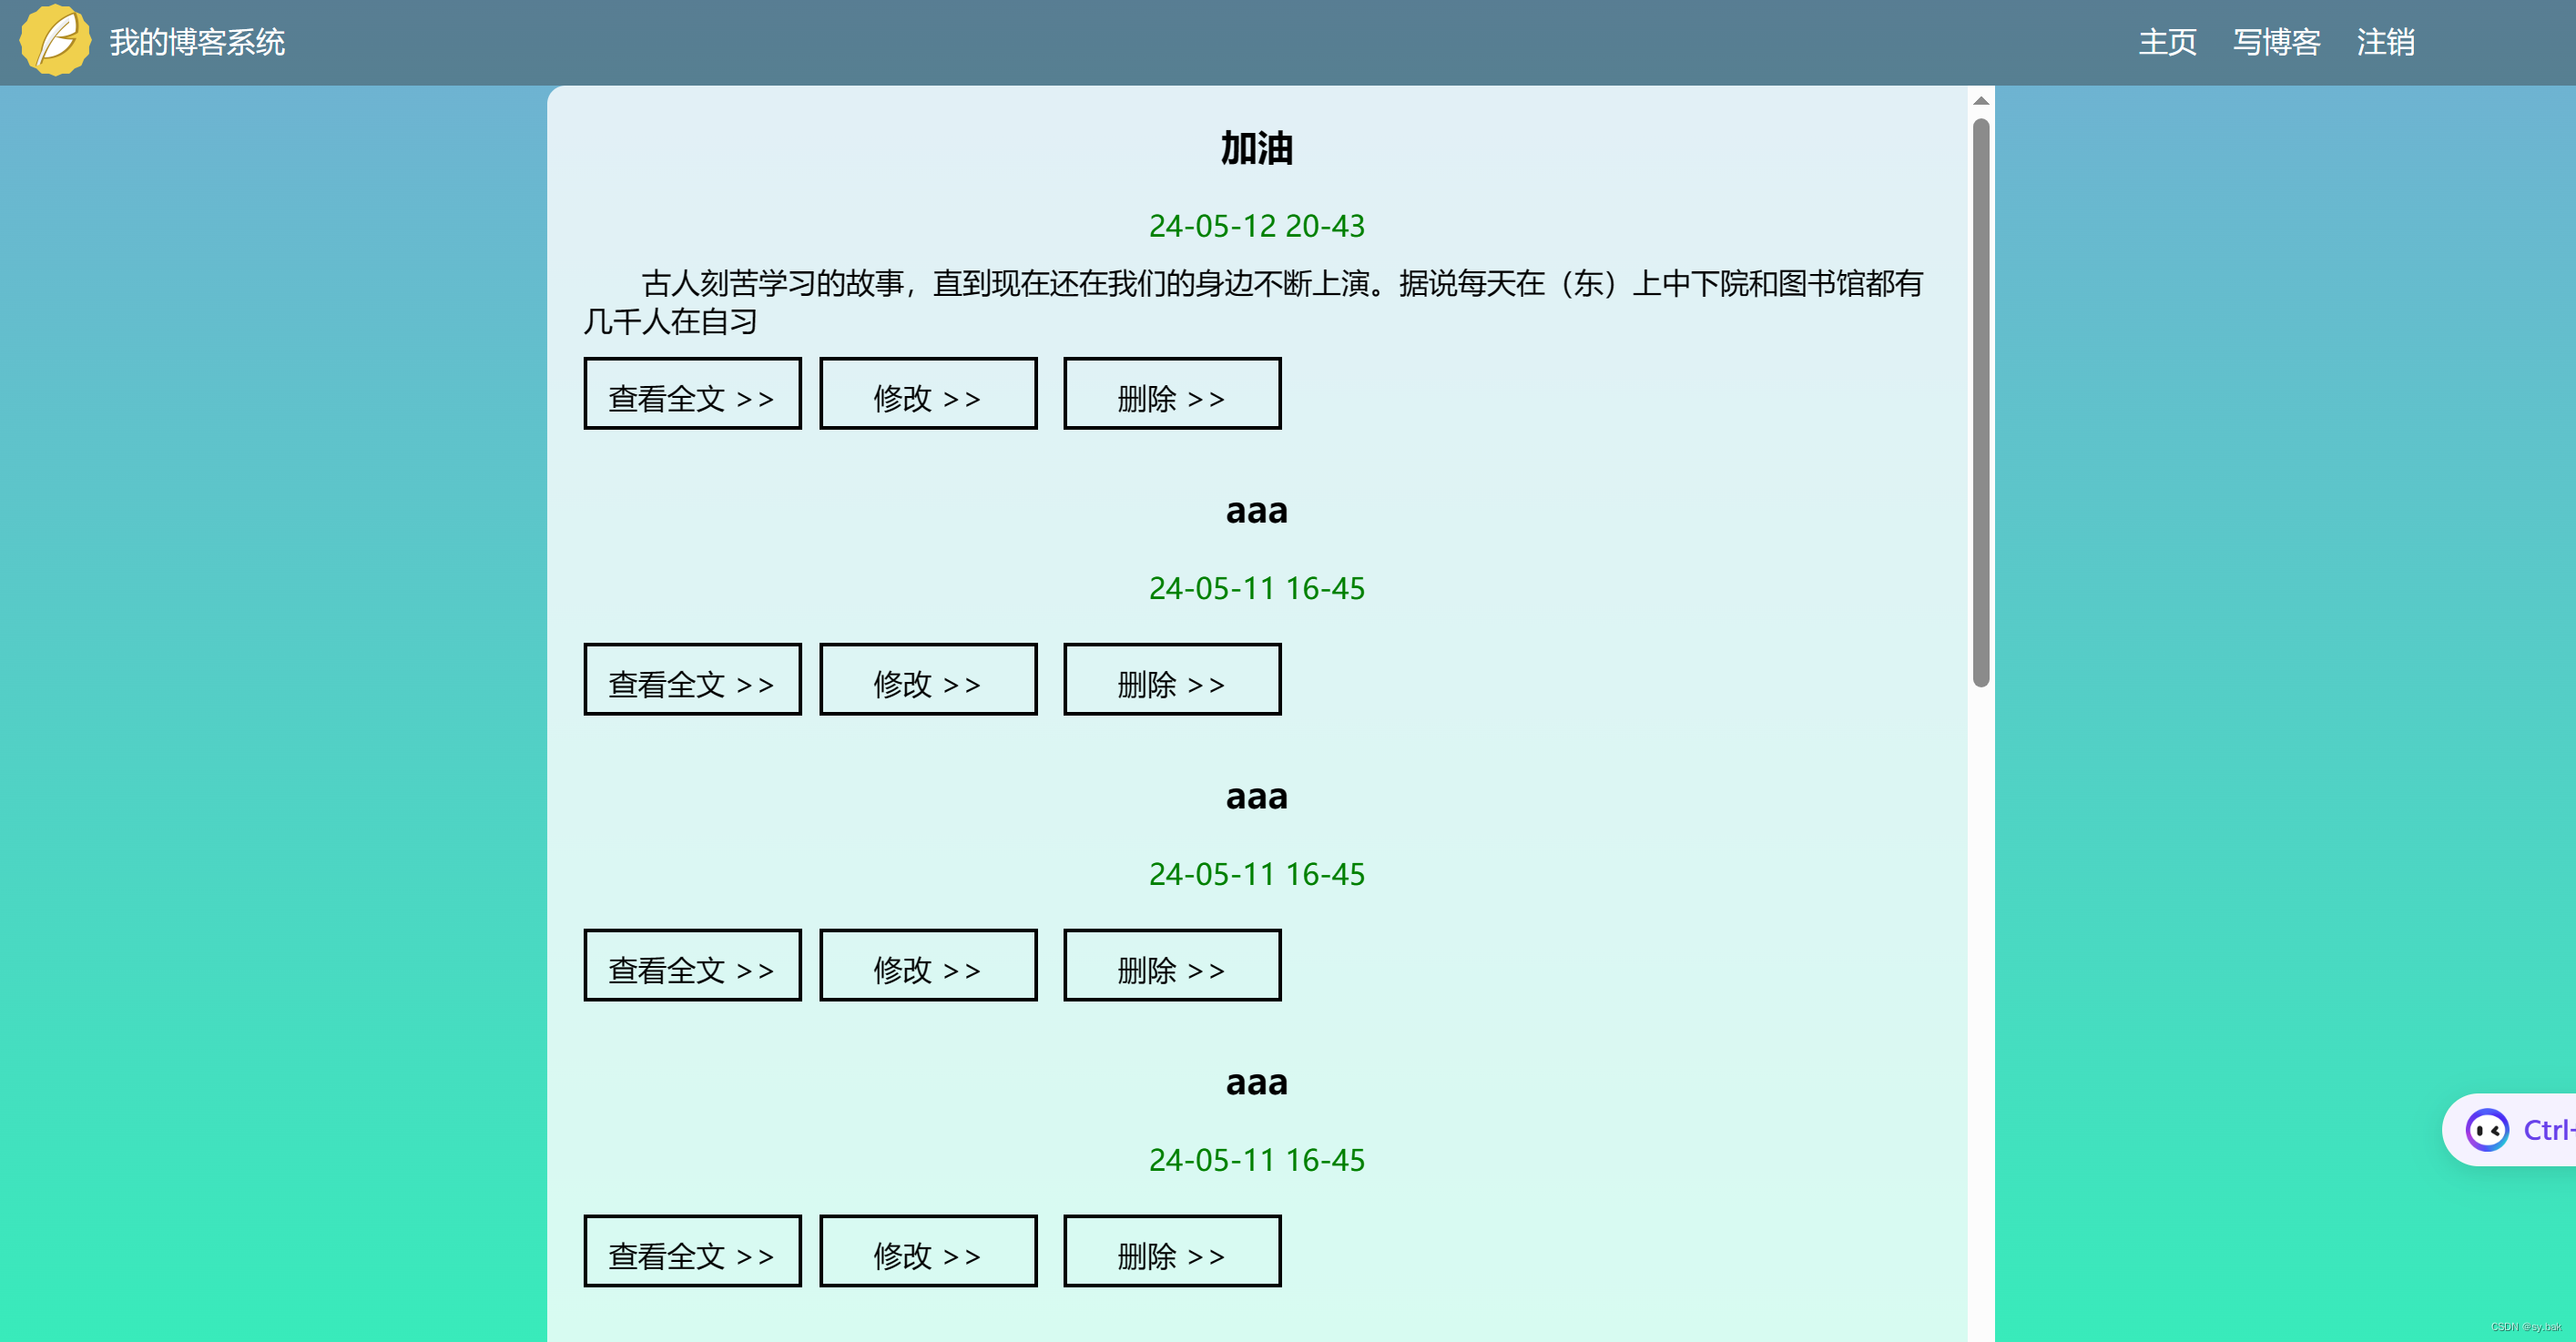
//个人列表页测试@Test@Order(4)void selfListTest() {webDriver.get("http://8.130.70.131:8080/myblog_list.html");//文章数量不为0测试List<WebElement> list = webDriver.findElements(By.cssSelector(".title"));int size = webDriver.findElements(By.cssSelector(".title")).size();System.out.println(size);Assertions.assertNotEquals(0,list.size());//测试“主页”按钮webDriver.findElement(By.cssSelector("body > div.nav > a:nth-child(4)")).click();webDriver.manage().timeouts().implicitlyWait(5,TimeUnit.SECONDS);String curUrl = webDriver.getCurrentUrl();Assertions.assertEquals("http://8.130.70.131:8080/blog_list.html",curUrl);//回退到个人主页webDriver.navigate().back();//测试“写博客按钮”webDriver.findElement(By.cssSelector("body > div.nav > a:nth-child(5)")).click();webDriver.manage().timeouts().implicitlyWait(5,TimeUnit.SECONDS);curUrl = webDriver.getCurrentUrl();Assertions.assertEquals("http://8.130.70.131:8080/blog_add.html",curUrl);webDriver.navigate().back();/* //测试“注销”按钮webDriver.findElement(By.cssSelector("body > div.nav > a:nth-child(6)")).click();webDriver.manage().timeouts().implicitlyWait(5,TimeUnit.SECONDS);curUrl = webDriver.getCurrentUrl();Assertions.assertEquals("http://8.130.70.131:8080/login.html",curUrl);*/}博客详情页测试用例:
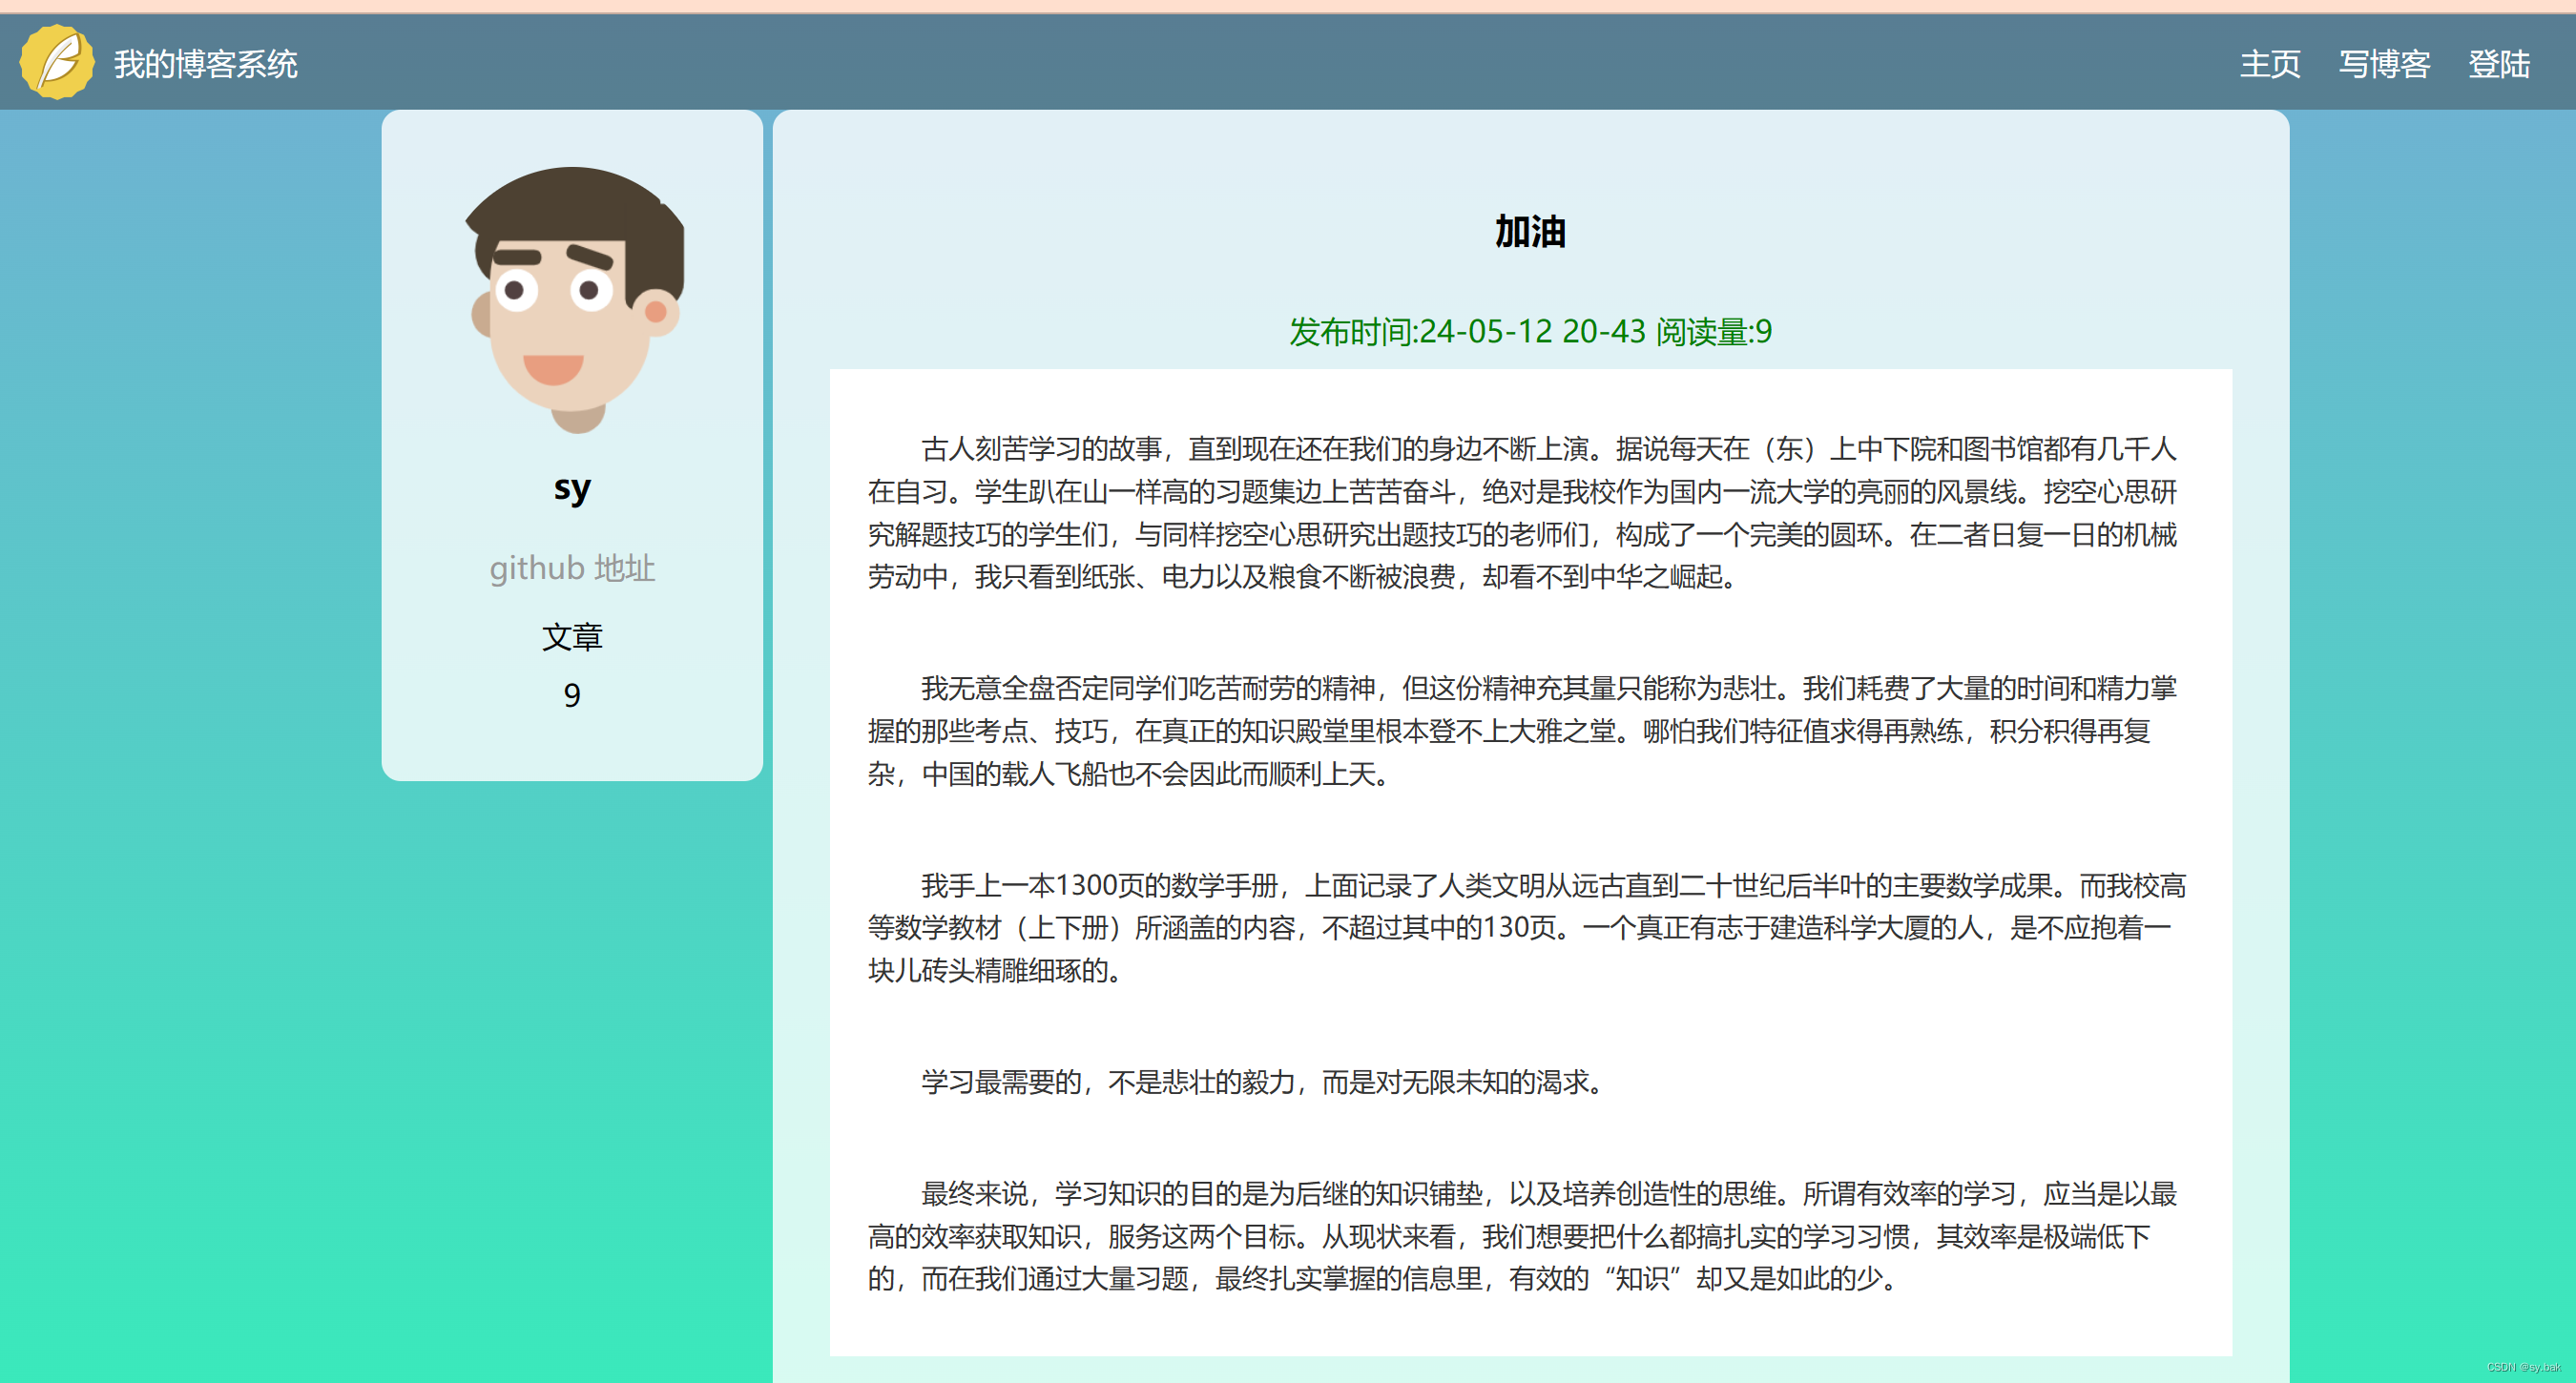
//博客详情页测试@ParameterizedTest@Order(5)@CsvFileSource(resources = "detail.csv")void detailTest(String destUrl,String destPageTitle,String destBlogTitle) {//进入列表页webDriver.get("http://8.130.70.131:8080/blog_list.html");//点击文章详情按钮,进入博客详情页webDriver.findElement(By.cssSelector("#artListDiv > div:nth-child(1) > a")).click();//校验页面url,页面title,博客题目webDriver.manage().timeouts().implicitlyWait(5,TimeUnit.SECONDS);String url = webDriver.getCurrentUrl();String pageTitle = webDriver.getTitle();String blogTitle = webDriver.findElement(By.cssSelector("#title")).getText();Assertions.assertEquals(destUrl,url);Assertions.assertEquals(destPageTitle,pageTitle);Assertions.assertEquals(destBlogTitle,blogTitle);}编辑页测试用例:
//博客编辑页测试@ParameterizedTest@Order(6)@CsvFileSource(resources = "edit.csv")void editTest(String data,String title) {webDriver.get("http://8.130.70.131:8080/blog_add.html");webDriver.manage().timeouts().implicitlyWait(5,TimeUnit.SECONDS);/* //直接使用通过js设置文章标题((JavascriptExecutor)webDriver).executeScript("document.getElementById(\"title\").value=\"自动化测试\"");*/webDriver.findElement(By.cssSelector("#title")).sendKeys("自动化测试");//发布文章webDriver.findElement(By.cssSelector("body > div.blog-edit-container > div.title > button")).click();//这里有一个”是否继续添加博客“的弹窗,进行选择后才跳转WebDriverWait wait = new WebDriverWait(webDriver,5);wait.until(ExpectedConditions.alertIsPresent());webDriver.switchTo().alert().dismiss();webDriver.manage().timeouts().implicitlyWait(5,TimeUnit.SECONDS);//校验url跳转String cur_url = webDriver.getCurrentUrl();Assertions.assertEquals("http://8.130.70.131:8080/myblog_list.html",cur_url);//校验第一篇博客的发布时间,标题String publishDate = webDriver.findElement(By.cssSelector("#artListDiv > div:nth-child(1) > div.date")).getText();String publishTitle = webDriver.findElement(By.cssSelector("#artListDiv > div:nth-child(1) > div.title")).getText();Assertions.assertEquals(title,publishTitle);if(publishDate.contains(data)) {System.out.println("测试通过");}else {System.out.println("发布时间错误");}//删除博客webDriver.findElement(By.cssSelector("#artListDiv > div:nth-child(1) > a:nth-child(6)")).click();webDriver.manage().timeouts().implicitlyWait(5,TimeUnit.SECONDS);//弹窗选择wait.until(ExpectedConditions.alertIsPresent());webDriver.switchTo().alert().accept();//校验第一篇博客是否被删除WebElement after_delete_title = webDriver.findElement(By.cssSelector("#artListDiv > div:nth-child(1) > div.title"));Assertions.assertNotEquals(title,after_delete_title);}注销:
//注销@Test@Order(7)void login_out() {webDriver.manage().timeouts().implicitlyWait(5,TimeUnit.SECONDS);//点击注销按钮webDriver.findElement(By.cssSelector("body > div.nav > a:nth-child(6)")).click();//显示等待alter弹窗出现WebDriverWait wait = new WebDriverWait(webDriver,5);wait.until(ExpectedConditions.alertIsPresent());//选择弹框并进行确定webDriver.switchTo().alert().accept();webDriver.manage().timeouts().implicitlyWait(5,TimeUnit.SECONDS);String cur_url = webDriver.getCurrentUrl();Assertions.assertEquals("http://8.130.70.131:8080/login.html",cur_url);}这篇关于对博客系统基本功能进行自动化测试(Junit + Selenium)的文章就介绍到这儿,希望我们推荐的文章对编程师们有所帮助!


