本文主要是介绍Windows系统下安装Mosquitto的步骤(7),希望对大家解决编程问题提供一定的参考价值,需要的开发者们随着小编来一起学习吧!
接前一篇文章:Windows系统下安装Mosquitto的步骤(6)
本文内容参考:
Windows下搭建MQTT服务器_mqtt服务器软件-CSDN博客
Enable SSL/TLS Connection | EMQX Enterprise Docs
特此致谢!
上一回讲解了使用MQTTX图形界面实现与远程服务器通信的功能。现在还剩一个问题没有解决:通过命令行实现带安全的MQTTX图形界面的功能。
上一回提到,笔者使用Mosquitto命令行,即使将IP地址、端口号、MQTT用户名、密码、名称以及“--cafile XXX”都加上了、都与实际相一致即与MQTTX图形界面中填入的内容一致,仍然不能向MQTTX图形界面那样,连接远程服务器。笔者尝试过各种方法,也怀疑过是某个参数还需要加入并尝试加入,但都不能正常连接。
由此引出了本回的主角 —— MQTTX CLI。
1. MQTTX CLI简介
MQTTX CLI的主页如下:
简介 - MQTTX CLI 文档
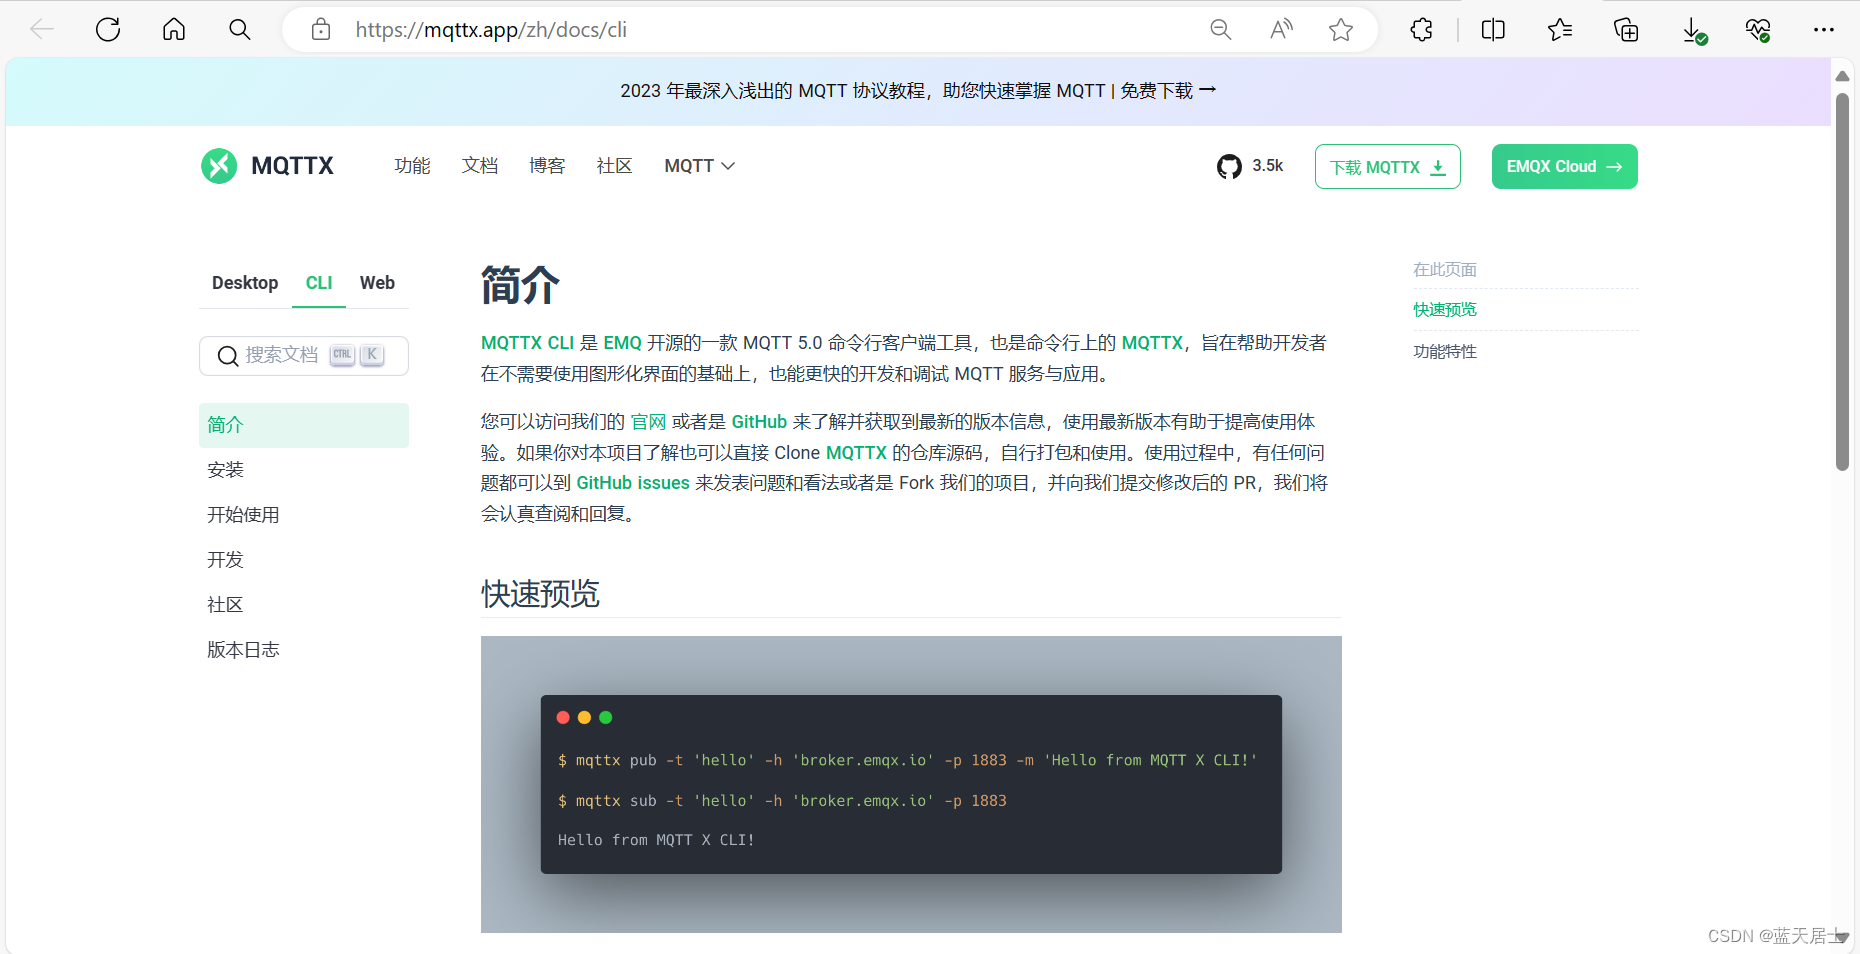
MQTTX CLI是EMQ开源的一款MQTT 5.0命令行客户端工具,也是命令行上的MQTTX,旨在帮助开发者在不需要使用图形化界面的基础上,也能更快地开发和调试MQTT服务与应用。
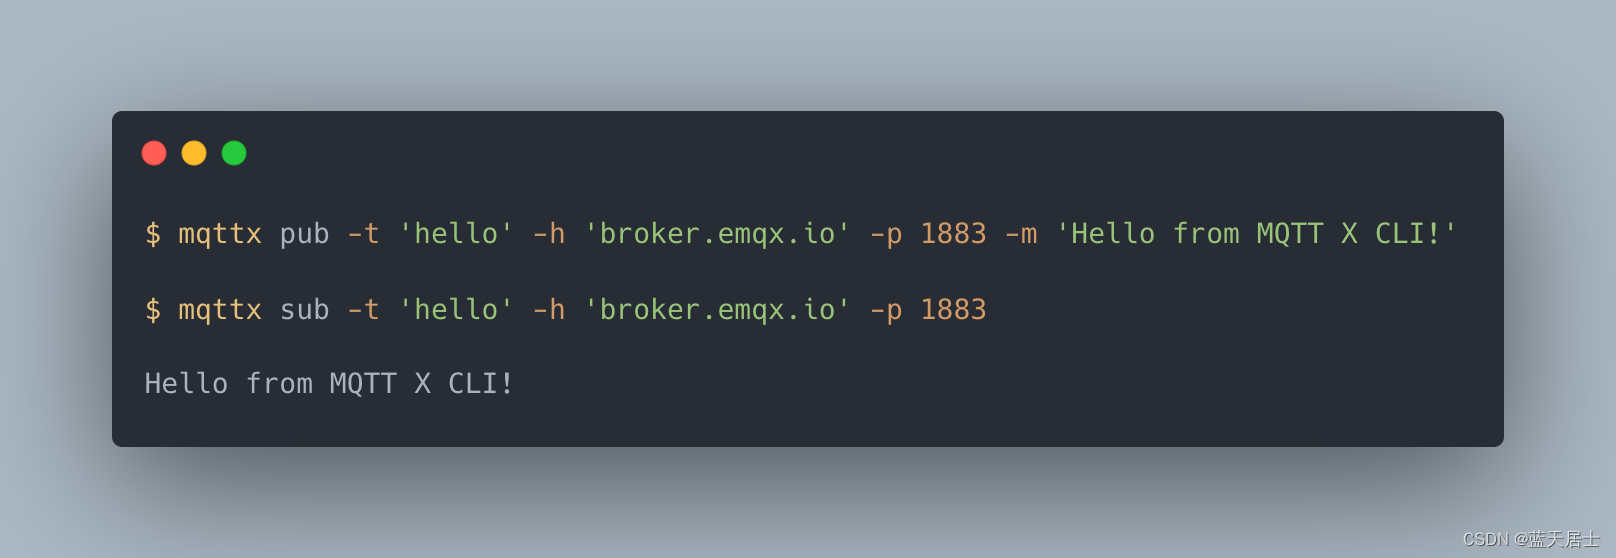
使用示例
功能特性
- 基于Apache License 2.0协议,开放源码
- 跨平台,支持Windows、macOS、Linux
- 无依赖限制,基于命令行的安装和使用,无任何环境依赖要求
- 易于集成,可快速集成到自动化测试脚本中
- 支持MQTT v3.1.1以及MQTT v5.0
- 支持CA、自签名证书,以及单、双向SSL认证
- 性能测试,快速测试MQTT服务的性能
2. MQTTX CLI下载
(1)转到下载页面
登录或跳转到以下页面:
MQTTX CLI: 强大而易用的 MQTT 命令行客户端
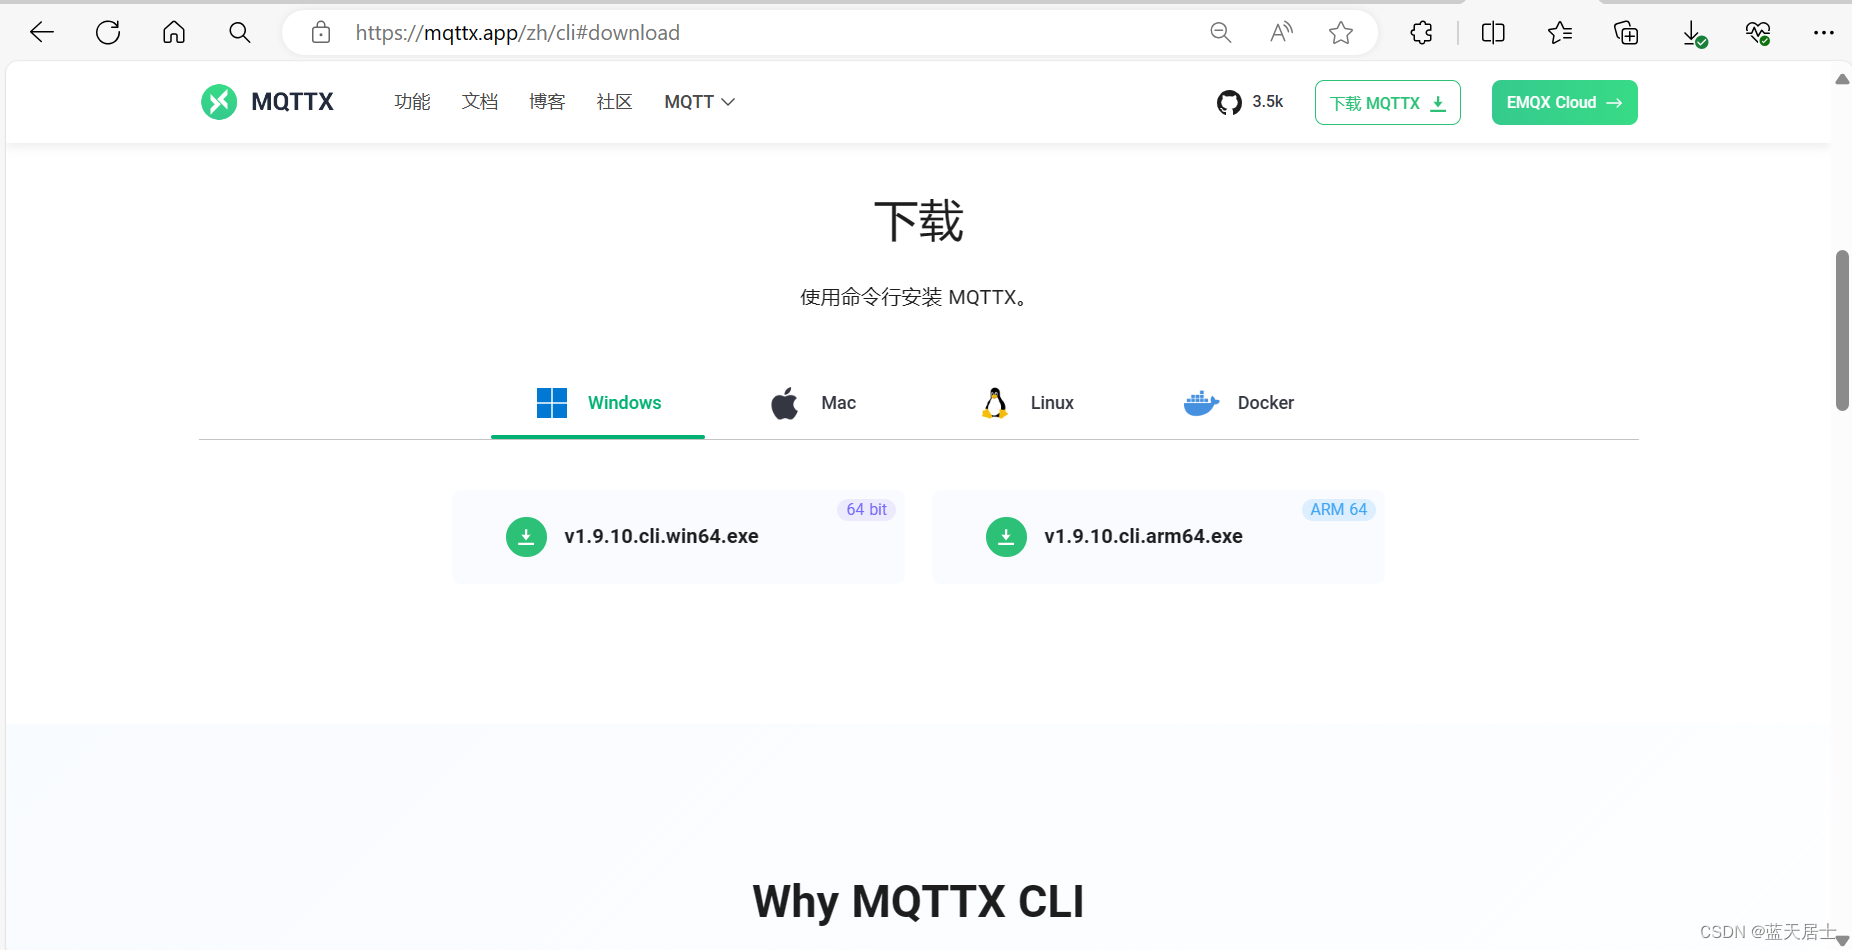
(2)选择下载版本
根据自己的电脑配置选择相应的版本。笔者的电脑是Win11 64位,因此选择的是“v1.9.10.cli.win64.exe”。
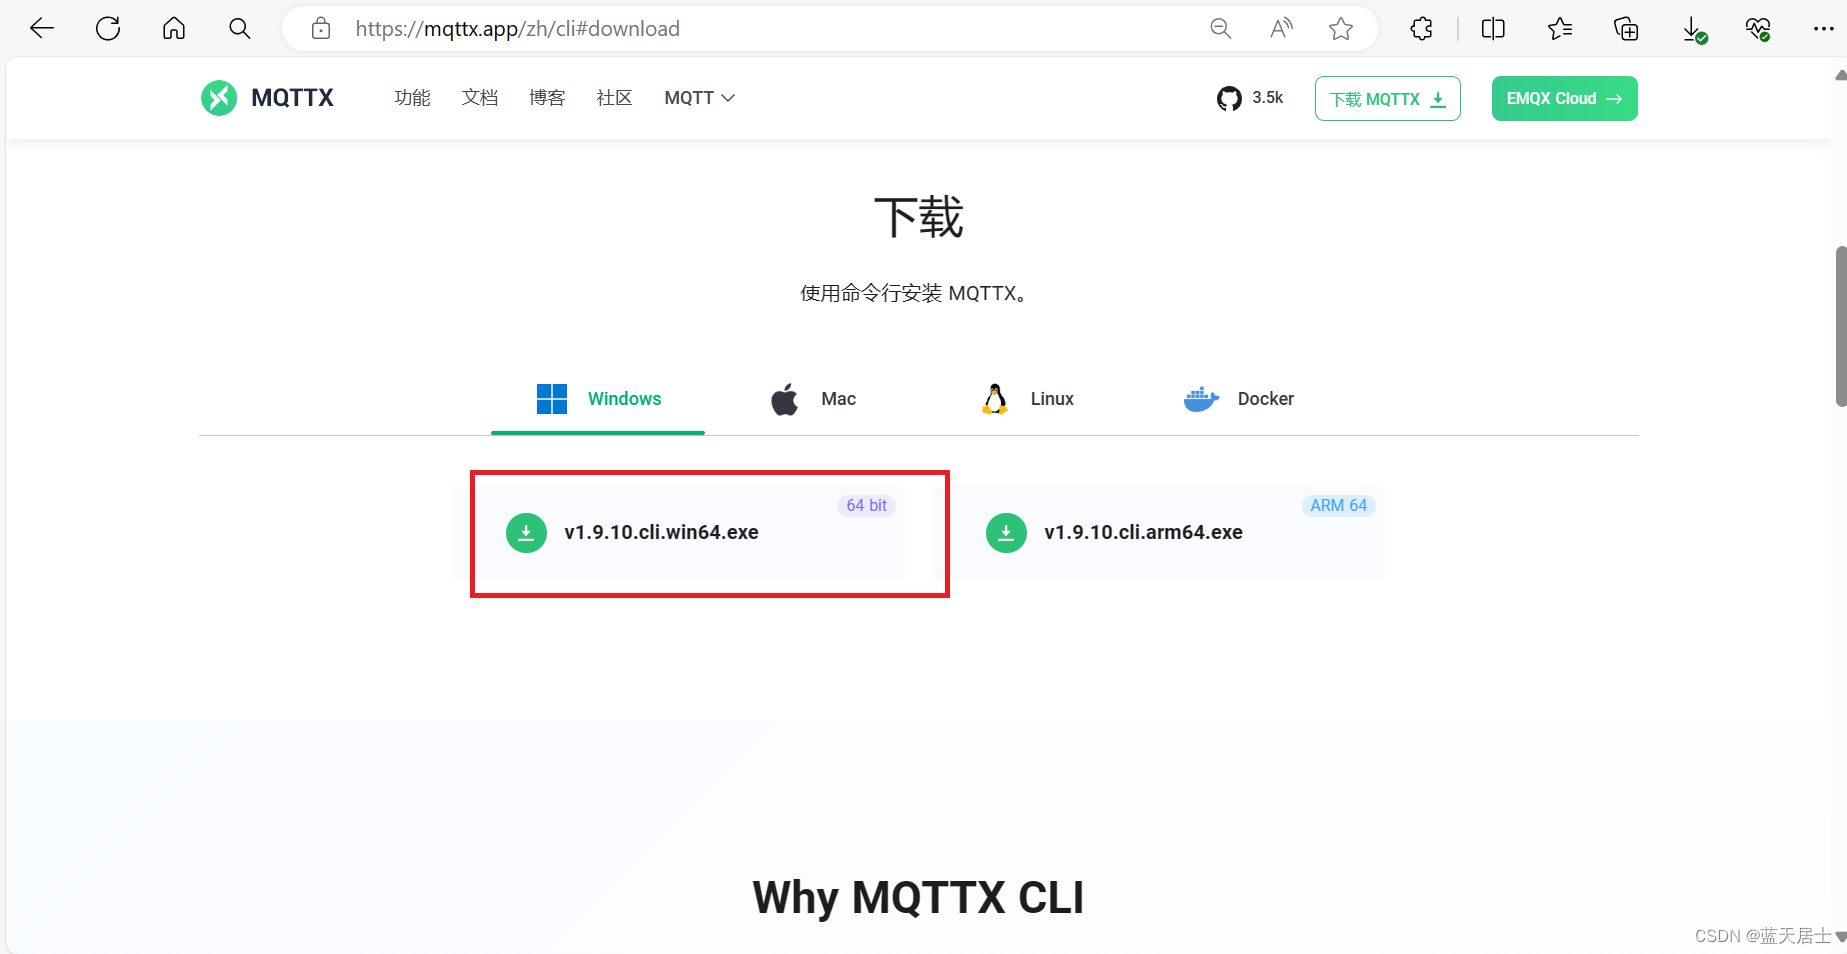
(3)进行下载
点击以上红色框中的链接,开始下载。
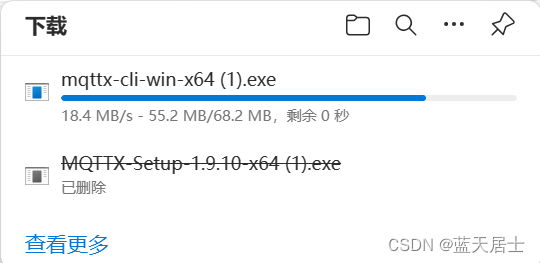
注:由于笔者之前下载过,因此再次下载时有个“ (1)”,如果是首次下载则没有。
(4)查看下载文件
下载完成后,文件名为:mqttx-cli-win-x64.exe(这里仍以笔者第一次下载的文件名为例)。

特别说明:
这里有一点特别说明一下,这个exe文件下载完成之后,可能会被电脑中的防火墙阻住。
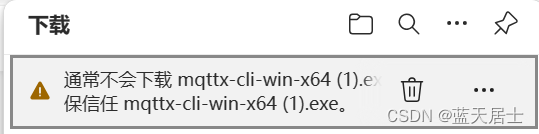
此时进行如下处理:
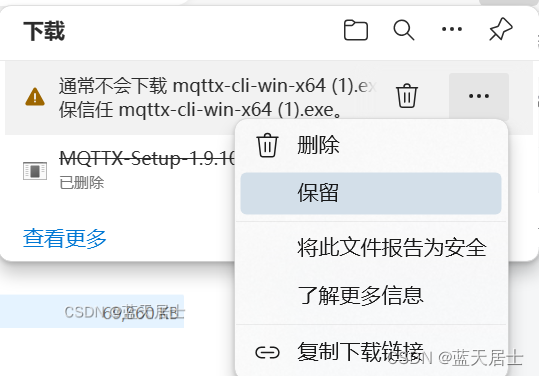

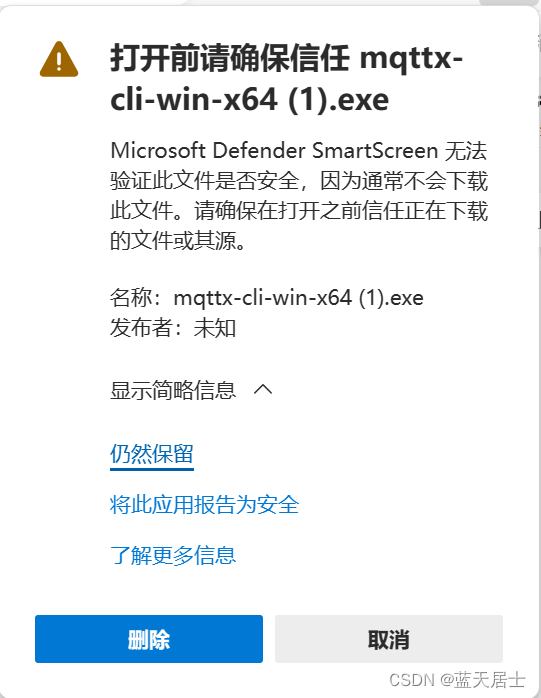
这样就能够真正下载下来了。
3. MQTTX CLI安装
MQTTX CLI无需安装。
笔者曾经按照正常的软件安装逻辑双击进行安装,结果一闪而过。以管理员身份运行,闪退得更快了。笔者一开始还以为是系统和这个软件存在兼容性问题,后来恍然大悟,这就是个直接在命令行调用的命令,无需安装。
看一下具体的命令提示:
> .\mqttx-cli-win-x64.exe -h
Usage: mqttx [options] [command]An MQTT client for the command lineOptions:-v, --version       output the version number-h, --help          display help for commandCommands:check               Check for updates.conn [options]      Create a connection and connect to MQTT Broker.pub [options]       Publish a message to a topic.sub [options]       Subscribes to one or more topics.bench               MQTT Benchmark in performance testing.simulate [options]  Publish scenario-specific simulation messages at a custom rate and a number of connections.ls [options]        List information based on the provided options.help [command]      display help for command
.\mqttx-cli-win-x64.exe pub --help
Usage: mqttx pub [options]Publish a message to a topic.Options:-t, --topic <TOPIC> the message topic-m, --message <BODY> the message body (default: "Hello From MQTTX CLI")-q, --qos <0/1/2> the QoS of the message (default: 0)-r, --retain send a retained message-d, --dup mark as duplicate flag-s, --stdin read the message body from stdin-M, --multiline read lines from stdin as multiple messages-pf, --payload-format-indicator the payload format indicator of the publish message-e, --message-expiry-interval <NUMBER> the lifetime of the publish message in seconds-ta, --topic-alias <NUMBER> value that is used to identify the topic instead of using the topicname-rt, --response-topic <TOPIC> string which is used as the topic name for a response message-cd, --correlation-data <DATA> used by the sender of the request message to identify which requestthe response message is for when it is received-up, --user-properties <USERPROPERTIES...> the user properties of MQTT 5.0 (e.g. -up "name: mqttx cli")-si, --subscription-identifier <NUMBER> the identifier of the subscription-ct, --content-type <TYPE> a description of the content of the publish message-V, --mqtt-version <5/3.1.1/3.1> the MQTT version (default: 5)-h, --hostname <HOST> the broker host (default: "localhost")-p, --port <PORT> the broker port-f, --format <TYPE> the format type of the input message, support base64, json, hex andcbor-i, --client-id <ID> the client id (default: "mqttx_4aae0769")--no-clean set the clean session flag to false-k, --keepalive <SEC> send a ping every SEC seconds (default: 30)-u, --username <USER> the username-P, --password <PASS> the password-l, --protocol <PROTO> the protocol to use, mqtt, mqtts, ws, or wss (default: "mqtt")--path <PATH> the path of websocket (default: "/mqtt")--key <PATH> path to the key file--cert <PATH> path to the cert file--ca <PATH> path to the ca certificate--insecure do not verify the server certificate--alpn <PROTO...> set one or multiple ALPN (Application Layer Protocol Negotiation)protocols-rp, --reconnect-period <MILLISECONDS> interval between two reconnections, disable auto reconnect bysetting to 0 (default: 1000)--maximum-reconnect-times <NUMBER> the maximum reconnect times (default: 10)-se, --session-expiry-interval <SECONDS> the session expiry interval in seconds--rcv-max, --receive-maximum <NUMBER> the receive maximum value--maximum-packet-size <NUMBER> the maximum packet size the client is willing to accept--topic-alias-maximum <NUMBER> the topic alias maximum value--req-response-info the client requests response information from the server--no-req-problem-info the client requests problem information from the server-Cup, --conn-user-properties <USERPROPERTIES...> the connect user properties of MQTT 5.0 (e.g. -Cup "name: mqttxcli")-Wt, --will-topic <TOPIC> the will topic-Wm, --will-message <BODY> the will message-Wq, --will-qos <0/1/2> the will qos-Wr, --will-retain send a will retained message-Wd, --will-delay-interval <SECONDS> the will delay interval in seconds-Wpf, --will-payload-format-indicator will message is UTF-8 encoded character data or not-We, --will-message-expiry-interval <SECONDS> lifetime of the will message in seconds-Wct, --will-content-type <CONTENTTYPE> description of the will message’s content-Wrt, --will-response-topic <TOPIC> topic name for a response message-Wcd, --will-correlation-data <DATA> correlation data for the response message-Wup, --will-user-properties <USERPROPERTIES...> the user properties of will message--save [PATH] save the parameters to the local configuration file, which supportsjson and yaml format, default path is ./mqttx-cli-config.json--config [PATH] load the parameters from the local configuration file, whichsupports json and yaml format, default path is./mqttx-cli-config.json-Pp, --protobuf-path <PATH> the path to the .proto file that defines the message format forProtocol Buffers (protobuf)-Pmn, --protobuf-message-name <NAME> the name of the protobuf message type (must exist in the .protofile)--debug enable debug mode for MQTT.js (default: false)--help display help for command4. 实际使用和问题
MQTTX CLI与MQTTX同宗同源,因此其命令应该与图形界面连接得更为紧密、也更为接近,应该能够找到与图形界面更为接近的命令选项。
经过笔者的实验和测试,命令如下:
.\mqttx-cli-win64.exe -h <host_ip_address> -p <port> -u <user_name> -P <password> -t <topic> -l mqtts --ca <full_path_of_ca_file>
代入示例值(不是真实值,只是为了说明)的命令如下:
.\mqttx-cli-win64.exe pub -h '123.234.345.456' -p 8877 -u user1 -P 1234 -t sensor -l mqtts --ca 'C:\Program Files\ca.cer'与前文书中Mosquitto的命令相比较:
.\mosquitto_pub.exe -h '123.234.345.456' -p 8877 -u user1 -P 1234 -t sensor --cafile 'C:\Program Files\ca.cer'但是,会出现以下错误:

意思也和通过Mosquitto出的错误差不多。
但是,MQTTX CLI比Mosquitto强,至少给出了具体的错误。笔者在网上搜索错误关键字“mqttx-cli-win-x64.exe Error [ERR_TLS_CERT_ALTNAME_INVALID]: Hostname/IP does”,在网上找到了一些网页和博文,比如:
TLS problem : ERR_TLS_CERT_ALTNAME_INVALID · Issue #573 · emqx/MQTTX · GitHub
Enable SSL/TLS for EMQX MQTT broker | EMQ
但似乎都不能直接解决这个问题,直到笔者看到了以下网页:
Enable SSL/TLS Connection | EMQX Enterprise Docs
这里边完全解释了出现此错误的原因以及相应的解决方法:

这一段的详细意思如下:
如果服务器证书公用名称(CN)与客户端在连接过程中指定的服务器地址不匹配,将发生以下错误:
Error [ERR_TLS_CERT_ALTNAME_INVALID]: Hostname/IP does not match certificate's altnames: Host: localhost. is not cert's CN: Server在这种情况下,可以将客户端证书CN设置为与服务器地址匹配,或者使用--insecure选项忽略证书CN验证:
mqttx sub -t 't/1' -h localhost -p 8883 \--protocol mqtts \--ca certs/rootCA.crt \--insecure也就是说,加入“--insecure”就能够解决问题了。在上边的MQTTX CLI命令行中加入此选项,命令如下:
.\mqttx-cli-win64.exe -h <host_ip_address> -p <port> -u <user_name> -P <password> -t <topic> -l mqtts --ca <full_path_of_ca_file> --insecure
命令示例如下:
.\mqttx-cli-win64.exe pub -h '123.234.345.456' -p 8877 -u user1 -P 1234 -t sensor -l mqtts --ca 'C:\Program Files\ca.cer' --insecure再次执行命令后,实际结果如下:

错误没有再出现,讷讷狗正常发布消息了。在MQTTX的界面中也收到了信息:

至此,MQTTX和MQTTX CLI的全部功能都已实现了,全部内容也就都讲解完了。Mosquitto、MQTTX、MQTTX CLI的整个下载 、安装、配置,遇到问题、解决问题的全过程也都讲解完了。
这篇关于Windows系统下安装Mosquitto的步骤(7)的文章就介绍到这儿,希望我们推荐的文章对编程师们有所帮助!


