本文主要是介绍Android 模拟器硬件加速,希望对大家解决编程问题提供一定的参考价值,需要的开发者们随着小编来一起学习吧!
转载自:
https://software.intel.com/en-us/blogs/2012/03/12/how-to-start-intel-hardware-assisted-virtualization-hypervisor-on-linux-to-speed-up-intel-android-x86-emulator
先翻译过来简述一下:
Android模拟器有一个叫HAXM的东西,这个东西是Intel给Android模拟器做硬件加速用的。需要支持VT技术的Intel CPU以及Windows系统。
对于使用AMD+Ubuntu的似乎就要悲剧了,其实Linux本身就有类似的东西,叫做KVM,上面这文章就是教你如何安装KVM的。
下面的步骤是按照上面文章来做的,部分简略。
1. 检查你的CPU是否支持虚拟技术
$ egrep -c '(vmx|svm)' /proc/cpuinfo2. 检查是否支持KVM
$sudo apt-get install cpu-checker
$sudo kvm-ok
INFO: /dev/kvm exists
KVM acceleration can be used
那么你是已经安装了KVM,可以直接使用KVM了。
如果提示
INFO: /dev/kvm does not exist
HINT: sudo modprobe kvm_amd
INFO: Your CPU supports KVM extensions
INFO: KVM (svm) is disabled by your BIOS
HINT: Enter your BIOS setup and enable Virtualization Technology (VT),
and then hard poweroff/poweron your system
KVM acceleration can NOT be used
说明KVM还没有安装。
3. 安装KVM
$sudo apt-get install qemu-kvm libvirt-bin ubuntu-vm-builder bridge-utils4. 把当前用户加入到kvm和libvirtd组
$sudo adduser your_user_name kvm
$sudo adduser your_user_name libvirtd5. 重新创建一个模拟器
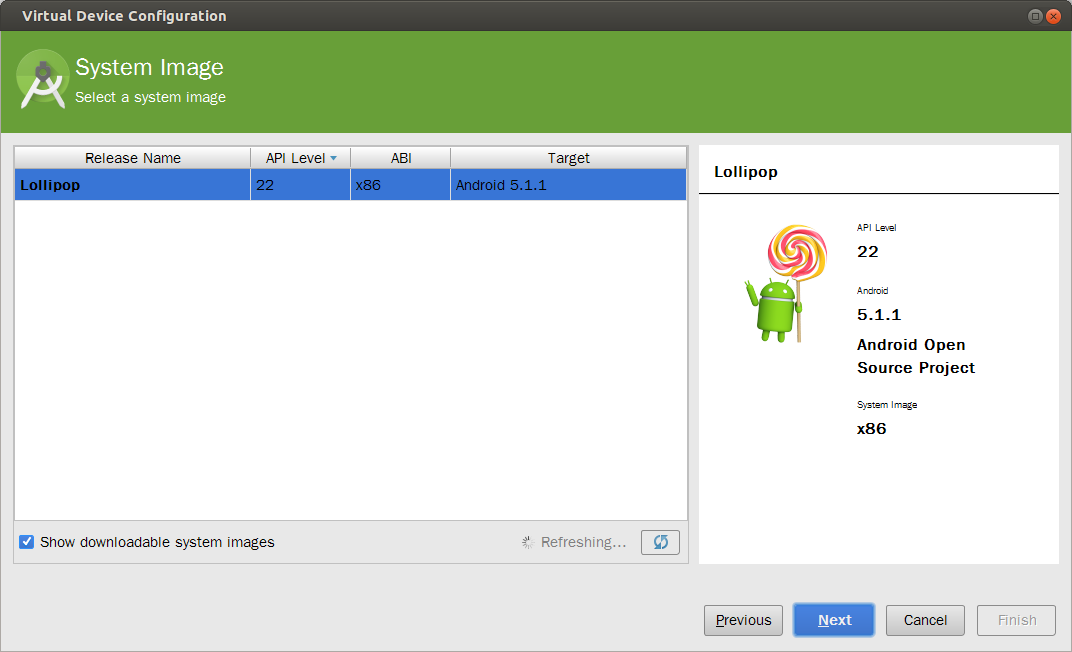
先在SDK Manager那里下载一个Intel Atom X86 System Image,然后在Android Studio那里创建一个新的Virtual Device,选择X86的镜像。
这时候,右边的System Image就会提示是X86,但就不会再有一行红色字提示安装HAXM了,如下图。
6. 这速度,这酸爽
How to Start Intel Hardware-assisted Virtualization (hypervisor) on Linux to Speed-up Intel Android x86 Emulator
The Intel Hardware Accelerated Execution Manager (Intel® HAXM) is a hardware-assisted virtualization engine (hypervisor) that uses Intel Virtualization Technology (VT) to speed up Android app emulation on a host machine. In combination with Android x86 emulator images provided by Intel and the official Android SDK Manager, HAXM allows for faster Android emulation on Intel VT enabled systems. HAXM for both Windows and OS X are available now.Since Google mainly support Android build on Linux platform (with Ubuntu 64-bit OS as top Linux platform, and OS X as 2nd), and a lot of Android Developers are using AVD on Eclipse hosted by a Linux system, it is very critical that Android developers take advantage of Intel hardware-assisted KVM virtualization for Linux just like HAXM for Windows and OS X.
Below are the quick step-by-step's on how to install, enable KVM on Ubuntu host platform and start Intel Android x86 Gingerbread emulator with Intel hardware-assisted virtualization (hypervisor). The result is very pleasing and AVD runs significantly faster and smoother than without hypervisor
KVM Installation
I referred the instructions from Ubuntu community documentation page. to get KVM installed.To see if your processor supports hardware virtualization, you can review the output from this command:
$ egrep -c '(vmx|svm)' /proc/cpuinfo
I got 64. If 0 it means that your CPU doesn't support hardware virtualization.
Next is to install CPU checker:
$ sudo apt-get install cpu-checker
Now you can check if your cpu supports kvm:
$kvm-ok
If you see:
"INFO: Your CPU supports KVM extensions
INFO: /dev/kvm exists
KVM acceleration can be used"
It means you can run your virtual machine faster with the KVM extensions.
If you see:
"INFO: KVM is disabled by your BIOS
HINT: Enter your BIOS setup and enable Virtualization Technology (VT),
and then hard poweroff/poweron your system
KVM acceleration can NOT be used"
You need to go to BIOS setup and enable the VT.
Use a 64 bit kernel
Running a 64 bit kernel on the host operating system is recommended but not required.
To serve more than 2GB of RAM for your VMs, you must use a 64-bit kernel (see 32bit_and_64bit). On a 32-bit kernel install, you'll be limited to 2GB RAM at maximum for a given VM.
Also, a 64-bit system can host both 32-bit and 64-bit guests. A 32-bit system can only host 32-bit guests.
To see if your processor is 64-bit, you can run this command:
$ egrep -c ' lm ' /proc/cpuinfo
If 0 is printed, it means that your CPU is not 64-bit.
If 1 or higher, it is. Note: lm stands for Long Mode which equates to a 64-bit CPU.
Now see if your running kernel is 64-bit, just issue the following command:
$ uname -m
x86_64 indicates a running 64-bit kernel. If you see i386, i486, i586 or i686, you're running a 32-bit kernel.
Install KVM
For Ubuntu Lucid (10.04) or later:
$ sudo apt-get install qemu-kvm libvirt-bin ubuntu-vm-builder bridge-utils
You may ignore the Postfix Configuration below by selecting "No Configuration"
Next is to add your <username> account to the group kvm and libvirtd
$ sudo adduser your_user_name kvm
$ sudo adduser your_user_name libvirtd
After the installation, you need to relogin so that your user account becomes an effective member of kvm and libvirtd user groups. The members of this group can run virtual machines.
Verify Installation
You can test if your install has been successful with the following command:
$ sudo virsh -c qemu:///system list
Your screen will paint the following below if successful:
Id Name State
----------------------------------
Start the AVD from Android SDK Directly from Terminal
Now start the Android for x86 Intel Emulator using the following command:
$ <SDK directory>/tools/emulator-x86 -avd Your_AVD_Name -qemu -m 2047 -enable-kvm
Only a 64-bits Ubuntu can allow you to run allocated Memory of 2G or more. My 64-bit Ubuntu has 6G of Memory, so I used 1/3 of it for Android AVD. My AVD name is Intel_Atom_x86_64. '-qemu' provides the options to qemu, and '-m' specifies the amount of memory for the emulated Android (i.e. guest). If you use too small value for that, it's possible that performance is bad because of frequent swapping activities. Add '-show-kernel' to see the message from the kernel.
Start the AVD by AVD Manager in Eclipse
Below is procedures recommended by Google. If you are running the emulator from Eclipse, run your Android application with an x86-based AVD and include the KVM options:
- In Eclipse, click your Android project folder and then select Run > Run Configurations...
- In the left panel of the Run Configurations dialog, select your Android project run configuration or create a new configuration.
- Click the Target tab.
- Select the x86-based AVD you created previously.
- In the Additional Emulator Command Line Options field, enter:
-qemu -m 2047 -enable-kvm
- Run your Android project using this run configuration.
这篇关于Android 模拟器硬件加速的文章就介绍到这儿,希望我们推荐的文章对编程师们有所帮助!


