本文主要是介绍centos编译安装nginx1.24,希望对大家解决编程问题提供一定的参考价值,需要的开发者们随着小编来一起学习吧!
nginx编译1.24,先下载安装包
机器通外网的话配置nginx的yum源直接yum安装
vim /etc/yum.repos.d/nginx.repo
[nginx-stable]
name=nginx stable repo
baseurl=http://nginx.org/packages/centos/$releasever/$basearch/
gpgcheck=1
enabled=1
gpgkey=https://nginx.org/keys/nginx_signing.key
module_hotfixes=true[nginx-mainline]
name=nginx mainline repo
baseurl=http://nginx.org/packages/mainline/centos/$releasever/$basearch/
gpgcheck=1
enabled=0
gpgkey=https://nginx.org/keys/nginx_signing.key
module_hotfixes=true
保存退出
yum install nginx -y
不通外网就下载源码包,编译安装
编译安装
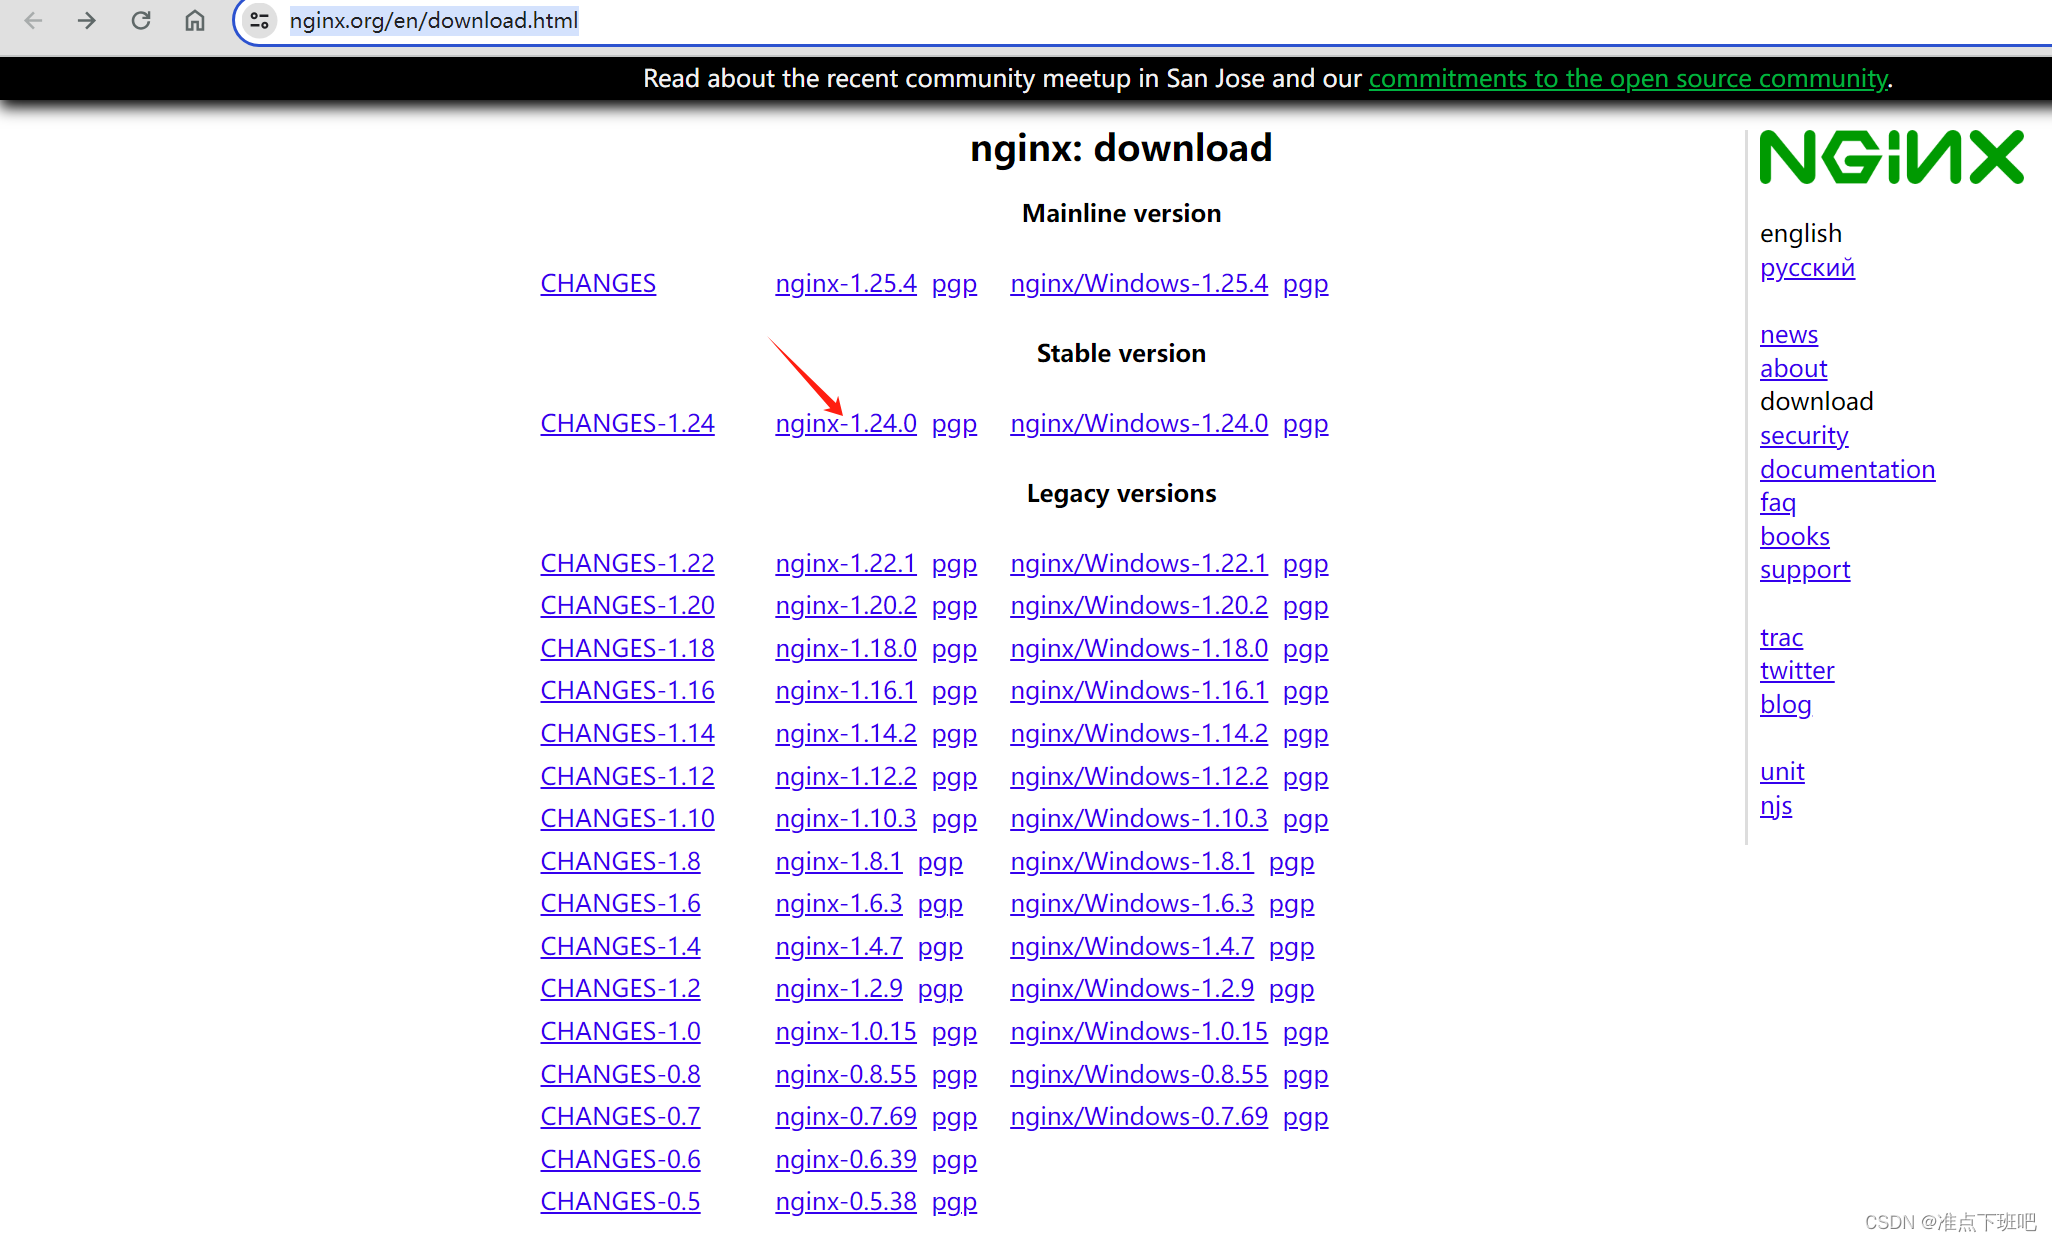
nginx下载地址
nginx学习可参考:大牛博客
一,下载依赖
安装编译环境
yum -y install gcc gcc-c++
安装pcre软件包(使nginx支持http rewrite模块)
yum install -y pcre pcre-devel
安装 openssl-devel(使 nginx 支持 ssl)
yum install -y openssl openssl-devel
安装zlib
yum install -y zlib zlib-devel gd gd-devel
创建用户 nginx
useradd -s /sbin/nologin nginx
二,编译安装 nginx
下载并上传完nginx包后上传到/data目录
tar -xvzf nginx-1.24.0.tar.gz -C  /usr/local/
cd /usr/local/nginx-1.24.0/
mkdir -p /usr/local/nginx
编译
./configure --prefix=/usr/local/nginx \
--user=nginx \
--group=nginx \
--with-pcre \
--with-http_ssl_module \
--with-http_v2_module \
--with-http_realip_module \
--with-http_addition_module \
--with-http_sub_module \
--with-http_dav_module \
--with-http_flv_module \
--with-http_mp4_module \
--with-http_gunzip_module \
--with-http_gzip_static_module \
--with-http_random_index_module \
--with-http_secure_link_module \
--with-http_stub_status_module \
--with-http_auth_request_module \
--with-http_image_filter_module \
--with-http_slice_module \
--with-mail \
--with-threads \
--with-file-aio \
--with-stream \
--with-mail_ssl_module \
--with-stream_ssl_modulemake && make install
[root@master nginx-1.24.0]# cd /usr/local/nginx/sbin
[root@master sbin]# ./nginx        		# 启动Nginx
[root@master sbin]# ./nginx -t      		# 验证配置文件是正确
[root@master sbin]# ./nginx -s reload  	# 重启Nginx
[root@master sbin]# ./nginx -s stop   	# 停止Nginx
[root@master sbin]# ./nginx -v            # 查看是否安装成功
nginx version: nginx/1.24.0
[root@master sbin]# netstat -ntlp | grep nginx # 查看是否启动
tcp        0      0 0.0.0.0:80              0.0.0.0:*               LISTEN      5365/nginx: master
三,配置 Nginx 命令和服务并开机启动
[root@master sbin]# vim /usr/lib/systemd/system/nginx.service
[Unit]
Description=nginx - high performance web server
Documentation=http://nginx.org/en/docs/
After=network.target remote-fs.target nss-lookup.target[Service]
Type=forking
PIDFile=/usr/local/nginx/logs/nginx.pid
ExecStartPre=/usr/local/nginx/sbin/nginx -t -c /usr/local/nginx/conf/nginx.conf
ExecStart=/usr/local/nginx/sbin/nginx -c /usr/local/nginx/conf/nginx.conf
ExecReload=/usr/local/nginx/sbin/nginx -S reload
ExecStop=/usr/local/nginx/sbin/nginx -s stop
PrivateTmp=true[Install]
WantedBy=multi-user.target
添加执行权限
chmod +x /usr/lib/systemd/system/nginx.service
四,启动服务(先停止nginx服务)
[root@master sbin]# nginx -v   #编译完找不到找不到nginx命令
-bash: nginx: 未找到命令
[root@master sbin]# which nginx   #which也查不到,怀疑是环境变量中没有
/usr/bin/which: no nginx in (/usr/local/sbin:/usr/local/bin:/usr/sbin:/usr/bin:/root/bin)
[root@master sbin]# echo $PATH  #查看本机环境变量
/usr/local/sbin:/usr/local/bin:/usr/sbin:/usr/bin:/root/bin
[root@master sbin]# ln -s /usr/local/nginx/sbin/nginx /usr/local/sbin/nginx   #软链nginx到环境变量中
[root@master sbin]# nginx -t
nginx: the configuration file /usr/local/nginx/conf/nginx.conf syntax is ok
nginx: configuration file /usr/local/nginx/conf/nginx.conf test is successfulsystemctl daemon-reload
systemctl start nginx.service   # 启动
systemctl stop nginx.service    # 停止
systemctl reload nginx.service  # 修改配置后重新加载生效
systemctl restart nginx.service # 重启
systemctl status nginx   # 查看服务是否启动
[root@master sbin]# systemctl status nginx
● nginx.service - nginx - high performance web serverLoaded: loaded (/usr/lib/systemd/system/nginx.service; enabled; vendor preset: disabled)Active: active (running) since 六 2024-04-13 13:58:30 CST; 12min agoDocs: http://nginx.org/en/docs/Main PID: 5365 (nginx)CGroup: /system.slice/nginx.service├─5365 nginx: master process /usr/local/nginx/sbin/nginx -c /usr/local/nginx/conf/nginx.conf└─5366 nginx: worker process4月 13 13:58:30 master systemd[1]: Starting nginx - high performance web server...
4月 13 13:58:30 master nginx[5360]: nginx: the configuration file /usr/local/nginx/conf/nginx.conf syntax is ok
4月 13 13:58:30 master nginx[5360]: nginx: configuration file /usr/local/nginx/conf/nginx.conf test is successful
4月 13 13:58:30 master systemd[1]: Started nginx - high performance web server.
五,Nginx 编译参数解析
# 查看 nginx 安装的模块
[root@master sbin]# nginx -V# 模块参数具体功能
--with-cc-opt='-g -O2 -fPIE -fstack-protector'   # 设置额外的参数将被添加到CFLAGS变量。(FreeBSD或者ubuntu使用)
--param=ssp-buffer-size=4 -Wformat -Werror=format-security -D_FORTIFY_SOURCE=2'
--with-ld-opt='-Wl,-Bsymbolic-functions -fPIE -pie -Wl,-z,relro -Wl,-z,now' --prefix=/usr/share/nginx                        # 指向安装目录
--conf-path=/etc/nginx/nginx.conf                # 指定配置文件
--http-log-path=/var/log/nginx/access.log        # 指定访问日志
--error-log-path=/var/log/nginx/error.log        # 指定错误日志
--lock-path=/var/lock/nginx.lock                 # 指定lock文件
--pid-path=/run/nginx.pid                        # 指定pid文件--http-client-body-temp-path=/var/lib/nginx/body    # 设定http客户端请求临时文件路径
--http-fastcgi-temp-path=/var/lib/nginx/fastcgi     # 设定http fastcgi临时文件路径
--http-proxy-temp-path=/var/lib/nginx/proxy         # 设定http代理临时文件路径
--http-scgi-temp-path=/var/lib/nginx/scgi           # 设定http scgi临时文件路径
--http-uwsgi-temp-path=/var/lib/nginx/uwsgi         # 设定http uwsgi临时文件路径--with-debug                                        # 启用debug日志
--with-pcre-jit                                     # 编译PCRE包含“just-in-time compilation”
--with-ipv6                                         # 启用ipv6支持
--with-http_ssl_module                              # 启用ssl支持
--with-http_stub_status_module                      # 获取nginx自上次启动以来的状态
--with-http_realip_module                 # 允许从请求标头更改客户端的IP地址值,默认为关
--with-http_auth_request_module           # 实现基于一个子请求的结果的客户端授权。如果该子请求返回的2xx响应代码,所述接入是允许的。如果它返回401或403中,访问被拒绝与相应的错误代码。由子请求返回的任何其他响应代码被认为是一个错误。
--with-http_addition_module               # 作为一个输出过滤器,支持不完全缓冲,分部分响应请求
--with-http_dav_module                    # 增加PUT,DELETE,MKCOL:创建集合,COPY和MOVE方法 默认关闭,需编译开启
--with-http_geoip_module                  # 使用预编译的MaxMind数据库解析客户端IP地址,得到变量值
--with-http_gunzip_module                 # 它为不支持“gzip”编码方法的客户端解压具有“Content-Encoding: gzip”头的响应。
--with-http_gzip_static_module            # 在线实时压缩输出数据流
--with-http_image_filter_module           # 传输JPEG/GIF/PNG 图片的一个过滤器)(默认为不启用。gd库要用到)
--with-http_spdy_module                   # SPDY可以缩短网页的加载时间
--with-http_sub_module                    # 允许用一些其他文本替换nginx响应中的一些文本
--with-http_xslt_module                   # 过滤转换XML请求
--with-mail                               # 启用POP3/IMAP4/SMTP代理模块支持
--with-mail_ssl_module                    # 启用ngx_mail_ssl_module支持启用外部模块支持
这篇关于centos编译安装nginx1.24的文章就介绍到这儿,希望我们推荐的文章对编程师们有所帮助!


