本文主要是介绍分享OpenTiny总结VUE目录结构,希望对大家解决编程问题提供一定的参考价值,需要的开发者们随着小编来一起学习吧!
OpenTiny总结VUE目录结构,在设计规范和基础组件的基础上, 继续向上构建,提炼出典型模板/业务组件/配套设计资源,进一步提升企业级中后台产品设计研发过程中的『用户』和『设计者』的体验。
Vue 项目目录结构
├── node_modules  (为整个工作空间提供 npm 包)
├── src  (页面代码)
├── env (环境变量配置)
├── .editorconfig
├── .eslintrc.js
├── .gitignore
├── config (为工作区中的所有项目指定 CLI 的默认配置)
├── package.json  (配置工作空间中所有项目可用的 npm 包依赖)
├── README.md
├── tsconfig.json  (工作空间中所有项目的基本 TypeScript 配置)
页面代码结构
src 目录下是页面代码,对于大多数的情况,您只需要开发 src 目录下的文件。 推荐您在开发的过程中,遵守现有的目录结构,以使项目代码的组织结构更加规范。
若一个组件被多个页面所依赖,我们推荐您放到
src/components中; 若只是被单个页面依赖的组件,我们推荐您放到就近的view目录。
|-- src|-- index.html (主要 HTML 页面)|-- main.ts (应用的主要挂载入口)|-- api (包含接口和mock数据的文件)|-- assets (包含静态资源,国际化等文件)| |-- style| |-- img|-- components (包含封装的组件文件)| |-- breadcrumb (路由面包屑)| |-- footer (底部)| |-- global-setting (页面陪住)| |-- menu (路由菜单)| |-- navbar (头部导航)| |-- theme (右下角主题切换)|-- directive (自定义指令)|-- hooks (自定义hook)|-- layout (页面布局)|-- locale (国际化配置文件)|-- mock (mock数据)|-- router (router配置)|-- store (pinia定义的状态管理)|-- types (ts定义类型)|-- utils (全局方法)|-- views (项目页面)| |-- board (看板页)| |-- exception (异常页)| |-- form (表单页)| |-- list (列表页)| |-- login (登录页)| |-- not-found (404页)| |-- profile (详情页)| |-- result (结果页)| |-- user (个人中心)|-- env (包含特定目标环境的构建配置选项)路由和菜单
在用户使用应用程序时,Vue 的路由器能让用户从一个视图导航到另一个视图。
核心模块和功能
-
导航
在
src/router/routes/modules中根据你的路由进行配置。 -
路由管理
-
1.主路由
在src/router/index中进行配置。 -
2.页面路由
在src/router/routes/modules中进行配置。
-
-
面包屑
可以参考
src/compoments/breadcrumb中进行配置。
导航
导航的相关内容可以在src/router/routes/modules中进行修改。 menu数据格式如下所示:
export default {path: 'form',name: 'Form',id: 'Form',label: 'Form',component: () => import('@/views/form/index.vue'),meta: {locale: 'menu.form',icon: 'icon-settings',requiresAuth: true,order: 3,},children: [{path: 'base',name: 'Base',id: 'Base',label: 'Base',component: () => import('@/views/form/base/index.vue'),meta: {locale: 'menu.form.base',requiresAuth: true,roles: ['admin'],},},{path: 'step',name: 'Step',id: 'Step',label: 'Step',component: () => import('@/views/form/step/index.vue'),meta: {locale: 'menu.form.step',requiresAuth: true,roles: ['admin'],},},],
};
注意:在国际化文件中补充对应的修改内容
在导航中使用Vue的图标
在
menu.ts中为配置项menuIcon传入VueIcon 组件的对应图标名称即可。
路由
项目中的路由分为主路由、页面路由详细配置如下:
主路由的配置文件在src/router/index
const router = createRouter({history: createWebHistory(),routes: [{path: '/',redirect: import.meta.env.VITE_CONTEXT + 'login',},{path: '/' + import.meta.env.VITE_CONTEXT,redirect: import.meta.env.VITE_CONTEXT + 'board/work',},{path: import.meta.env.VITE_CONTEXT + 'login',name: 'login',component: () => import('@/views/login/index.vue'),meta: {requiresAuth: false,},},{name: 'root',path: import.meta.env.VITE_CONTEXT,component: DefaultLayout,children: appRoutes,},{path: import.meta.env.VITE_CONTEXT + ':pathMatch(.*)*',name: 'notFound',component: () => import('@/views/not-found/index.vue'),},],
});export default router;
页面路由的配置文件src/router/routes/modules格式为:
export default {path: 'form',name: 'Form',id: 'Form',label: 'Form',component: () => import('@/views/form/index.vue'),meta: {locale: 'menu.form',icon: 'icon-settings',requiresAuth: true,order: 3,},children: [{path: 'base',name: 'Base',id: 'Base',label: 'Base',component: () => import('@/views/form/base/index.vue'),meta: {locale: 'menu.form.base',requiresAuth: true,roles: ['admin'],},},{path: 'step',name: 'Step',id: 'Step',label: 'Step',component: () => import('@/views/form/step/index.vue'),meta: {locale: 'menu.form.step',requiresAuth: true,roles: ['admin'],},},],
};
面包屑
通过 Breadcrumb 面包屑组件breadcrumb实现,面包屑组件除最后一级外,其余几级一般都为可跳转的链接,链接地址可以通过 href 属性设置; 用户也可通过添加事件,实现业务逻辑, 如下所示:
<breadcrumb class="container-breadcrumb"><breadcrumb-item v-for="item in items" :key="item">{{ $t(item) }}</breadcrumb-item></breadcrumb>对应的 ts 文件:
import { PropType } from 'vue';import {Breadcrumb,BreadcrumbItem,} from '@vue';defineProps({items: {type: Array as PropType<string[]>,default() {return [];},},});新增页面
如果你想通过导航栏访问一个新页面,可通过此方法进行操作。新建页面的主要流程为在 src/view 目录中创建对应页面, 然后在模块中创建对应的组件,如果组件中需创建公共组件,则在 src/components 中创建。 下面以新建结果页为例,介绍新建页面的流程。
创建模块
首先在src/view下新建一个页面:

增加路由访问
以上步骤完成后,需要为新增的页面在导航栏中添加对应的路由访问。
在 src/router/moudles中,添加路由信息。
export default {path: 'result',name: 'Result',id: 'Result',label: 'Result',component: () => import('@/views/result/index.vue'),meta: {locale: 'menu.result',icon: 'icon-check-circle',requiresAuth: true,order: 5,},children: [{path: 'success',name: 'Success',id: 'Success',label: 'Success',component: () => import('@/views/result/success/index.vue'),meta: {locale: 'menu.result.success',requiresAuth: true,roles: ['admin'],},},{path: 'error',name: 'Error',id: 'Error',label: 'Error',component: () => import('@/views/result/error/index.vue'),meta: {locale: 'menu.result.error',requiresAuth: true,roles: ['admin'],},},],
};
Mock 数据
支持不依赖后端,本地方便调试数据。
实现原理
实现前后端的我们需要将 data 文件和 service 文件分隔开。 在Vue中,我们在src/api中定义数据的类型,同时在src/api中实现相关的接口文件。
下面以登录为例,介绍 Mock 数据的使用。
首先需要在src/api/user.ts文件中定义数据参数类型:
import axios from 'axios';
import { UserState } from '@/store/modules/user/types';export interface LoginData {username: string;password: string;
}export function login(data: LoginData) {return axios.post<LoginRes>('/api/user/login', data);
}在src/mock/user.ts文件中我们实现接口定义具体要模拟的数据。
{url: '/api/user/login',method: 'post',response: (params: MockParams) => {const { username, password } = JSON.parse(JSON.stringify(params.body));if (!username) {return failResponseWrap(null, '用户名不能为空', 50000);}if (!password) {return failResponseWrap(null, '密码不能为空', 50000);}if (username === 'admin' && password === 'admin') {window.localStorage.setItem('userRole', 'admin');return successResponseWrap({token: '12345',});}if (username === 'user' && password === 'user') {window.localStorage.setItem('userRole', 'user');return successResponseWrap({token: '54321',});}return failResponseWrap(null, '账号或者密码错误', 50000);},},项目中使用
在src/view/login中调用你的 service:
async login(loginForm: LoginData) {try {const res = await userLogin(loginForm);setToken(res.data.token);} catch (err) {clearToken();throw err;}},国际化
Vue通过在src/locale的文件夹下添加不同语言的 ts 文件,引入Vue的国际化方案vue-i18n来实现国际化的相关功能。
安装
npm install vue-i18n --save目录结构
.
├── src/
│   └── locale/
│       │    │── en-US/    (存放所有模块的英文翻译文件)
│       │    │── zh-CN/    (存放所有模块的中文翻译文件)
│       │    │── en-US.ts
│       │    └── zh-CN.ts
添加国际化代码
修改Vue应用入口文件main.ts。
export default {'settings.title': '页面配置','settings.themeColor': '主题色','settings.content': '内容区域','settings.search': '搜索','settings.language': '语言','settings.navbar': '导航栏','settings.menuWidth': '菜单宽度 (px)','settings.navbar.alerts': '消息通知','settings.navbar.help': '帮助中心','settings.menu': '菜单栏','settings.tabBar': '多页签','settings.footer': '底部','settings.otherSettings': '其他设置','settings.colorWeek': '主题配置','settings.alertContent':'配置之后仅是临时生效,要想真正作用于项目,点击下方的 "复制配置" 按钮,将配置替换到 settings.json 中即可。','settings.copySettings': '复制配置','settings.copySettings.message':'复制成功,请粘贴到 src/settings.json 文件中','settings.close': '关闭','settings.color.tooltip':'根据主题颜色生成的 10 个梯度色(将配置复制到项目中,主题色才能对亮色 / 暗黑模式同时生效)','setting.user.set': '用户设置','setting.loginout': '登出成功',
};....在zh-CN.ts文件中引入对应的文件:
import localeLogin from '@/views/login/locale/zh-CN';
import localeTheme from '@/components/theme/locale/zh-CN';export default {...localeTheme,...localeLogin,
};同理在英文的en-US文件夹下新建模块补充对应的英文翻译,并在en-US.ts的文件中引入。
个性化主题
Vue站点已添加了六套常用的主题(默认主题、糖蜜主题、紫罗兰主题、深邃夜空主题、深色主题、自定义主题)供大家参考,初始化为默认主题风格。
在线主题设置
Vue站点,我们已集成主题切换功能,你可以切换当前站点为我们已内置好的主题风格,并实时预览。

src/components/theme组件中,实现主题切换功能
<div class="theme-choose"><div><span>Light</span><span>Dark</span></div><div><div v-for="(index, item) in SwitchColor" :key="index"><divclass="theme-block":style="{ 'background-color': item.color }"@click="choose(item)"><iconYes v-if="item.value === index" class="theme-yes"></iconYes></div></div></div>const choose = (item: {value?: number;color?: string;dark: any;theme: any;}) => {index.value = item.value;theme.changeTheme(item.theme);dark.value = item.dark as string;};自定义扩展主题
增加自定义主题类型和自定义主题相关配置,参考src/components/theme/type里面的配置
const Theme = {id: 'theme',name: 'Theme',data: {'base-color-brand-1': '#f36b7f;','base-color-brand-2': '#f36b7f;','base-color-brand-3': '#f36b7f;','base-color-brand-4': '#f36b7f;','base-color-brand-5': '#f36b7f;','base-color-brand-6': '#f36b7f;','base-color-brand-7': '#f36b7f;','base-color-brand-8': '#f36b7f;',},
};
布局
Vue为页面开发提供了布局组件,并在页面集成常见的布局模式,可快速调整页面的布局方式。
布局组件
<container><template #header><layout><!-- 头部区域 --></layout></template><template #aside><layout class="layout-sider"><!-- 侧边栏区域 --></layout></template><layout class="layout-content"><!-- 内容区域 --></layout><template #footer><layout><!-- 页脚区域 --></layout></template>
</container>
布局调整
- 修改
src/layout/default-layout.config.ts属性信息文件,可修改页面的布局。
// 是否显示切换框架结构const mPattern = ref('legend');状态管理
Vue通过在src/store的文件,引入Pinia来实现状态管理。
准备工作
安装依赖
npm install pinia -Smain中注册
import { createApp } from 'vue';
import globalComponents from '@/components';
import router from './router';
import store from './store';
import i18n from './locale';
import directive from './directive';
import { setupProdMockServer } from './mockProdServer';
import './mock';
import App from './App.vue';
import '@/api/interceptor';
import '@/assets/style/global.less';setupProdMockServer();const app = createApp(App);app.use(router);
app.use(store);
app.use(i18n({ locale: 'zhCN' }));
app.use(globalComponents);
app.use(directive);app.mount('#app');
建立store
import { createPinia } from 'pinia';
import useAppStore from './modules/app';
import useUserStore from './modules/user';
import useTabBarStore from './modules/tab-bar';const pinia = createPinia();export { useAppStore, useUserStore, useTabBarStore };
export default pinia;
项目中使用
在使用页面中引入你的store
import { useAppStore } from '@/store';const appStore = useAppStore();调用store中的action方法
appStore.updateSettings({ navbar: true, footer: true });权限管理
Vue通过在src/store/moudles/user文件结合路由,建立switchRoles方法来实现角色权限管理的。
项目使用方式
路由中设置角色显示标签[roles]
export default {path: 'exception',name: 'Exception',id: 'Exception',label: 'Exception',component: () => import('@/views/exception/index.vue'),meta: {locale: 'menu.exception',requiresAuth: true,icon: 'icon-exclamation-circle',order: 6,},children: [{path: '403',name: '403',id: '403',label: '403',component: () => import('@/views/exception/403/index.vue'),meta: {locale: 'menu.exception.403',requiresAuth: true,roles: ['admin'],},},{path: '404',name: '404',id: '404',label: '404',component: () => import('@/views/exception/404/index.vue'),meta: {locale: 'menu.exception.404',requiresAuth: true,roles: ['*'],},},{path: '500',name: '500',id: '500',label: '500',component: () => import('@/views/exception/500/index.vue'),meta: {locale: 'menu.exception.500',requiresAuth: true,roles: ['*'],},},],
};
store中书写`switchRoles`方法
switchRoles() {return new Promise((resolve) => {this.role = this.role === 'user' ? 'admin' : 'user';resolve(this.role);});},页面中调用方法,来做到路由权限管理
const switchRoles = async () => {const res = await userStore.switchRoles();Modal.message({message: res as string,status: 'success',});};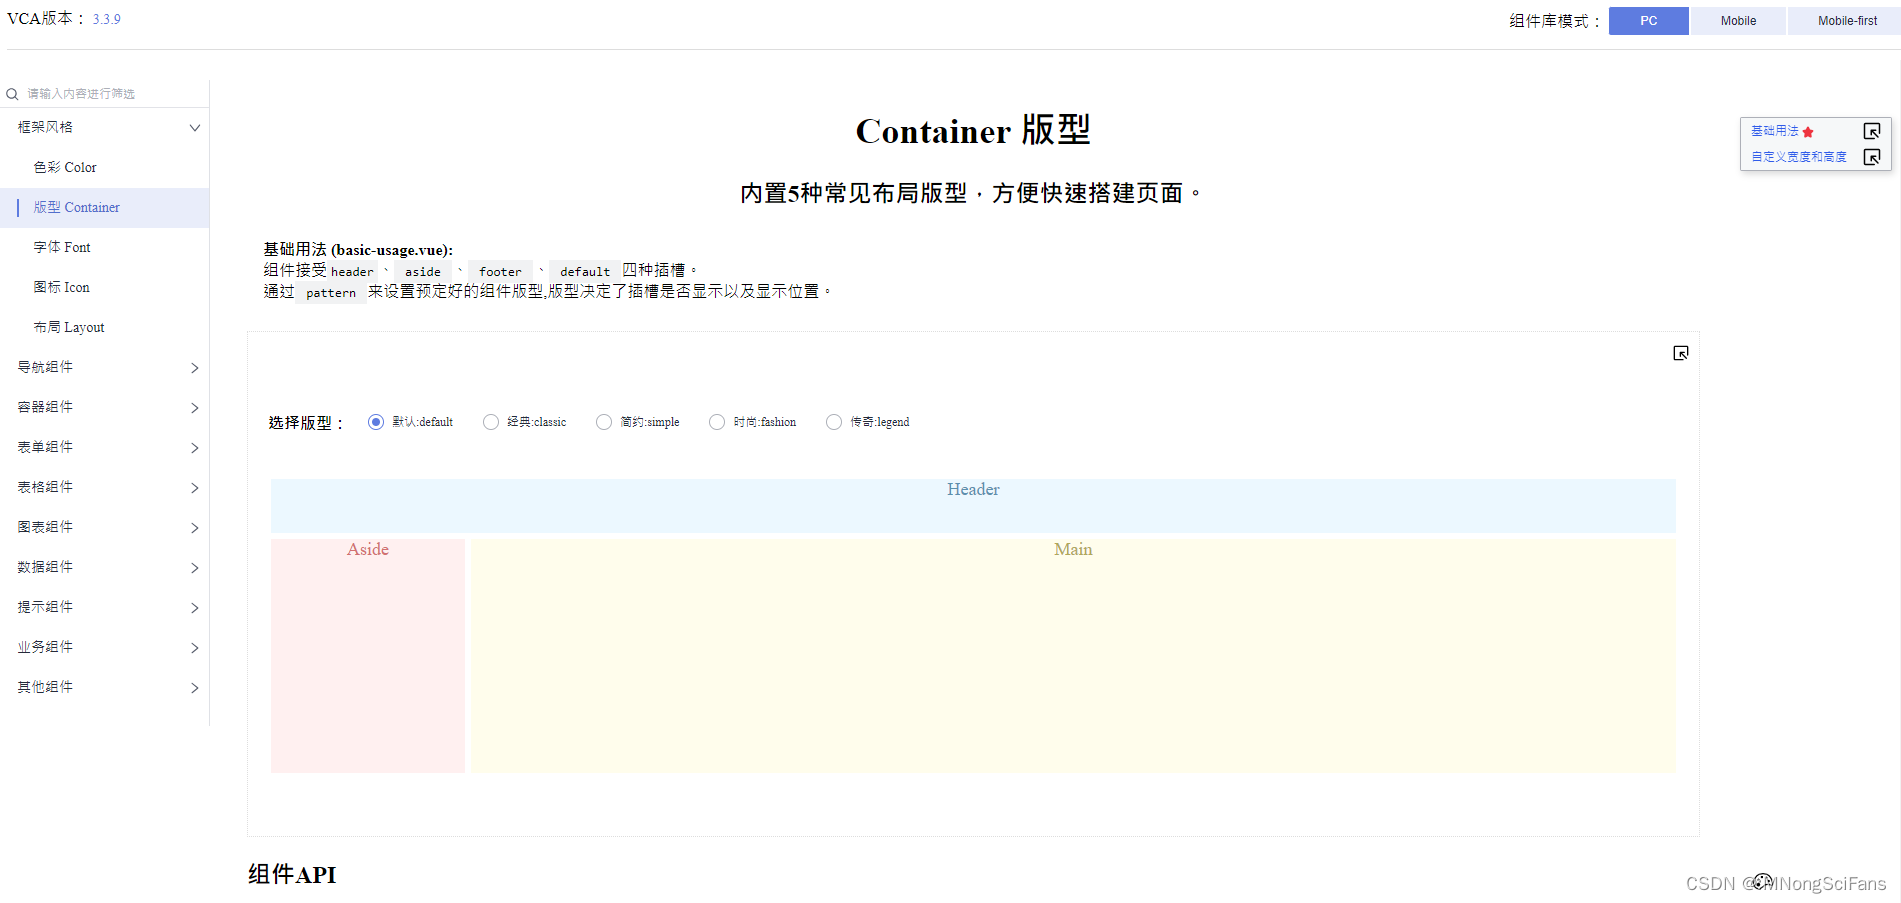
参见:
Vue.js - 渐进式 JavaScript 框架 | Vue.js
Pinia 中文文档
开始 | Vite 官方中文文档
npm Registry and npm CLI
Ant Design of React - Ant Design
Ant Design Vue — An enterprise-class UI components based on Ant Design and Vue.js
TinyPro of Vue - 开箱即用的中台前端/设计解决方案 (opentiny.design)
这篇关于分享OpenTiny总结VUE目录结构的文章就介绍到这儿,希望我们推荐的文章对编程师们有所帮助!


