本文主要是介绍环境安装篇 之 安装kubevela,希望对大家解决编程问题提供一定的参考价值,需要的开发者们随着小编来一起学习吧!
云原生学习路线导航页(持续更新中)
- 本文是 环境安装 系列文章,介绍 oam规范标准实施项目 kubevela 的安装详细步骤
- kubevela 官方安装文档:https://kubevela.io/zh/docs/installation/kubernetes/
1.CentOS 安装kubevela
1.1.前提:已安装docker
- 要求已经安装了docker,没有安装的可以参考:
- 环境安装篇 之 docker安装
1.2.安装kubevela
- 安装kubevela
- kubevela会内置一个kubernetes环境,所以你不需要实现安装 kubernetes
curl -fsSl https://kubevela.io/script/install.sh | bash
vela install
1.3.安装kubectl
- 虽然kubevela会内置一个kubernetes环境,但是没有安装kubectl,需要手动安装
$ curl -LO "https://dl.k8s.io/release/$(curl -L -s https://dl.k8s.io/release/stable.txt)/bin/linux/amd64/kubectl" $ curl -LO "https://dl.k8s.io/$(curl -L -s https://dl.k8s.io/release/stable.txt)/bin/linux/amd64/kubectl.sha256" $ echo "$(cat kubectl.sha256) kubectl" | sha256sum --check $ install -o root -g root -m 0755 kubectl /usr/local/bin/kubectl - kubevela内置的集群,集群kubeconfig文件是
/etc/rancher/k3s/k3s.yaml - 如果你的kubectl无法找到集群,就将该文件复制一份为
~/.kube/configcp /etc/rancher/k3s/k3s.yaml ~/.kube/config
1.4.可能遇到的问题
- 安装过程如果报错:
[ERROR] Failed to find the k3s-selinux policy, please install:yum install -y container-selinuxyum install -y https://rpm.rancher.io/k3s/stable/common/centos/7/noarch/Error: Fail to set up cluster: fail to setup k3s: K3s install script failed: exit status 1- 按照提示执行两条yum命令,安装
container-selinux和k3s-selinux - 从上面的报错看,第二条yum命令,日志其实没有打印全(我也不知道为啥),
https://rpm.rancher.io/k3s/stable/common/centos/7/noarch/是错误的,直接执行会提示找不到包 - centos7,可以执行这个命令
yum install -y https://rpm.rancher.io/k3s/stable/common/centos/7/noarch/k3s-selinux-1.2-2.el8.noarch.rpm - 解决问题后,重新执行
vela install即可
- 按照提示执行两条yum命令,安装
1.5.安装velaux:kubevela UI控制台
1.5.1.根据kubevela安装成功提示安装velaux
- 安装成功的提示信息如下:
[root@kubevela go]# velad install Preparing cluster setup script... Saving temporary file: k3s-setup-*.sh Preparing k3s binary... Saving k3s binary to /usr/local/bin/k3s Successfully place k3s binary to /usr/local/bin/k3s Preparing k3s images Making directory /var/lib/rancher/k3s/agent/images/ Saving K3s air-gap install images to /var/lib/rancher/k3s/agent/images/k3s-airgap-images.tar.gz Successfully prepare k3s image Setting up cluster /bin/bash /root/.vela/tmp/k3s-setup-445017089.sh --node-name=default [INFO] Skipping k3s download and verify [INFO] Skipping installation of SELinux RPM [INFO] Skipping /usr/local/bin/kubectl symlink to k3s, already exists [INFO] Creating /usr/local/bin/crictl symlink to k3s [INFO] Skipping /usr/local/bin/ctr symlink to k3s, command exists in PATH at /usr/bin/ctr [INFO] Creating killall script /usr/local/bin/k3s-killall.sh [INFO] Creating uninstall script /usr/local/bin/k3s-uninstall.sh [INFO] env: Creating environment file /etc/systemd/system/k3s.service.env [INFO] systemd: Creating service file /etc/systemd/system/k3s.service [INFO] systemd: Enabling k3s unit Created symlink from /etc/systemd/system/multi-user.target.wants/k3s.service to /etc/systemd/system/k3s.service. [INFO] systemd: Starting k3s Successfully setup cluster Checking and installing vela CLI... vela CLI is not installed, installing... Installing vela CLI at: /usr/local/bin/vela Successfully install vela CLI Saving and temporary image file: vela-image-cluster-gateway-*.tar Importing image to cluster using temporary file: vela-image-cluster-gateway-*.tar unpacking docker.io/oamdev/cluster-gateway:v1.9.0-alpha.2 (sha256:a9baa41c62762dea9cccefeed0ef1a479b695f7af847ecf7df0ab6b6ecf4e8c5)...done Successfully import image /root/.vela/tmp/vela-image-cluster-gateway-2792909328.tar Saving and temporary image file: vela-image-kube-webhook-certgen-*.tar Importing image to cluster using temporary file: vela-image-kube-webhook-certgen-*.tar unpacking docker.io/oamdev/kube-webhook-certgen:v2.4.1 (sha256:089374ef23e1d268f138d742b8af056ee1af51bb4863f6a19cde0634068eaa91)...done Successfully import image /root/.vela/tmp/vela-image-kube-webhook-certgen-4078663359.tar Saving and temporary image file: vela-image-vela-core-*.tar Importing image to cluster using temporary file: vela-image-vela-core-*.tar unpacking docker.io/oamdev/vela-core:v1.9.5 (sha256:fbff76625847c1183dd371f5fc9acbbd3c33c348faf12984eaae433b1244f454)...done Successfully import image /root/.vela/tmp/vela-image-vela-core-222878440.tar Saving and temporary image file: vela-image-velaux-*.tar Importing image to cluster using temporary file: vela-image-velaux-*.tar unpacking docker.io/oamdev/velaux:v1.9.2 (sha256:9e1a8810c429fb651807efde0542778143fb5428732d9c9839310eb949d5d97d)...done Successfully import image /root/.vela/tmp/vela-image-velaux-3157703049.tar Saving and temporary helm chart file: vela-core-*.tgz open the tar to tmpDir /root/.vela/tmp Copy velaux-v1.9.2.tgz file to /root/.vela/addons/velaux-v1.9.2.tgz Extracting /root/.vela/addons/velaux-v1.9.2.tgz to /root/.vela/addons/velaux Installing vela-core Helm chart... Executing "vela install --file /root/.vela/tmp/vela-core --detail=false --version v1.9.5 --set= --namespace=vela-system "Check Requirements ... Installing KubeVela Core ... Helm Chart used for KubeVela control plane installation: /root/.vela/tmp/vela-core I0320 23:26:51.273741 19017 apply.go:126] "creating object" name="applicationrevisions.core.oam.dev" resource="apiextensions.k8s.io/v1, Kind=CustomResourceDefinition" I0320 23:26:51.324160 19017 apply.go:126] "creating object" name="applications.core.oam.dev" resource="apiextensions.k8s.io/v1, Kind=CustomResourceDefinition" I0320 23:26:51.347480 19017 apply.go:126] "creating object" name="componentdefinitions.core.oam.dev" resource="apiextensions.k8s.io/v1, Kind=CustomResourceDefinition" I0320 23:26:51.384335 19017 apply.go:126] "creating object" name="definitionrevisions.core.oam.dev" resource="apiextensions.k8s.io/v1, Kind=CustomResourceDefinition" I0320 23:26:51.410499 19017 apply.go:126] "creating object" name="policies.core.oam.dev" resource="apiextensions.k8s.io/v1, Kind=CustomResourceDefinition" I0320 23:26:51.474147 19017 apply.go:126] "creating object" name="policydefinitions.core.oam.dev" resource="apiextensions.k8s.io/v1, Kind=CustomResourceDefinition" I0320 23:26:51.503579 19017 apply.go:126] "creating object" name="resourcetrackers.core.oam.dev" resource="apiextensions.k8s.io/v1, Kind=CustomResourceDefinition" I0320 23:26:51.518233 19017 apply.go:126] "creating object" name="traitdefinitions.core.oam.dev" resource="apiextensions.k8s.io/v1, Kind=CustomResourceDefinition" I0320 23:26:51.539290 19017 apply.go:126] "creating object" name="workflows.core.oam.dev" resource="apiextensions.k8s.io/v1, Kind=CustomResourceDefinition" I0320 23:26:51.559766 19017 apply.go:126] "creating object" name="workflowstepdefinitions.core.oam.dev" resource="apiextensions.k8s.io/v1, Kind=CustomResourceDefinition" I0320 23:26:51.581942 19017 apply.go:126] "creating object" name="workloaddefinitions.core.oam.dev" resource="apiextensions.k8s.io/v1, Kind=CustomResourceDefinition" Start upgrading Helm Chart kubevela in namespace vela-systemKubeVela control plane has been successfully set up on your cluster. If you want to enable dashboard, please run "vela addon enable /root/.vela/addons/velaux" Modifying the built-in gateway definition...Keep the token below if you want to restart the control plane K10753a9d09167f265c6f72e2cf3d453da9df7099d9e8fad7002a4b397f843491e0::server:4548ddd54b195c9d4f85e85e9d81d87a🚀 Successfully install KubeVela control plane 💻 When using gateway trait, you can access with 127.0.0.1 🔭 See available commands with `vela help` 💡 To enable dashboard, run `vela addon enable /root/.vela/addons/velaux` 🔑 To access the cluster, set KUBECONFIG:export KUBECONFIG=$(velad kubeconfig --name default --host) - 根据提示,可知道,执行
vela addon enable /root/.vela/addons/velaux可以安装velaux,即kubevela的UI控制台[root@kubevela go]# vela addon enable /root/.vela/addons/velaux enabling addon by local dir: /root/.vela/addons/velaux Addon velaux enabled successfully. Please access addon-velaux from the following endpoints: +---------+---------------+-----------------------------------+--------------------------------+-------+ | CLUSTER | COMPONENT | REF(KIND/NAMESPACE/NAME) | ENDPOINT | INNER | +---------+---------------+-----------------------------------+--------------------------------+-------+ | local | velaux-server | Service/vela-system/velaux-server | velaux-server.vela-system:8000 | true | +---------+---------------+-----------------------------------+--------------------------------+-------+To open the dashboard directly by port-forward:vela port-forward -n vela-system addon-velaux 8000:8000Please refer to https://kubevela.io/docs/reference/addons/velaux for more VelaUX addon installation and visiting method.
1.5.2.使用NodePort方式安装velaux
-
如果是在虚拟机中,使用1.4.1中安装的velaux,外界机器上是无法访问的,可以使用NodePort方式安装velaux
[root@kubevela go]# vela addon enable velaux serviceType=NodePort Addon velaux enabled successfully. Please access addon-velaux from the following endpoints: +---------+---------------+-----------------------------------+-----------------------+-------+ | CLUSTER | COMPONENT | REF(KIND/NAMESPACE/NAME) | ENDPOINT | INNER | +---------+---------------+-----------------------------------+-----------------------+-------+ | local | velaux-server | Service/vela-system/velaux-server | 192.168.245.151:30000 | false | +---------+---------------+-----------------------------------+-----------------------+-------+To open the dashboard directly by port-forward:vela port-forward -n vela-system addon-velaux 8000:8000Please refer to https://kubevela.io/docs/reference/addons/velaux for more VelaUX addon installation and visiting method. -
根据结果可知,通过
192.168.245.151:30000可以访问 VelaUX -
VelaUX,默认账号:
admin,密码:VelaUX12345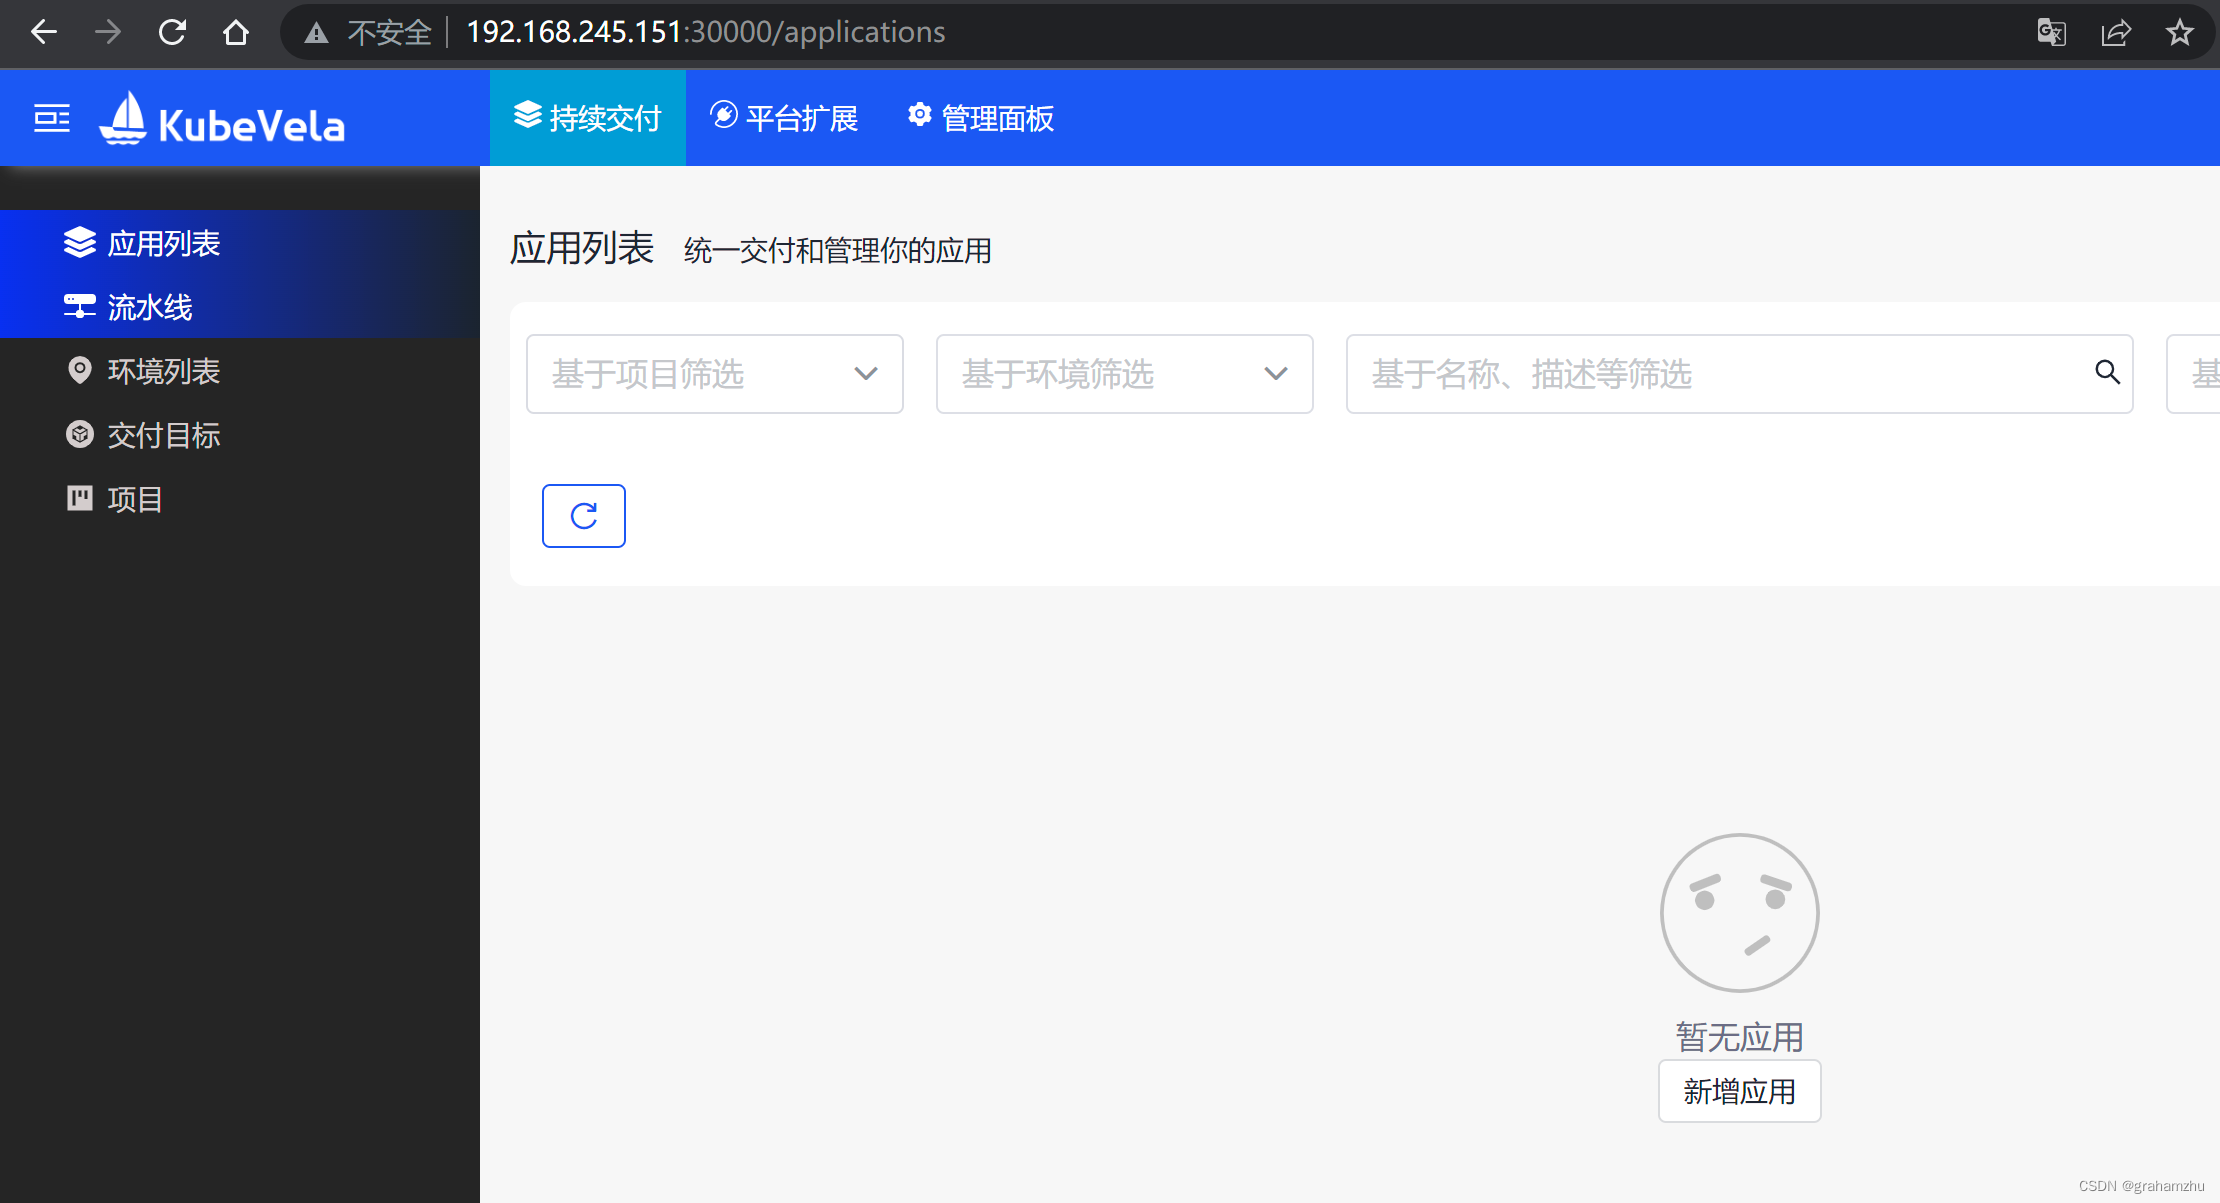
这篇关于环境安装篇 之 安装kubevela的文章就介绍到这儿,希望我们推荐的文章对编程师们有所帮助!


