本文主要是介绍【Python】使用selenium对Poe批量模拟注册脚本,希望对大家解决编程问题提供一定的参考价值,需要的开发者们随着小编来一起学习吧!
配置好接码api即可实现自动化注册登录试用一体。
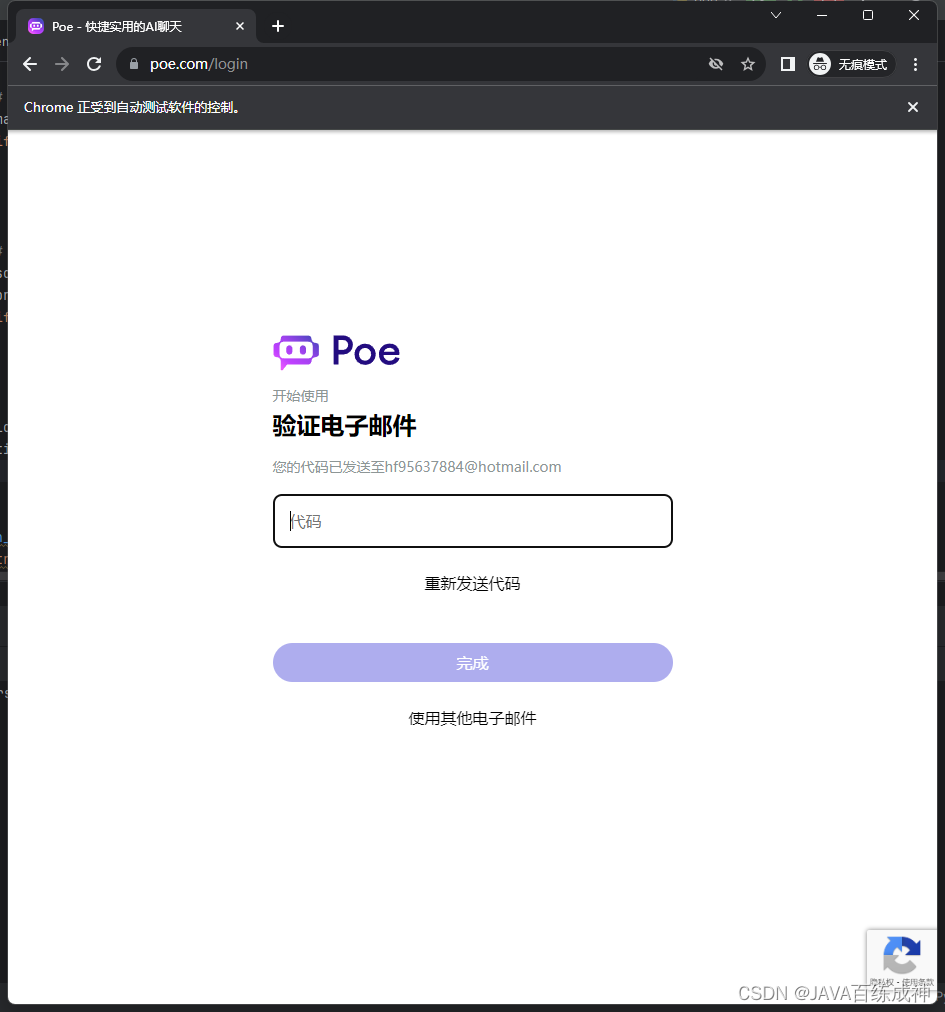
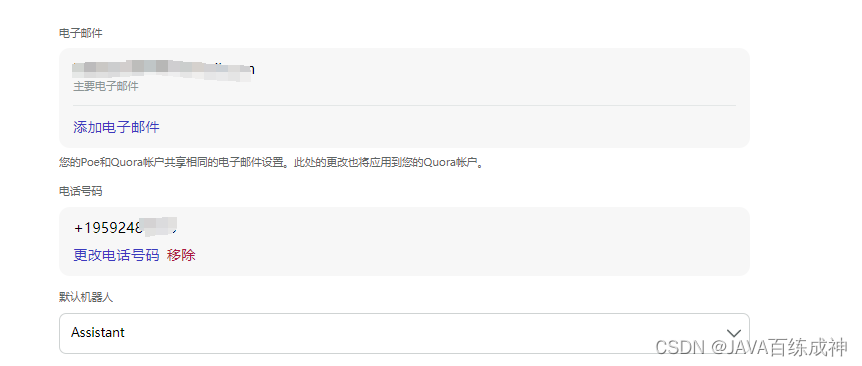
运行后会注册账号并绑定邮箱与手机号进行登录试用。

测试结果30秒一个号
import re
import time
import requests
from bs4 import BeautifulSoup
from selenium import webdriver
from selenium.webdriver.chrome.options import Options
from selenium.webdriver.common.by import By
from selenium.webdriver.common.keys import Keys
from selenium.webdriver.support.ui import WebDriverWait
from selenium.webdriver.support import expected_conditions as EC
import logging# 配置日志记录
logging.basicConfig(level=logging.INFO, format='%(asctime)s - %(levelname)s - %(message)s')
logger = logging.getLogger(__name__)# 获取手机验证码
def get_phone_verification_code(url):while True:try:response = requests.get(url)html_content = response.text# 使用正则表达式匹配验证码match = re.search(r'Your Poe verification code is: (\d+)\.', html_content)if match:code = match.group(1)logging.info("提取到的手机验证码: %s", code)return code  # 找到验证码则退出循环并返回验证码logging.info("未找到手机验证码,继续请求...")time.sleep(1)  # 等待 1 秒后再次请求except Exception as e:logging.error("请求手机验证码出错: %s", e)time.sleep(1)  # 出错时等待一段时间后再次请求# 获取邮箱验证码
def get_email_verification_code(url):while True:response = requests.get(url)html_content = response.text# 使用正则表达式匹配 6 位数字match = re.search(r'\b\d{6}\b', html_content)if match:code = match.group()logging.info("提取到的邮箱验证码: %s", code)return code  # 找到验证码则退出循环并返回验证码# 如果页面中没有 6 位数字验证码,使用 BeautifulSoup 进行解析soup = BeautifulSoup(html_content, 'html.parser')pre_element = soup.find('pre')if pre_element:code = pre_element.text.strip()logging.info("提取到的邮箱验证码: %s", code)return code  # 找到验证码则退出循环并返回验证码logging.info("未找到邮箱验证码,继续请求...")time.sleep(1)  # 等待 1 秒后再次请求# 登录循环
def login_loop(driver, wait_time):try:driver.delete_all_cookies()driver.get("https://poe.com/login")# 使用显式等待来等待按钮可见并且可点击use_phone_button = WebDriverWait(driver, 10).until(EC.element_to_be_clickable((By.XPATH, "//button[contains(text(), '使用电话')]")))use_phone_button.click()logging.info("点击了 '使用电话' 按钮")# 获取电话号码with open("phone.txt", "r") as file:lines = file.readlines()first_line = lines[0].strip()phone, phone_url = first_line.split("----")logging.info("获取到的电话号码: %s", phone)with open("phone.txt", "w") as file:file.writelines(lines[1:])# 输入电话号码并点击下一步按钮phone_input = WebDriverWait(driver, wait_time).until(EC.presence_of_element_located((By.CSS_SELECTOR, "input.PhoneNumberInput_phoneNumberInput__lTKZv")))phone_input.send_keys(phone)phone_input.send_keys(Keys.RETURN)logging.info("输入电话号码并点击下一步按钮")# 输入电话号码验证码code_input = WebDriverWait(driver, wait_time).until(EC.presence_of_element_located((By.CSS_SELECTOR, "input.VerificationCodeInput_verificationCodeInput__RgX85")))time.sleep(5)verification_code = get_phone_verification_code(phone_url)code_input.send_keys(verification_code)code_input.send_keys(Keys.RETURN)logging.info("输入电话号码验证码")# 获取邮箱with open("emai.txt", "r") as file:lines = file.readlines()first_line = lines[0].strip()email, email_url = first_line.split("----")logging.info("获取到的邮箱: %s", email)with open("emai.txt", "w") as file:file.writelines(lines[1:])# 输入邮件email_input = WebDriverWait(driver, wait_time).until(EC.presence_of_element_located((By.CSS_SELECTOR, "input.EmailInput_emailInput__OfOQ_")))email_input.send_keys(email)email_input.send_keys(Keys.RETURN)# 输入邮件验证码verification_code_input = WebDriverWait(driver, wait_time).until(EC.presence_of_element_located((By.CSS_SELECTOR, "input.VerificationCodeInput_verificationCodeInput__RgX85")))time.sleep(5)logging.info("获取邮箱验证码")verification_code = get_email_verification_code(email_url)logging.info("提交邮箱验证码")verification_code_input.send_keys(verification_code)verification_code_input.send_keys(Keys.RETURN)finally:# 关闭浏览器driver.quit()def main():# 设置等待时间wait_time = 30  # 以秒为单位while True:try:# 创建一个Chrome浏览器实例,启动无痕模式chrome_options = Options()chrome_options.add_argument('user-agent=Mozilla/5.0 (Macintosh; Intel Mac OS X 10_15_7) AppleWebKit/537.36 (KHTML, like Gecko) Chrome/86.0.4240.198 Safari/537.36')chrome_options.add_argument('--lang=zh-CN')chrome_options.add_argument("--disable-blink-features=AutomationControlled")chrome_options.add_argument('--incognito')  # 启动无痕模式driver = webdriver.Chrome(options=chrome_options)login_loop(driver, wait_time)finally:# 关闭浏览器driver.quit()if __name__ == '__main__':main()
这篇关于【Python】使用selenium对Poe批量模拟注册脚本的文章就介绍到这儿,希望我们推荐的文章对编程师们有所帮助!


