本文主要是介绍element-plus+vue3项目(侧边栏菜单的使用和历史记录切换问题的解决(高点效果对应不上)),希望对大家解决编程问题提供一定的参考价值,需要的开发者们随着小编来一起学习吧!
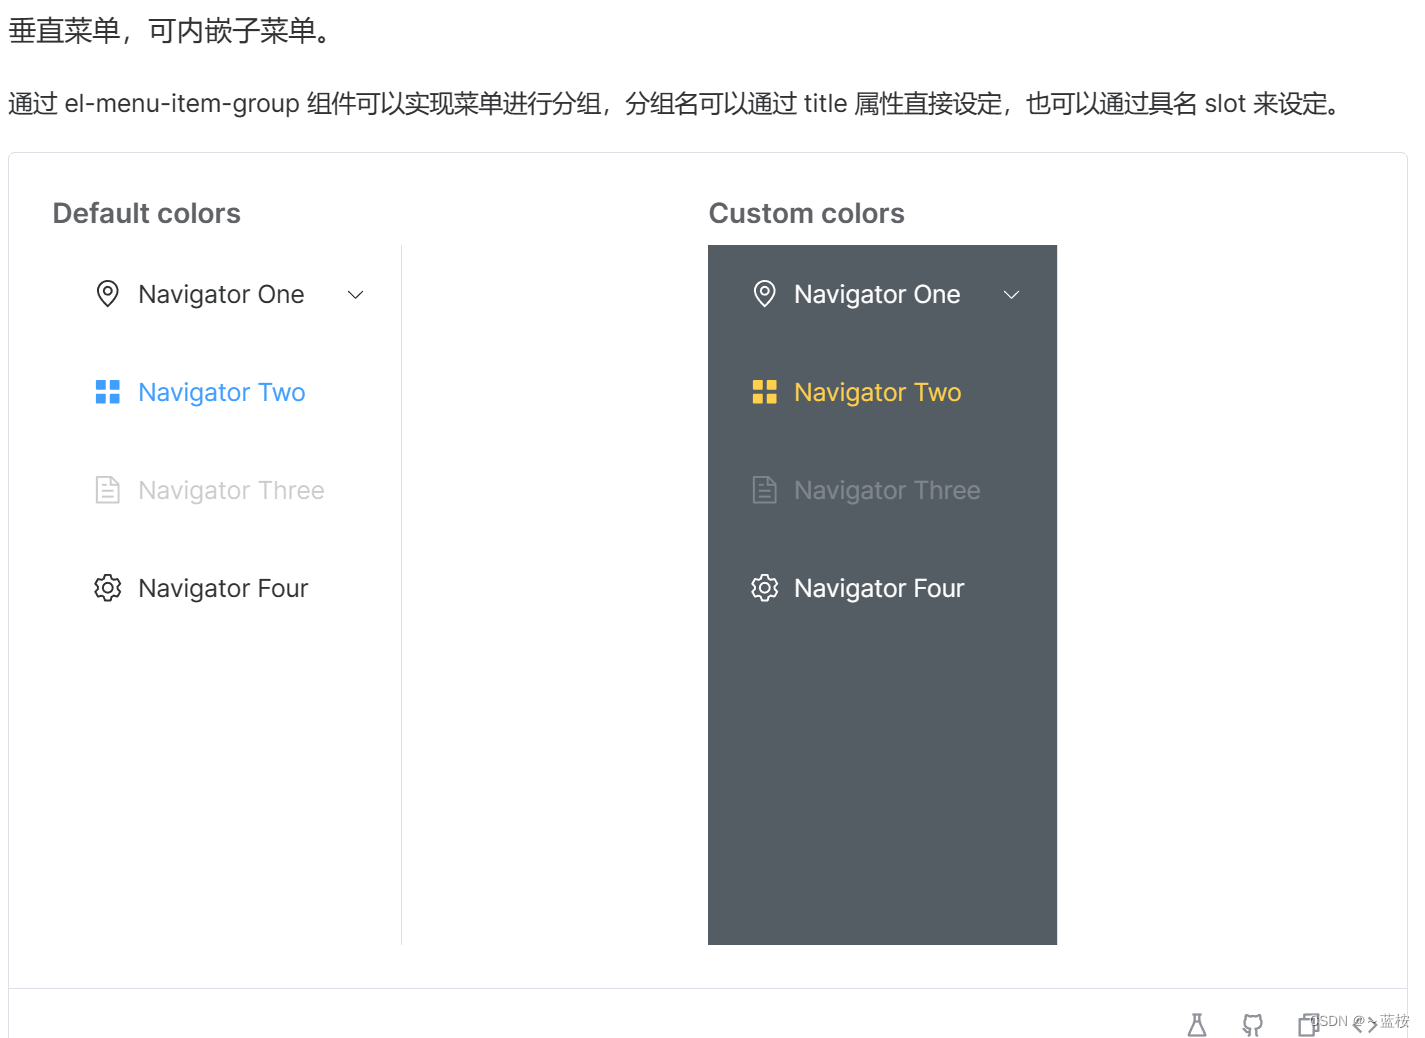
一、使用element-plus的菜单,侧边栏类型
导入element-plus,安装方式有如下几种:
# 选择一个你喜欢的包管理器# NPM
$ npm install element-plus --save# Yarn
$ yarn add element-plus# pnpm
$ pnpm install element-plus
在main.js引入和使用:
import { createApp } from 'vue'
import { createPinia } from 'pinia'
import '../src/assets/static/css/normalize.css'
import App from './App.vue'
import router from '../routers/router'
// 引入element-plus和样式
import ElementPlus from 'element-plus'
import 'element-plus/dist/index.css'const app = createApp(App)
app.use(router).use(ElementPlus).use(createPinia()).mount('#app')
我的实际运用代码:
<template><div class="container"><!-- 菜单侧边栏 --><div class="bar"><!-- 系统名称 --><div class="system-title">智慧物业管理平台</div><el-menuactive-text-color="#ffd04b"background-color="#545c64"class="el-menu-vertical-demo":default-active="mainStore.currentSelected"text-color="#fff"@open="handleOpen"@close="handleClose"style="height: calc(100vh - 52px)"router><el-menu-item index="notice"><el-icon><Bell /></el-icon><span>整改通知</span></el-menu-item><el-menu-item index="projectManagement"><el-icon><Document /></el-icon><span>项目管理</span></el-menu-item><el-menu-item index="supplierManagement"><el-icon><Shop /></el-icon><span>供应商管理</span></el-menu-item><el-sub-menu index="personnel" ><!-- index属性用于指定子菜单的唯一标识符 --><template #title><el-icon><User /></el-icon><span>人事管理</span></template><el-menu-item index="personnelList">人员列表</el-menu-item><!-- <el-menu-item index="departmentManagement">部门管理</el-menu-item><el-menu-item index="postManagement">岗位管理</el-menu-item> --></el-sub-menu><el-menu-item index="dataManagement"><el-icon><DataLine /></el-icon><span>数据管理</span></el-menu-item><el-menu-item index="roleManagement"><el-icon><Avatar /></el-icon><span>角色管理</span></el-menu-item></el-menu></div><!-- 内容区域 --><div class="content"><div class="main"><router-view></router-view></div></div></div>
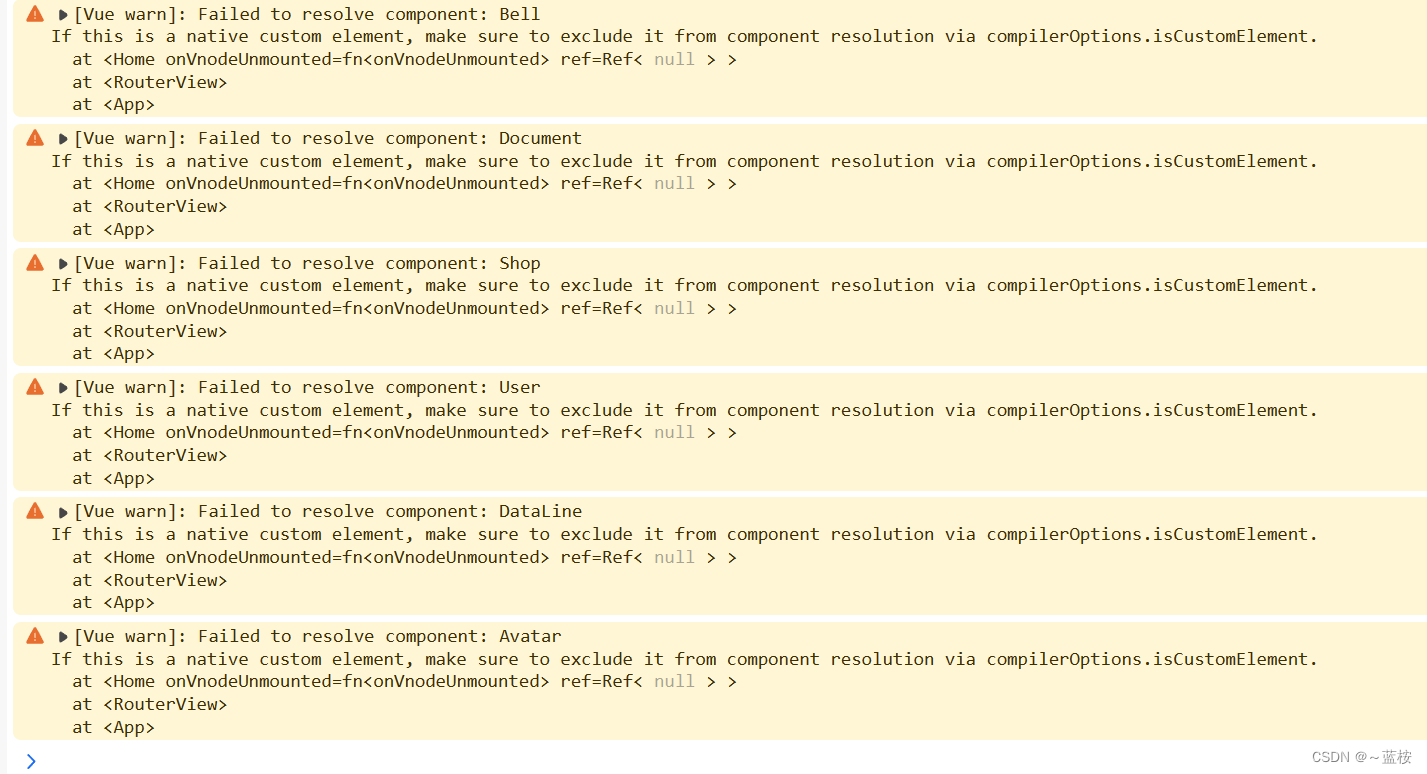
</template>注意:这里的侧边栏用到了图标,如果不导入一下就会显示警告,为了让控制不显示乱七八糟的还是导入一下,不然看着也不舒服。
import {Bell,Document,Shop,User,Avatar,DataLine,
} from "@element-plus/icons-vue";
因为我这里涉及到二级菜单,所以对应的路由是这样设计的。
import { createRouter, createWebHistory } from "vue-router";
import Home from "../pages/Home.vue";
import Notice from "../pages/Notice.vue";
import PersonnelList from "../pages/Personnel-list.vue";
import ProjectManagement from "../pages/Project-management.vue";
import RoleManagement from "../pages/Role-management.vue";
import SupplierManagement from "../pages/Supplier-management.vue";
import DataManagement from "../pages/Data-management.vue";
import DepartmentManagement from "../pages/Department-management.vue";
import PostManagement from "../pages/Post-management.vue";
import SendNotifications from "../pages/Send-notifications.vue";
import AddAssociatedItems from "../pages/AddAssociatedItems.vue";
import CreateProject from "../pages/Create-project.vue";
import ProjectSet from "../pages/Project-set.vue";const routes = [{path: "/",name: "Home",component: Home,children: [// 将默认路由重定向为notice页面{path: "/",redirect: "/notice",},{path: "/notice",name: "notice",component: Notice,},{path: "/projectManagement",name: "projectManagement",component: ProjectManagement,},{path: "/supplierManagement",name: "supplierManagement",component: SupplierManagement,},{path: "/personnelList",name: "personnelList",component: PersonnelList,},{path: "/departmentManagement",name: "departmentManagement",component: DepartmentManagement,},{path: "/postManagement",name: "postManagement",component: PostManagement,},{path: "/dataManagement",name: "dataManagement",component: DataManagement,},{path: "/roleManagement",name: "roleManagement",component: RoleManagement,},],},{path: "/notice/sendNotifications",name: "sendNotifications",component: SendNotifications,},{path: "/notice/sendNotifications/addAssociatedItems",name: "addAssociatedItems",component: AddAssociatedItems,},{path: "/projectManagement/createProject",name: "createProject",component: CreateProject,},{path: "/projectManagement/projectSet",name: "projectSet",component: ProjectSet,},
];// 3. 创建路由实例并传递 `routes` 配置
const router = createRouter({history: createWebHistory(),routes, // `routes: routes` 的缩写
});export default router;
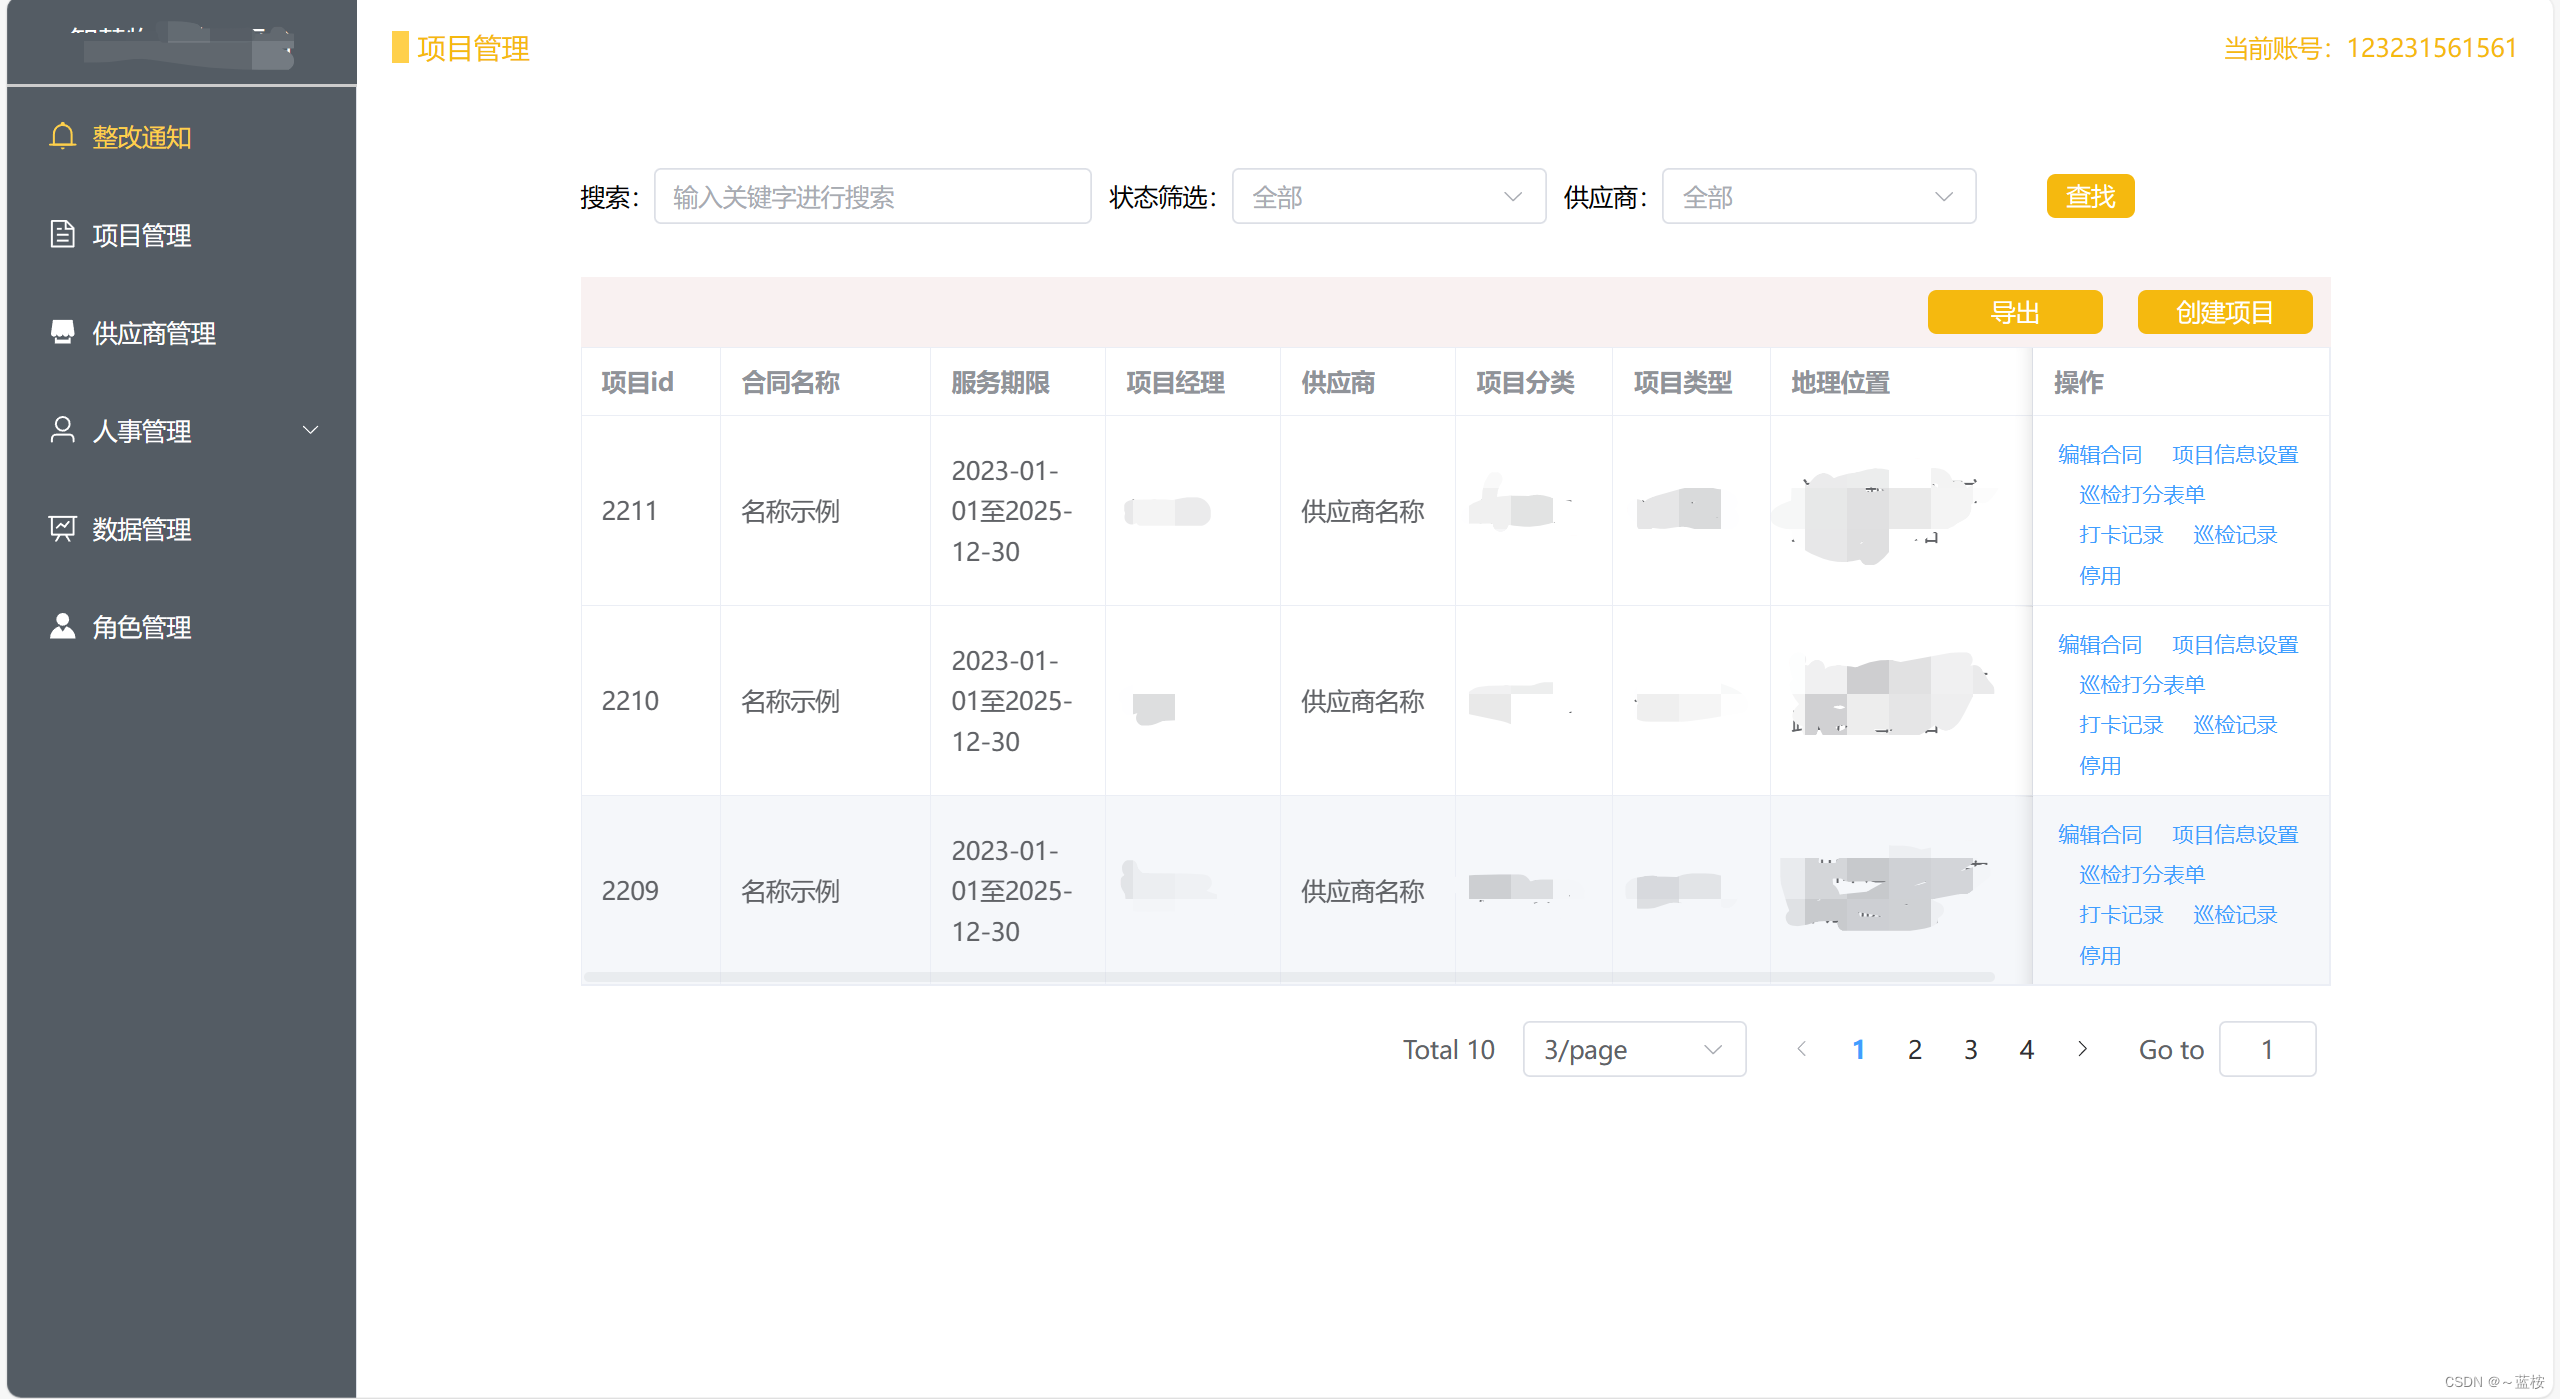
实际的样子(左边为侧边菜单栏,右边为切换菜单对应的页面内容):
二、问题的解决
描述:当我点击左边侧边栏的时候,选中高亮能够选中,但是在浏览器上面点击左右回退,他的高亮就乱来了,比如我点击修改通知---->项目管理,然后点击上面浏览器的回退按钮,右边内容能够对应回退,但是高亮选中效果保留到了修改通知。默认是没有问题的,但是我再从修改通知---->项目管理---->修改通知,按道理来说,回退一步,应该回到项目管理,高亮也是,但是他高亮显示到了修改通知,产生了错乱。从修改通知---->项目管理---->创建项目按钮(进行创建项目页面),点击回退也还是回退到修改通知,应该是回到项目管理。如图:

采取解决方法:使用pinia管理当前选中状态(侧边栏选中高亮),通过窗口状态改变监听时间,配合页面路由的改变,来记录历史的路由,记录方式改为createWebHistory方式。具体如下:
安装pinia:
yarn add pinia
# 或者使用 npm
npm install pinia
在main.js引入和use一下:
import { createApp } from 'vue'
import { createPinia } from 'pinia'
import '../src/assets/static/css/normalize.css'
import App from './App.vue'
import router from '../routers/router'
// 引入element-plus和样式
import ElementPlus from 'element-plus'
import 'element-plus/dist/index.css'const app = createApp(App)
app.use(router).use(ElementPlus).use(createPinia()).mount('#app')
新建一个stores的文件夹用于存放pinia相关的文件,并在下面创建一个main.js当作主仓库:

main.js代码:
默认状态是第一个菜单项,我这里是notice。
import { defineStore } from "pinia";// 你可以对 `defineStore()` 的返回值进行任意命名,但最好使用 store 的名字,同时以 `use` 开头且以 `Store` 结尾。(比如 `useUserStore`,`useCartStore`,`useProductStore`)
// 第一个参数是你的应用中 Store 的唯一 ID。
export const MainStore = defineStore("main", {state: () => {return {// 用于记录当前选中的路由(当前选中的菜单项)currentSelected: "notice",};},getters: {},actions: {},
});
在侧边栏页面使用这个状态:
import { useRouter, useRoute } from "vue-router";
import { MainStore } from "../src/stores/main";
import {Bell,Document,Shop,User,Avatar,DataLine,
} from "@element-plus/icons-vue";
const handleOpen = (key, keyPath) => {};
const handleClose = (key, keyPath) => {};
const router = useRouter();
const route = useRoute();
const mainStore = MainStore();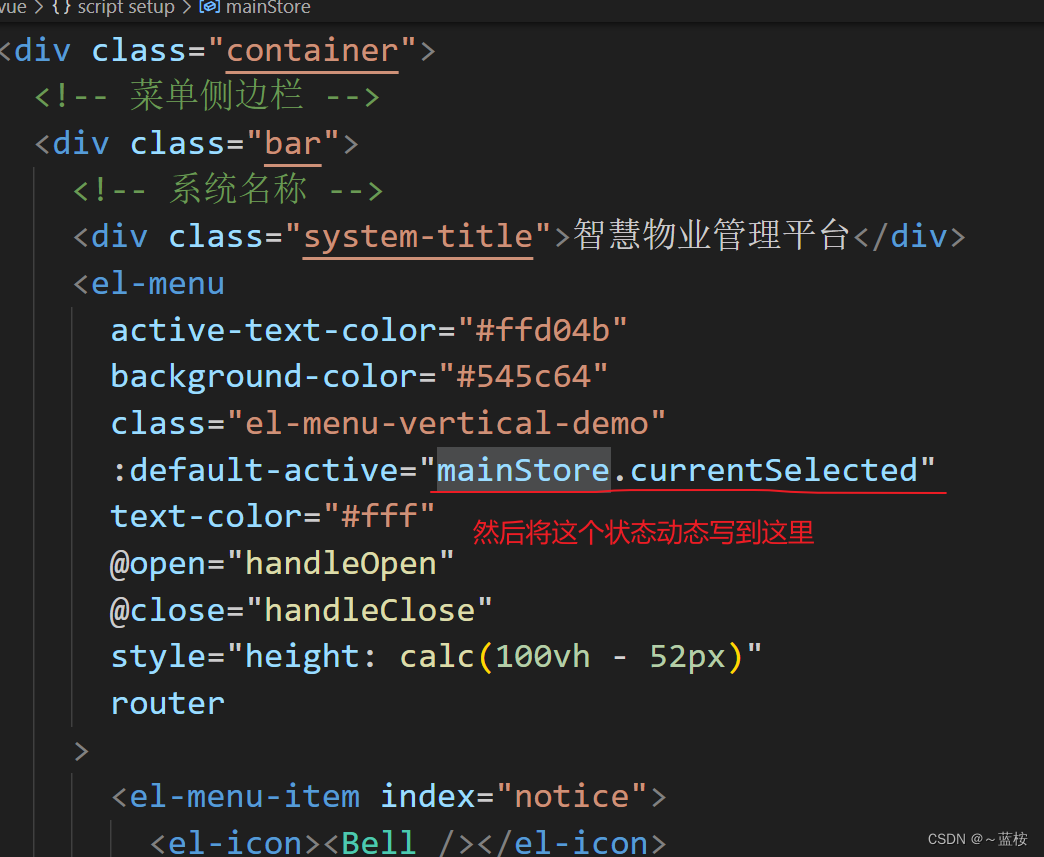
在app.vue里面写上窗口监听,监听路由的历史变化,来动态改变这个currentSelected当前选中的值,来让高亮效果对应显示:
<script setup>
import { MainStore } from './stores/main.js';
import { useRouter } from "vue-router";const router = useRouter();
const mainStore = MainStore();// 监听浏览器的历史记录变化
window.addEventListener('popstate', () => {if(router.currentRoute.value.name){mainStore.currentSelected = router.currentRoute.value.name}
})
</script><template><router-view></router-view>
</template><style scoped></style>
我这里的home页面,包括菜单侧边栏和右边切换内容区域,完整代码:
<template><div class="container"><!-- 菜单侧边栏 --><div class="bar"><!-- 系统名称 --><div class="system-title">智慧物业管理平台</div><el-menuactive-text-color="#ffd04b"background-color="#545c64"class="el-menu-vertical-demo":default-active="mainStore.currentSelected"text-color="#fff"@open="handleOpen"@close="handleClose"style="height: calc(100vh - 52px)"router><el-menu-item index="notice"><el-icon><Bell /></el-icon><span>整改通知</span></el-menu-item><el-menu-item index="projectManagement"><el-icon><Document /></el-icon><span>项目管理</span></el-menu-item><el-menu-item index="supplierManagement"><el-icon><Shop /></el-icon><span>供应商管理</span></el-menu-item><el-sub-menu index="personnel" ><!-- index属性用于指定子菜单的唯一标识符 --><template #title><el-icon><User /></el-icon><span>人事管理</span></template><el-menu-item index="personnelList">人员列表</el-menu-item><!-- <el-menu-item index="departmentManagement">部门管理</el-menu-item><el-menu-item index="postManagement">岗位管理</el-menu-item> --></el-sub-menu><el-menu-item index="dataManagement"><el-icon><DataLine /></el-icon><span>数据管理</span></el-menu-item><el-menu-item index="roleManagement"><el-icon><Avatar /></el-icon><span>角色管理</span></el-menu-item></el-menu></div><!-- 内容区域 --><div class="content"><div class="main"><router-view></router-view></div></div></div>
</template><script setup>
import { useRouter, useRoute } from "vue-router";
import { MainStore } from "../src/stores/main";
import {Bell,Document,Shop,User,Avatar,DataLine,
} from "@element-plus/icons-vue";
const handleOpen = (key, keyPath) => {};
const handleClose = (key, keyPath) => {};
const router = useRouter();
const route = useRoute();
const mainStore = MainStore();</script><style scoped>
.container {display: flex;justify-content: space-between;
}
.bar {width: 200px;/* height: 100vh; */background-color: #545c64;
}
.system-title {height: 50px;line-height: 50px;color: #fff;text-align: center;border-bottom: 2px solid #ccc;background-color: #545c64;
}
.avatar {width: 40px;height: 40px;background-color: aqua;border-radius: 50%;
}
.admin-header {display: flex;align-items: center;line-height: 50px;height: 50px;margin-left: 20px;
}
.content {width: calc(100vw - 200px);
}
.main {padding: 20px;
}
</style>
这样就解决了该问题。如有错误,欢迎指正!
这篇关于element-plus+vue3项目(侧边栏菜单的使用和历史记录切换问题的解决(高点效果对应不上))的文章就介绍到这儿,希望我们推荐的文章对编程师们有所帮助!


