本文主要是介绍R3F(React Three Fiber)经验篇,希望对大家解决编程问题提供一定的参考价值,需要的开发者们随着小编来一起学习吧!
之前一直在做ThreeJS方向,整理了两篇R3F(React Three Fiber)的文档,这是经验篇,如果您的业务场景需要使用R3F,可以参考一下这个文档。下面是目录,按照需求自取。
基础篇 ⬇️
R3F(React Three Fiber)基础篇
React Three Fiber Development Experience
文章目录
- React Three Fiber Development Experience
- 一、Asset Website
- 二、Libraries
- 1. three-stdlib
- 三、Usage
- 1. 动画周期震荡
- 2. 内部摄像机
- 3. camera far和fov的区别
- 4. Bvh
- 5. leva
- 枚举类型
- 6. 一个镜面反射的球
- 7. 在场景里居中
- 8. 自带环境
- 9. 给一个物体添加一个可移动的,带有坐标系的控制器
- 10. Float
- 11. Mask
- 12. 更改GLTF模型颜色
- 13. Better TypeScript Support for useGLTF
- 14. Sparkles
- 15. 随机色
一、Asset Website
https://gltf.pmnd.rs/:GLTF -> React Three Fiber
https://polyhaven.com/ : Assert Website
二、Libraries
1. three-stdlib
Stand-alone version of threejs/examples/jsm written in Typescript & built for ESM & CJS.
可以为 threejs中 不支持 TS 的 代码提供TS支持
install
npm install three-stdlib
usage
// Export collection
import * as STDLIB from 'three-stdlib'
// Flatbundle
import { OrbitControls, ... } from 'three-stdlib'
三、Usage
1. 动画周期震荡
useFrame((state) => (textRef.current.position.x = Math.sin(state.clock.elapsedTime) * 2))
完整例子:
const Cube: FC = () => {const textRef = useRef<Mesh>(null!)useFrame((state) => (textRef.current.position.x = Math.sin(state.clock.elapsedTime) * 2))return (<mesh><boxGeometry /><meshStandardMaterial><RenderTexture attach="map" anisotropy={16}><PerspectiveCamera makeDefault manual aspect={1} position={[0, 0, 5]} /><color attach="background" args={['orange']} /><Text fontSize={4} color={'#555'} ref={textRef}>hello</Text></RenderTexture></meshStandardMaterial></mesh>)
}
2. 内部摄像机
关键属性:makeDefault manual
TSX:<PerspectiveCamera makeDefault manual aspect={1} position={[0, 0, 5]} />
例子见动画周期震荡d艾玛
3. camera far和fov的区别
<Canvas shadows camera={{ position: [0, 0, 3], fov: 10 }}>
在Three.js中,far和fov是两种不同的概念,都与渲染3D场景时的视觉效果有关,但是它们的作用是不同的。
far:这个参数是在设置相机的裁剪面时使用的,表示相机能看到的最远距离。当一个物体离相机的距离超过这个值时,这个物体就不会被渲染出来。换句话说,far定义了你的视野的"深度"。fov:这是相机的视场角度(Field of View),以度为单位。它定义了相机视野的"宽度",即相机能够看到的角度大小。在Three.js中,这个值默认是50度,但可以根据需要进行调整。
所以,far和fov在控制渲染效果上有不同的作用:far控制的是视野的深度,而fov控制的是视野的宽度。在实际应用中,你需要根据你的需求来调整这两个参数。
far和设置position z轴的效果是一样的。
4. Bvh
参考:https://github.com/pmndrs/drei#bvh
使用Bvh包裹的组件,性能会更好,原因不明
<Canvas><Bvh firstHitOnly><Scene /></Bvh>
</Canvas>
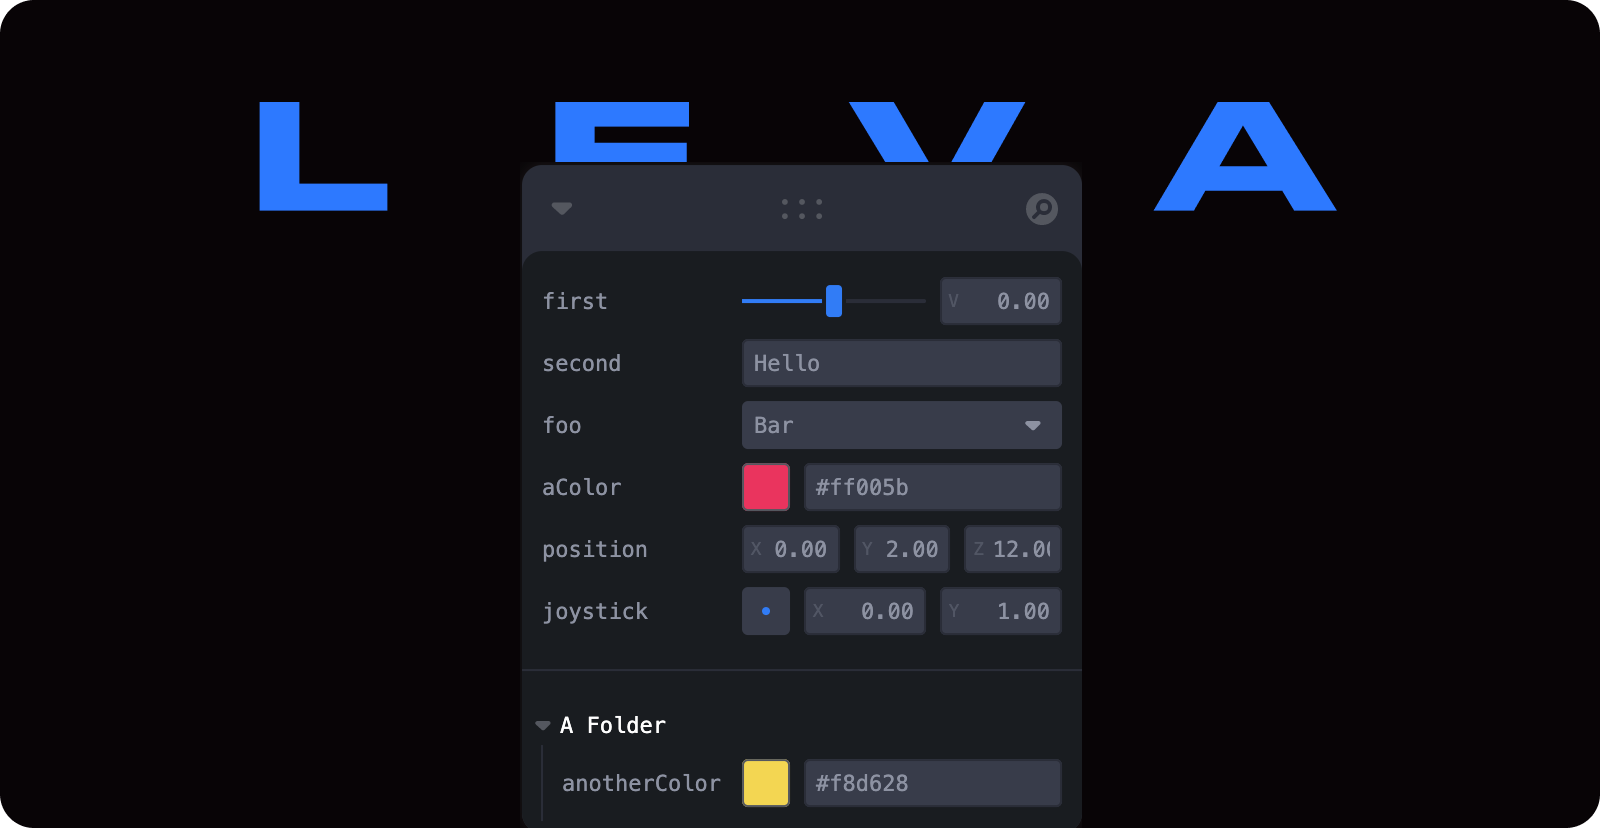
5. leva
一种GUI库,可以用作参数调试或简易设置界面
useControls最终的配置项会合并到一起。
具体用法参考一、RTF Debugger
import { useControls } from 'leva'
function CSphere() {const { roughness } = useControls({ roughness: { value: 1, min: 0, max: 1 } })return (<Center top><mesh castShadow><sphereGeometry args={[0.75, 64, 64]} /><meshStandardMaterial metalness={1} roughness={roughness} /></mesh></Center>)
}
枚举类型
const { model } = useControls({ model: { value: 'Beech', options: Object.keys(MODELS) } })
6. 一个镜面反射的球
关键参数:
metalness:数值为 1 反光率最大,距离1越大,镜面反射转为漫反射效果越明显。
roughness:有点抛光那个意思,数值越大,镜面效果越明显
<mesh castShadow><sphereGeometry args={[0.75, 64, 64]} /><meshStandardMaterial metalness={1} roughness={roughness} />
</mesh>
7. 在场景里居中
<Center top><mesh castShadow><sphereGeometry args={[0.75, 64, 64]} /><meshStandardMaterial metalness={1} roughness={roughness} /></mesh>
</Center>
8. 自带环境
<Environment preset={preset} background blur={blur} />
preset?: PresetsType;
background?: boolean | 'only';
export declare const presetsObj: {apartment: string;city: string;dawn: string;forest: string;lobby: string;night: string;park: string;studio: string;sunset: string;warehouse: string;
};
export type PresetsType = keyof typeof presetsObj;
background为only时,不反射环境光
9. 给一个物体添加一个可移动的,带有坐标系的控制器
<PivotControls offset={[0, 0, 1]} activeAxes={[true, true, false]} disableRotations depthTest={true}><CFrame position={[0, 0, 1]} /><Mask id={1} position={[0, 0, 0.95]}><circleGeometry args={[0.8, 64]} /></Mask>
</PivotControls>
10. Float
让内容上下浮动
<Floatspeed={1} // Animation speed, defaults to 1rotationIntensity={1} // XYZ rotation intensity, defaults to 1floatIntensity={1} // Up/down float intensity, works like a multiplier with floatingRange,defaults to 1floatingRange={[1, 10]} // Range of y-axis values the object will float within, defaults to [-0.1,0.1]
><mesh />
</Float>
11. Mask
可以用来遮罩效果
CAtom 定义需要遮挡的物体
const CAtom: FC<{ invert?: boolean } & MeshProps> = ({ invert, ...props }) => {// 定义 stencil,1为id,false为将物体遮挡(隐藏)const stencil = useMask(1, false)const { nodes } = useGLTF('/glb/react-transformed.glb') as unknown as { nodes: Record<string, any> }const gltf = useGLTF('/glb/react-transformed.glb')return (<meshcastShadow={true}receiveShadow={true}geometry={nodes.atom.geometry}dispose={null}{...props}><meshPhongMaterial color="#33BBFF" {...stencil} /></mesh>)
}
在另一个组件,用Mask 投影被遮挡的物体的图像
<PivotControls offset={[0, 0, 1]} activeAxes={[true, true, false]} disableRotations depthTest={true}><CFrame position={[0, 0, 1]} />{ // 这里和id和之前那个Mask的id对应 }<Mask id={1} position={[0, 0, 0.95]}><circleGeometry args={[0.8, 64]} /></Mask>
</PivotControls>
<Bounds fit clip observe><Float floatIntensity={4} rotationIntensity={0} speed={4}><CAtom invert={invert} scale={1.5} /></Float>
</Bounds>
12. 更改GLTF模型颜色
参考案例:https://codesandbox.io/s/re-using-gltfs-forked-wpzjcg?file=/src/Shoe.js
声明式写法
const MShoe: FC<{ color: string } & Record<string, any>> = ({ color, ...props }) => {const gltf = useGLTF('glb/shoe.gltf');const { nodes, materials } = gltf as unknown as {nodes: Record<string, any>materials: Record<string, any>};// 建立nodes和materials映射关系const nodeArr = Object.entries(nodes).filter(([key, value], index) => index > 1);const materialArr = Object.values(materials)const changeColorNode = 'shoe_1';// 重新构建组合 Meshreturn (<group {...props} dispose={null}>{ nodeArr.map(([key, node], index) => (<meshkey={key}castShadow={true}receiveShadow={true}geometry={node.geometry}material={index !== 1 ? materialArr[index] : undefined}material-envMapIntensity={0.8}>{key === changeColorNode &&<meshStandardMaterial{...materials.mesh}color={color}envMapIntensity={0.8}normalMap-encoding={LinearEncoding}/>}</mesh>))}</group>)
}
编程式写法
	const MShoe2: FC<ModelProps> = (props) => {const gltf = useGLTF('glb/shoe.gltf')const { scene } = gltf;const { materials } = gltf as unknown as Record<string, any>;const ref = useRef<Group>(null!);useEffect(() => {ref.current.traverse(child => {if(child.name === 'shoe_1' && (child as any).isMesh) {(child as any).material = new MeshStandardMaterial({...materials.mesh,color: 0xff6666,envMapIntensity: 0.8,});}})}, [materials]);return <primitive object={scene} {...props} ref={ref}/>
}
13. Better TypeScript Support for useGLTF
Refer to the Libraries chapter for three-stdlib
Declare
declare type C_GLTF = import('three-stdlib').GLTF & {nodes: Record<string, import("three").Mesh>;materials: Record<string, import("three").MeshStandardMaterial>;
};
Usage
const { nodes, materials } = useGLTF('/cyberpunk.glb', true) as C_GLTF;
14. Sparkles
繁星效果,Floating, glowing particles(发光粒子).
<Sparklessize={ 6 }scale={ [ 4, 2, 6 ] }position-y={ 1 }speed={ 0.1 }
/>
15. 随机色
type TorusMesh = Mesh<TorusGeometry, MeshMatcapMaterial>const eventHandler = (event: ThreeEvent<MouseEvent>) => {event.stopPropagation();const mesh= event.eventObject as TorusMesh;const newMaterial = mesh.material.clone()newMaterial.color.set(`hsl(${Math.random() * 360}, 100%, 75%)`) // hsl colormesh.material = newMaterial;
}
这篇关于R3F(React Three Fiber)经验篇的文章就介绍到这儿,希望我们推荐的文章对编程师们有所帮助!


