本文主要是介绍Vue3+vite搭建基础架构(6)--- 使用vue-router,希望对大家解决编程问题提供一定的参考价值,需要的开发者们随着小编来一起学习吧!
Vue3+vite搭建基础架构(6)--- 使用vue-router
- 说明
- 官方文档
- 安装vue-router
- 使用vue-router
- 测试vue-router
说明
这里记录下自己在Vue3+vite的项目使用vue-router的过程,不使用ts语法,方便以后直接使用。这里承接自己的博客Vue3+vite搭建基础架构(5)— 使用vue-i18n这篇博客,在该博客项目的基础上增加使用vue-router。
官方文档
Vue3使用vue-router官方文档:https://router.vuejs.org/zh/installation.html
安装vue-router
根据官网给的安装命令如下:
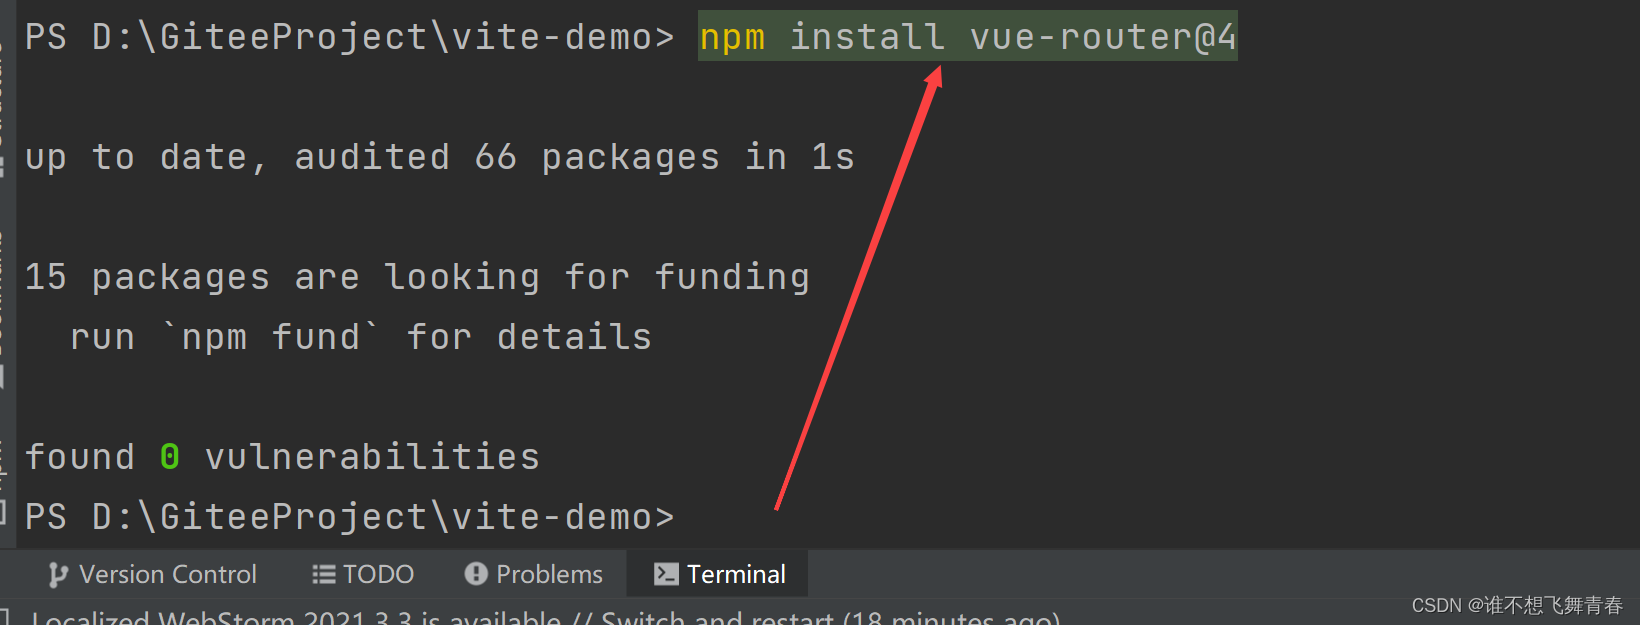
npm install vue-router@4
在webstorm里面的Terminal输入npm install vue-router@4命令安装该依赖。执行完如下:
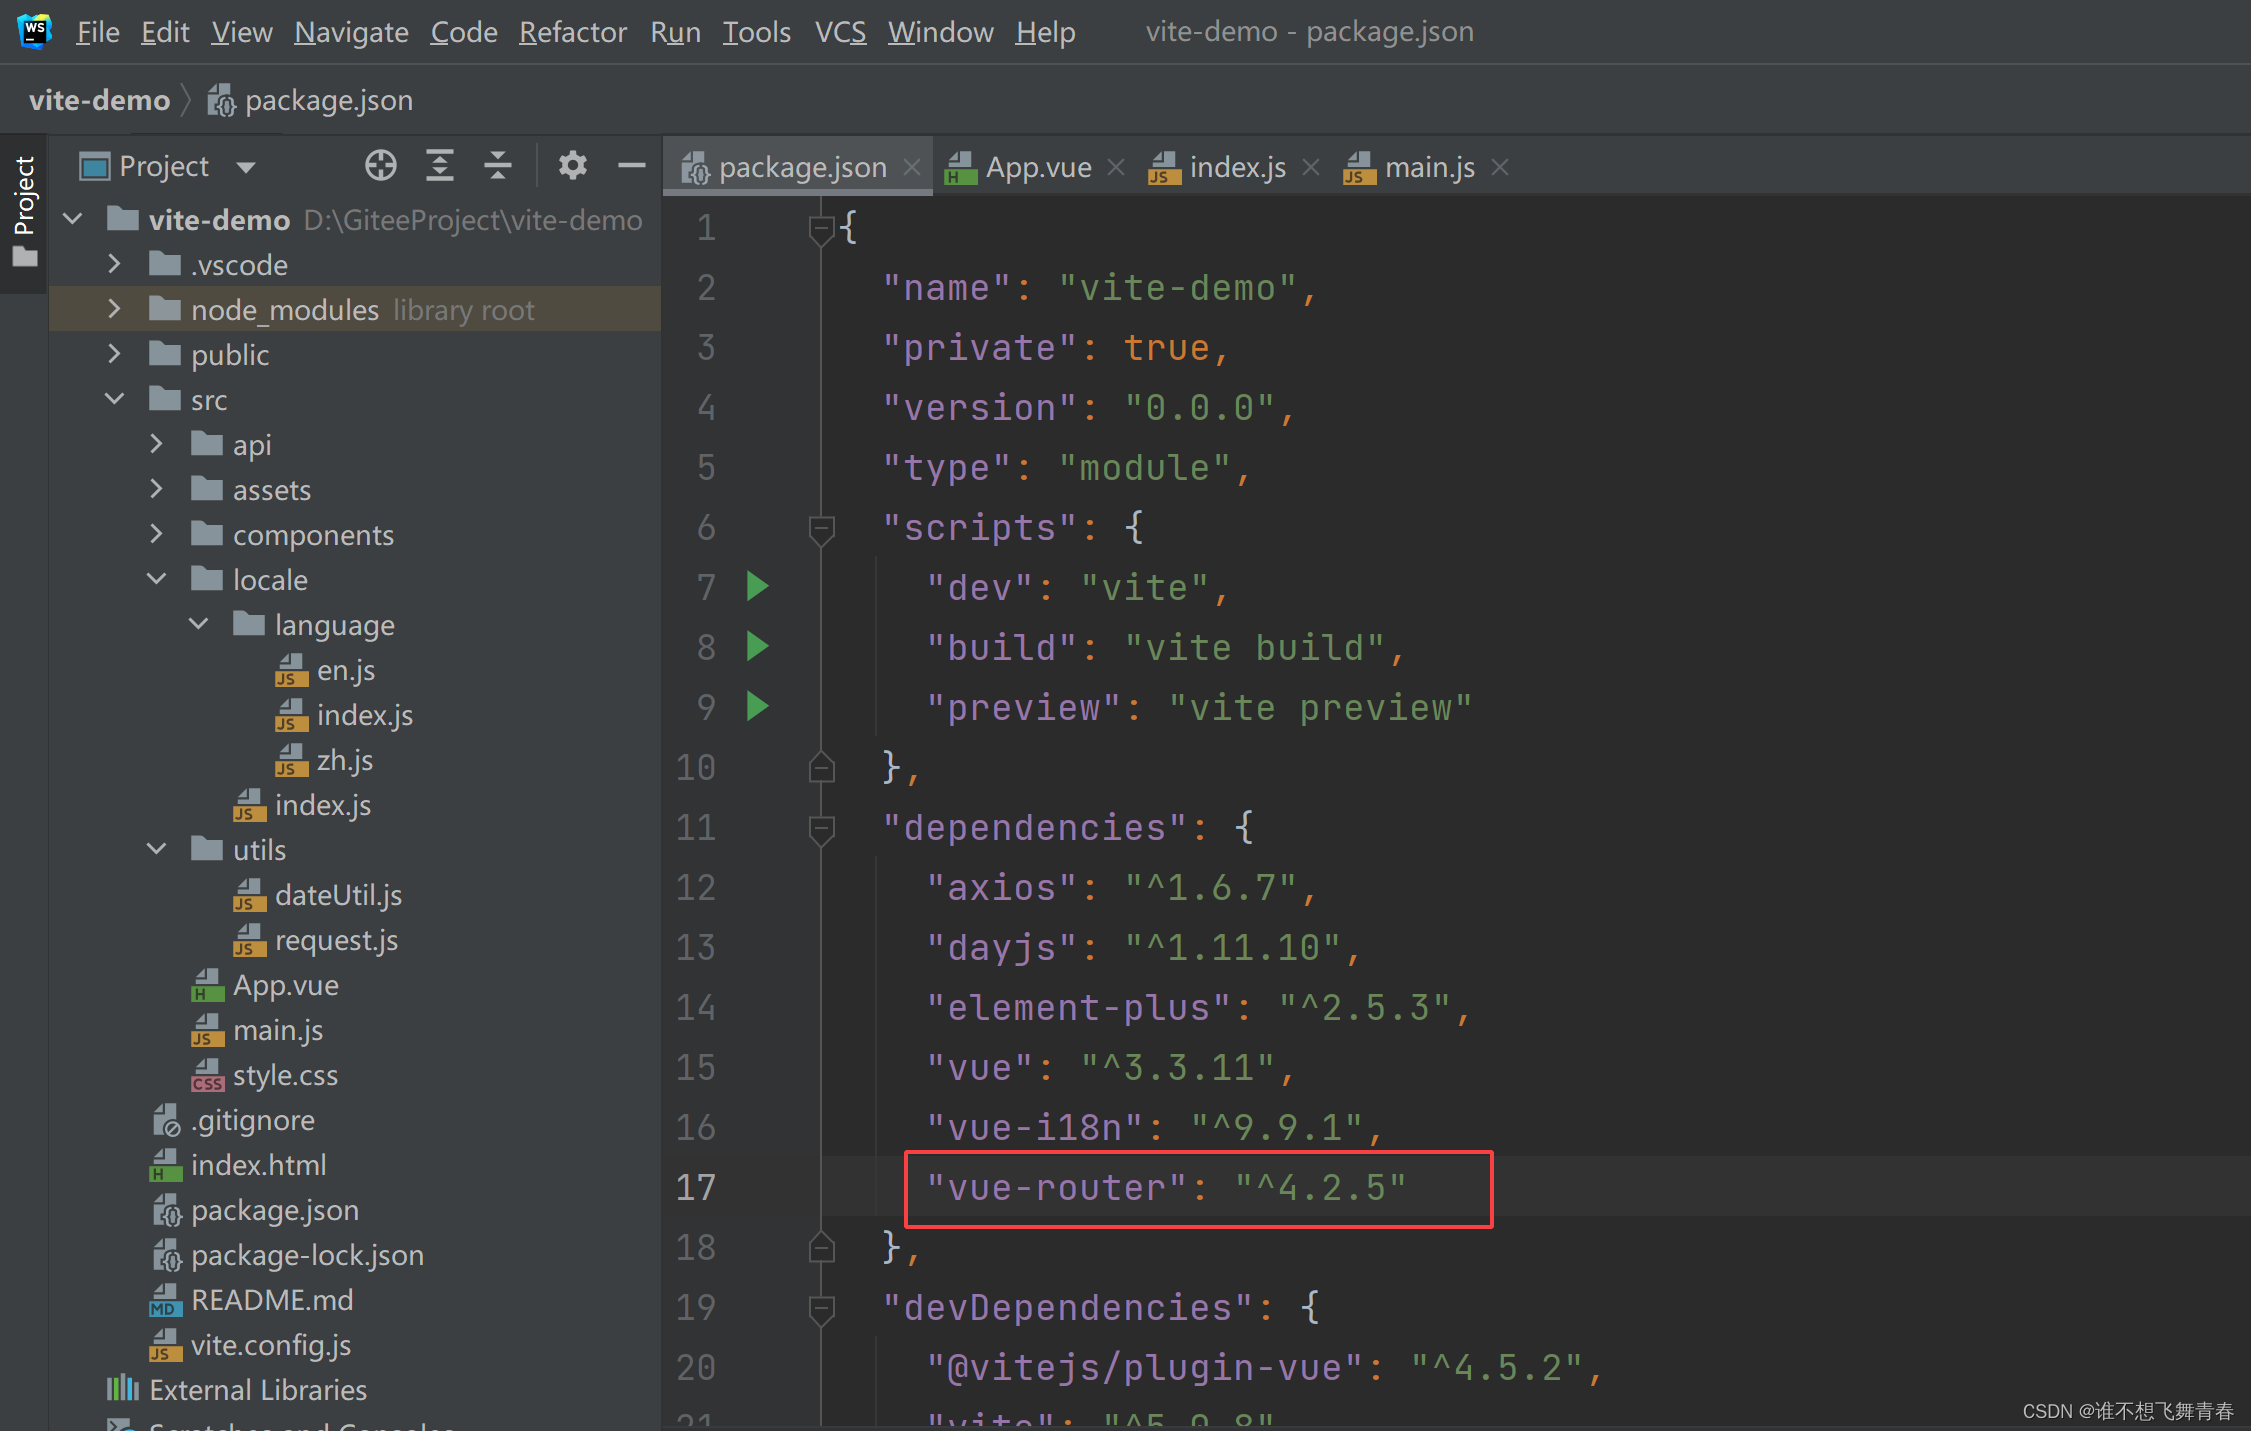
package.json会增加vue-router版本号
使用vue-router
在src目录下新建router文件夹,在该文件夹里面创建一个index.js文件。

router文件夹下的index.js代码:
//引入router路由做页面请求
import { createRouter,createWebHashHistory } from 'vue-router'
/* Layout通用组件 */
import Layout from '../views/layout/layout'//前端页面路由地址
const routes = [{path: '/404', component: () => import('@/views/404')},//必须要把组件放在Layout的children里面,才能在侧边栏的右侧显示页面内容,否则不加载通用架构直接在当前空白页面渲染内容,如:404页面{path: '',component: Layout,redirect: '/home',children: [{path: 'home',name: 'home',component: () => import('@/views/home/index'),meta: {title: '首页', icon: 'home'}},{path: 'hello',name: 'hello',component: () => import('@/components/HelloWorld'),meta: {title: '测试页', icon: 'hello'}}]}
]// 3. 创建路由实例并传递 `routes` 配置
const router = createRouter({// 4. 内部提供了 history 模式的实现。为了简单起见,我们在这里使用 hash 模式。history: createWebHashHistory(),routes, // `routes: routes` 的缩写
})//路由前置守卫
router.beforeEach((to, from, next) => {//路由发生变化修改页面titleif (to.meta.title) {document.title = to.meta.title}next()
})//导出路由
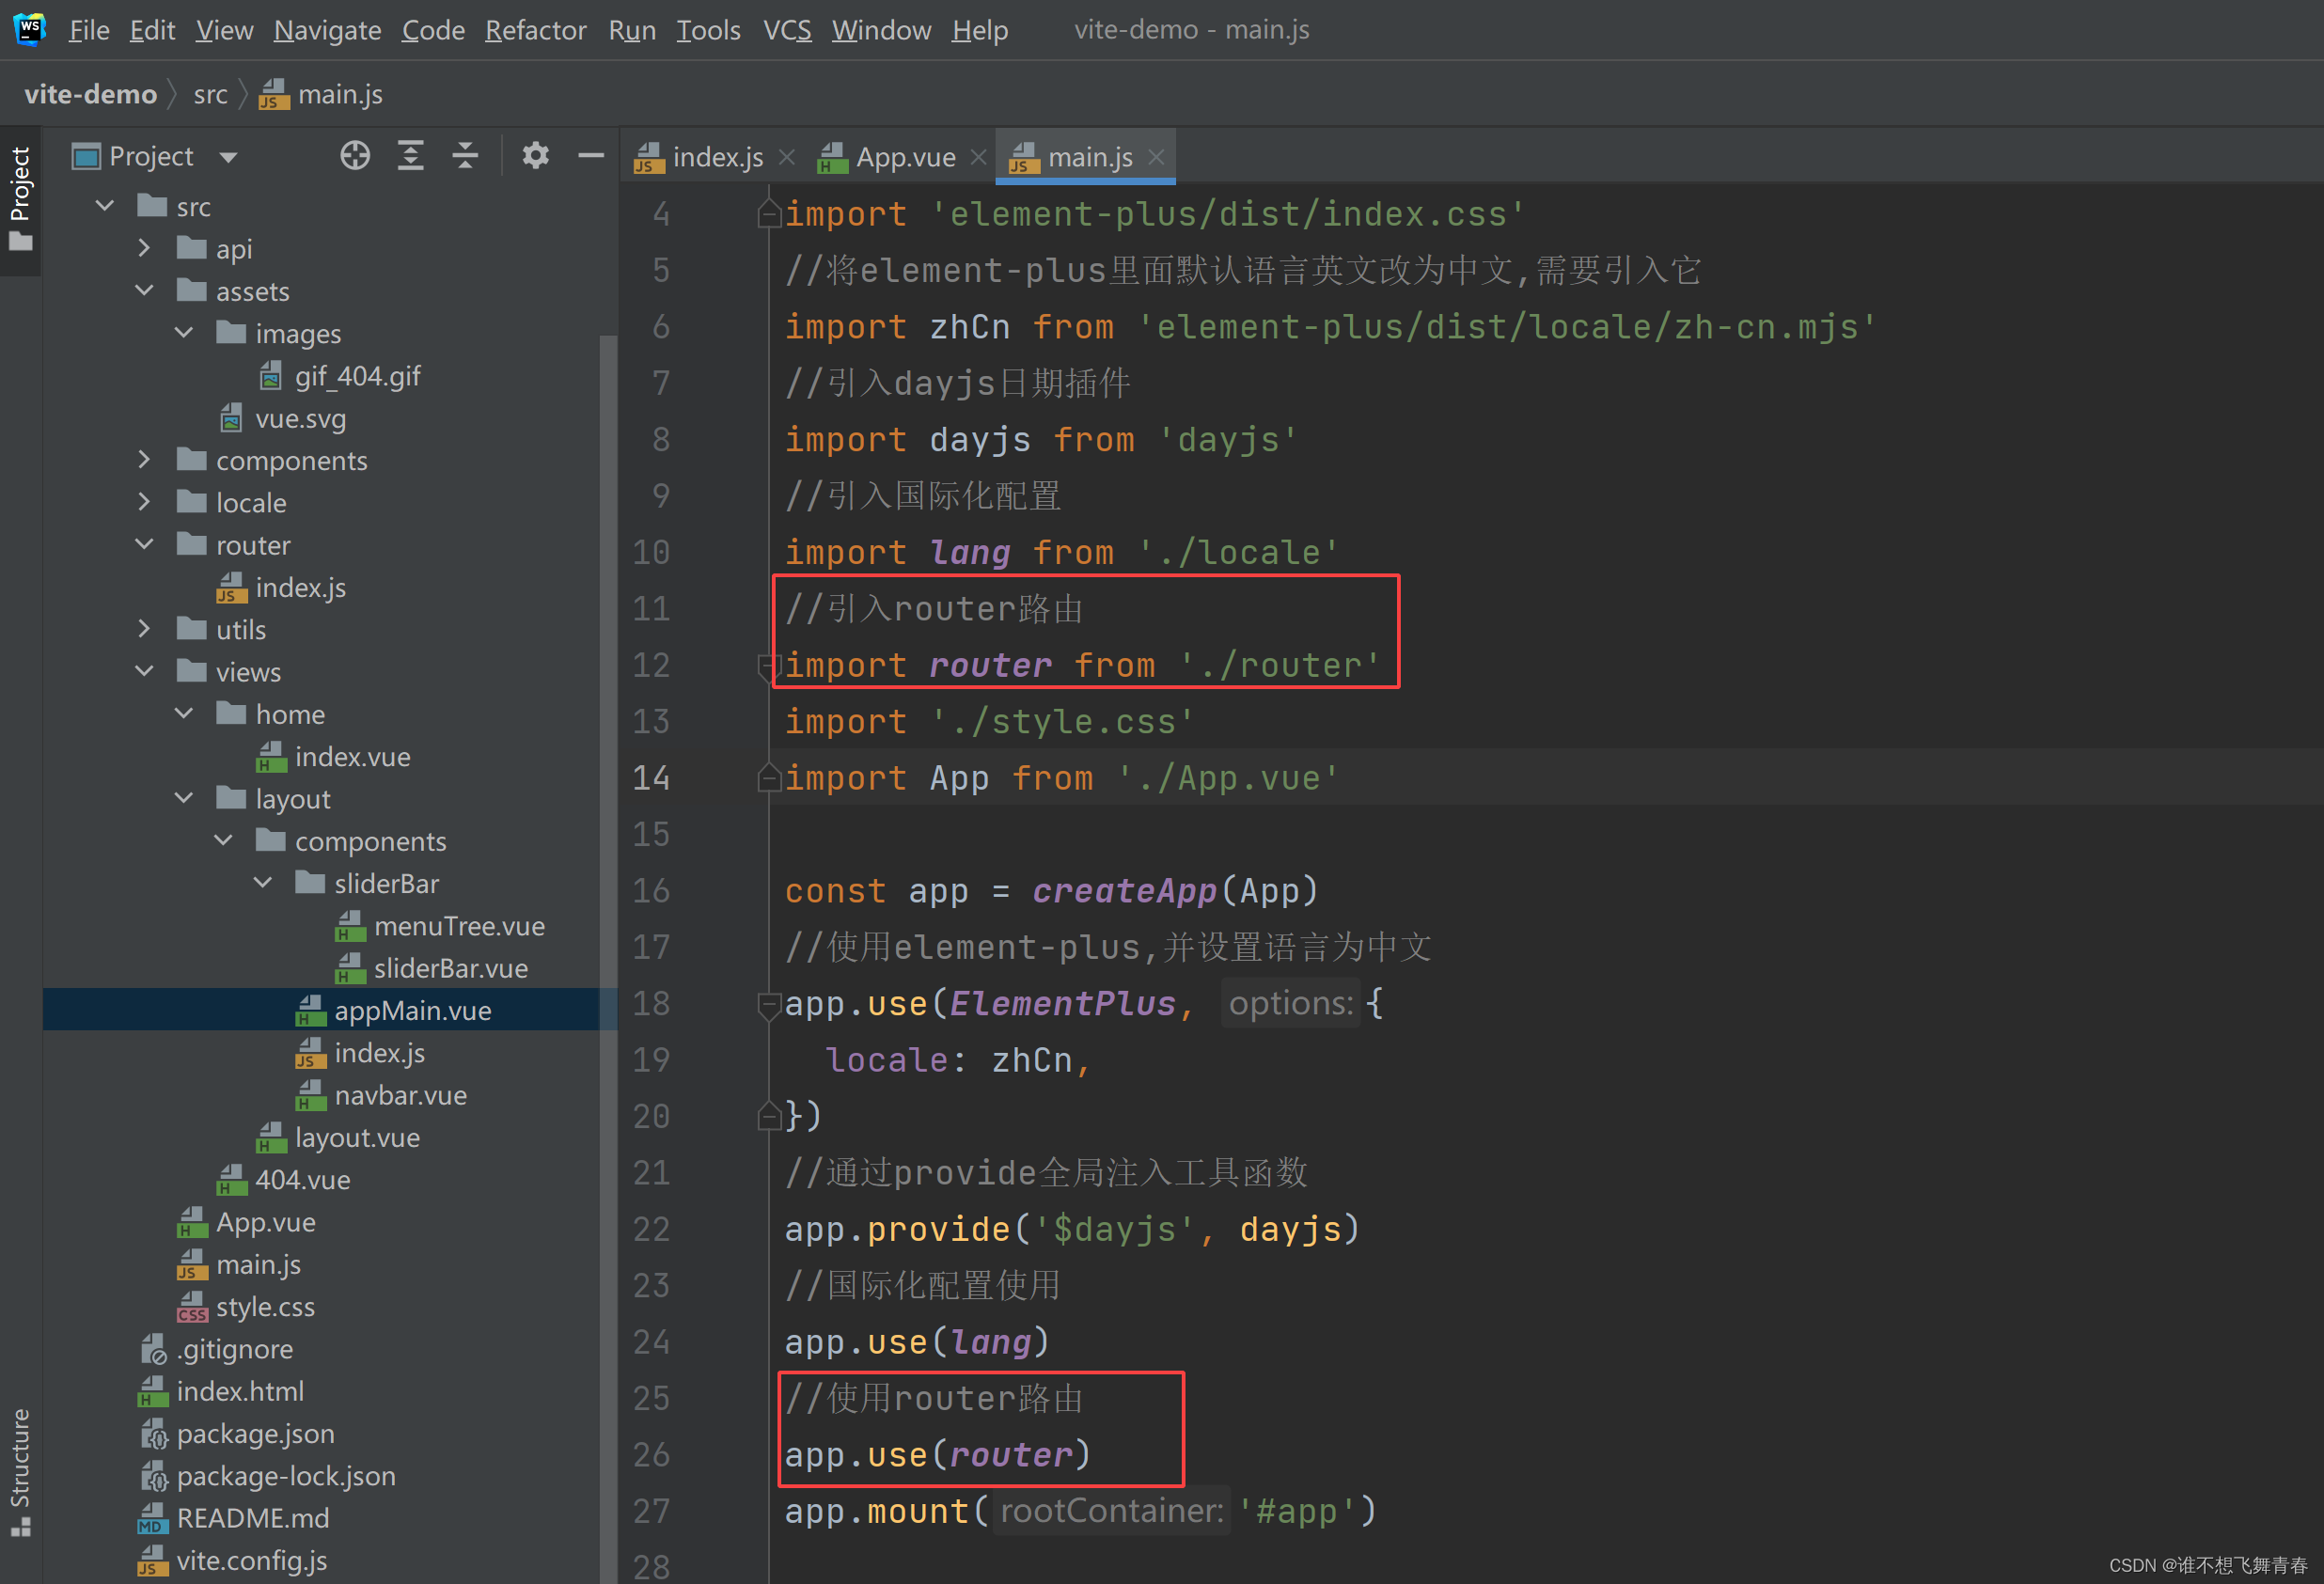
export default router在main.js里面引入router配置:
代码如下:
import { createApp } from 'vue'
//引入element-plus
import ElementPlus from 'element-plus'
import 'element-plus/dist/index.css'
//将element-plus里面默认语言英文改为中文,需要引入它
import zhCn from 'element-plus/dist/locale/zh-cn.mjs'
//引入dayjs日期插件
import dayjs from 'dayjs'
//引入国际化配置
import lang from './locale'
//引入router路由
import router from './router'
import './style.css'
import App from './App.vue'const app = createApp(App)
//使用element-plus,并设置语言为中文
app.use(ElementPlus, {locale: zhCn,
})
//通过provide全局注入工具函数
app.provide('$dayjs', dayjs)
//国际化配置使用
app.use(lang)
//使用router路由
app.use(router)
app.mount('#app')
路由里面配置了几个页面地址,这里贴上对应页面代码,404图片随便网上找一个就行。
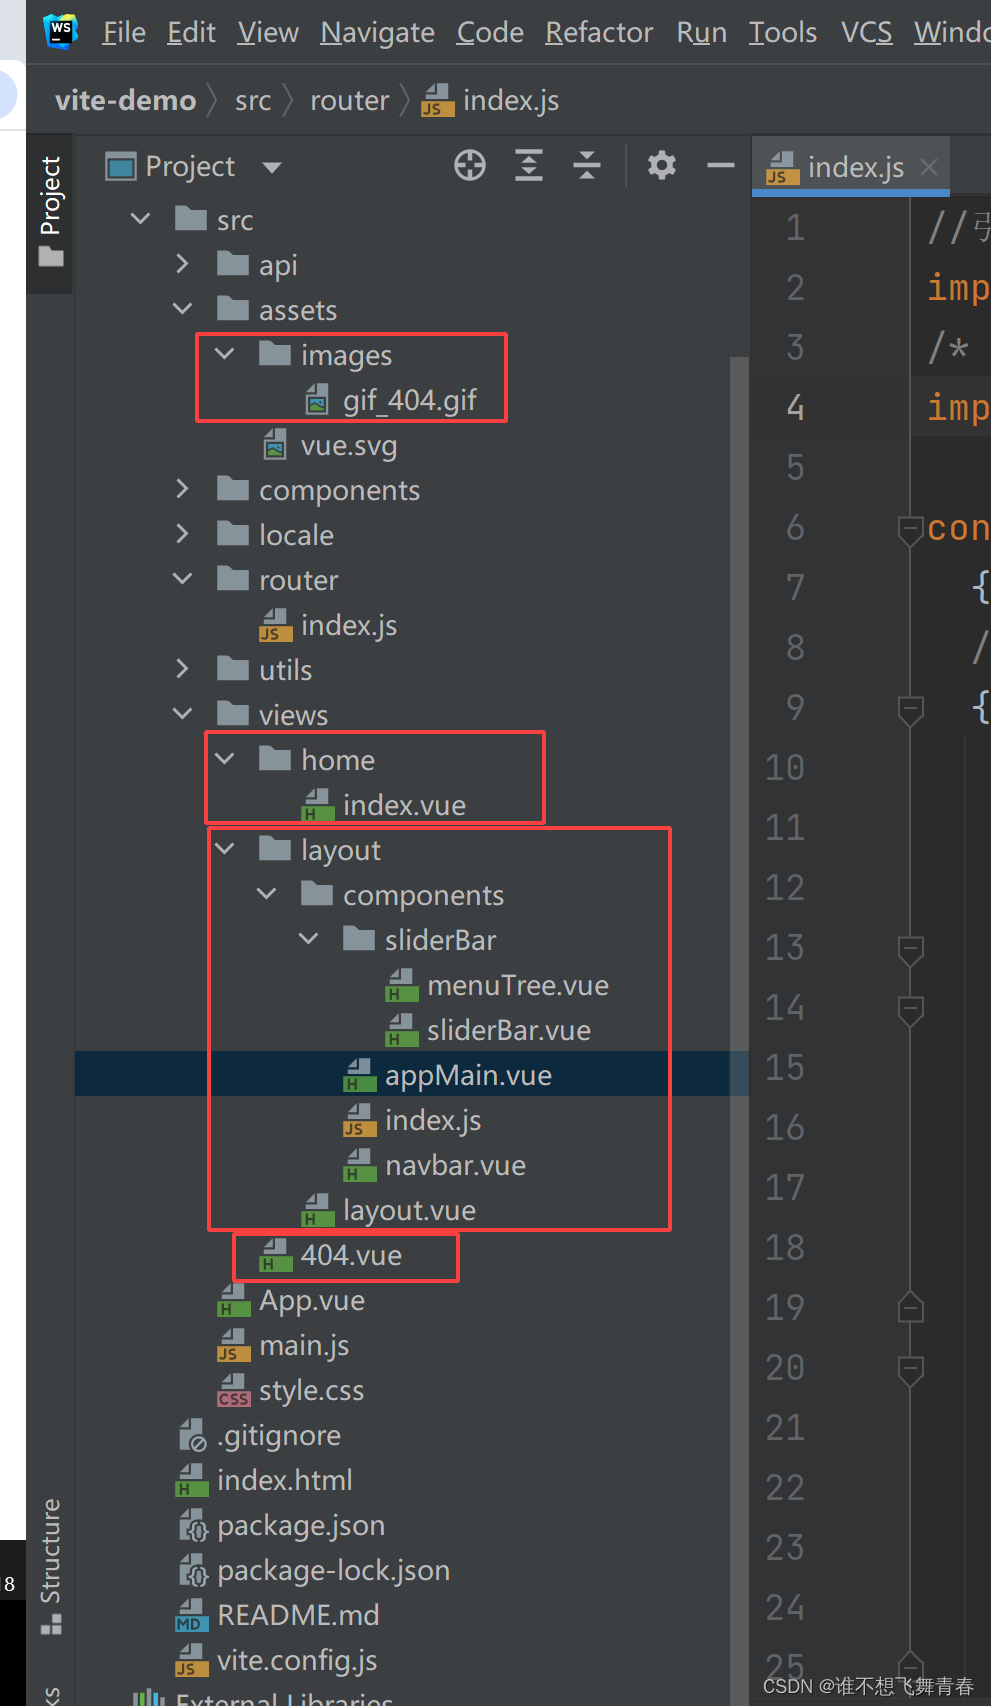
在src目录下新建views文件夹,在views文件夹下新建404.vue页面。
404页面代码如下:
<template><div><div class="app-container"><el-col :span="12"><img :src="img_404" alt="404" class="img-style"></el-col><el-col :span="12"><div style="margin-left: 100px;margin-top: 60px"><h1 class="color-main">OOPS!</h1><h2 style="color: #606266">很抱歉,页面它不小心迷路了!</h2><div style="color:#909399;font-size: 14px">请检查您输入的网址是否正确,请点击以下按钮返回主页或者发送错误报告</div><el-button style="margin-top: 20px" type="primary" round @click="handleGoMain">返回首页</el-button></div></el-col></div></div>
</template><script setup>import img_404 from '@/assets/images/gif_404.gif'import { useRouter } from "vue-router"//使用router跳转路由const router=useRouter()const handleGoMain = () => {//跳转到首页router.push({ path: '/home' })}</script><style scoped>.app-container {width: 80%;margin: 120px auto;}.img-style {width: auto;height: auto;max-width: 100%;max-height: 100%;}
</style>
home文件夹下的index.js代码,将App.vue页面代码移到home文件夹下的index.js里面:
<template><p>当前语言的title值:{{$t('title')}}</p><p>当前语言的title值:{{t('title')}}</p><el-button type="primary">Primary</el-button><el-button type="success">Success</el-button><!--日期选择器--><el-date-pickerv-model="dateValue"type="date"placeholder="请选择一天"/>
</template><script setup name="home">import {ref, inject, onMounted ,getCurrentInstance} from 'vue'import {getCurrentDate,getDateDiff,getXBeforeDate,getIntermediateDate} from '@/utils/dateUtil'import {login,test} from '@/api/login'import { useI18n } from 'vue-i18n'console.info("useI18n()=",useI18n())//使用i18nconst {t,locale} = useI18n()//日期变量,使用ref进行双向绑定const dateValue = ref('')//获取日期变量值,需要加.value来获取值console.info("dateValue=",dateValue.value)//onMounted页面初始化完成后执行onMounted(()=>{//获取在main.js里面使用provide全局注册的函数/*const dayjs=inject('$dayjs')//使用dayjs将当前时间转换为指定样式console.log("dayjs=",dayjs(new Date()).format('YYYY-MM-DD HH:mm:ss'))//使用dateUtil工具类获取当前时间console.log("当前日期=",getCurrentDate())//计算2个日期之间相差多少天,只要开始日期和结束日期格式保持一致就行,日期格式为YYYY-MM-DD或者YYYY-MM-DD HH:mm:ss都能计算console.log("相差天数为=",getDateDiff('2024-02-01','2024-03-01','day'))//获取之前日期console.log("获取当前日期的前6天日期=",getXBeforeDate(getCurrentDate(),6,'day'))//获取开始日期与结束日期之间的所有日期console.log("开始日期到结束日期=",getIntermediateDate('2024-02-01','2024-02-15',1,'day'))//接口请求发送示例const data={username:"test111",password:"123456"}test(data).then(response => {console.info("请求成功")}).catch(error => {console.log(error)})*///获取当前语言类型console.log("当前语言:",locale.value)//将默认语言中文改为英文locale.value='en'console.log("当前语言:",locale.value)})
</script><style scoped></style>
App.vue下修改后的代码如下:
<template><div><!--路由入口 在App.vue中使用<router-view>组件来渲染要显示的组件--><router-view/></div>
</template><script setup name="App"></script><style scoped></style>
layout文件夹下的layout.vue代码:
<template><div><el-container><!--头部--><el-header><Navbar></Navbar></el-header><el-container><!--侧边栏--><el-aside width="200px"><SliderBar></SliderBar></el-aside><!--主体内容--><el-main><AppMain></AppMain></el-main></el-container></el-container></div>
</template><script>import { Navbar, SliderBar, AppMain } from './components/index.js'export default {name: "layout",components: {Navbar,SliderBar,AppMain}}
</script><style scoped></style>
layout文件夹下components文件夹下的navbar.vue代码:
<!--通用布局头部内容-->
<template><div>我是头部</div>
</template><script setup name="navbar"></script><style scoped></style>
layout文件夹下components文件夹下的appMain.vue代码:
<!--通用布局页面主体内容-->
<template><div><!--页面内容加载在这里--><router-view></router-view></div>
</template><script setup name="AppMain"></script><style scoped></style>
layout文件夹下components文件夹下sliderBar下的sliderBar.vue代码:
<!--通用布局侧边栏内容-->
<template><div>我是侧边栏</div>
</template><script setup name="SliderBar"></script><style scoped></style>
layout文件夹下components文件夹下sliderBar下的menuTree.vue代码:
<!--菜单树列表-->
<template></template><script setup name="MenuTree"></script><style scoped></style>
layout文件夹下components文件夹下的index.js代码:
export { default as Navbar} from './navbar.vue'
export { default as SliderBar } from './sliderBar/sliderBar.vue'
export { default as AppMain } from './appMain'
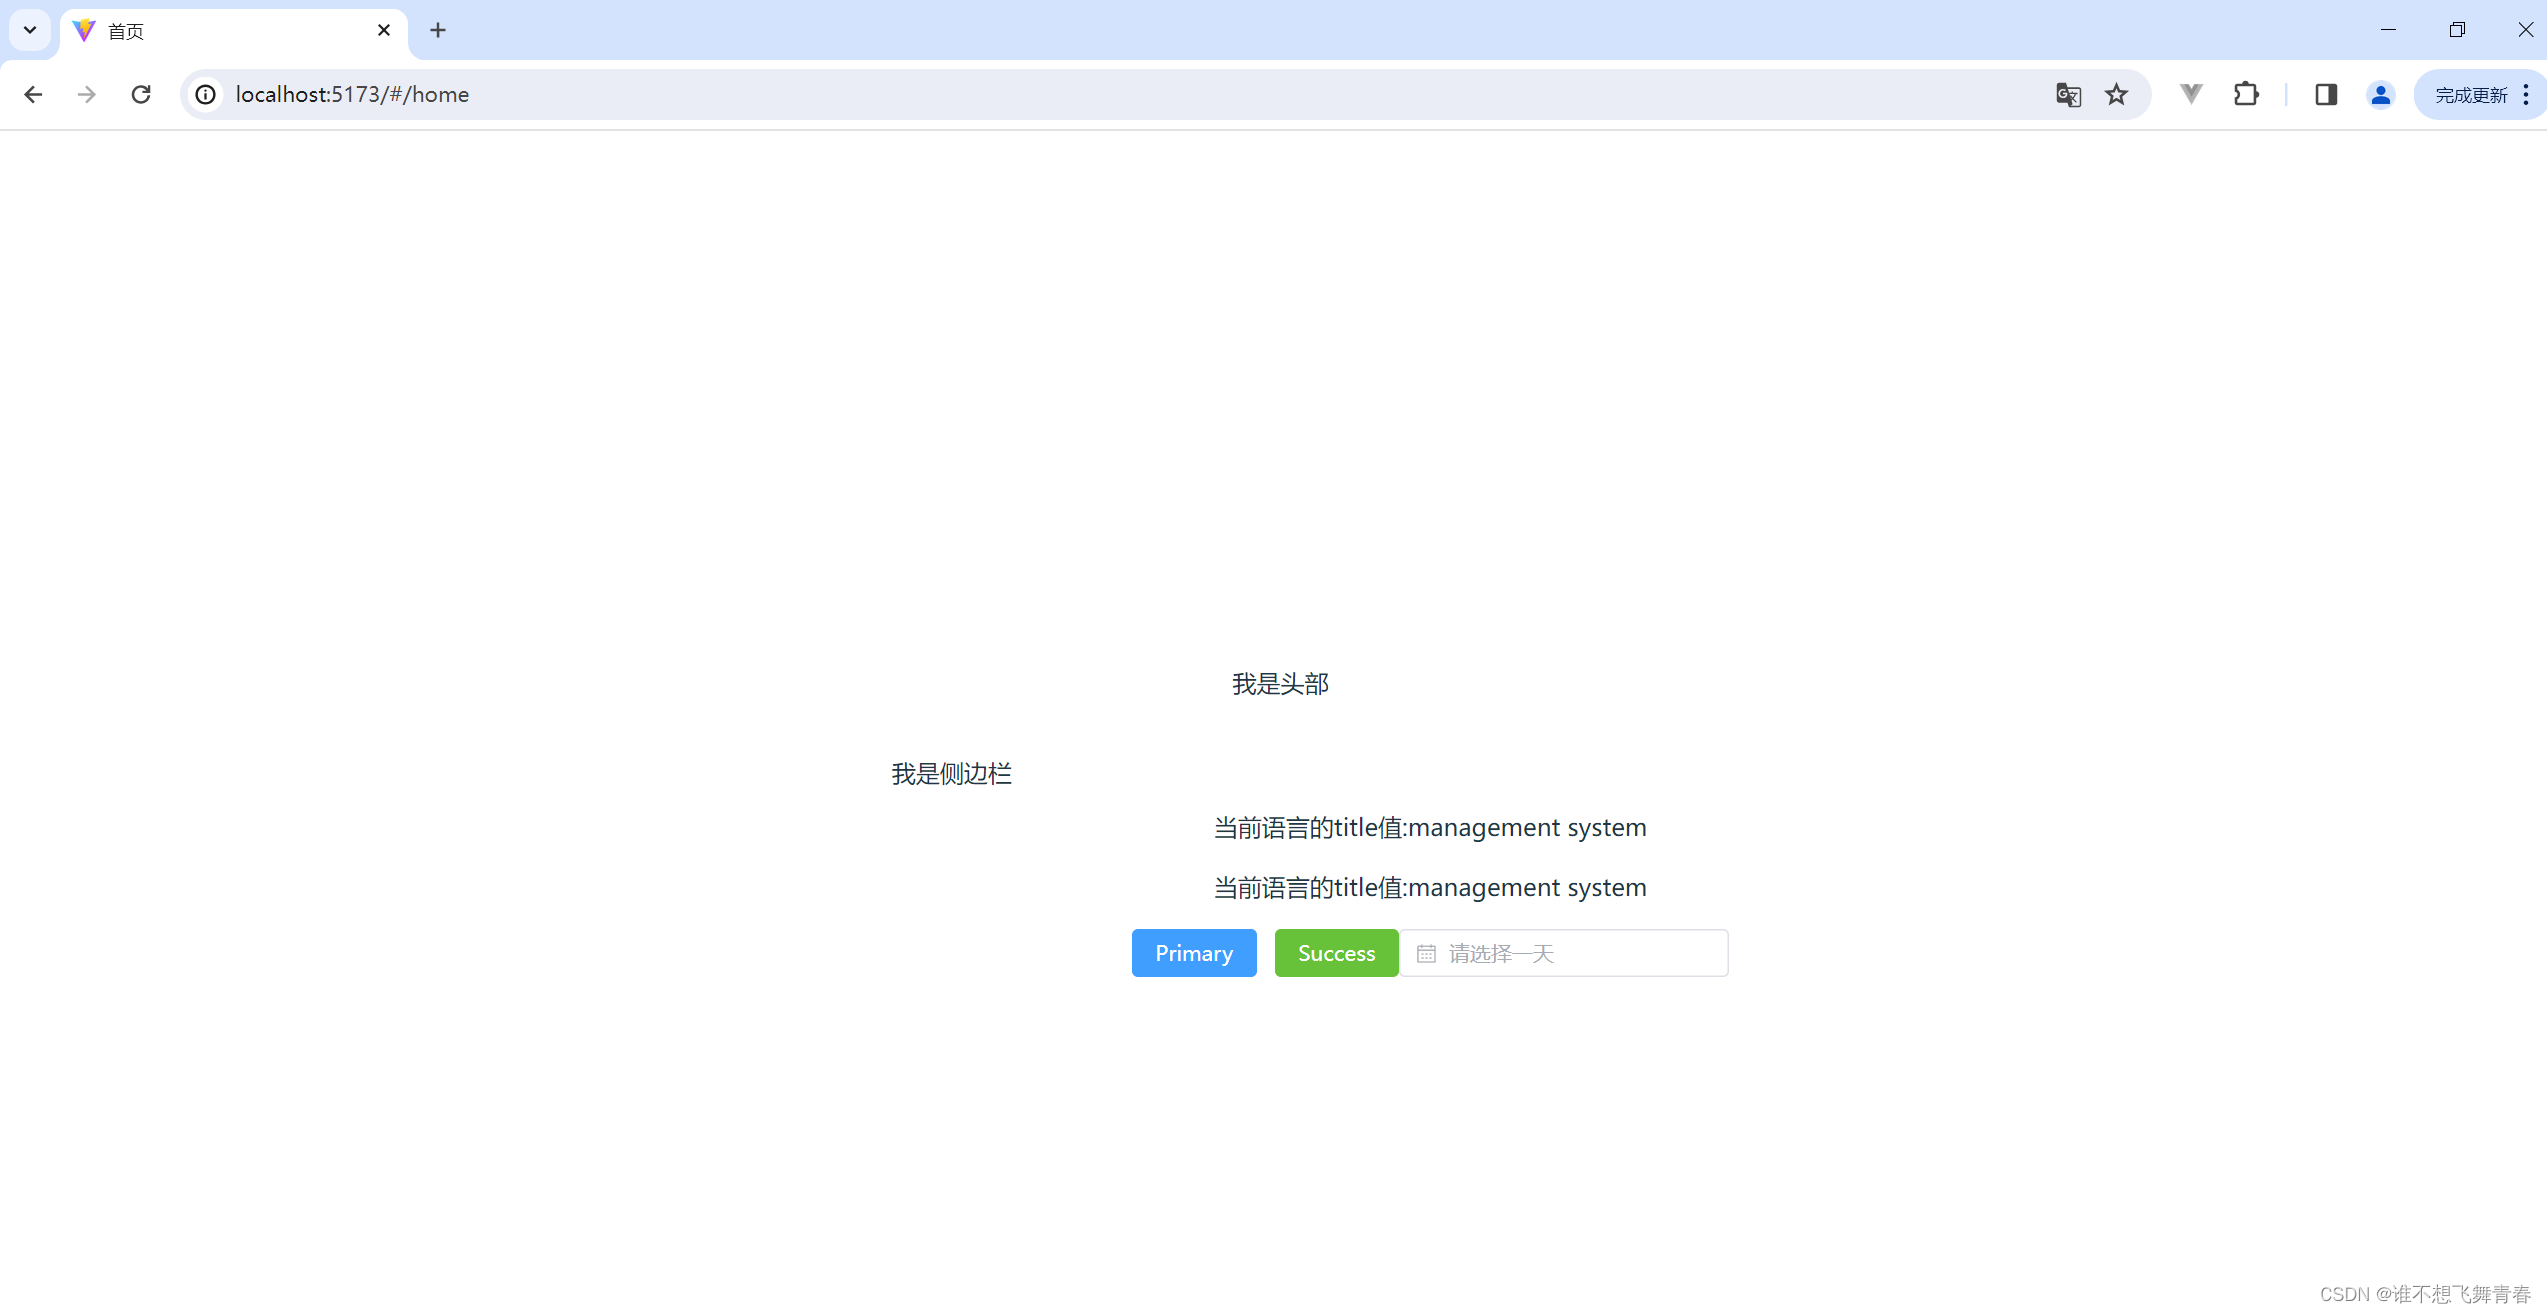
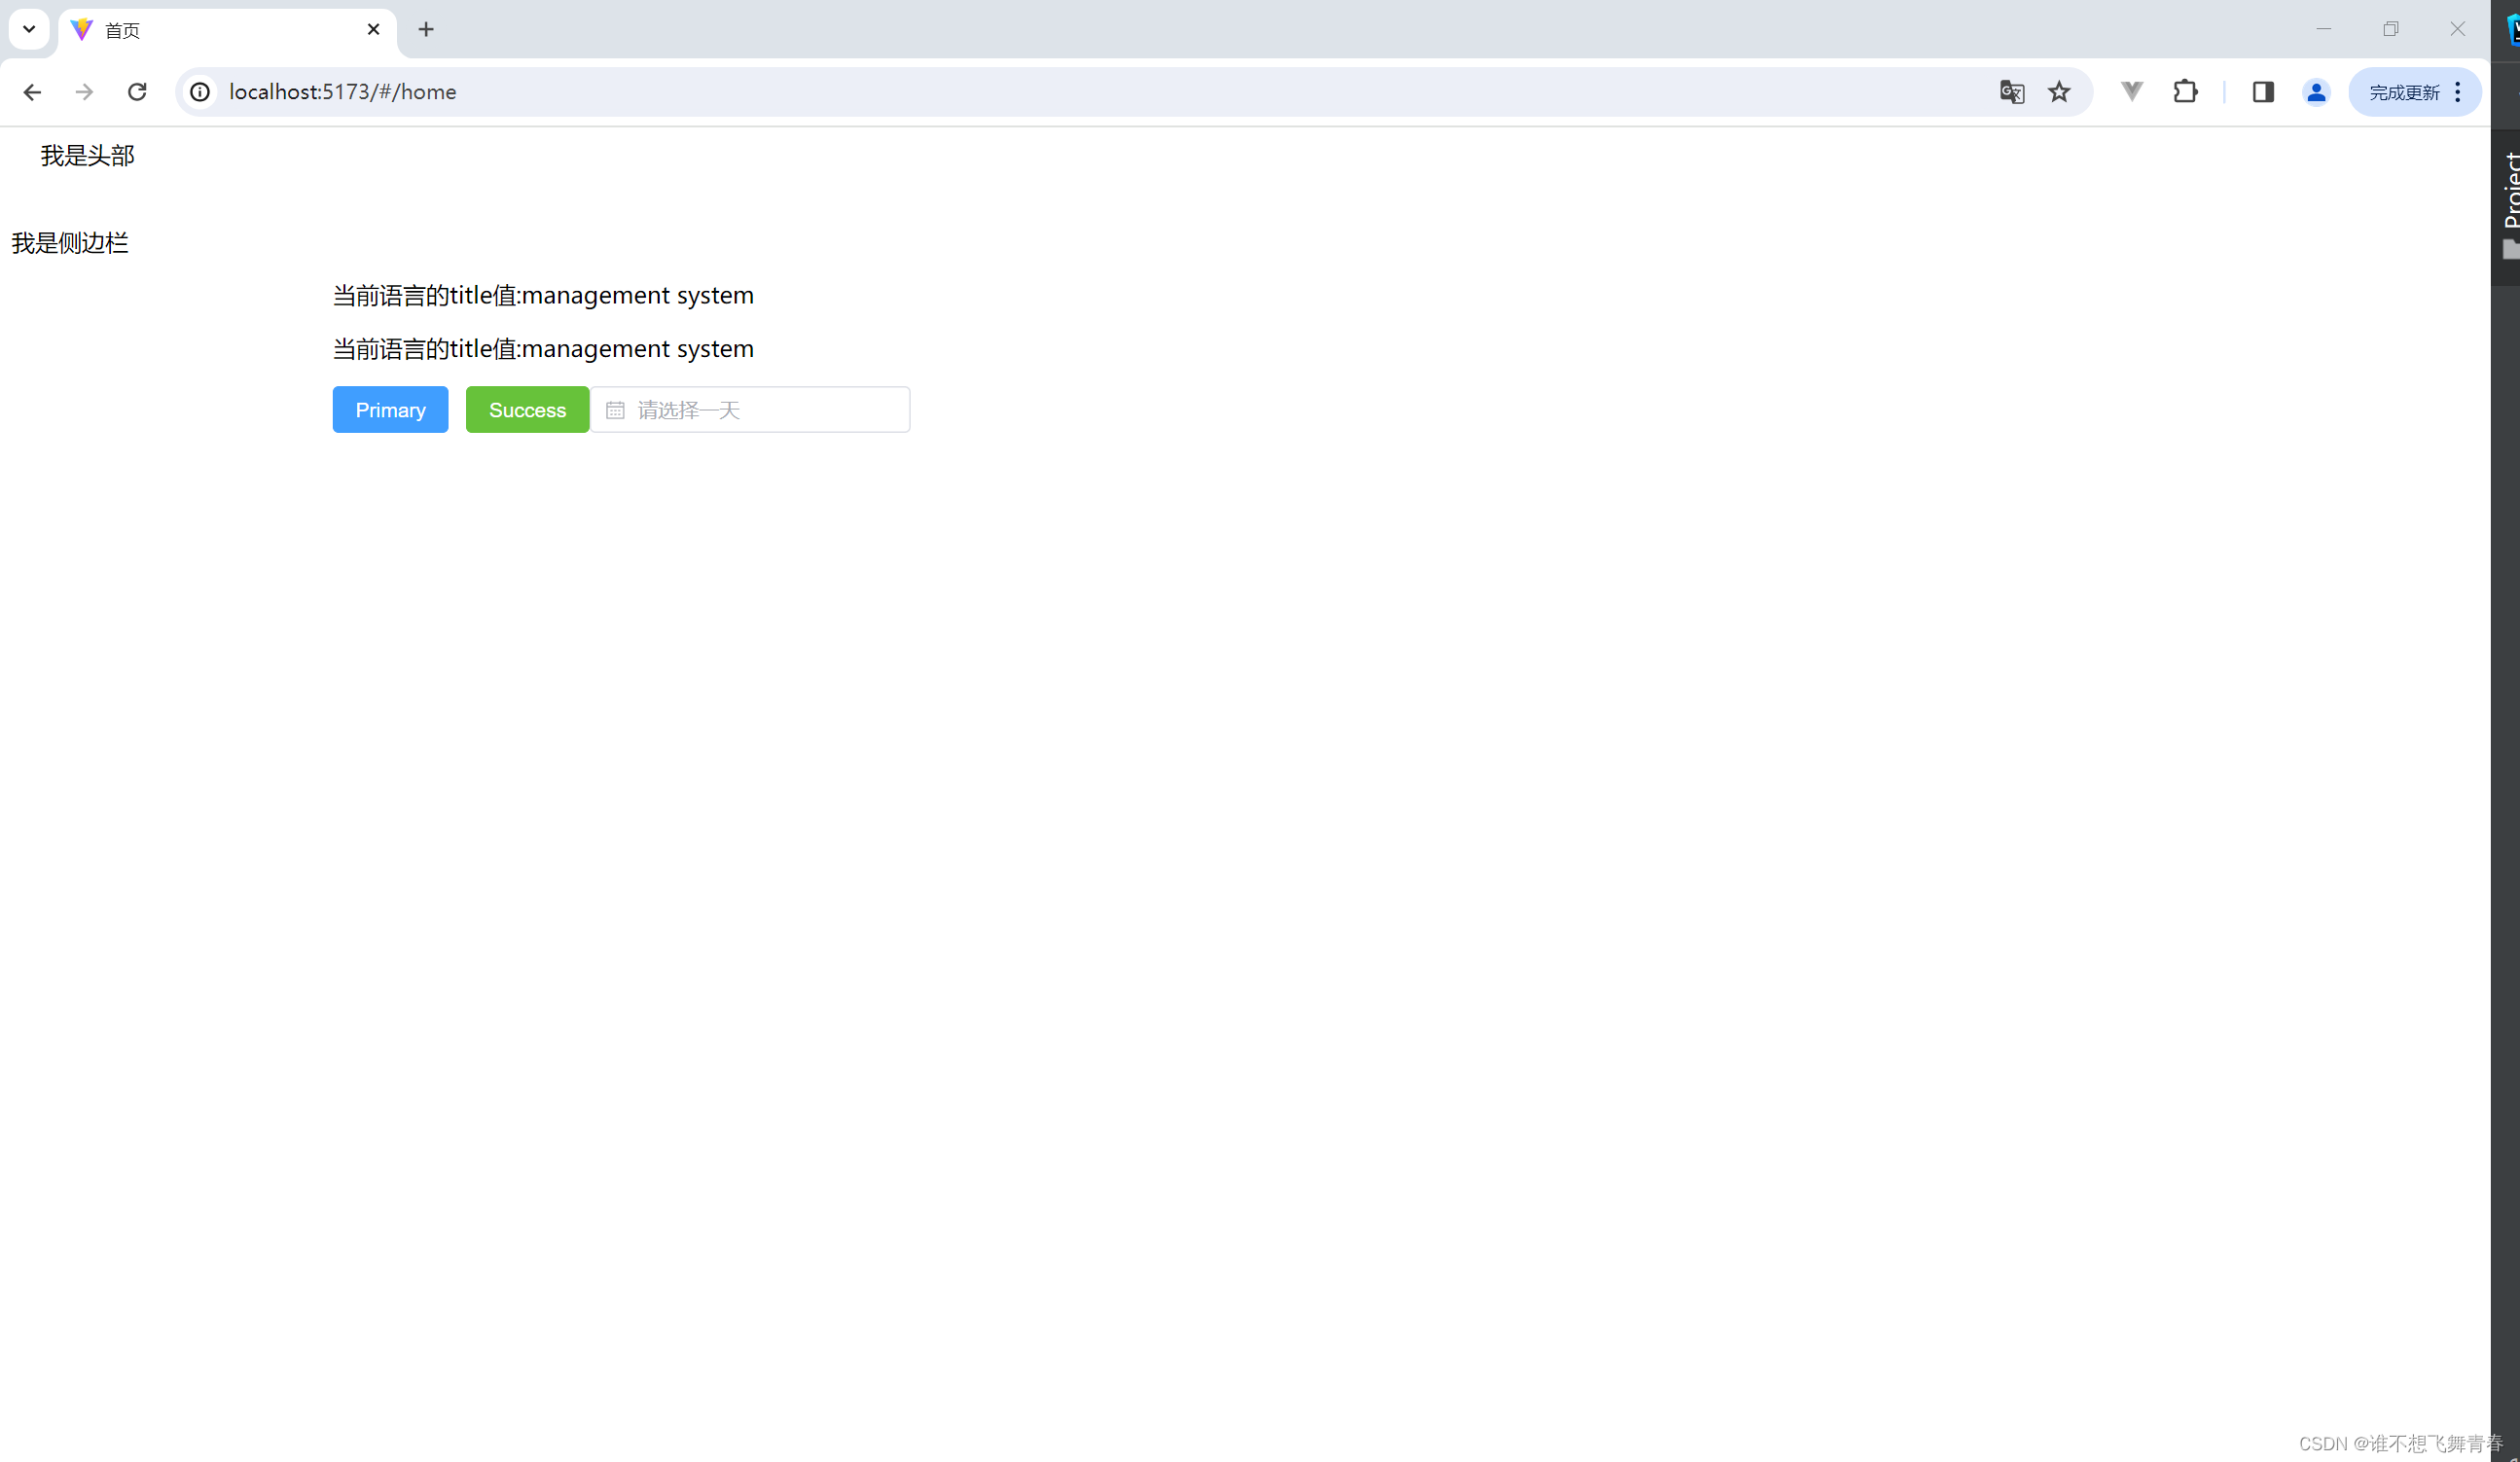
测试vue-router
默认进入首页测试,浏览器结果如下:
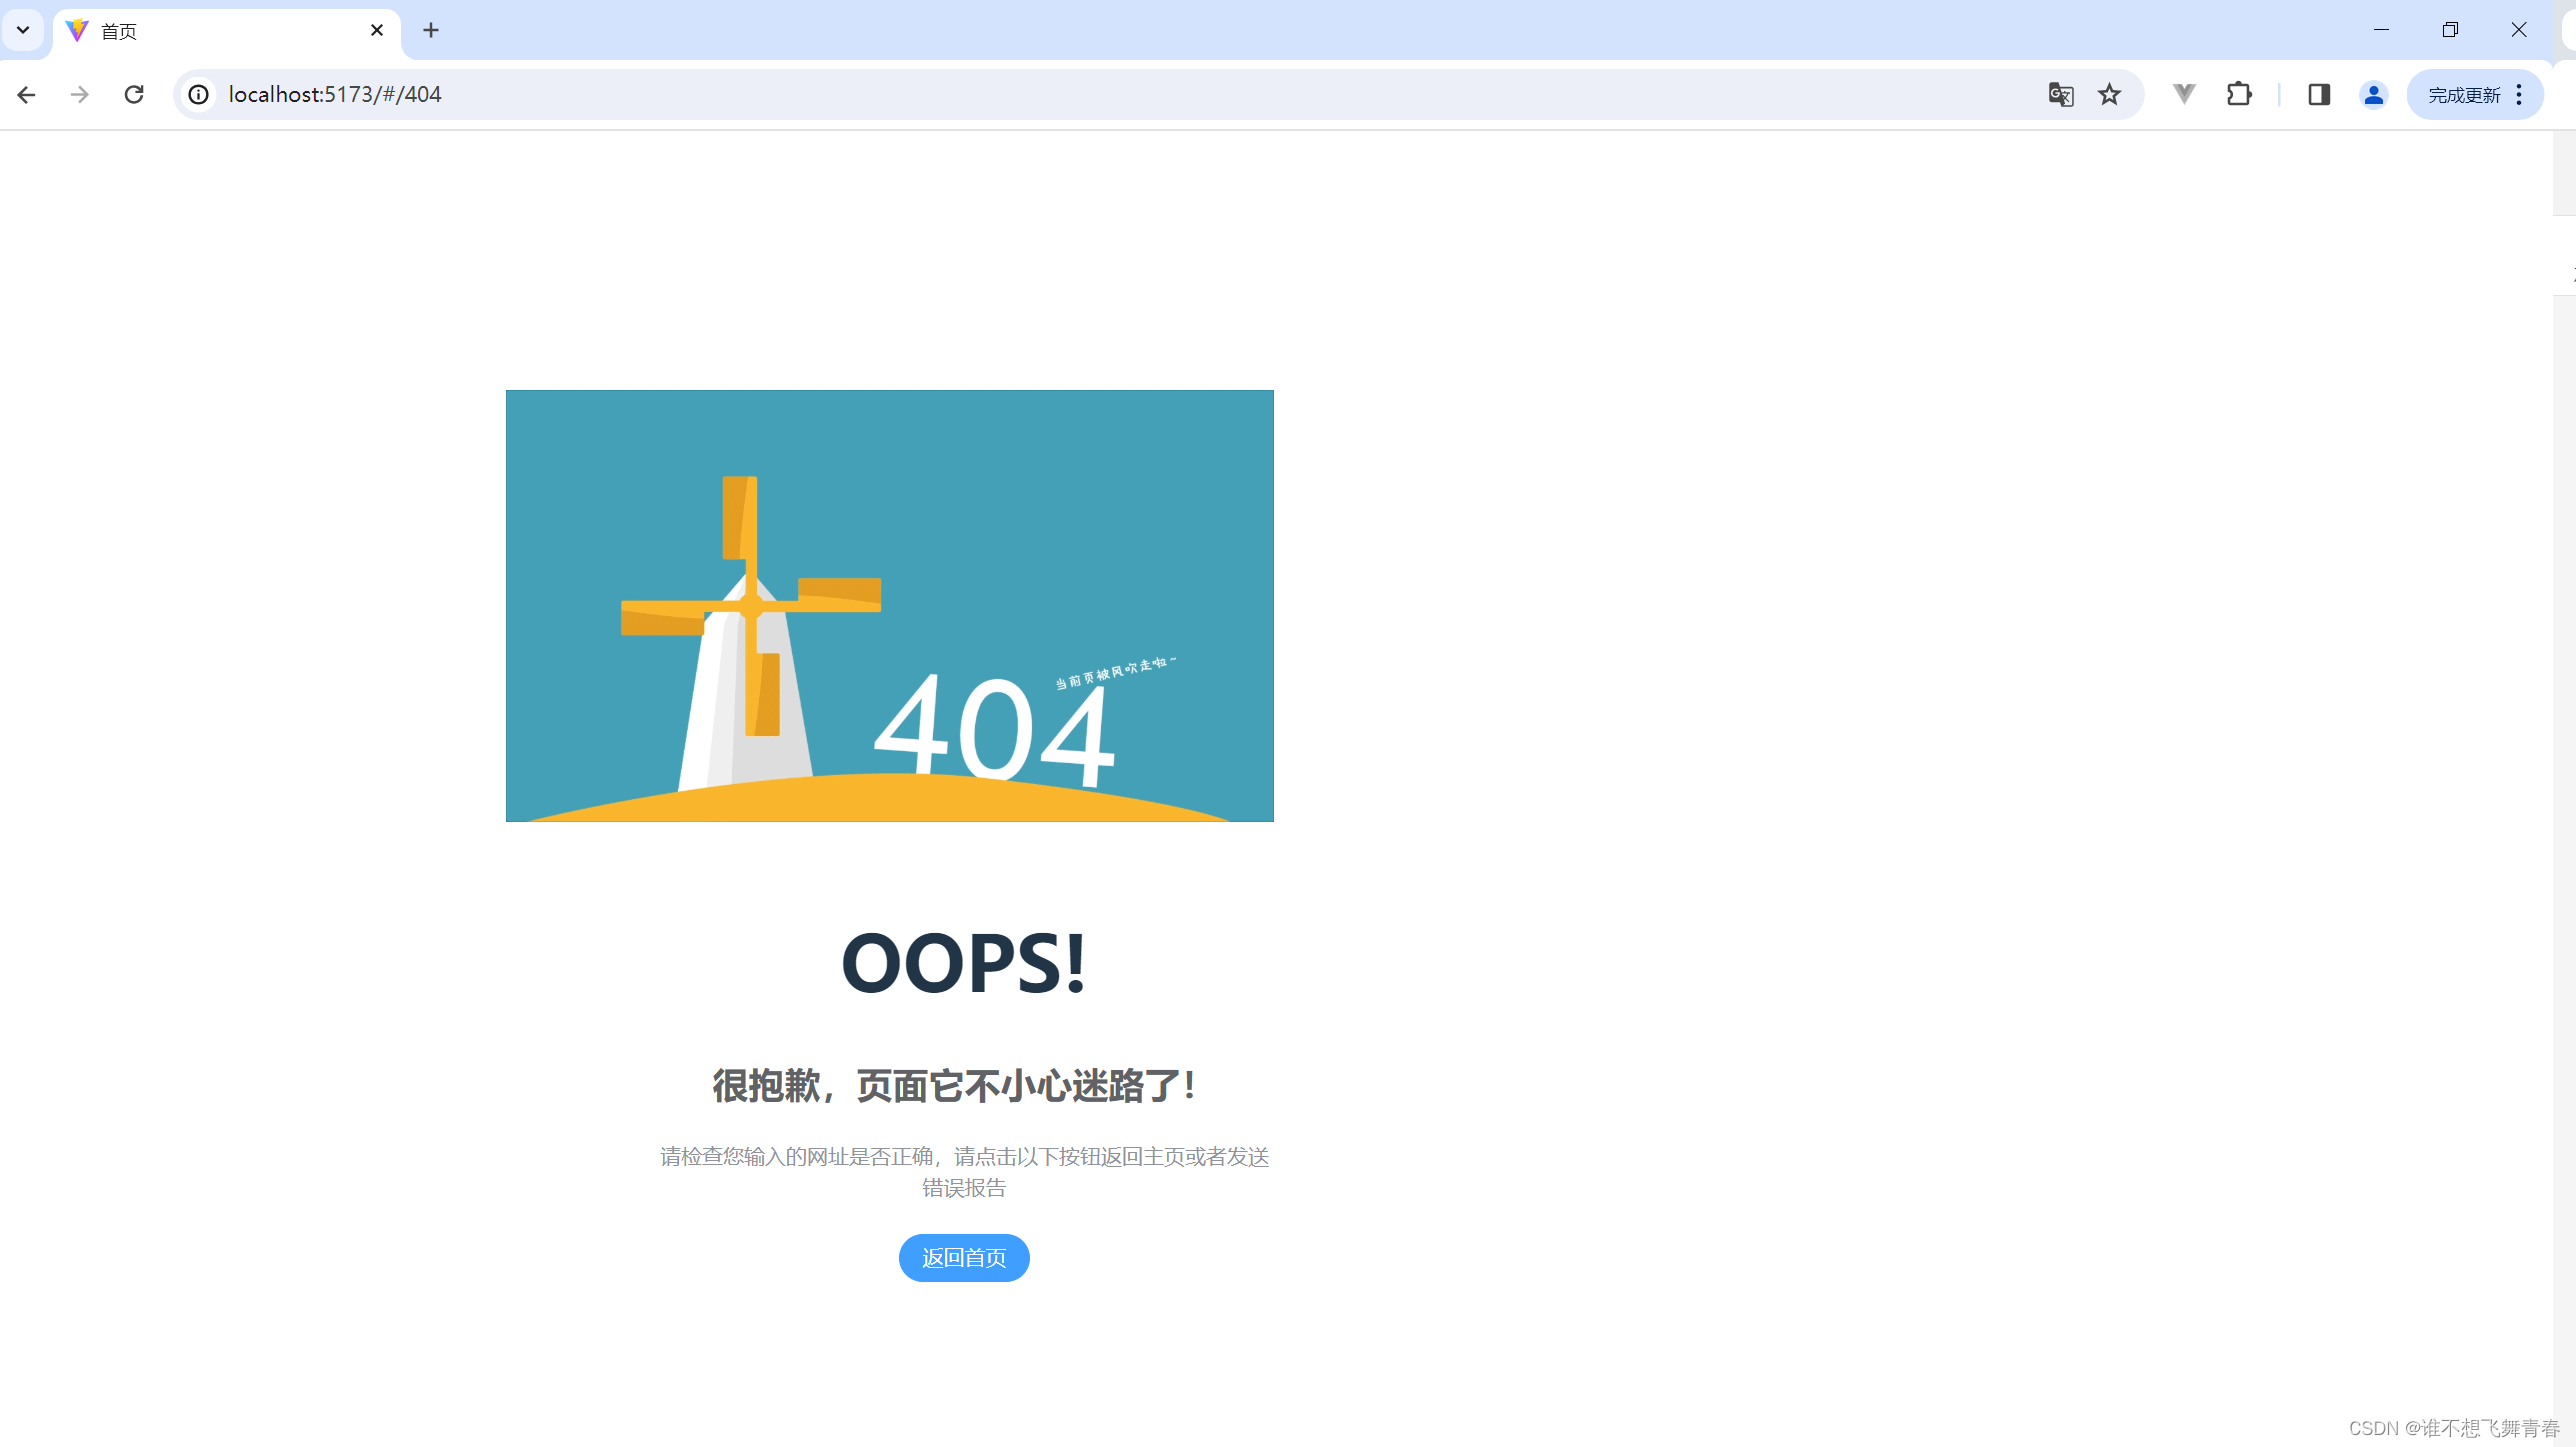
404页面测试,浏览器结果如下:
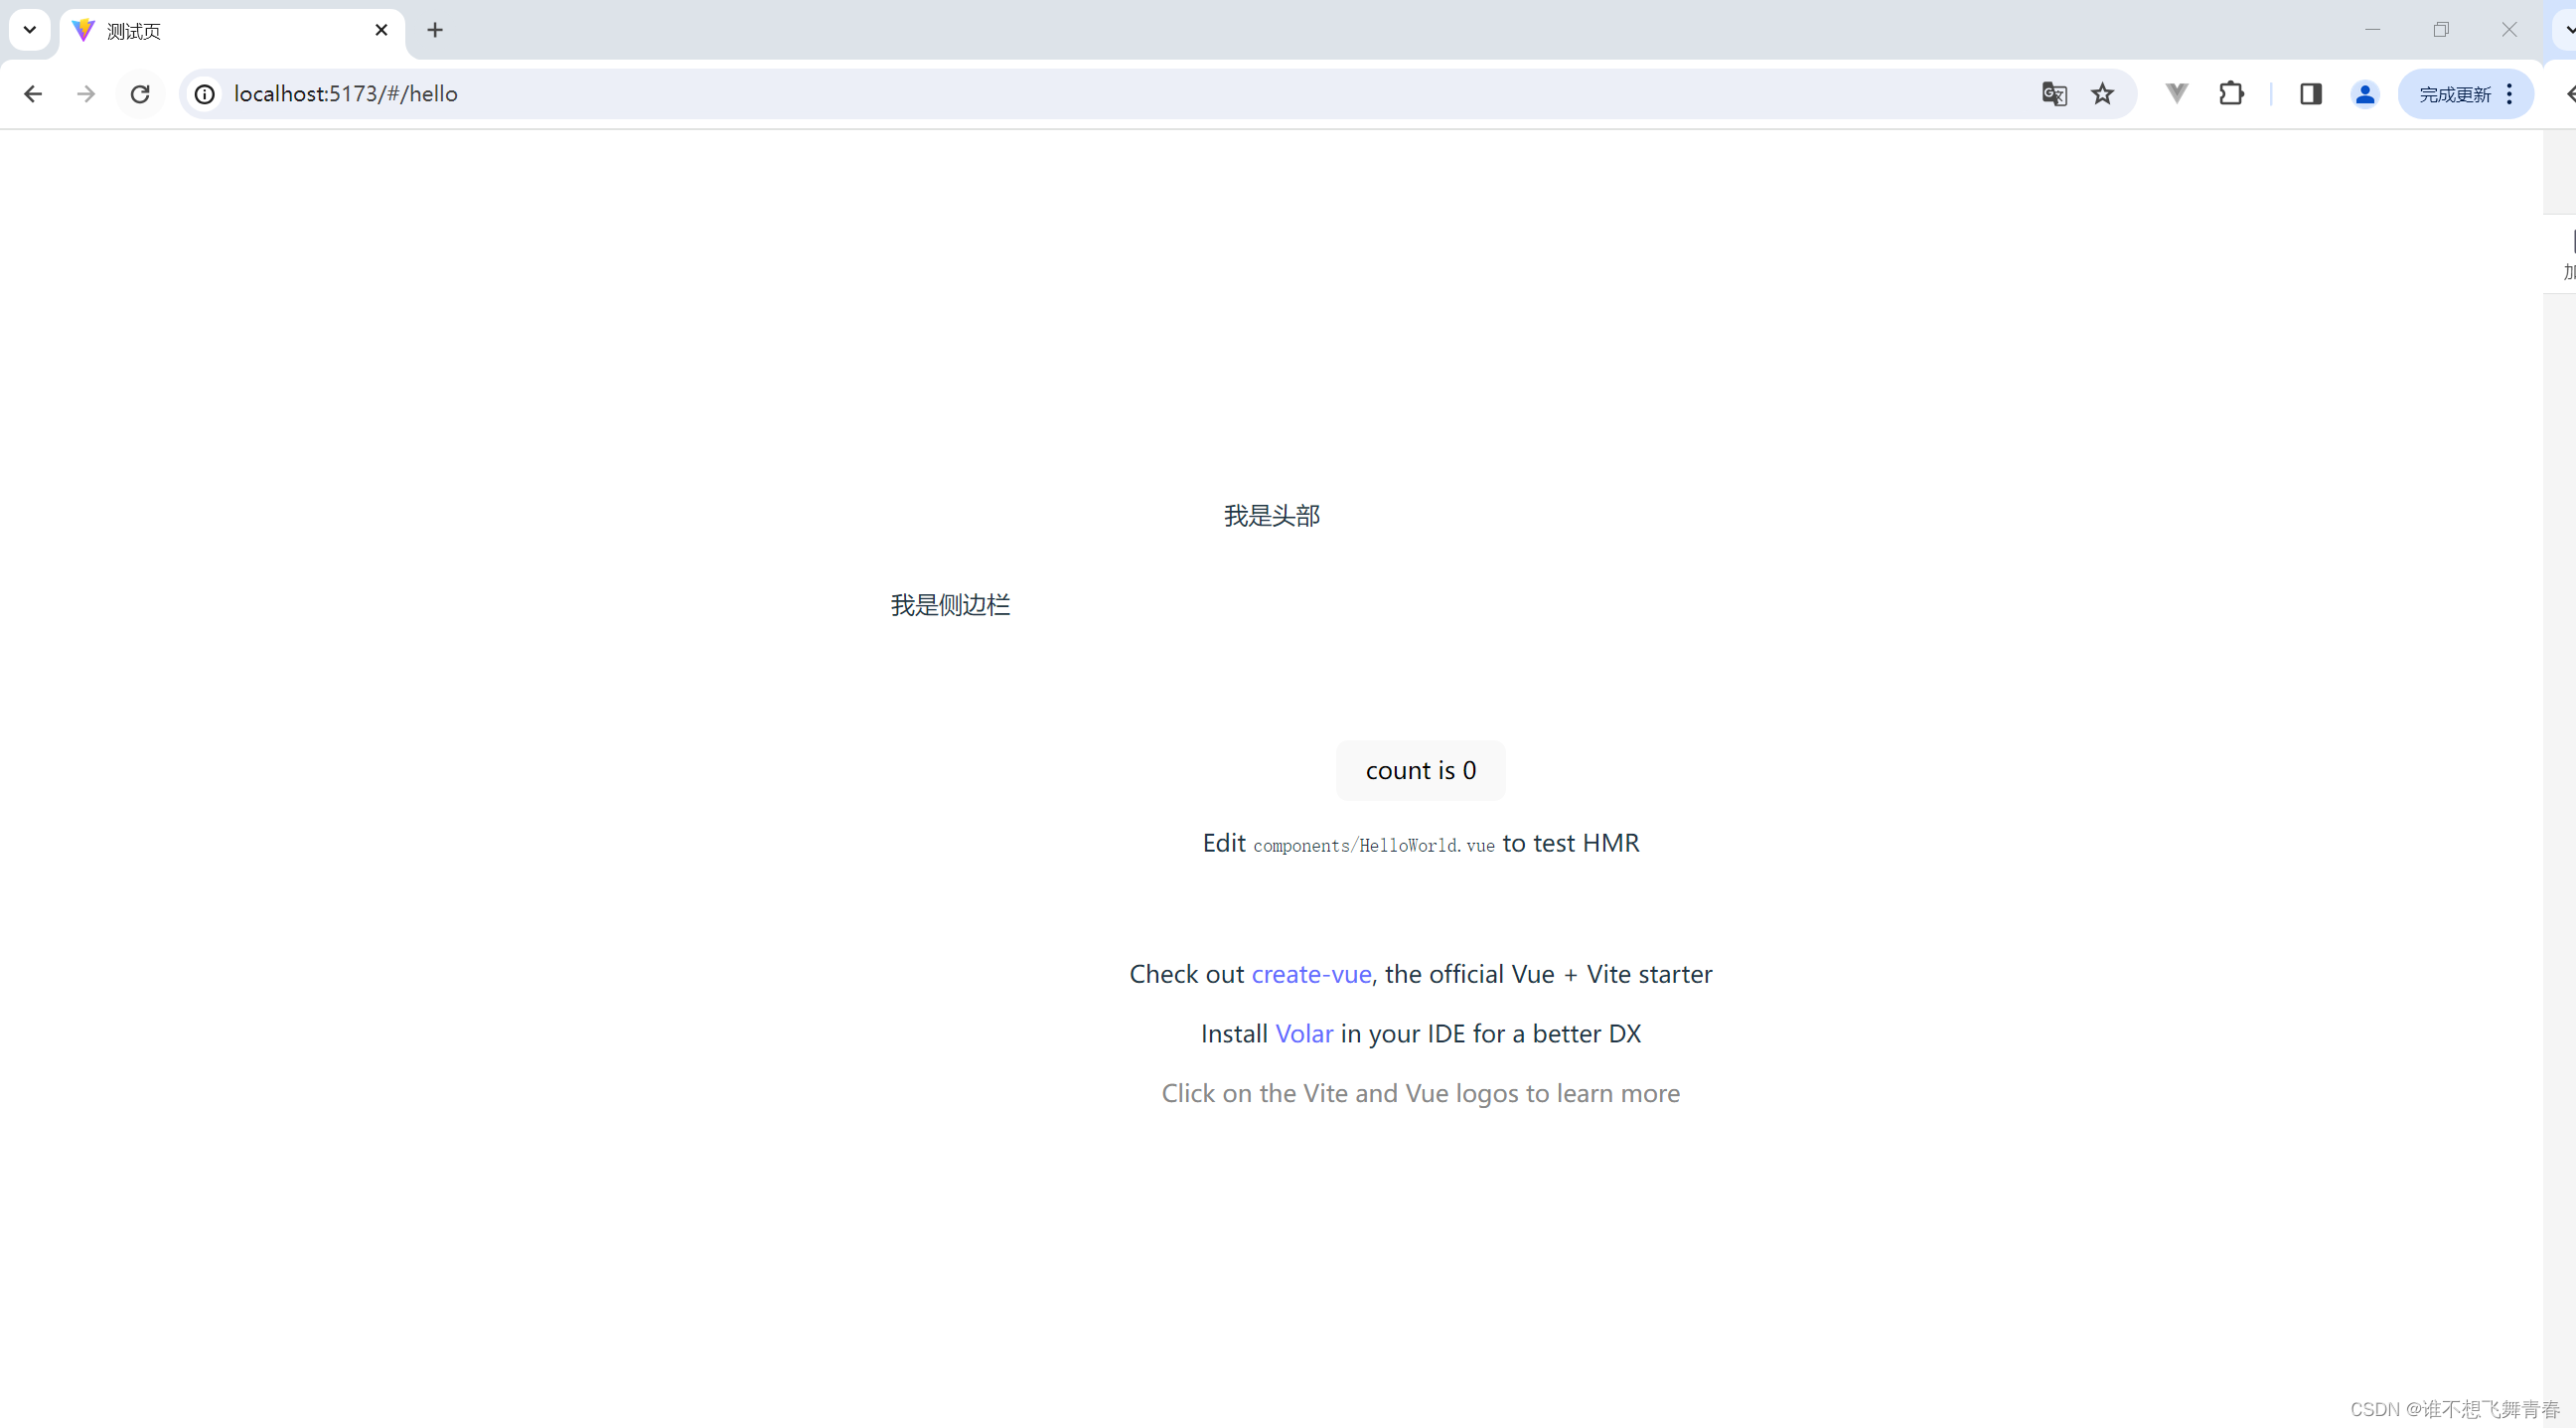
hello测试页浏览器结果如下:
这里通用布局layout组件是在页面中间,解决方式是在main.js删除默认的全局样式。删除这句代码,后面全局样式引入自己写的。如下:
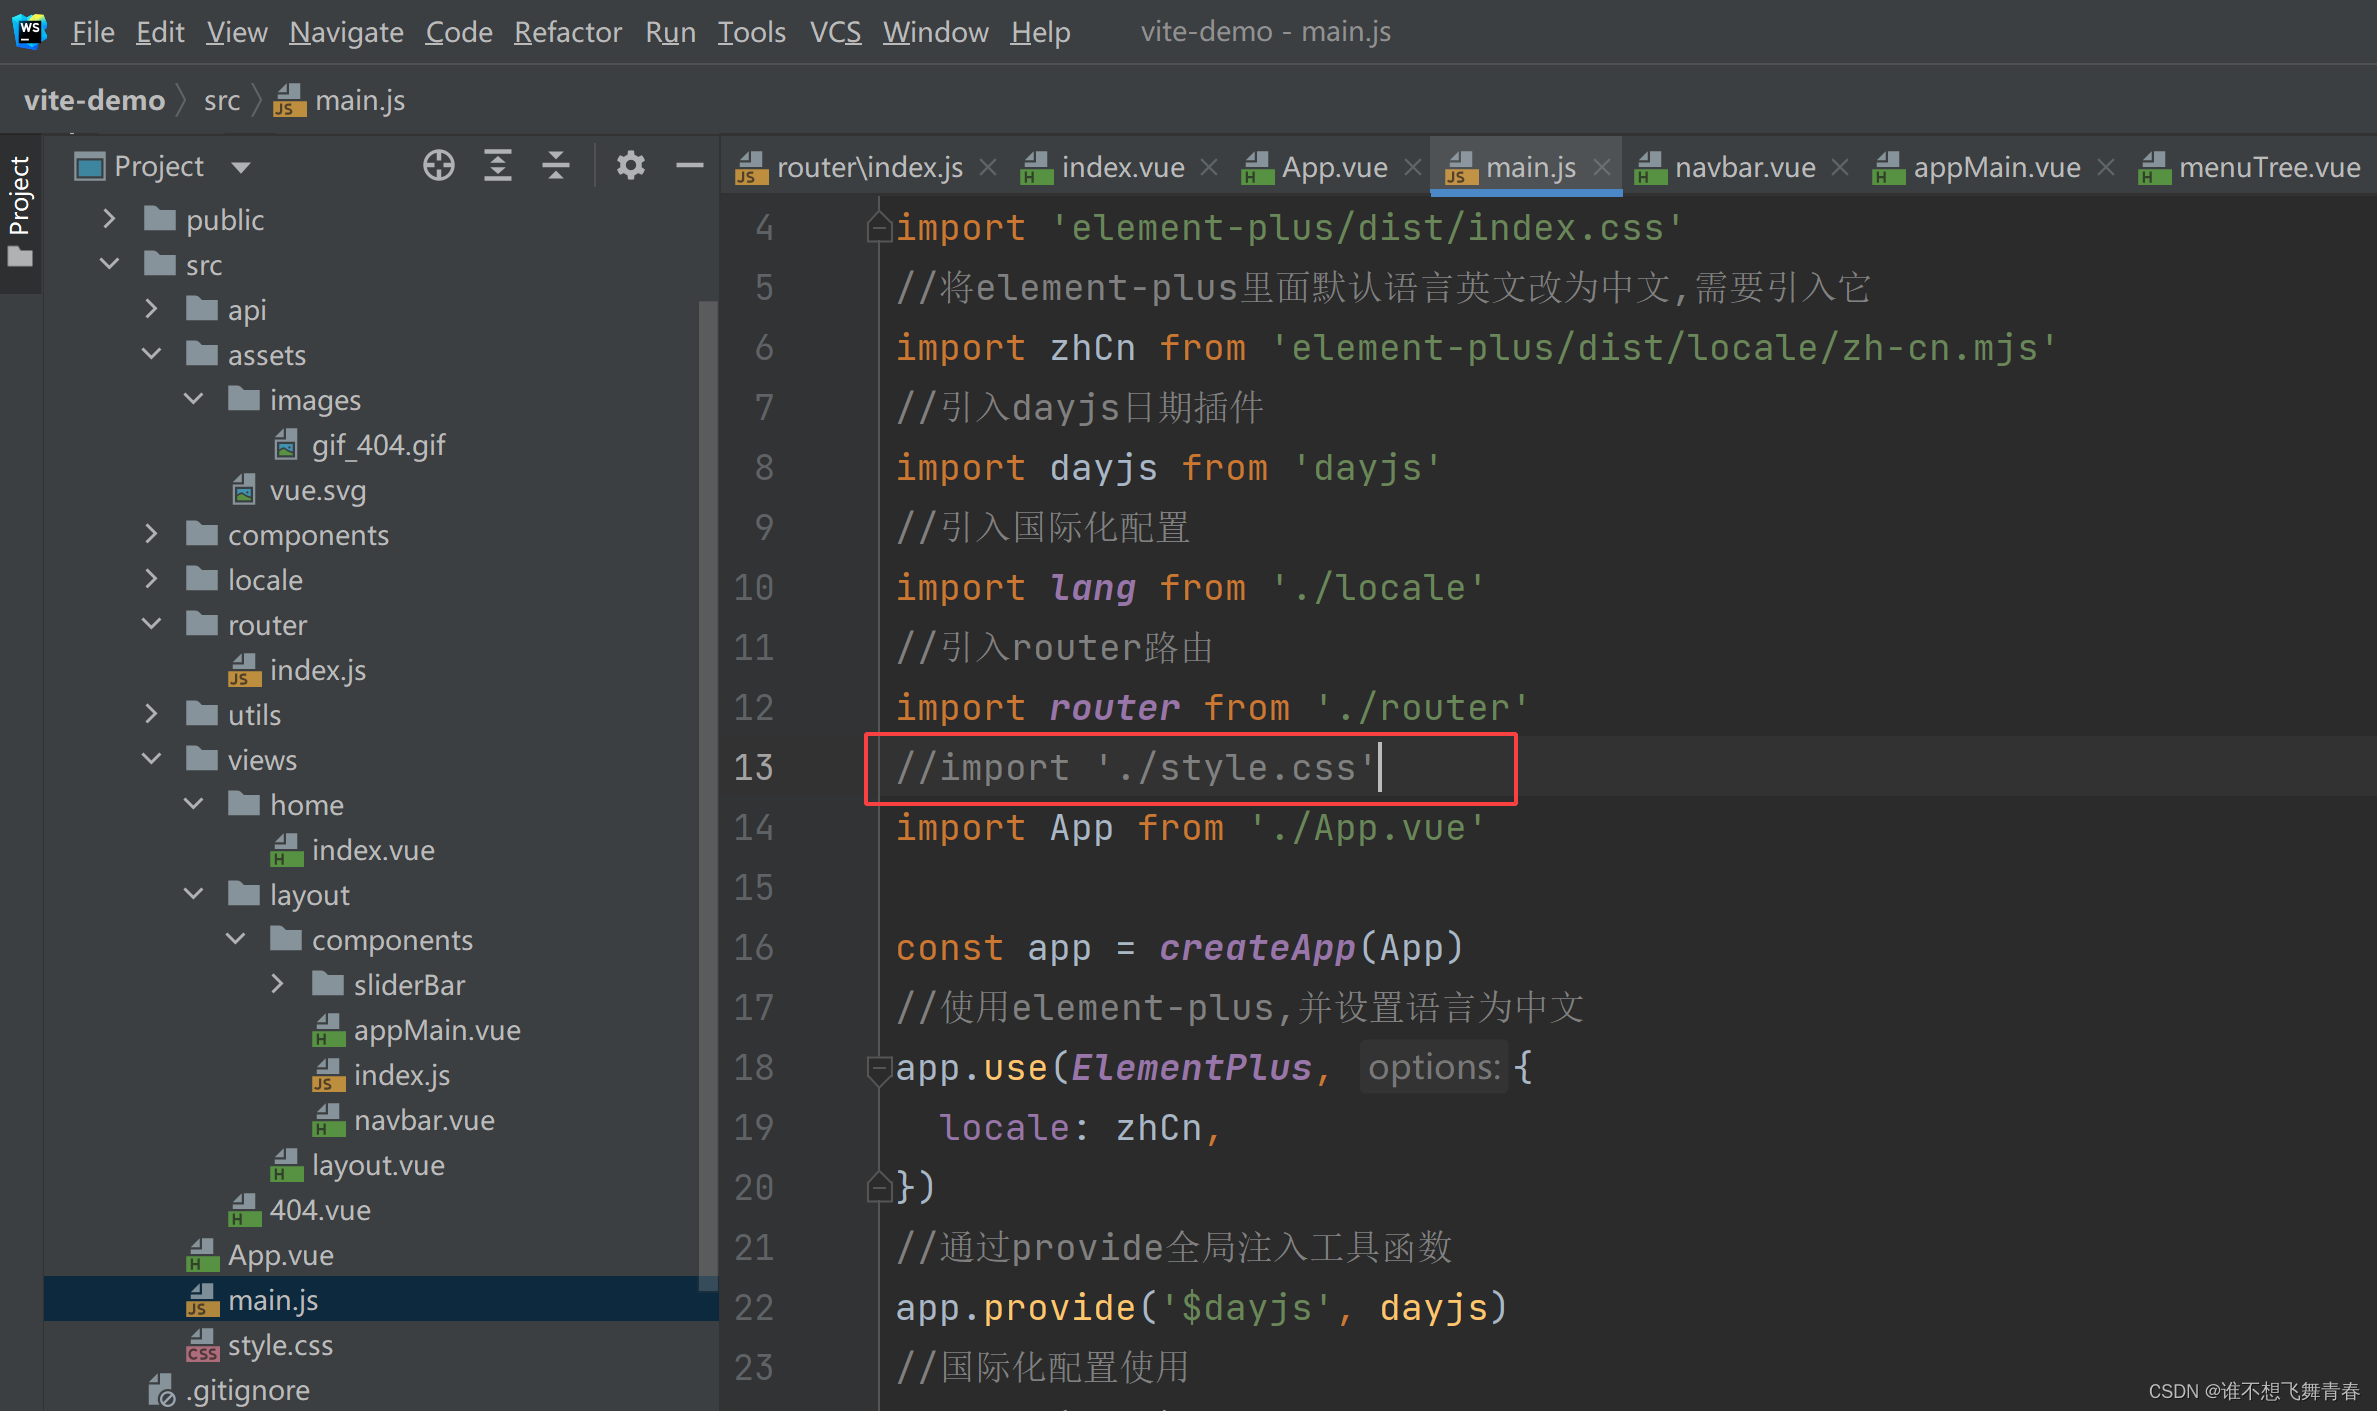
结果如下,不在显示在页面中间,显示正常:
到这里router路由测试就结束了,页面可以正常跳转,说明router引入没有问题,layout通用布局页面先写个空的,等后面写菜单栏的时候会用上。
这篇关于Vue3+vite搭建基础架构(6)--- 使用vue-router的文章就介绍到这儿,希望我们推荐的文章对编程师们有所帮助!


