本文主要是介绍Awesome Chrome Form UI - 界面设计与实现,希望对大家解决编程问题提供一定的参考价值,需要的开发者们随着小编来一起学习吧!
上苍不会让所有幸福集中到某个人身上,得到了爱情未必拥有金钱;拥有金钱未必得到快乐;得到快乐未必拥有健康;拥有健康未必一切都会如愿以偿。知足常乐的心态才是淬炼心智、净化心灵的最佳途径。一切快乐的享受都属于精神,这种快乐把忍受变为享受,是精神对于物质的胜利。这便是人生哲学。
——杨绛
一、Guide
Awesome Chrome Form UI - 框架设计与基础实现-CSDN博客文章浏览阅读817次,点赞26次,收藏21次。Awesome Chrome Form UI - 框架设计与基础实现https://blog.csdn.net/weixin_47560078/article/details/135182049在前面我们已经实现了最基础的框架功能,现在来补充完善这个框架的其他模块,
- 新增前端 UI
- 修改应用启动逻辑,新增抽象类和接口类
- 窗口无边框样式,圆边,阴影
- 窗口事件与 API
- FolderBrowserDialog 对话框
- JS 注入及其应用
二、UI 框架
使用纯 HTML/JavaScript/CSS 技术构建 UI 框架,
1、整合 Vue + Vite + ElementUI + ESLint
# 创建 vite vue
cnpm create vite@latest
# element-plus 国内镜像 https://element-plus.gitee.io/zh-CN/
# 安装 element-plus
cnpm install element-plus --save# 安装导入插件
cnpm install -D unplugin-vue-components unplugin-auto-import
# 使用 icon
cnpm install @element-plus/icons-vue
# 安装 eslint
cnpm i -D eslint @babel/eslint-parser
# 初始化配置
npx eslint --init
# 安装依赖
cnpm i @typescript-eslint/eslint-plugin@latest eslint-plugin-vue@latest @typescript-eslint/parser@latest
# 安装插件
cnpm i -D vite-plugin-eslint
配置 vite,
// vite.config.js
import { defineConfig } from 'vite'
import vue from '@vitejs/plugin-vue'
import AutoImport from 'unplugin-auto-import/vite'
import Components from 'unplugin-vue-components/vite'
import { ElementPlusResolver } from 'unplugin-vue-components/resolvers'
import eslintPlugin from 'vite-plugin-eslint'// https://vitejs.dev/config/
export default defineConfig({plugins: [vue(),//  ESLint 插件配置eslintPlugin({include: ['src/**/*.js', 'src/**/*.vue', 'src/*.js', 'src/*.vue']}),AutoImport({resolvers: [ElementPlusResolver()],}),Components({resolvers: [ElementPlusResolver()],}),],
})
在 main.ts 引入 element-plus 样式,
// src\main.ts
import { createApp } from 'vue'
//import './style.css'
import App from './App.vue'
import 'element-plus/dist/index.css'createApp(App).mount('#app')
配置 eslint 规则,
// .eslintrc.cjs
module.exports = {"env": {"browser": true,"es2021": true,"node": true},"extends": ["eslint:recommended","plugin:@typescript-eslint/recommended","plugin:vue/vue3-essential"],"overrides": [{"env": {"node": true},"files": [".eslintrc.{js,cjs}"],"parserOptions": {"sourceType": "script"}}],"parserOptions": {"ecmaVersion": "latest","parser": "@typescript-eslint/parser","sourceType": "module"},"plugins": ["@typescript-eslint","vue"],"rules": {"@typescript-eslint/no-explicit-any": 1,"no-console": 1,"no-debugger": 1,"no-undefined": 1,}
}
修改 vite 打包指令,
// package.json// ......"build": "vite build"// ......三、FolderBrowserDialog(补充)
1、原生 FolderBrowserDialog
ShowFolderBrowserDialog 使用原生 System.Windows.Forms 库,
using System.Windows.Forms;namespace AwesomeChromeFormUI.Dialogs
{public class DefaultFolderBrowserDialog{/// <summary>/// 显示文件夹浏览器,返回选中的文件夹路径/// </summary>/// <returns></returns>public static string ShowFolderBrowserDialog(){FolderBrowserDialog folderBrowserDialog = new FolderBrowserDialog(){Description = "请选择文件夹",ShowNewFolderButton = true,SelectedPath = @"D:\MyCodeSpace\AwesomeChromeFormUI",};if (folderBrowserDialog.ShowDialog() == DialogResult.OK){return folderBrowserDialog.SelectedPath;}return "";}}
}
2、自定义 FolderBrowserDialog
引用 Ookii 库,这里使用的版本是 4.0.0,
Ookii.Dialogs.WinForms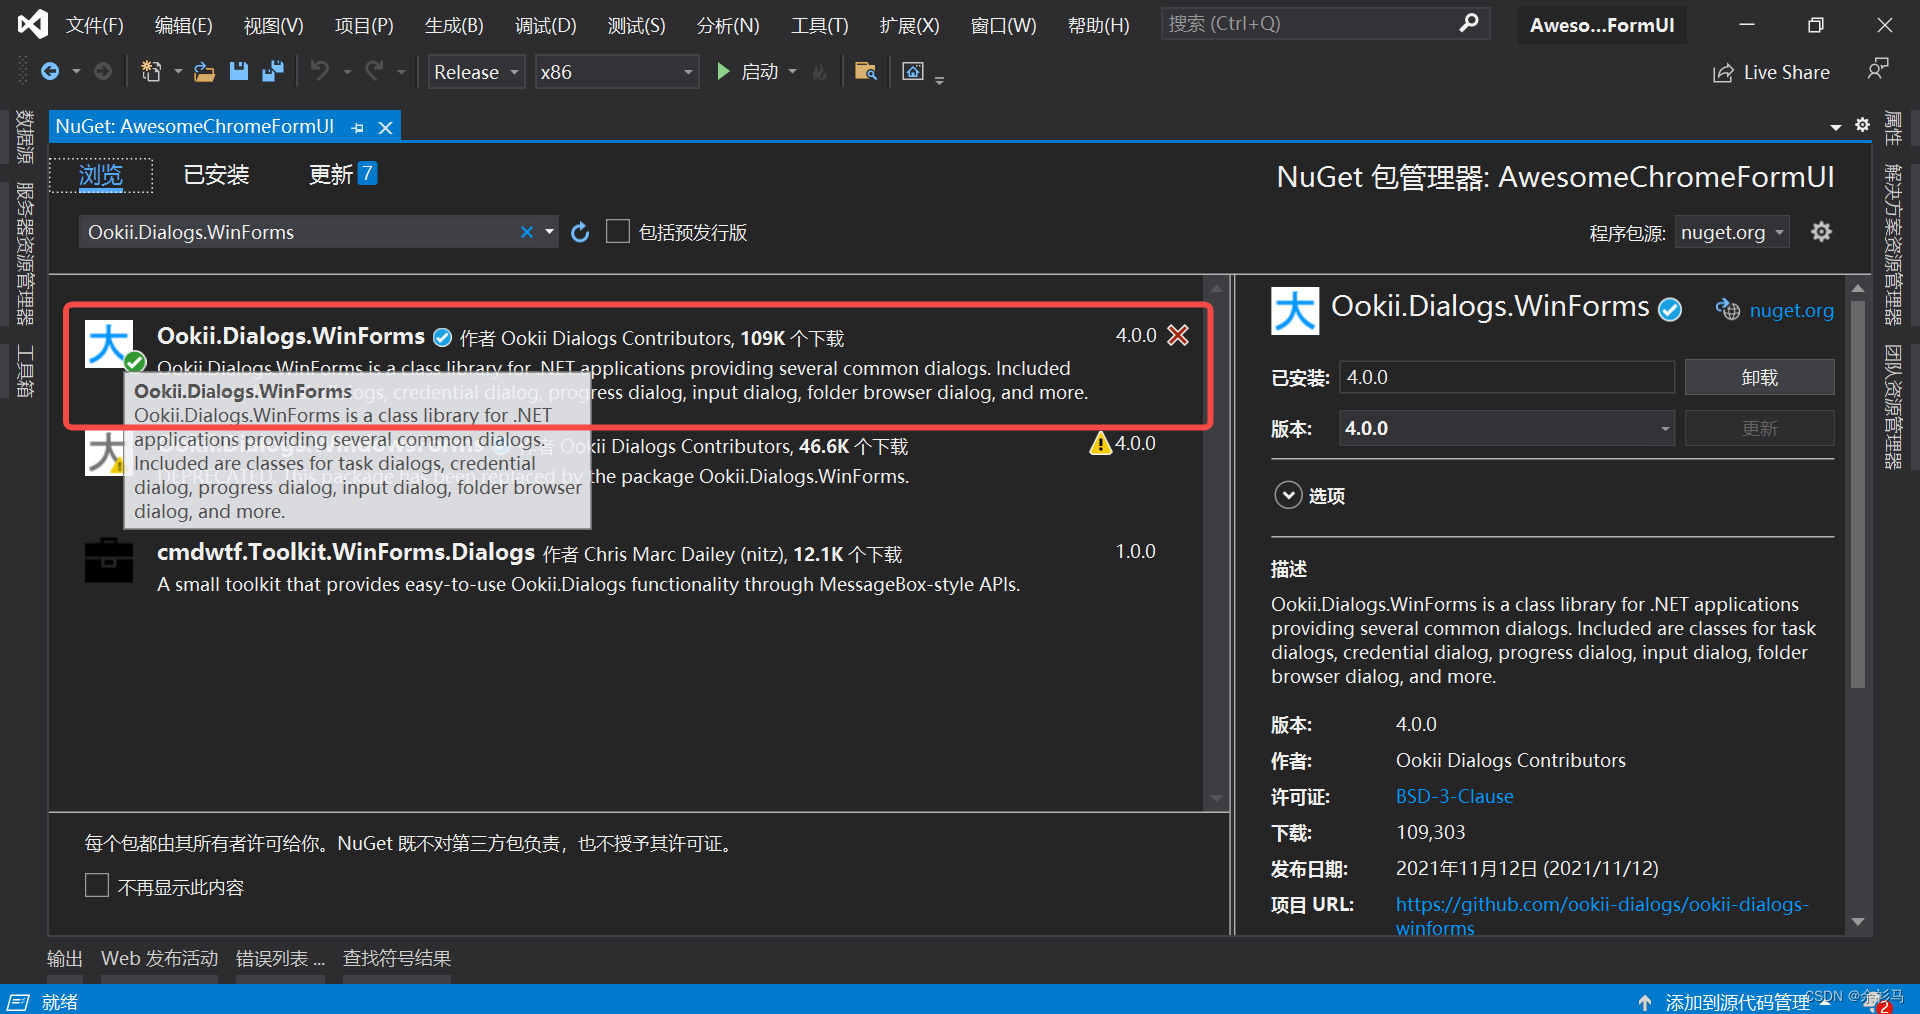
ShowVistaFolderBrowserDialog 自定义实现,可以看到用法大致相同,
using Ookii.Dialogs.WinForms;
using System.Windows.Forms;namespace AwesomeChromeFormUI.Dialogs
{public class DefaultFolderBrowserDialog{/// <summary>/// 显示文件夹浏览器,返回选中的文件夹路径/// </summary>/// <returns></returns>public static string ShowFolderBrowserDialog(){FolderBrowserDialog folderBrowserDialog = new FolderBrowserDialog(){Description = "请选择文件夹",ShowNewFolderButton = true,SelectedPath = @"D:\MyCodeSpace\AwesomeChromeFormUI",};if (folderBrowserDialog.ShowDialog() == DialogResult.OK){return folderBrowserDialog.SelectedPath;}return "";}/// <summary>/// 显示文件夹浏览器,返回选中的文件夹路径/// </summary>/// <returns></returns>public static string ShowVistaFolderBrowserDialog(){VistaFolderBrowserDialog folderDialog = new VistaFolderBrowserDialog{Description = "请选择文件夹",UseDescriptionForTitle = true,SelectedPath = @"D:\MyCodeSpace\AwesomeChromeFormUI",};if (folderDialog.ShowDialog() == DialogResult.OK){return folderDialog.SelectedPath;}return "";}}
}
3、拓展 GetSelectedFolderPath
/// <summary>/// 获取文件夹路径/// </summary>/// <param name="form"></param>/// <param name="useDefaultDialog"></param>/// <returns></returns>public static Task<string> GetSelectedFolderPath(this Form form,bool useDefaultDialog=false){// 使用TaskCompletionSource来创建一个未完成的任务TaskCompletionSource<string> tcs = new TaskCompletionSource<string>();// 在 UI 线程上执行操作form.InvokeOnUiThreadIfRequired(() =>{// 执行回调方法,并获取结果string result = useDefaultDialog? DefaultFolderBrowserDialog.ShowFolderBrowserDialog():DefaultFolderBrowserDialog.ShowVistaFolderBrowserDialog();// 将结果设置到任务完成源,并标记任务为成功tcs.SetResult(result);});// 返回任务对象return tcs.Task;}4、ApplicationBuilder 新增参数
JS 调用 Task<T> 返回值的方法必须开启 ConcurrentTaskExecution 配置,
CefSharpSettings.ConcurrentTaskExecution = true;ApplicationBuilder 调整如下,
using AwesomeChromeFormUI.ChromiumForms;
using AwesomeChromeFormUI.Interfaces;
using AwesomeChromeFormUI.Interfaces.Implements;
using CefSharp;
using System.Windows.Forms;namespace AwesomeChromeFormUI.Builder
{public class ApplicationBuilder{private bool _isConcurrentTaskExecution;public ApplicationBuilder(){this._isConcurrentTaskExecution = false;}public ApplicationBuilder(bool isConcurrentTaskExecution){this._isConcurrentTaskExecution = isConcurrentTaskExecution;}/// <summary>/// 在一个 BaseForm 中运行应用/// </summary>public void Run() {try{// We're going to manually call Cef.Shutdown below, this maybe required in some complex scenariosCefSharpSettings.ShutdownOnExit = false;// 允许 JS 调用 Task<T> 类型返回值的方法CefSharpSettings.ConcurrentTaskExecution = this._isConcurrentTaskExecution;// 初始化 CEFIConfigurationExecuter executer = new CefConfigurationExecuter();executer.Execute();Application.EnableVisualStyles();Application.SetCompatibleTextRenderingDefault(false);Application.Run(BaseForm.Instance);
这篇关于Awesome Chrome Form UI - 界面设计与实现的文章就介绍到这儿,希望我们推荐的文章对编程师们有所帮助!


