本文主要是介绍vue使用 Swiper Animate实现超级酷炫的滚屏动画,希望对大家解决编程问题提供一定的参考价值,需要的开发者们随着小编来一起学习吧!
文章目录
- 功能
- 1.下载 swiper
- 2.初始化swiper
- 3.使用swiper Anamate
- 4.最终效果
功能
1.鼠标滚用切换页面,并附带超酷的动画特效
2.感受页面内容从四面八方向你奔赴而来的感觉
3.animate超多原生css3动画特效任你选择
4.大屏数据,一屏页面,带给你无与伦比的视图体验
1.下载 swiper
npm install swiper --save
2.初始化swiper
html片段
<template><div class="swiper-container" style='background-color: #020D35;height:100vh;'><div class="swiper-wrapper"><div class="swiper-slide" style="height: 100vh;"><Home></Home></div><div class="swiper-slide" style='height:100vh;'><TeachersData></TeachersData></div><div class="swiper-slide" style='height:100vh;'><WisdomEducational></WisdomEducational></div><div class="swiper-slide" style='height:100vh;'><ResearchResults></ResearchResults></div></div><!-- 如果需要导航按钮 --><!-- <div class="swiper-button-prev"></div><div class="swiper-button-next"></div> --><!-- 如果需要滚动条 --><div class="swiper-scrollbar"></div></div>
</template>
js片段
<script>
import Home from "./home/home"
import TeachersData from "./teachersData/teachersData"
import Swiper from "swiper"
import WisdomEducational from "./wisdomEducational/wisdomEducational"
import ResearchResults from "./researchResults/researchResults"export default {components:{Home,TeachersData,WisdomEducational,ResearchResults},data(){return{isShow: false}},created(){this.$nextTick(function(){  //因为初始化swiper需要获取dom节点,所以要将初始化的代码写入 this.$nexTick 里,或者写在mounted钩子函数里var mySwiper = new Swiper ('.swiper-container', {loop: false, // 循环模式选项speed:1000,mousewheel: true,direction : 'vertical',navigation: {nextEl: '.swiper-button-next',prevEl: '.swiper-button-prev',},				})  })	},mounted(){}
}
</script>
3.使用swiper Anamate
1.animate.js
[注]:因为swiper官网提供的js文件不是export方式导出的,所以我们引入时会报错,我在各大网站上找到里一个更改以后的js文件。
创建一个js文件 我这里命名为 animate.js,将以下代码复制到创建的js文件里
export function swiperAnimateCache() {const allBoxes = window.document.documentElement.querySelectorAll('.ani')for (var i = 0; i < allBoxes.length; i++) {allBoxes[i].attributes['style']? allBoxes[i].setAttribute('swiper-animate-style-cache', allBoxes[i].attributes['style'].value): allBoxes[i].setAttribute('swiper-animate-style-cache', ' ')allBoxes[i].style.visibility = 'hidden'}
}export function swiperAnimate(a) {clearSwiperAnimate()var b = a.slides[a.activeIndex].querySelectorAll('.ani')for (var i = 0; i < b.length; i++) {b[i].style.visibility = 'visible'const effect = b[i].attributes['swiper-animate-effect']? b[i].attributes['swiper-animate-effect'].value: ''b[i].className = b[i].className + ' ' + effect + ' ' + 'animated'const duration = b[i].attributes['swiper-animate-duration']? b[i].attributes['swiper-animate-duration'].value: ''// duration && styleconst delay = b[i].attributes['swiper-animate-delay']? b[i].attributes['swiper-animate-delay'].value: ''const style = b[i].attributes['style'].value + 'animation-duration:' + duration + ';-webkit-animation-duration:' + duration + ';' + 'animation-delay:' + delay + ';-webkit-animation-delay:' + delay + ';'// delay && (style = style )b[i].setAttribute('style', style)}
}export function clearSwiperAnimate() {var allBoxes = window.document.documentElement.querySelectorAll('.ani')for (var i = 0; i < allBoxes.length; i++) {allBoxes[i].attributes['swiper-animate-style-cache'] && allBoxes[i].setAttribute('style', allBoxes[i].attributes['swiper-animate-style-cache'].value)allBoxes[i].style.visibility = 'hidden'allBoxes[i].className = allBoxes[i].className.replace('animated', ' ')const effectValue = allBoxes[i].attributes['swiper-animate-effect'].value/* eslint-disable-next-line */allBoxes[i].attributes['swiper-animate-effect'] && (effectValue, allBoxes[i].className = allBoxes[i].className.replace(effectValue, ' '))}
}
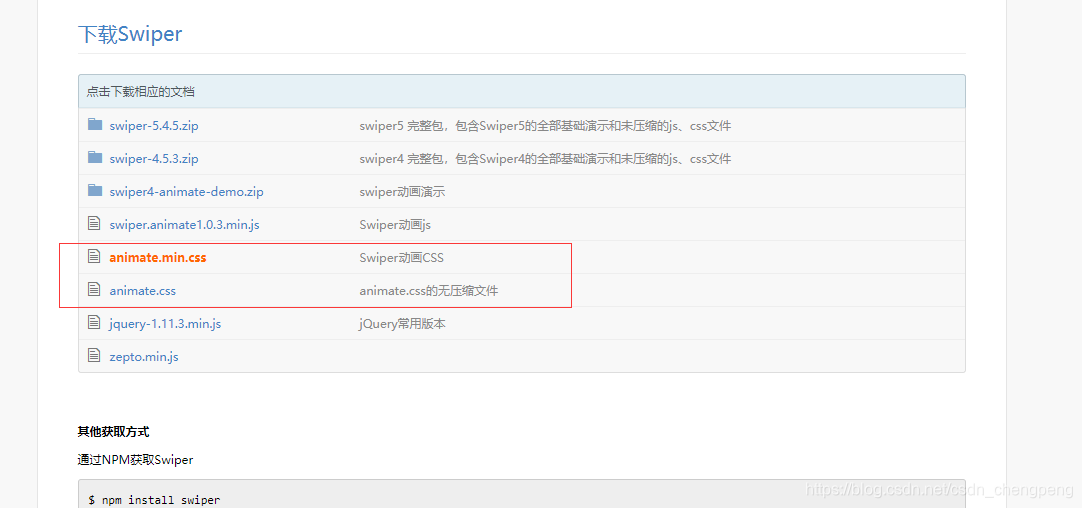
- animate.css
css文件在swiper官网上就有,传送门:animate.css
3.在需要使用的页面引入js 和 css文件
js(在 script标签内部引入)
import * as swiperAni from '../../assets/animate/animate.js' //根据自己的路径进行引入
css(在style标签内部引入)
@import url('../../assets/animate/animate.min.css');
4.开始使用动画
js
在初始化swiper的代方法里加入以下代码 on 的这段代码
this.$nextTick(function(){var mySwiper = new Swiper ('.swiper-container', {loop: false, // 循环模式选项speed:1000,mousewheel: true,direction : 'vertical',navigation: {nextEl: '.swiper-button-next',prevEl: '.swiper-button-prev',},on:{init: function(){swiperAni.swiperAnimateCache(this); //隐藏动画元素 swiperAni.swiperAnimate(this); //初始化完成开始动画}, slideChangeTransitionStart: function(){ swiperAni.swiperAnimate(this); //每个slide开始切换时也运行当前slide动画//this.slides.eq(this.activeIndex).find('.ani').removeClass('ani'); 动画只展现一次,去除ani类名} }}) })
html
给需要展示动画的dom节点上加入以下内容
//<Home class="ani" swiper-animate-effect="bounceInLeft" swiper-animate-duration="0.5s" swiper-animate-delay="0s"></Home><template><div class="swiper-container" style='background-color: #020D35;height:100vh;'><div class="swiper-wrapper"><div class="swiper-slide" style="height: 100vh;"><Home class="ani" swiper-animate-effect="bounceInLeft" swiper-animate-duration="0.5s" swiper-animate-delay="0s"></Home></div></div>
</template>
class=“ani” 是必须要加的
swiper-animate-effect=“bounceInLeft” (动画的样式,这个根据animate.css官网上的演示,自行挑选)
动画演示
swiper-animate-duration=“0.5s” swiper-animate-delay=“0s” (动画持续的时间)
4.最终效果

这篇关于vue使用 Swiper Animate实现超级酷炫的滚屏动画的文章就介绍到这儿,希望我们推荐的文章对编程师们有所帮助!


