本文主要是介绍开源项目解读 —— Self-Operating Computer Framework # 长期主义 # 价值,希望对大家解决编程问题提供一定的参考价值,需要的开发者们随着小编来一起学习吧!
价值:生成主函数业务逻辑函数思维导图,帮助理解,PR到开源项目,希望帮助大家理解IPA工作原理,国内没有好的开源项目,我就来翻译分析解读,给大家抛砖引玉。思维导图用文心一言配合其思维导图插件实现。
目录
整体代码框架
核心代码逻辑
capture_screen_with_cursor # 用光标捕获屏幕
add_grid_to_image # 给图像配上网格
keyboard_type# 用于通过程序模拟键盘输入
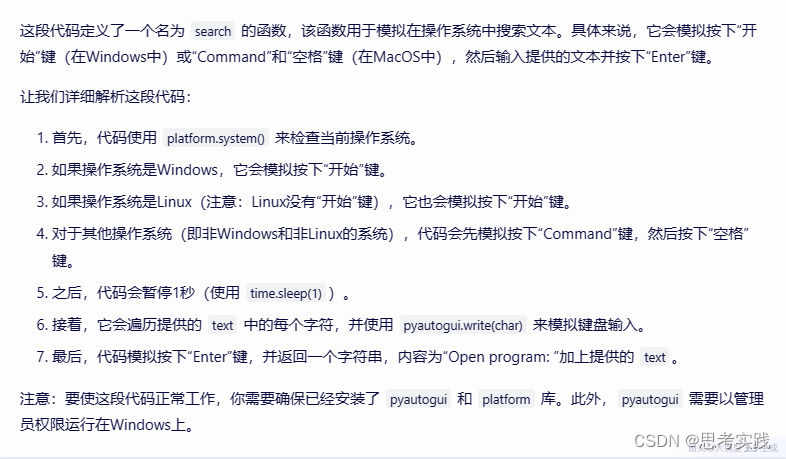
search # 模拟在操作系统中搜索文本。具体来说,它会模拟按下“开始”键(在Windows中)或“Command”和“空格”键(在MacOS中),然后输入提供的文本并按下“Enter”键。
keyboard_type# 用于通过程序模拟键盘输入
keyboard_type# 用于通过程序模拟键盘输入
业务逻辑
架构-模块
整体代码框架

核心代码逻辑
capture_screen_with_cursor # 用光标捕获屏幕
def capture_screen_with_cursor(file_path):user_platform = platform.system()if user_platform == "Windows":screenshot = pyautogui.screenshot()screenshot.save(file_path)elif user_platform == "Linux":# Use xlib to prevent scrot dependency for Linuxscreen = Xlib.display.Display().screen()size = screen.width_in_pixels, screen.height_in_pixelsmonitor_size["width"] = size[0]monitor_size["height"] = size[1]screenshot = ImageGrab.grab(bbox=(0, 0, size[0], size[1]))screenshot.save(file_path)elif user_platform == "Darwin": # (Mac OS)# Use the screencapture utility to capture the screen with the cursorsubprocess.run(["screencapture", "-C", file_path])else:print(f"The platform you're using ({user_platform}) is not currently supported")add_grid_to_image # 给图像配上网格
def add_grid_to_image(original_image_path, new_image_path, grid_interval):"""Add a grid to an image"""# Load the imageimage = Image.open(original_image_path)# Create a drawing objectdraw = ImageDraw.Draw(image)# Get the image sizewidth, height = image.size# Reduce the font size a bitfont_size = int(grid_interval / 10) # Reduced font size# Calculate the background size based on the font sizebg_width = int(font_size * 4.2) # Adjust as necessarybg_height = int(font_size * 1.2) # Adjust as necessary# Function to draw text with a white rectangle backgrounddef draw_label_with_background(position, text, draw, font_size, bg_width, bg_height):# Adjust the position based on the background sizetext_position = (position[0] + bg_width // 2, position[1] + bg_height // 2)# Draw the text backgrounddraw.rectangle([position[0], position[1], position[0] + bg_width, position[1] + bg_height],fill="white",)# Draw the textdraw.text(text_position, text, fill="black", font_size=font_size, anchor="mm")# Draw vertical lines and labels at every `grid_interval` pixelsfor x in range(grid_interval, width, grid_interval):line = ((x, 0), (x, height))draw.line(line, fill="blue")for y in range(grid_interval, height, grid_interval):# Calculate the percentage of the width and heightx_percent = round((x / width) * 100)y_percent = round((y / height) * 100)draw_label_with_background((x - bg_width // 2, y - bg_height // 2),f"{x_percent}%,{y_percent}%",draw,font_size,bg_width,bg_height,)# Draw horizontal lines - labels are already added with vertical linesfor y in range(grid_interval, height, grid_interval):line = ((0, y), (width, y))draw.line(line, fill="blue")# Save the image with the gridimage.save(new_image_path)keyboard_type# 用于通过程序模拟键盘输入
def keyboard_type(text):text = text.replace("\\n", "\n")for char in text:pyautogui.write(char)pyautogui.press("enter")return "Type: " + text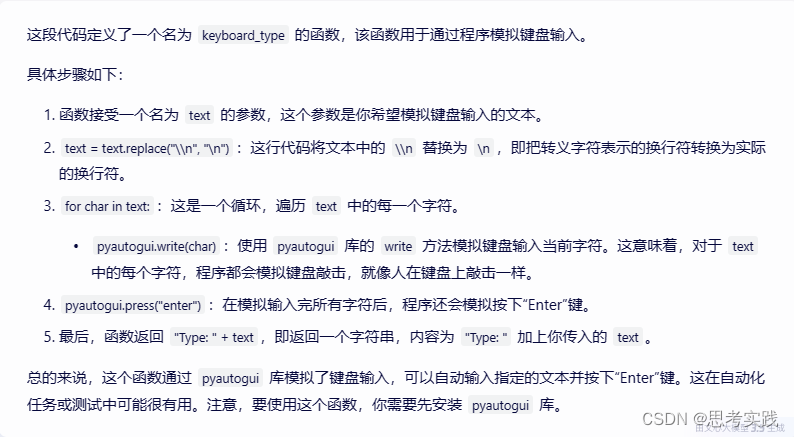
search # 模拟在操作系统中搜索文本。具体来说,它会模拟按下“开始”键(在Windows中)或“Command”和“空格”键(在MacOS中),然后输入提供的文本并按下“Enter”键。
def search(text):if platform.system() == "Windows":pyautogui.press("win")elif platform.system() == "Linux":pyautogui.press("win")else:# Press and release Command and Space separatelypyautogui.keyDown("command")pyautogui.press("space")pyautogui.keyUp("command")time.sleep(1)# Now type the textfor char in text:pyautogui.write(char)pyautogui.press("enter")return "Open program: " + text
keyboard_type# 用于通过程序模拟键盘输入
def keyboard_type(text):text = text.replace("\\n", "\n")for char in text:pyautogui.write(char)pyautogui.press("enter")return "Type: " + textkeyboard_type# 用于通过程序模拟键盘输入
def keyboard_type(text):text = text.replace("\\n", "\n")for char in text:pyautogui.write(char)pyautogui.press("enter")return "Type: " + text业务逻辑
架构-模块
这篇关于开源项目解读 —— Self-Operating Computer Framework # 长期主义 # 价值的文章就介绍到这儿,希望我们推荐的文章对编程师们有所帮助!


