本文主要是介绍持续集成交付CICD:GitLabCI 封装Python类 并结合 ArgoCD 完成前端项目应用发布,希望对大家解决编程问题提供一定的参考价值,需要的开发者们随着小编来一起学习吧!
目录
一、实验
1. 环境
2. Python代码实现获取文件
3.Python代码实现创建文件
4.Python代码实现更新文件
5.GitLab更新库文件与运行流水线
6.ArgoCD 完成前端项目应用发布
二、问题
1.Python获取GitLab指定仓库文件报错
2. K8S master节点运行Python代码报错
一、实验
1. 环境
(1)主机
表1 主机
| 主机 | 架构 | 版本 | IP | 备注 |
| master1 | K8S master节点 | 1.20.6 | 192.168.204.180 | jenkins slave (从节点) |
| argocd | 2.9.3 | 192.168.204.180:31767 | ||
| node1 | K8S node节点 | 1.20.6 | 192.168.204.181 | |
| node2 | K8S node节点 | 1.20.6 | 192.168.204.182 | |
| jenkins | jenkins主节点 | 2.414.2 | 192.168.204.15:8080 | gitlab runner (从节点) |
| harbor私有仓库 | 1.2.2 | 192.168.204.15 | ||
| python | 2.7.5 | 系统自带 | ||
| gitlab | gitlab 主节点 | 12.10.14 | 192.168.204.8:82 | jenkins slave (从节点) |
| sonarqube | 9.6 | 192.168.204.8:9000 |
2. Python代码实现获取文件
(1) GitLab官网查询通过API操作获取raw文件
Repository files API | GitLab
curl --header "PRIVATE-TOKEN: <your_access_token>" "https://gitlab.example.com/api/v4/projects/13083/repository/files/app%2Fmodels%2Fkey%2Erb/raw?ref=main"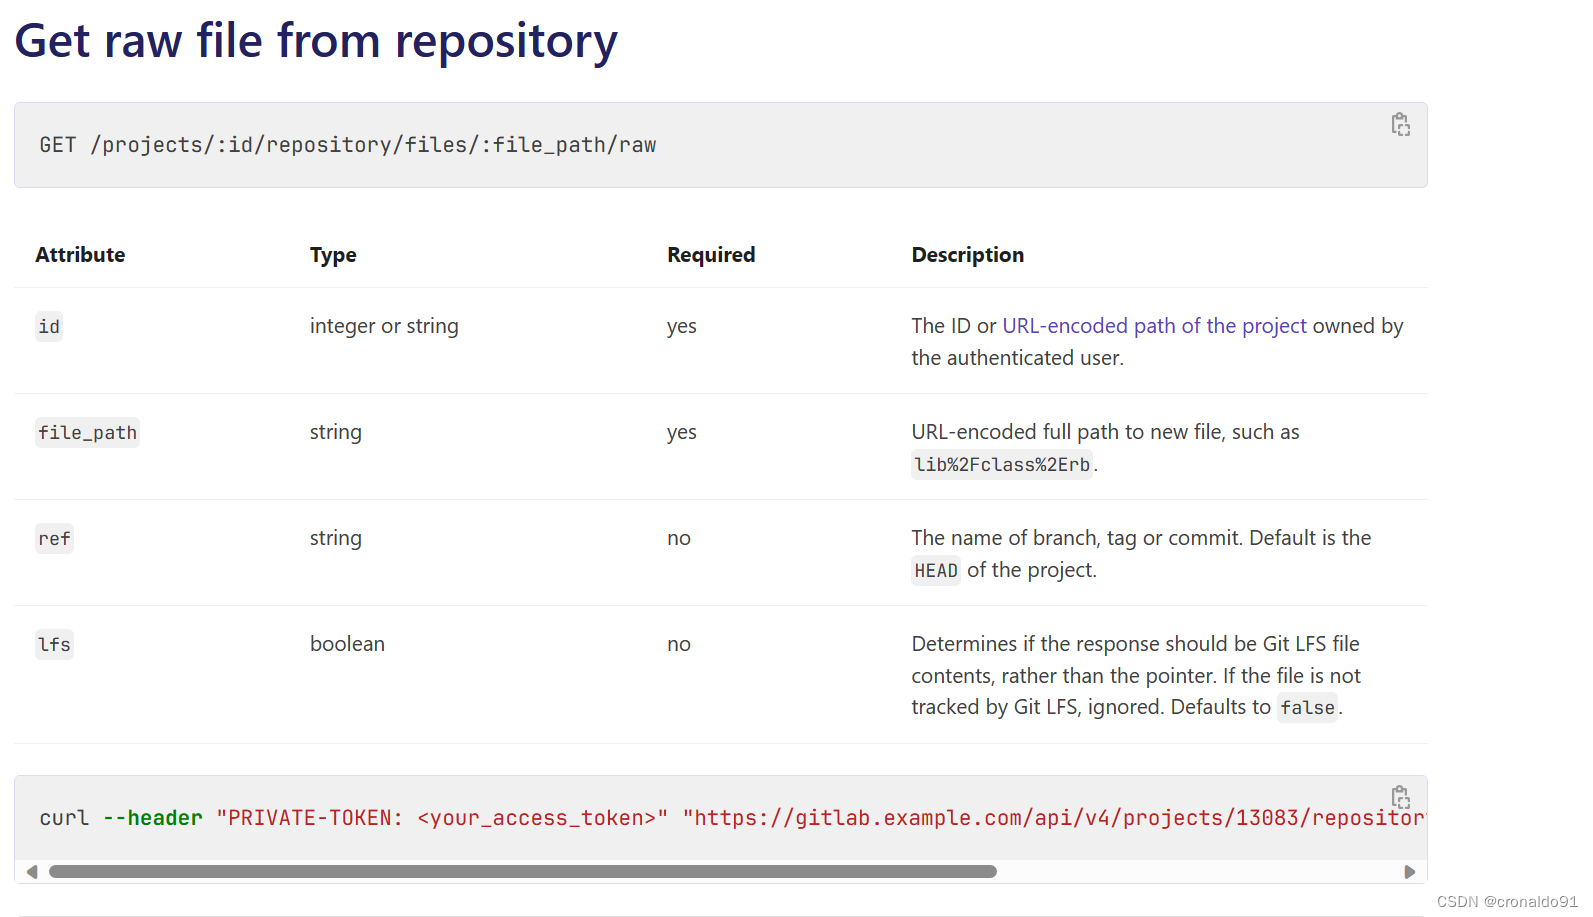
(2)GitLab 创建TOKEN

(3)GitLab查看项目编号
(4)Postman测试完成,转换成Python代码
import requestsurl = "http://192.168.204.8:82/api/v4/projects/22/repository/files/deployment.yaml/raw?ref=master"payload = {}
headers = {'PRIVATE-TOKEN': 'Z6RKxDgK7ort7i9K6f6p'
}response = requests.request("GET", url, headers=headers, data=payload)print(response.text)
(3)python实现获取GitLab指定仓库deplyment.yaml文件
import requests
import jsonclass GitlabUtil():def __init__(self):self.gitlab_url = "http://192.168.204.8:82/api/v4"self.headers = {'PRIVATE-TOKEN': 'Z6RKxDgK7ort7i9K6f6p'}def http_req(self,method,apiUrl,data={}):url = "{0}/{1}".format(self.gitlab_url,apiUrl)response = requests.request(method,url,headers=self.headers,data=data)return response.textdef write_file(self,content,filePath):with open(filePath,'w') as f:f.write(content)def get_repo_file(self,projectId,filePath,branch,targetFile):apiurl = "projects/{0}/repository/files/{1}/raw?ref={2}".format(projectId,filePath,branch)response = self.http_req("GET",apiurl)# print(response.txt)self.write_file(response,targetFile)if __name__ == '__main__':runner = GitlabUtil()runner.get_repo_file("22","deployment.yaml","master","deployment.yaml")
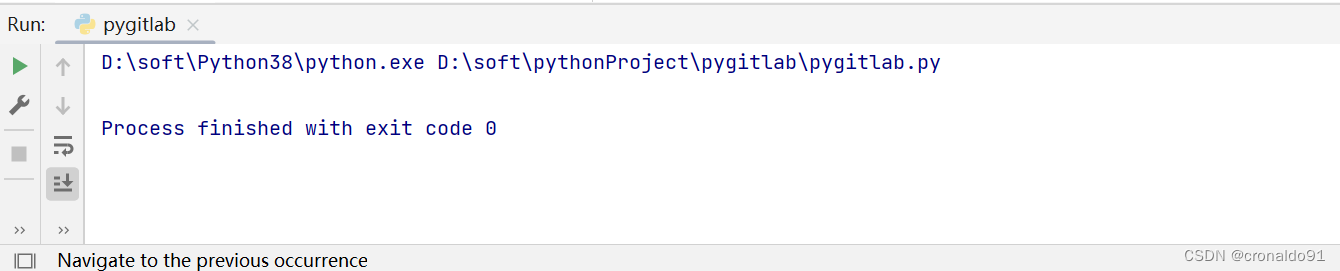
(4)运行Python代码(Windows11 Python环境为3.8)

(5)本地生成deployment.yaml

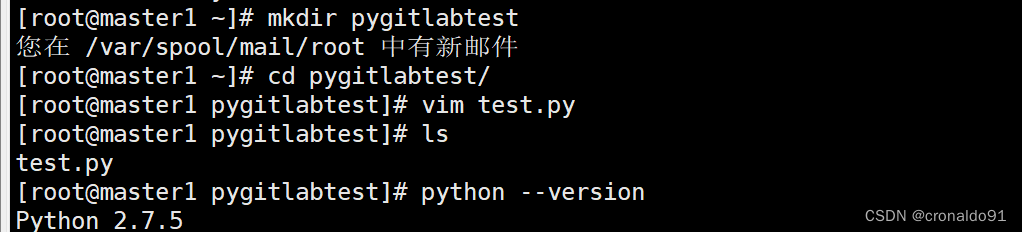
(6)K8S master节点同样运行Python代码进行测试(Python环境为2.7)
1)创建目录及python文件
# mkdir pygitlabtest
# cd pygitlabtest/
# vim test.py
# ls2)查看版本
# python --version3)运行代码
# python test.py

3.Python代码实现创建文件
(1)GitLab官网查询通过API操作在指定仓库创建文件
curl --request POST --header 'PRIVATE-TOKEN: <your_access_token>' \--header "Content-Type: application/json" \--data '{"branch": "main", "author_email": "author@example.com", "author_name": "Firstname Lastname","content": "some content", "commit_message": "create a new file"}' \"https://gitlab.example.com/api/v4/projects/13083/repository/files/app%2Fproject%2Erb"
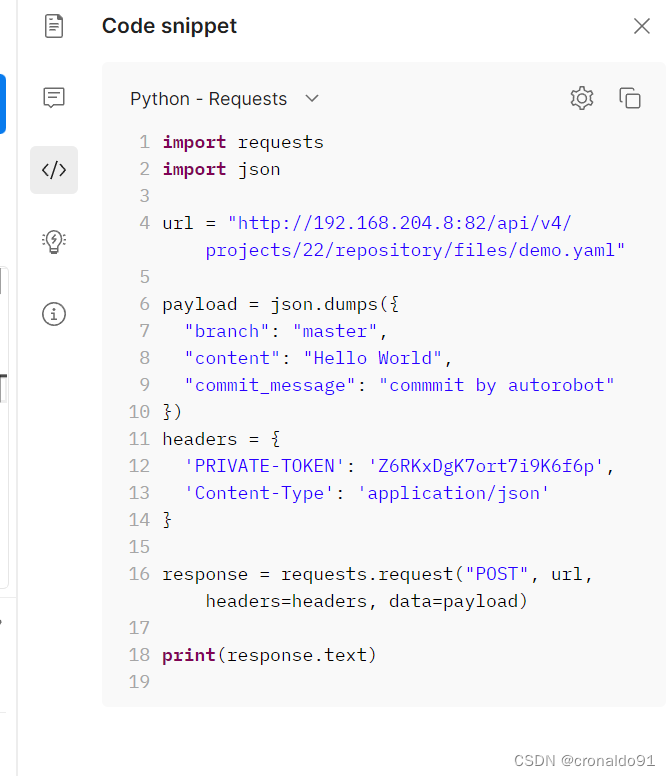
(2)Postman测试完成,转换成Python代码
import requests
import jsonurl = "http://192.168.204.8:82/api/v4/projects/22/repository/files/demo.yaml"payload = json.dumps({"branch": "master","content": "Hello World","commit_message": "commmit by autorobot"
})
headers = {'PRIVATE-TOKEN': 'Z6RKxDgK7ort7i9K6f6p','Content-Type': 'application/json'
}response = requests.request("POST", url, headers=headers, data=payload)print(response.text)
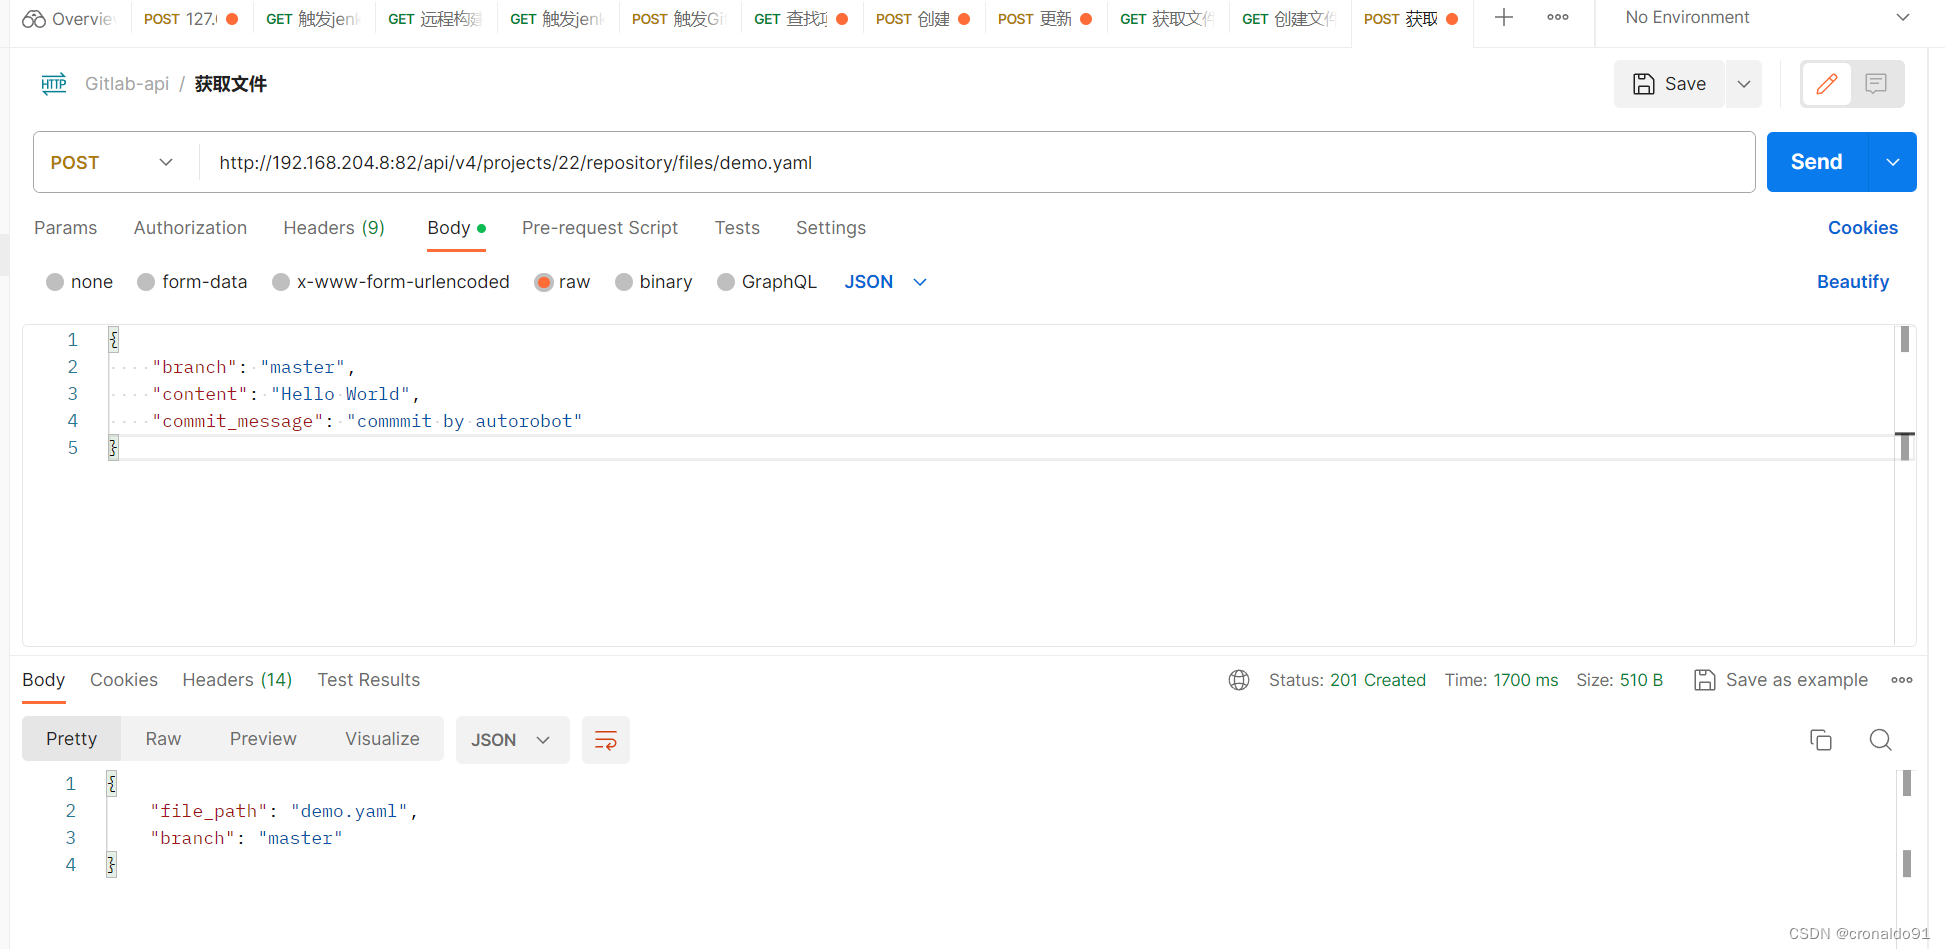
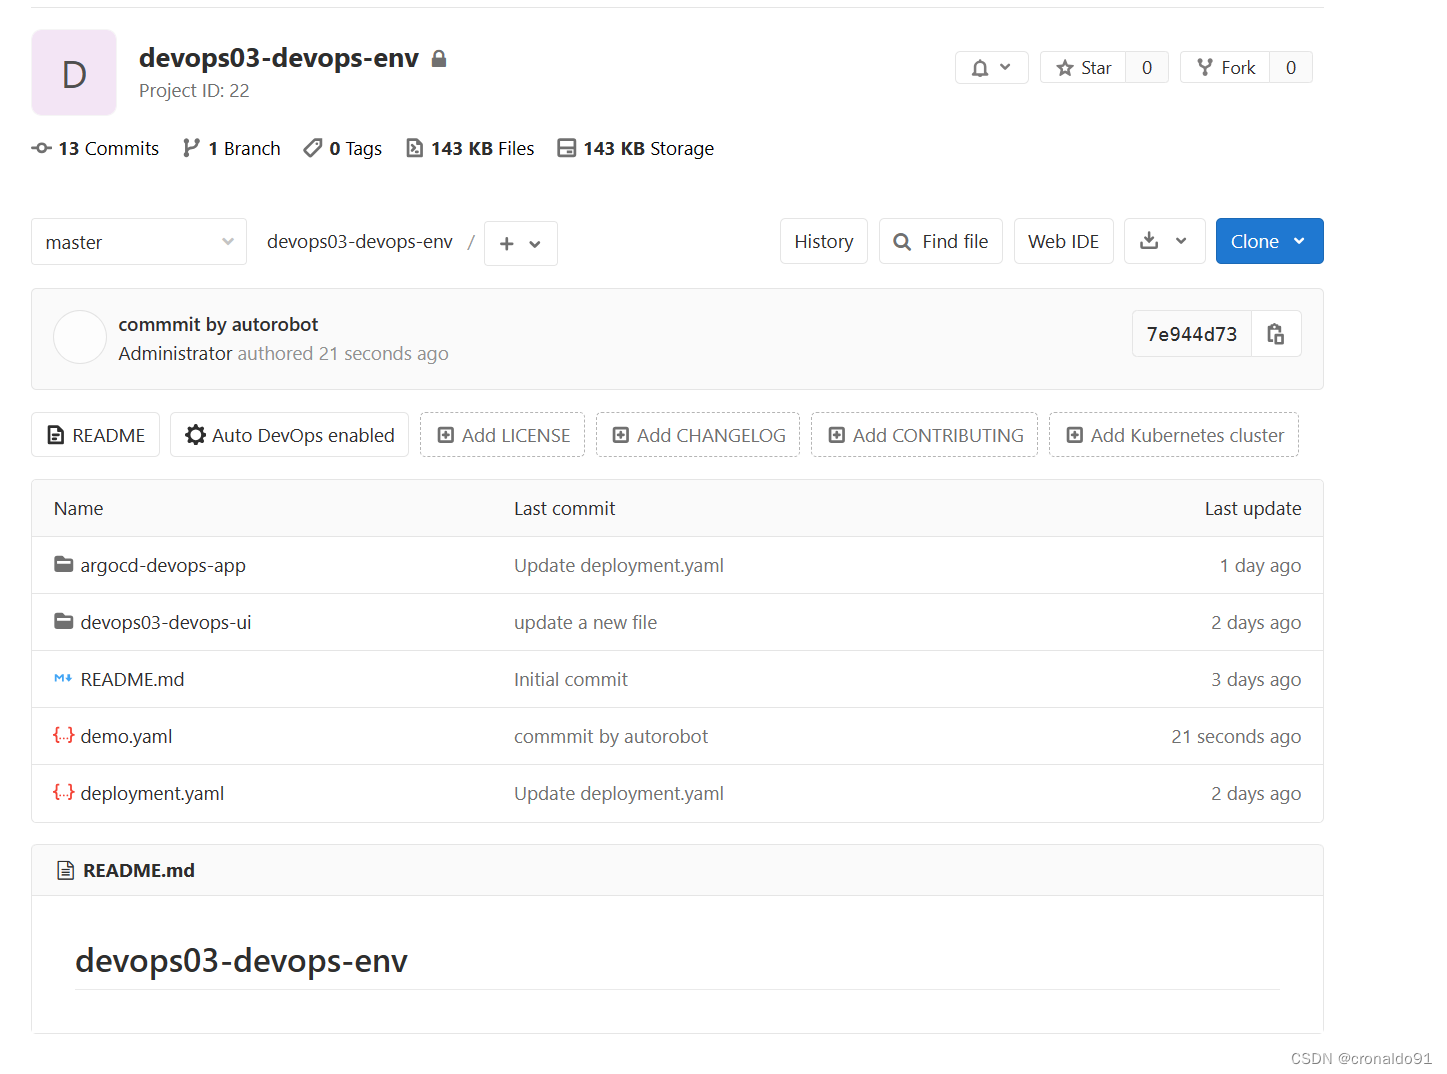
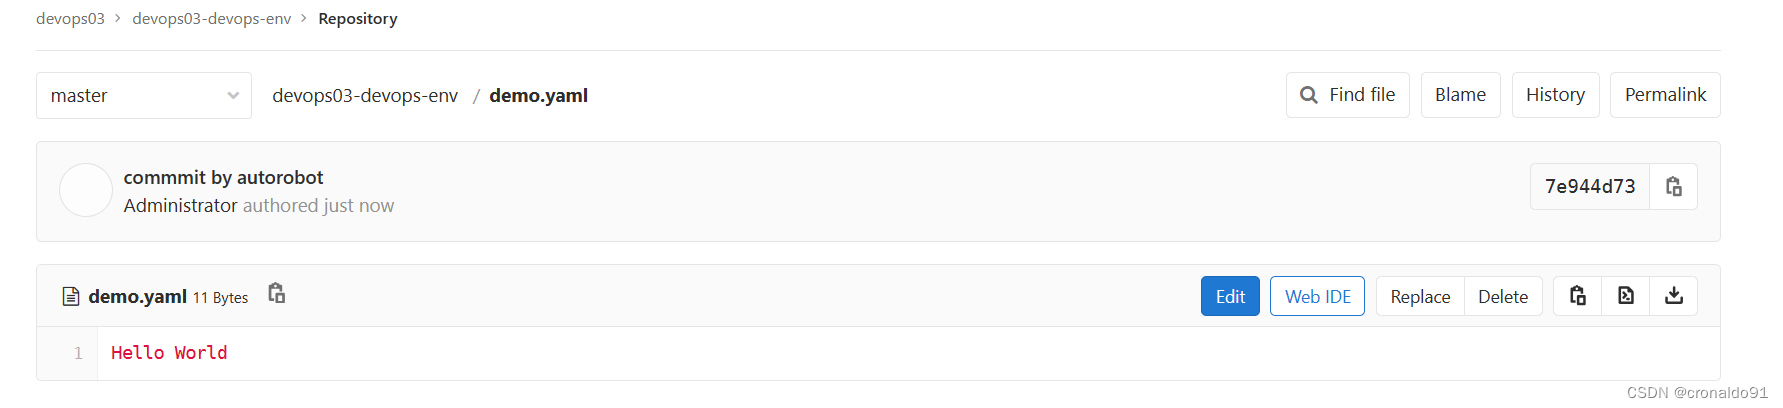
(3)GitLab查看项目生成了demo.yaml文件
(4)python实现在GitLab指定项目创建demo02.yaml文件
# -*- coding: utf-8 -*-
import requests
import json
import base64class GitlabUtil():def __init__(self,projectId):self.gitlab_url = "http://192.168.204.8:82/api/v4"self.gitlab_token = 'Z6RKxDgK7ort7i9K6f6p'self.projectId = projectIdself.encoding = "base64"def http_req(self,method,apiUrl,headers,data):url = "{0}/{1}".format(self.gitlab_url,apiUrl)response = requests.request(method,url,headers=headers,data=data)return response.textdef write_file(self,content,filePath):with open(filePath,'w') as f:f.write(content)def get_repo_file(self,filePath,branch,targetFile):apiurl = "projects/{0}/repository/files/{1}/raw?ref={2}".format(self.projectId,filePath,branch)headers = {'PRIVATE-TOKEN': self.gitlab_token,'Content-Type': 'application/json'}response = self.http_req("GET",apiurl,headers, {})# print(response.txt)self.write_file(response,targetFile)def create_repo_file(self,filePath,branch,content,commit_message):apiurl = "/projects/{0}/repository/files/{1}".format(self.projectId,filePath)data = json.dumps({"branch": branch,"content": content,"commit_message": commit_message# "encoding": self.encoding})headers = {'PRIVATE-TOKEN': self.gitlab_token,'Content-Type': 'application/json'}self.http_req("POST", apiurl,headers=headers,data=data)if __name__ == '__main__':runner = GitlabUtil("22")# runner.get_repo_file("deployment.yaml","master","deployment.yaml")f = open("deployment.yaml",'r',encoding='utf-8')content = f.read()f.close()# content = base64.b64encode(bytes(content,"utf-8"))runner.create_repo_file("demo02.yaml","master",content,"Hello World 2")
(5)运行Python代码(Windows11 Python环境为3.8)
(6)GitLab查看项目生成了demo2.yaml文件

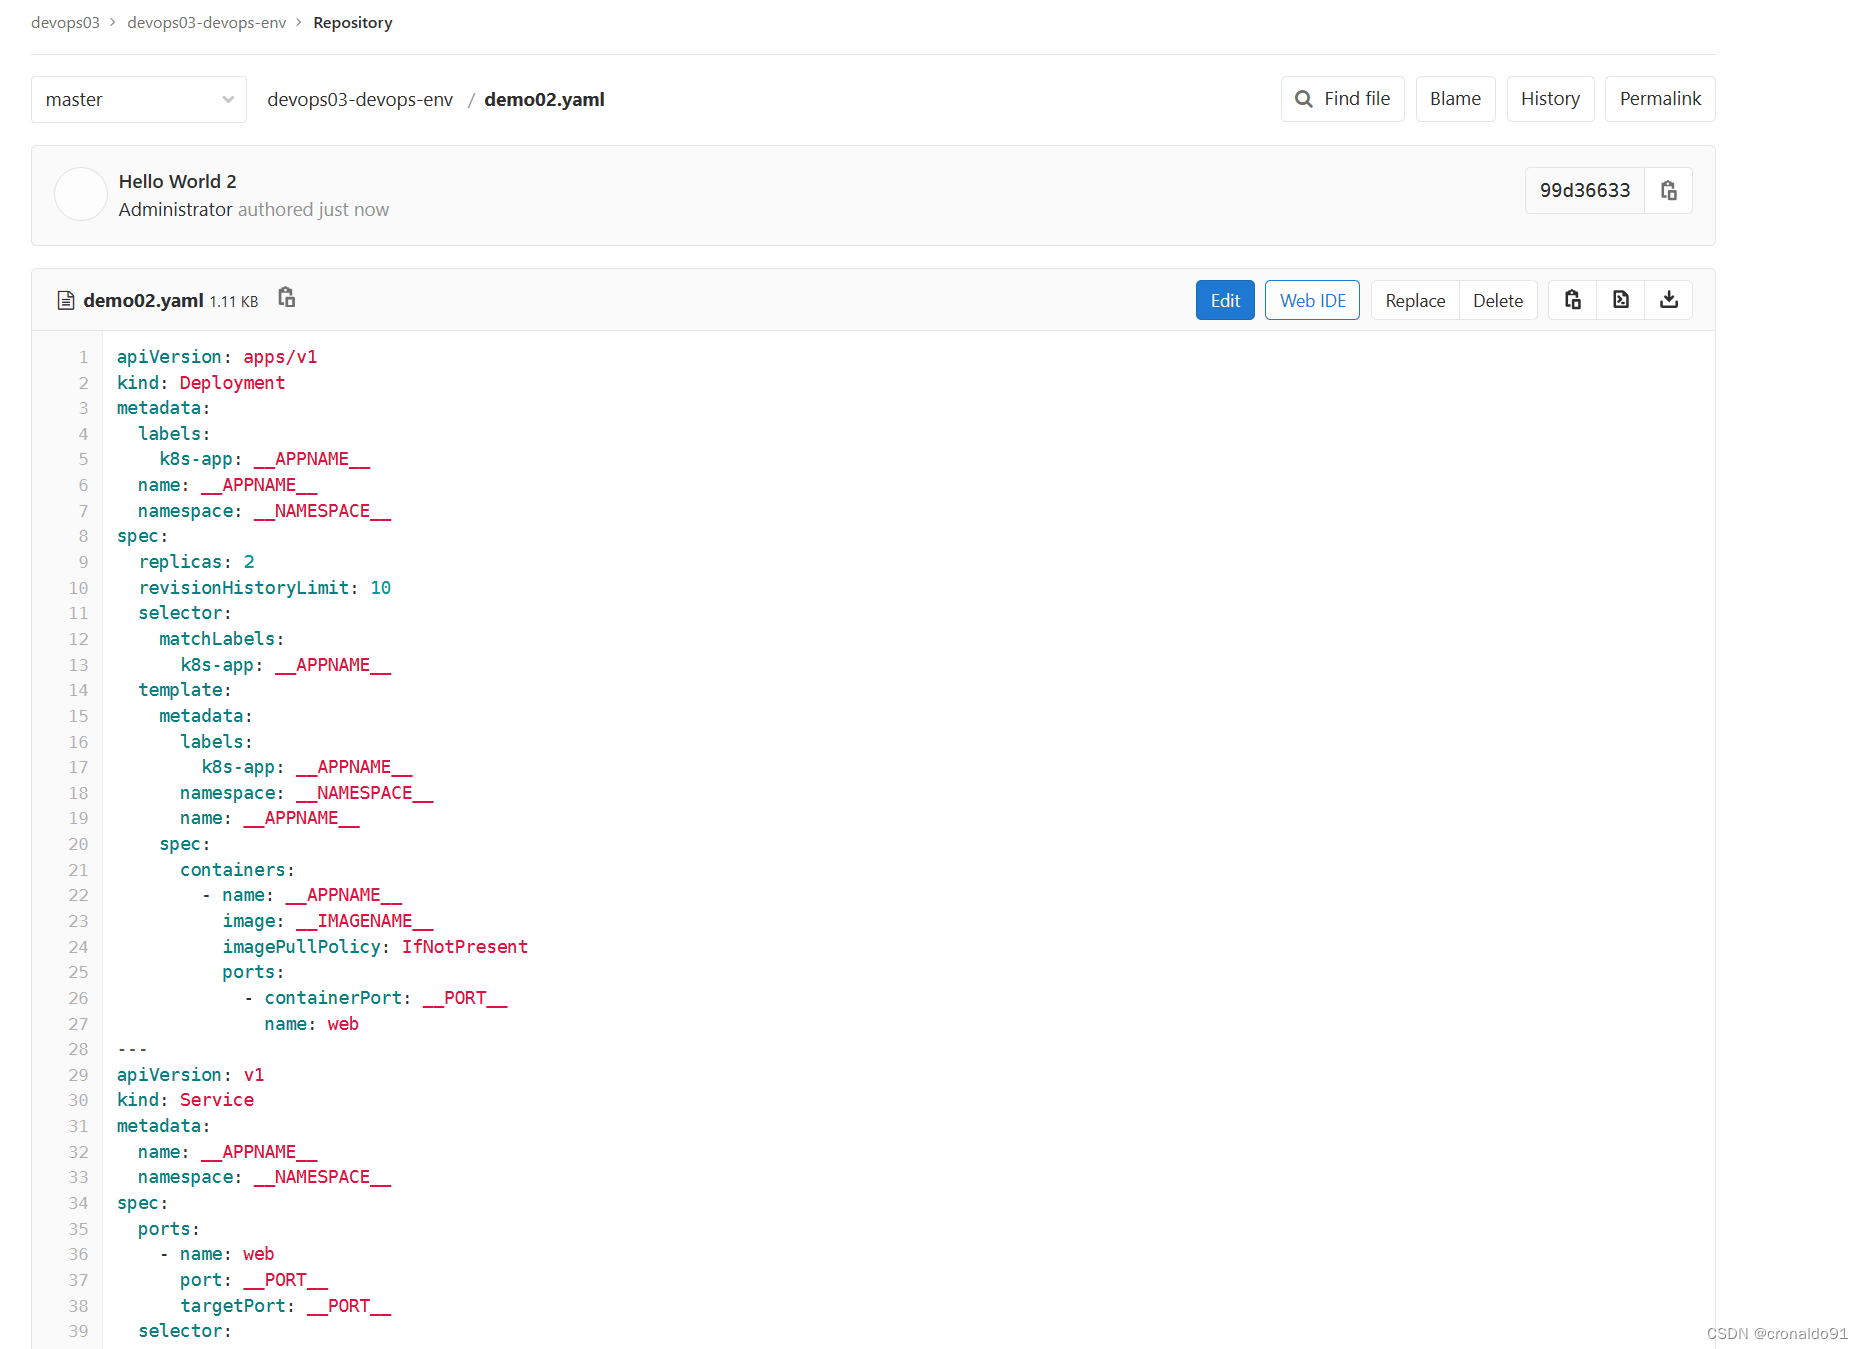
4.Python代码实现更新文件
(1)GitLab官网查询通过API操作在指定仓库更新文件
curl --request PUT --header 'PRIVATE-TOKEN: <your_access_token>' \--header "Content-Type: application/json" \--data '{"branch": "main", "author_email": "author@example.com", "author_name": "Firstname Lastname","content": "some content", "commit_message": "update file"}' \"https://gitlab.example.com/api/v4/projects/13083/repository/files/app%2Fproject%2Erb"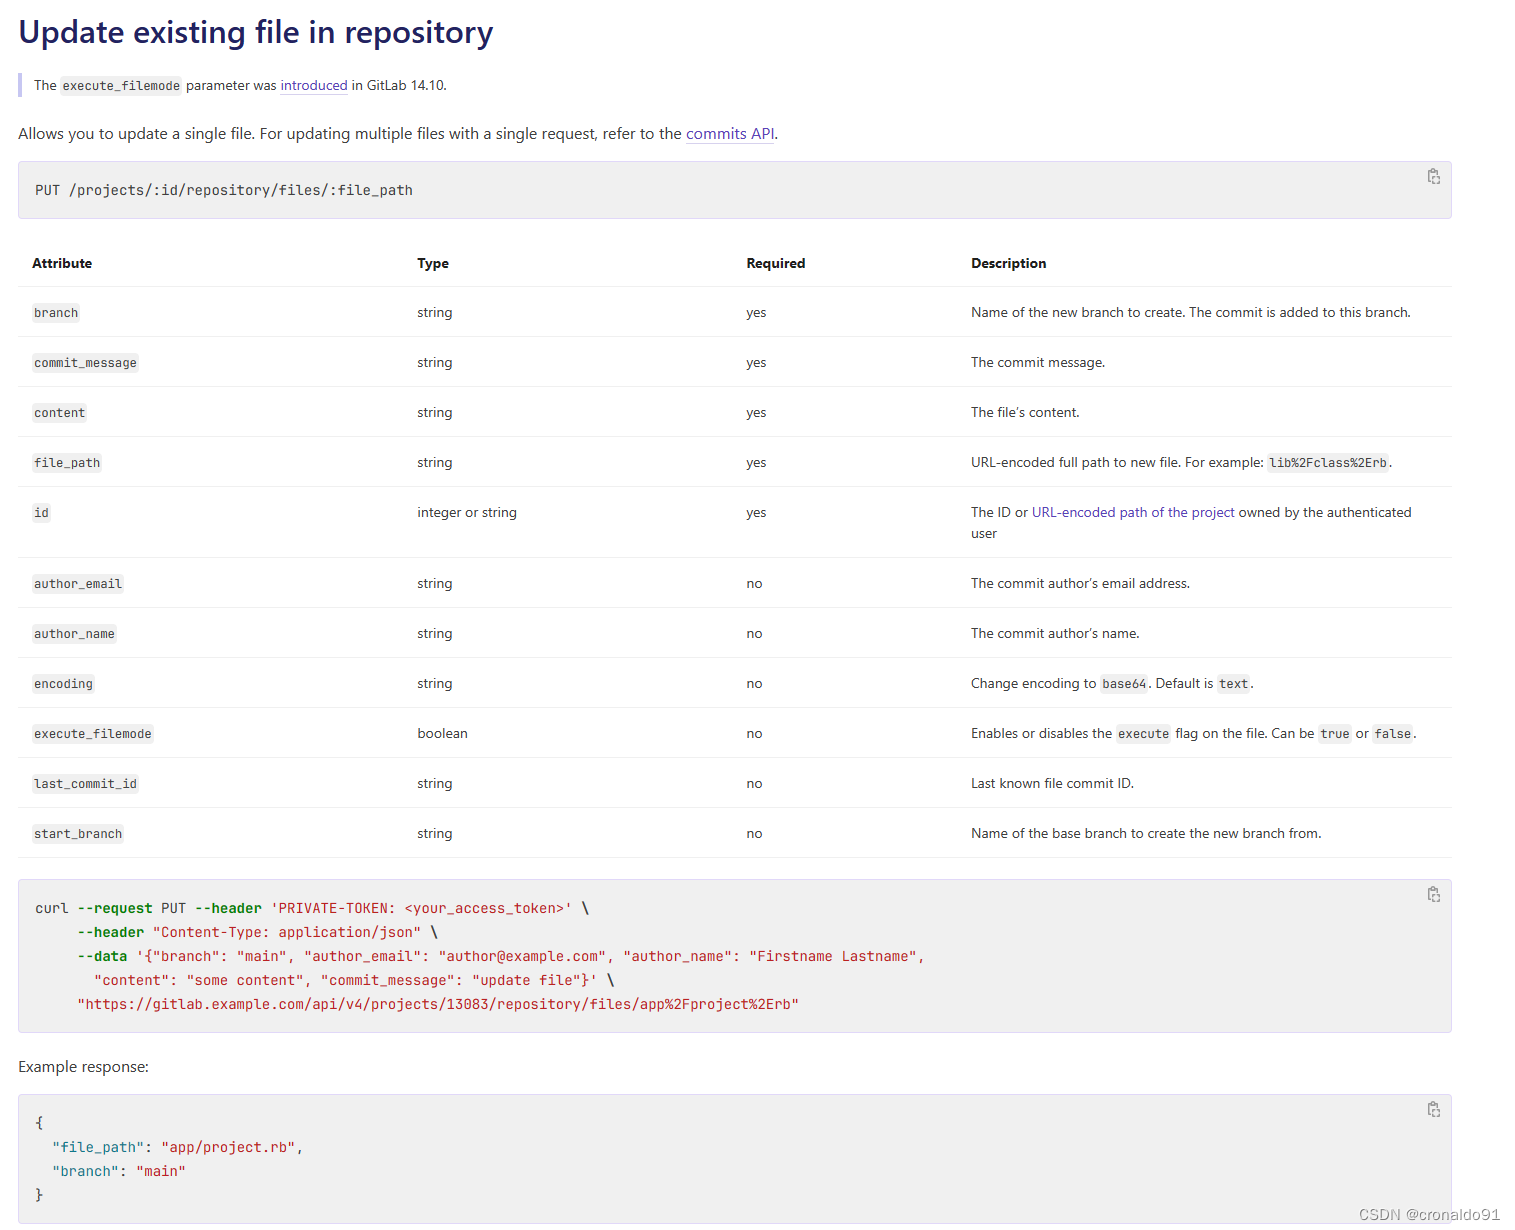
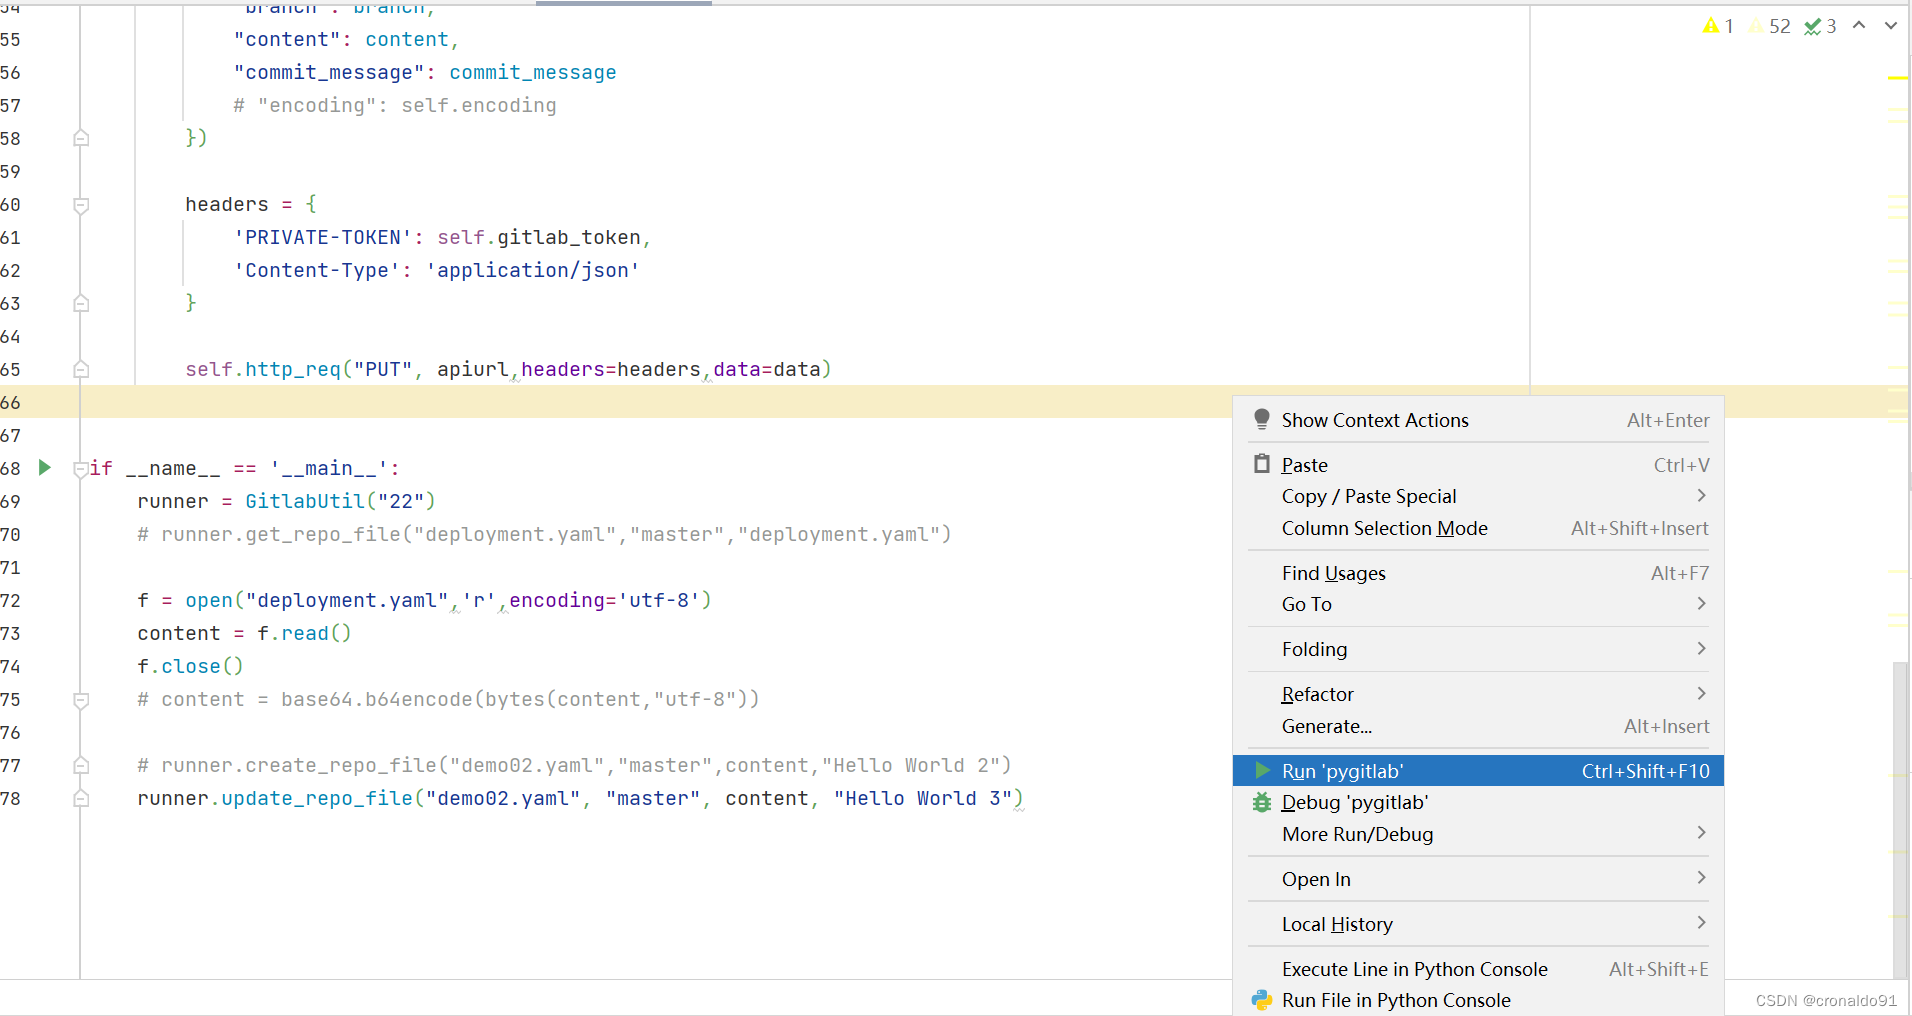
(2)python实现在GitLab指定项目更新demo02.yaml文件
# -*- coding: utf-8 -*-
import requests
import json
import base64class GitlabUtil():def __init__(self,projectId):self.gitlab_url = "http://192.168.204.8:82/api/v4"self.gitlab_token = 'Z6RKxDgK7ort7i9K6f6p'self.projectId = projectIdself.encoding = "base64"def http_req(self,method,apiUrl,headers,data):url = "{0}/{1}".format(self.gitlab_url,apiUrl)response = requests.request(method,url,headers=headers,data=data)return response.textdef write_file(self,content,filePath):with open(filePath,'w') as f:f.write(content)# 下载文件def get_repo_file(self,filePath,branch,targetFile):apiurl = "projects/{0}/repository/files/{1}/raw?ref={2}".format(self.projectId,filePath,branch)headers = {'PRIVATE-TOKEN': self.gitlab_token,'Content-Type': 'application/json'}response = self.http_req("GET",apiurl,headers, {})# print(response.txt)self.write_file(response,targetFile)# 创建文件def create_repo_file(self,filePath,branch,content,commit_message):apiurl = "/projects/{0}/repository/files/{1}".format(self.projectId,filePath)data = json.dumps({"branch": branch,"content": content,"commit_message": commit_message# "encoding": self.encoding})headers = {'PRIVATE-TOKEN': self.gitlab_token,'Content-Type': 'application/json'}self.http_req("POST", apiurl,headers=headers,data=data)# 更新文件def update_repo_file(self,filePath,branch,content,commit_message):apiurl = "/projects/{0}/repository/files/{1}".format(self.projectId,filePath)data = json.dumps({"branch": branch,"content": content,"commit_message": commit_message# "encoding": self.encoding})headers = {'PRIVATE-TOKEN': self.gitlab_token,'Content-Type': 'application/json'}self.http_req("PUT", apiurl,headers=headers,data=data)if __name__ == '__main__':runner = GitlabUtil("22")# runner.get_repo_file("deployment.yaml","master","deployment.yaml")f = open("deployment.yaml",'r',encoding='utf-8')content = f.read()f.close()# content = base64.b64encode(bytes(content,"utf-8"))# runner.create_repo_file("demo02.yaml","master",content,"Hello World 2")runner.update_repo_file("demo02.yaml", "master", content, "Hello World 3")
(3)运行Python代码(Windows11 Python环境为3.8)
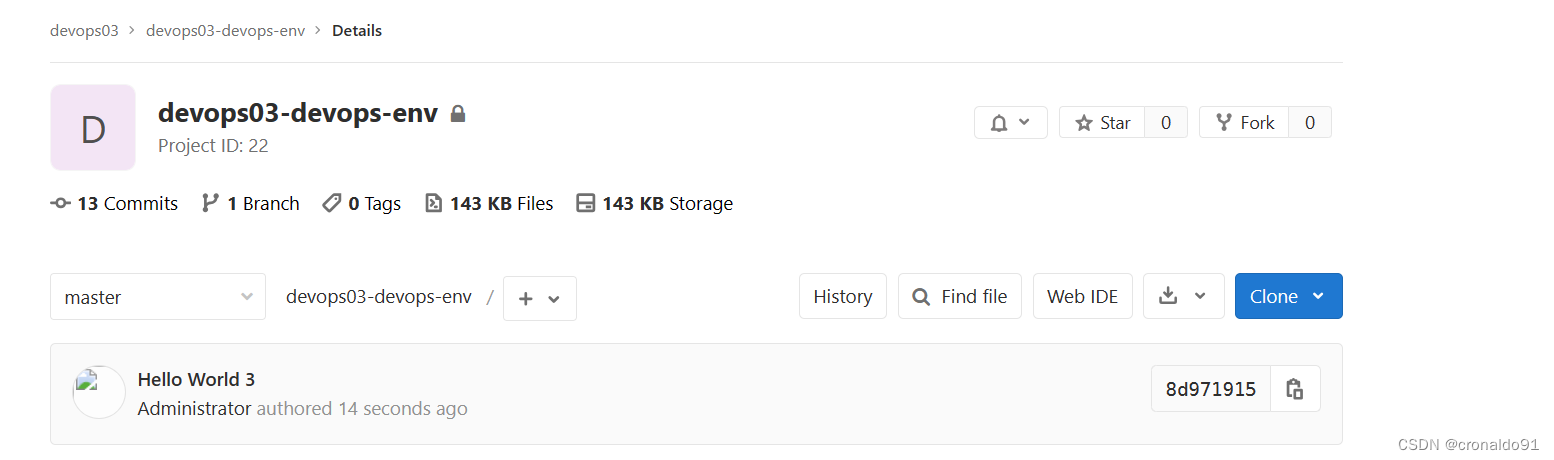
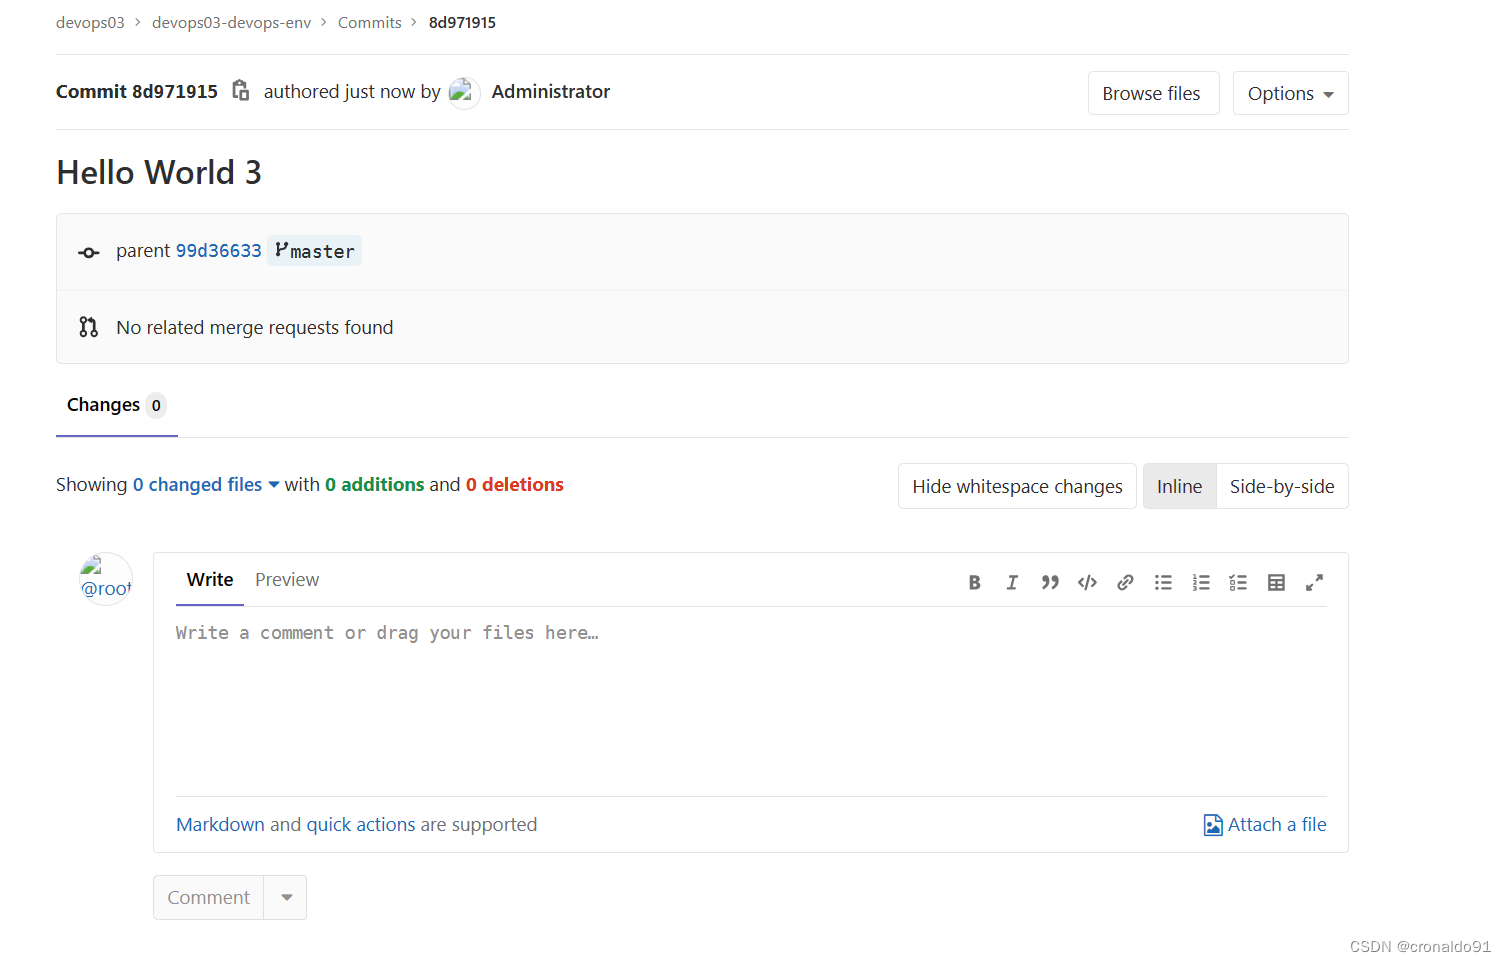
(4)GitLab查看项目更新了提交信息
5.GitLab更新库文件与运行流水线
(1)查看GitLab共享库

(2)新建流水线文件ui.gitlabutil.yaml

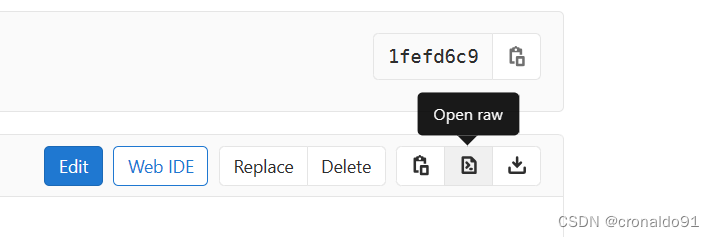
(3)复制raw格式
(4)在GitLab devops03-devops-env 环境库项目添加CI配置文件路径


(5)查看前端项目devops03-devops-ui 修改Dockerfile,注释本地CI流水线文件,避免后续运行错误


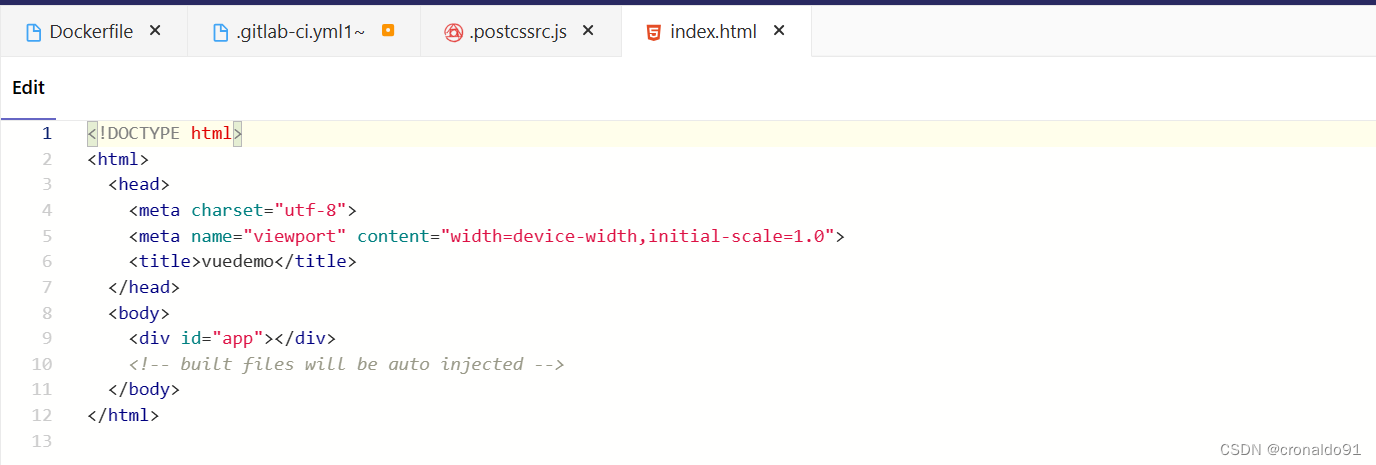
(6)查看前端项目目录下的index.html文件
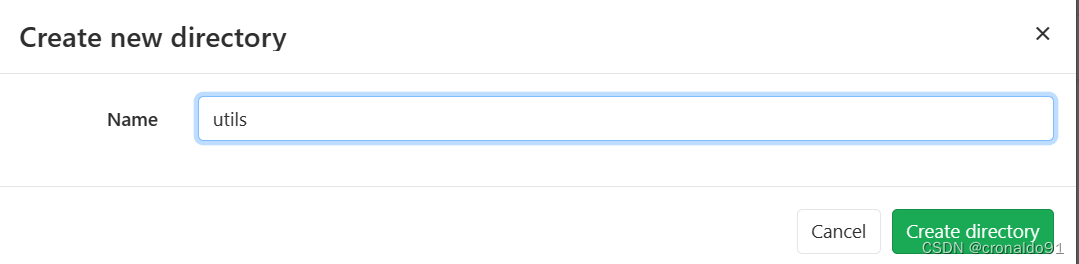
(7) GitLab共享库新建目录util及GitLabUtil.py文件,用来封装python类
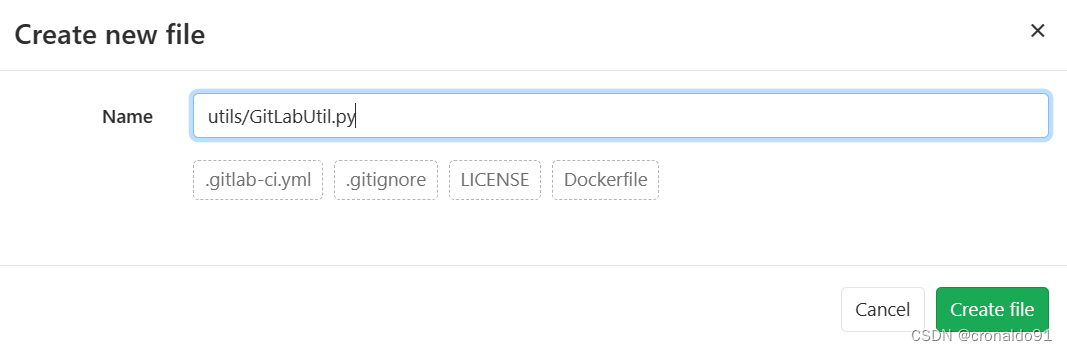
(8)GitLabUtil.py文件代码
import requests
import json
import base64
import sysclass GitlabUtil():def __init__(self,projectId):self.gitlab_url = "http://192.168.204.8:82/api/v4"self.gitlab_token = 'Z6RKxDgK7ort7i9K6f6p'self.projectId = projectIdself.encoding = "base64"def http_req(self,method,apiUrl,headers,data):url = "{0}/{1}".format(self.gitlab_url,apiUrl)response = requests.request(method,url,headers=headers,data=data)return response.textdef write_file(self,content,filePath):with open(filePath,'w') as f:f.write(content)def get_repo_file(self,filePath,branch,targetFile):apiurl = "projects/{0}/repository/files/{1}/raw?ref={2}".format(self.projectId,filePath,branch)headers = {'PRIVATE-TOKEN': self.gitlab_token,'Content-Type': 'application/json'}response = self.http_req("GET",apiurl,headers, {})# print(response.txt)self.write_file(response,targetFile)def create_repo_file(self,filePath,branch,content,commit_message):apiurl = "/projects/{0}/repository/files/{1}".format(self.projectId,filePath)data = json.dumps({"branch": branch,"content": content,"commit_message": commit_message# "encoding": self.encoding})headers = {'PRIVATE-TOKEN': self.gitlab_token,'Content-Type': 'application/json'}mes = self.http_req("POST", apiurl,headers=headers,data=data)if json.loads(mes)["message"] == "A file with this name already exists":raise Exception("A file with this name already exists")def update_repo_file(self,filePath,branch,content,commit_message):apiurl = "/projects/{0}/repository/files/{1}".format(self.projectId,filePath)data = json.dumps({"branch": branch,"content": content,"commit_message": commit_message})headers = {'PRIVATE-TOKEN': self.gitlab_token,'Content-Type': 'application/json'}self.http_req("PUT", apiurl,headers=headers,data=data)if __name__ == '__main__':if sys.argv[1] == "getfile":projectId,filename,branch,targetFile = sys.argv[2:]GitlabUtil(projectId).get_repo_file(filename,branch,targetFile)if sys.argv[1] == "updatefile":projectId, filename, branch, targetFile = sys.argv[2:]f = open(filename, 'r')content = f.read()f.close()try:GitlabUtil(projectId).create_repo_file(targetFile, branch, content, "Auto K8S Deployment")except Exception as e:print(e)GitlabUtil(projectId).update_repo_file(targetFile, branch, content, "Auto K8S Deployment")
(9)修改流水线文件ui.gitlabutil.yaml
include:- project: 'devops03/devops03-gitlabci-lib'ref: masterfile: "/jobs/CI.yaml"workflow:rules:#新建分支永远不执行- if: $CI_PIPELINE_SOURCE == "web"      #允许手动触发when: always- if: $CI_COMMIT_BEFORE_SHA == "0000000000000000000000000000000000000000"when: never# 其他情况永远执行- when: always#取消每个阶段自动下载代码,即全局关闭作业代码下载
variables:GIT_CHECKOUT: "false"  ## 全局关闭作业代码下载PROJECT_TYPE: "npm"   ## 定义项目类型BUILD_SHELL: "npm run build"   ## 构建命令TEST_SHELL: "echo test"                         ## 测试命令ARTIFACT_PATH: "dist/**"                                  ## 制品路径# TEST_REPORTS: "target/surefire-reports/TEST-*.xml"             ## 测试报告stages:- build- sonarscan- dockerbuild- releasefilepipelineInit:extends: - .pipelineInitcibuild:before_script:- "npm install"extends:- .cibuildreleasefile:tags:- buildstage: releasefilescript:- curl  "http://192.168.204.8:82/devops03/devops03-gitlabci-lib/-/raw/master/utils/GitLabUtil.py" -o GitLabUtil.py -s- python GitLabUtil.py getfile "22" "deployment.yaml" "master" "deployment.yaml"- ls -l- imageName=192.168.204.15/${CI_PROJECT_NAMESPACE}/${CI_PROJECT_NAME}:${CI_COMMIT_SHA}- sed -i 's#__PORT__#80#g' deployment.yaml- sed -i "s#__APPNAME__#${CI_PROJECT_NAME}#g" deployment.yaml- sed -i "s#__NAMESPACE__#${CI_PROJECT_NAMESPACE}#g" deployment.yaml- sed -i "s#__IMAGENAME__#${imageName}#g" deployment.yaml- python GitLabUtil.py updatefile "22" "deployment.yaml" "master" "${CI_PROJECT_NAME}%2f${CI_COMMIT_BRANCH}.yaml"#sonarscan:
# extends:
# - .sonarscan#pushartifact:
# extends:
# - .pushartifactdockerbuild:extends:- .dockerbuild
(10)共享库完整目录

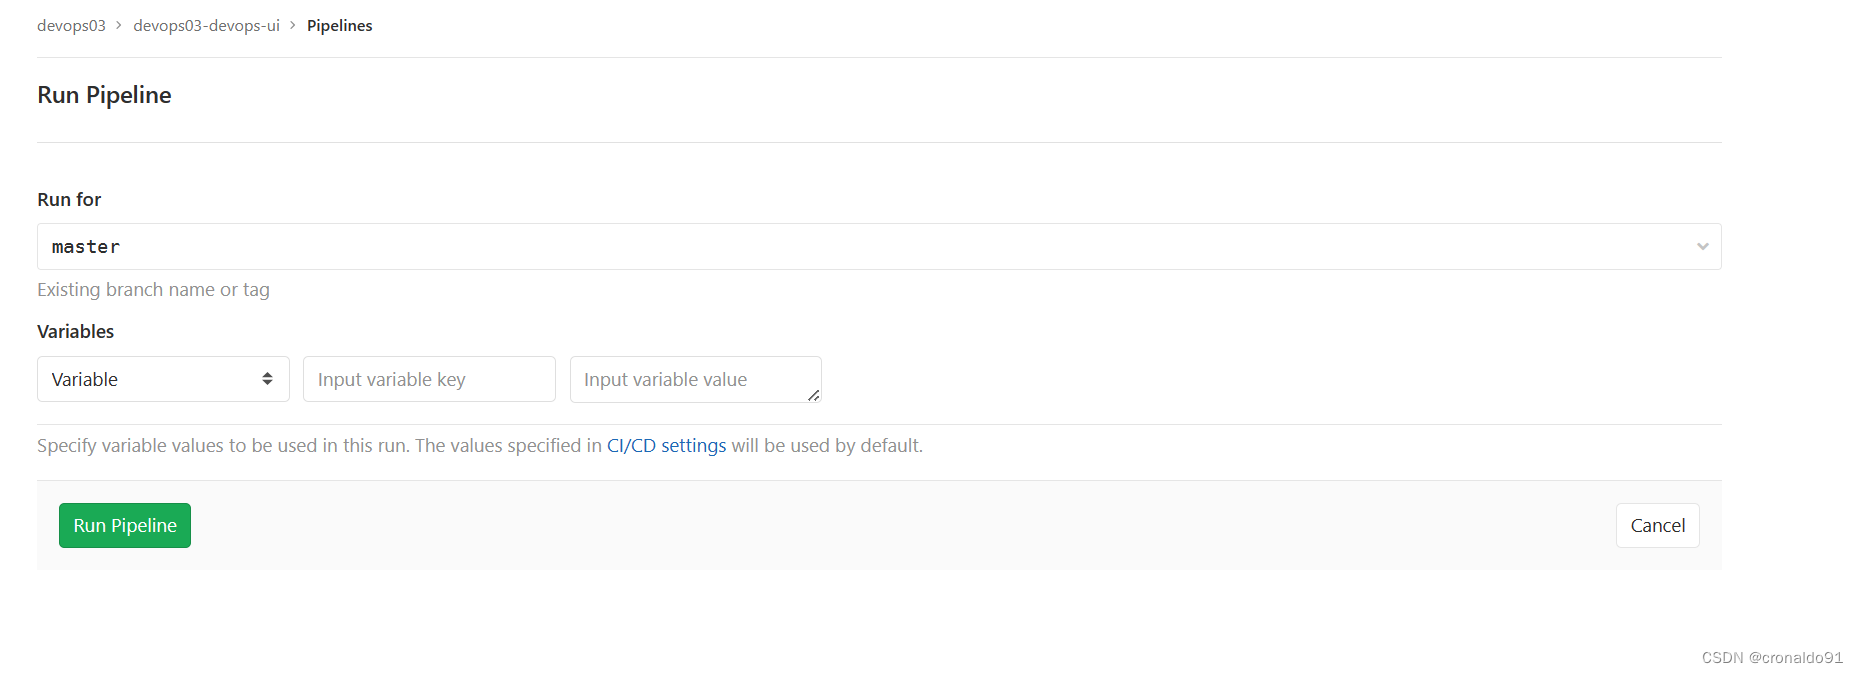
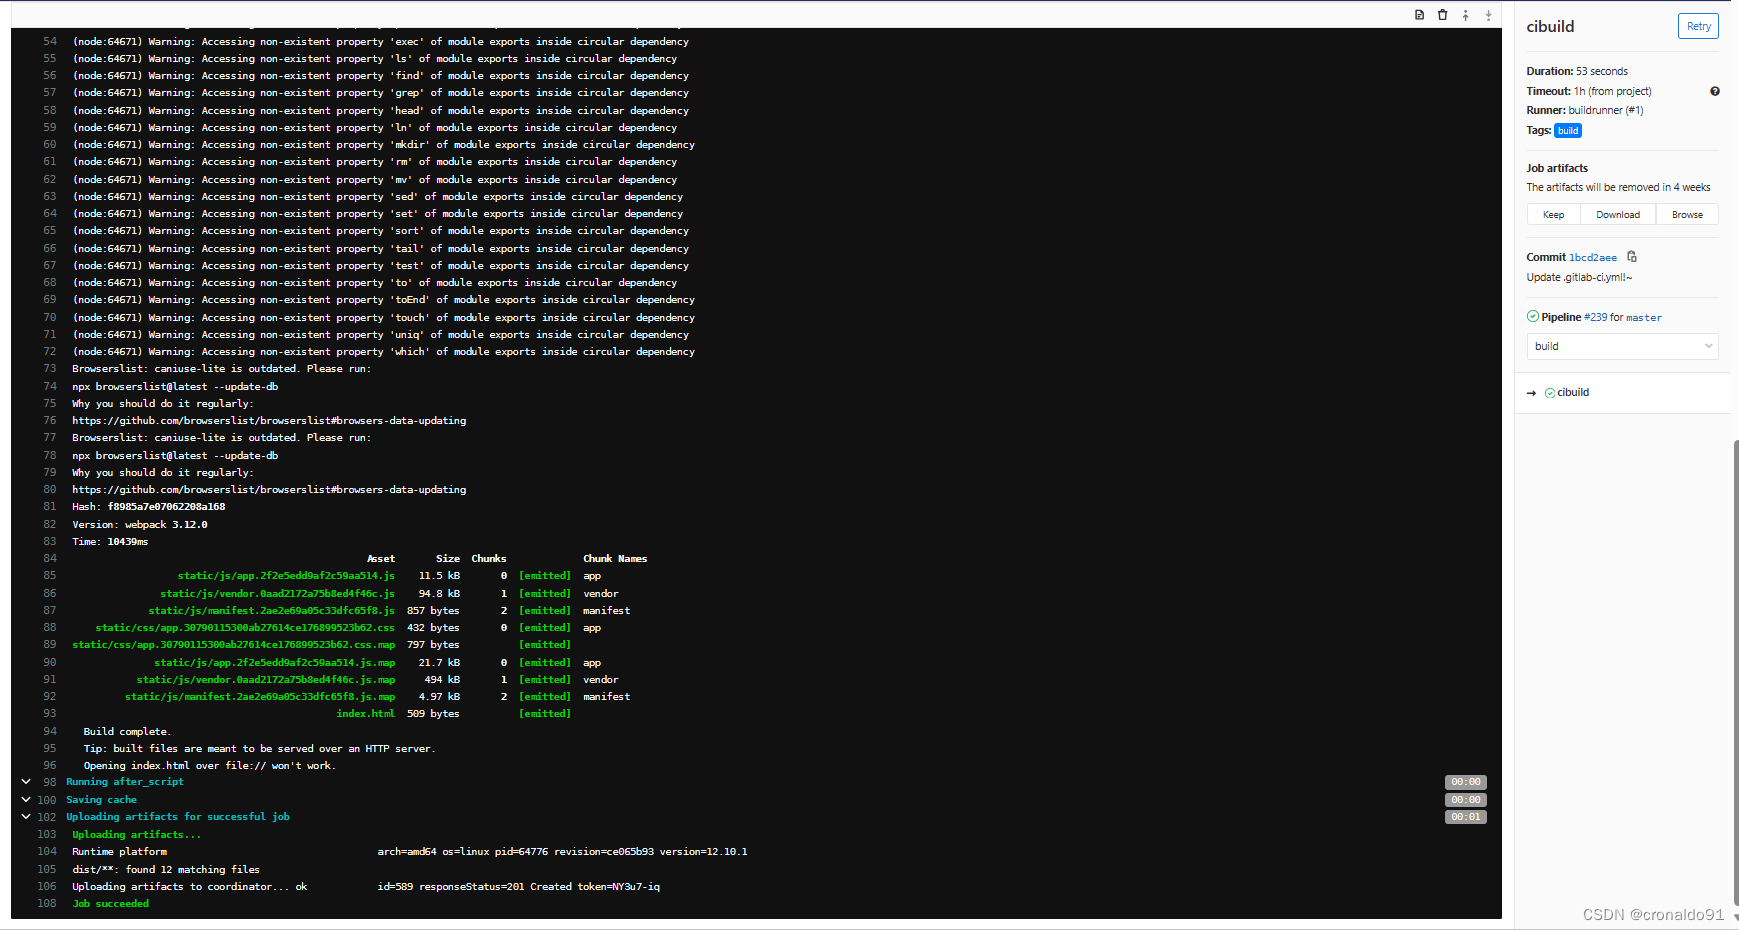
(11)GitLab 前端项目运行流水线
(12)完成
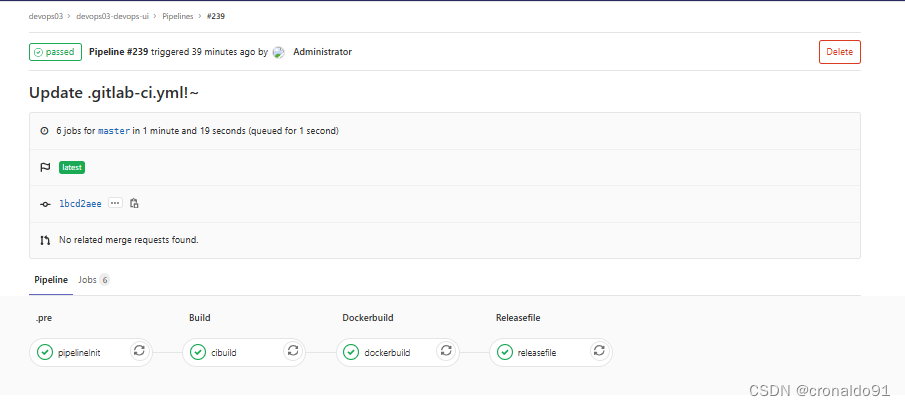
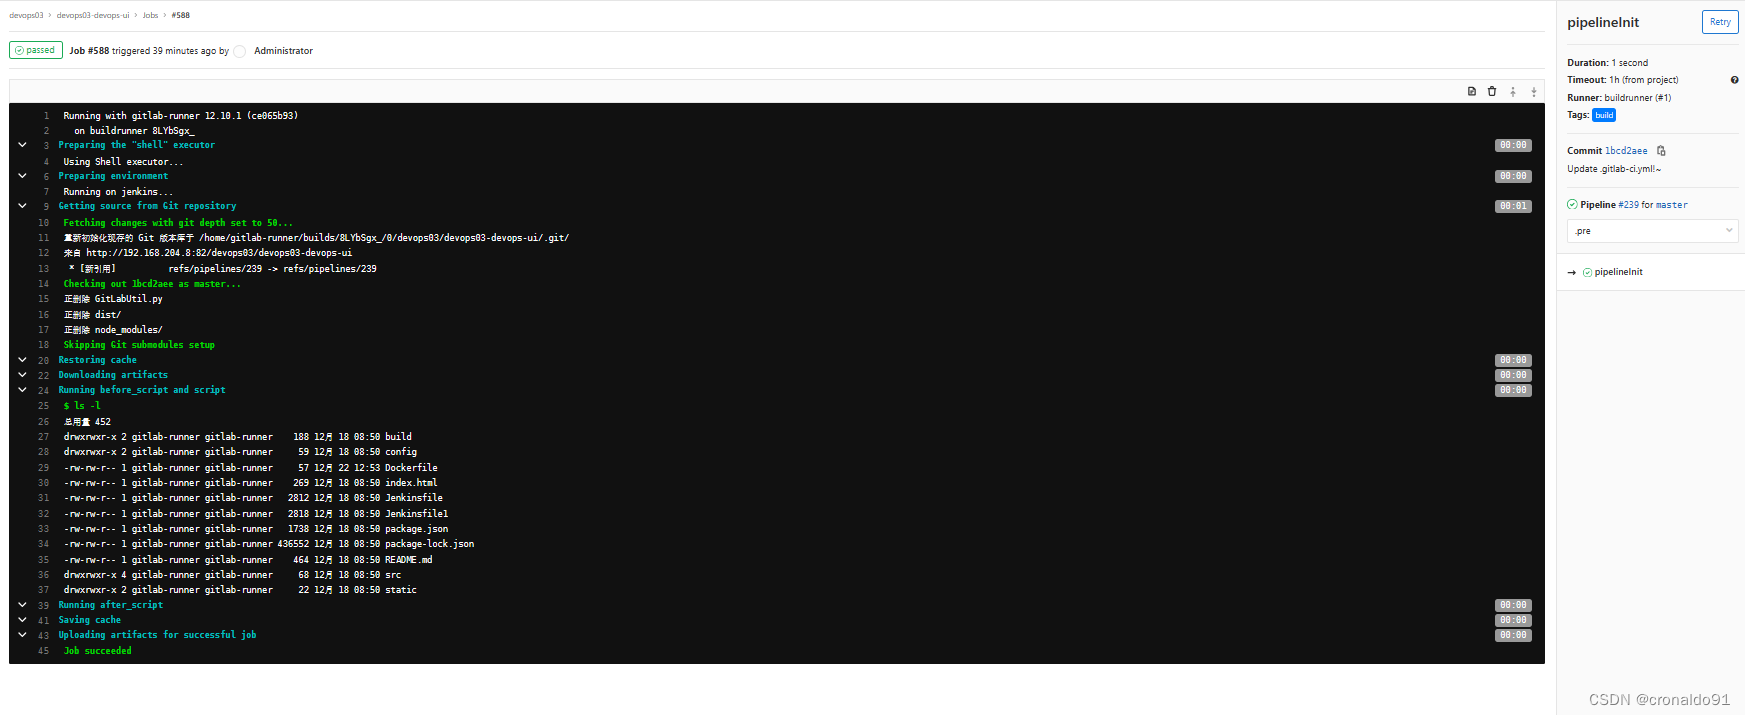
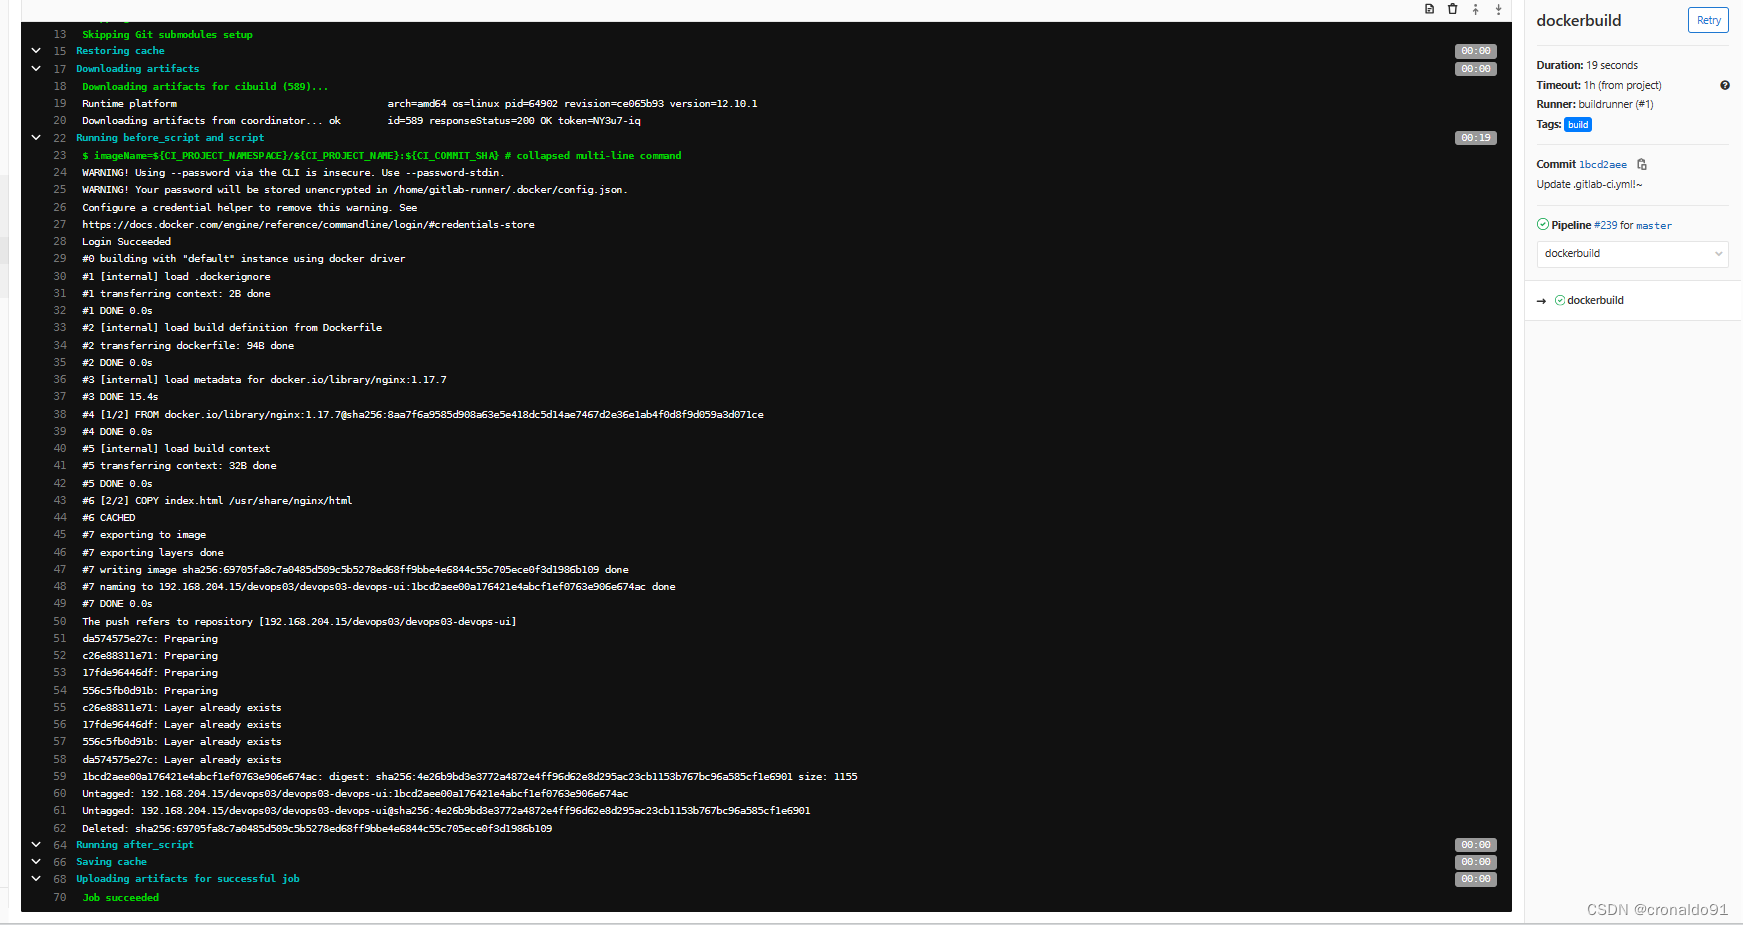
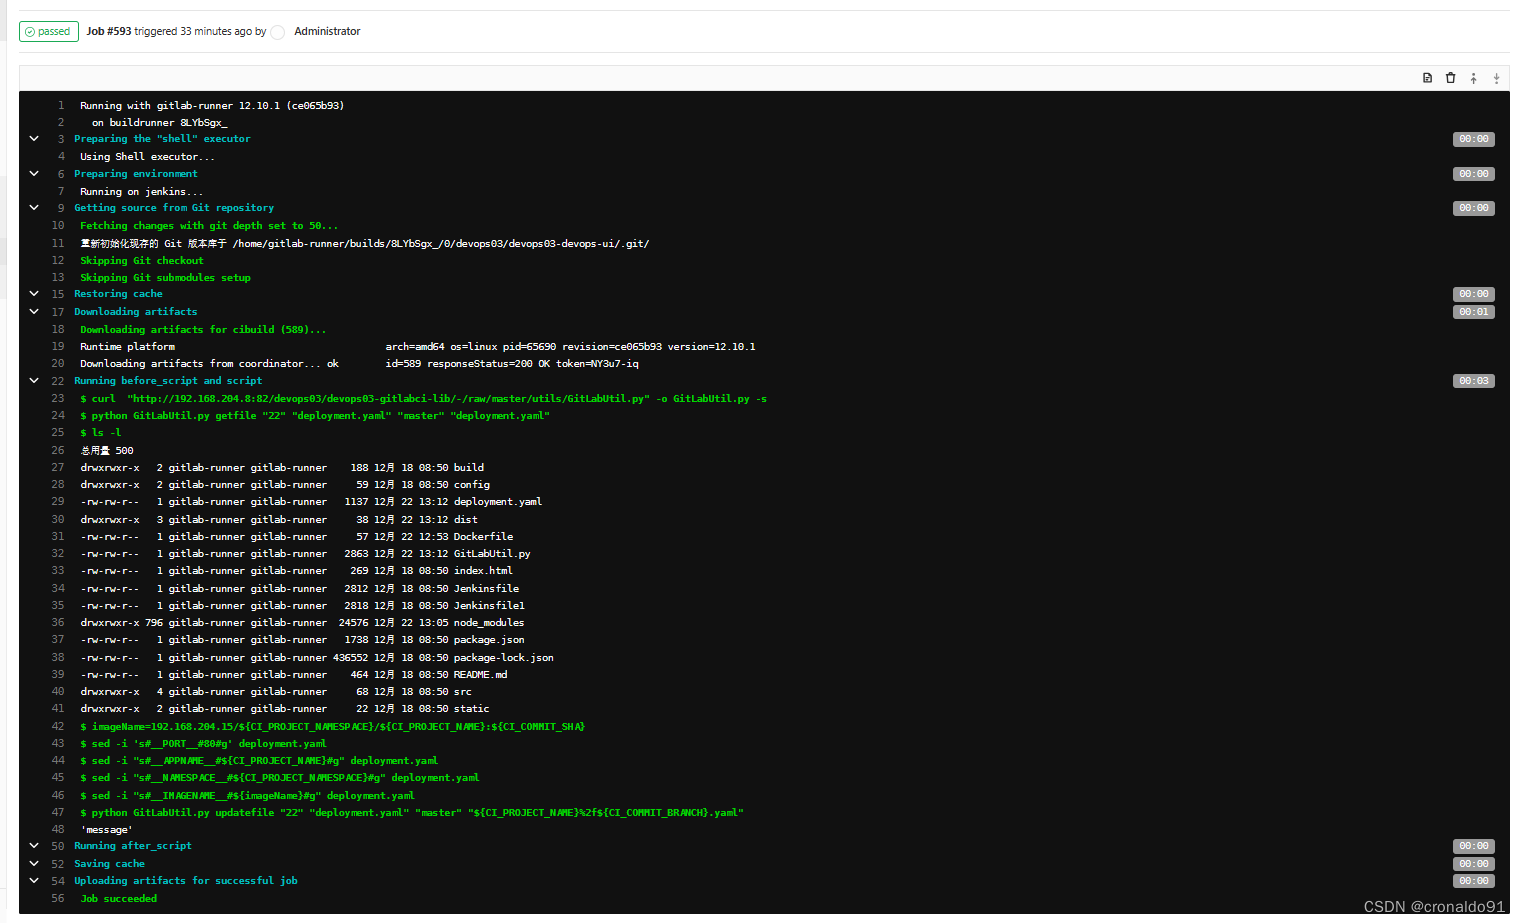
(13)查看各阶段日志
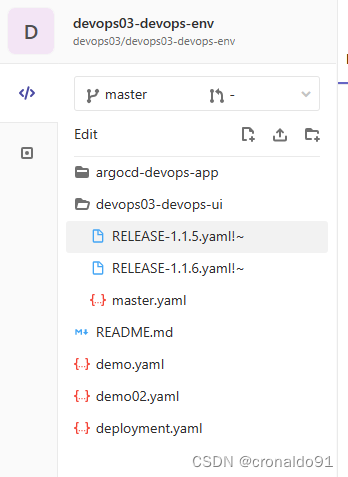
(14)环境库项目显示更新master.yaml文件

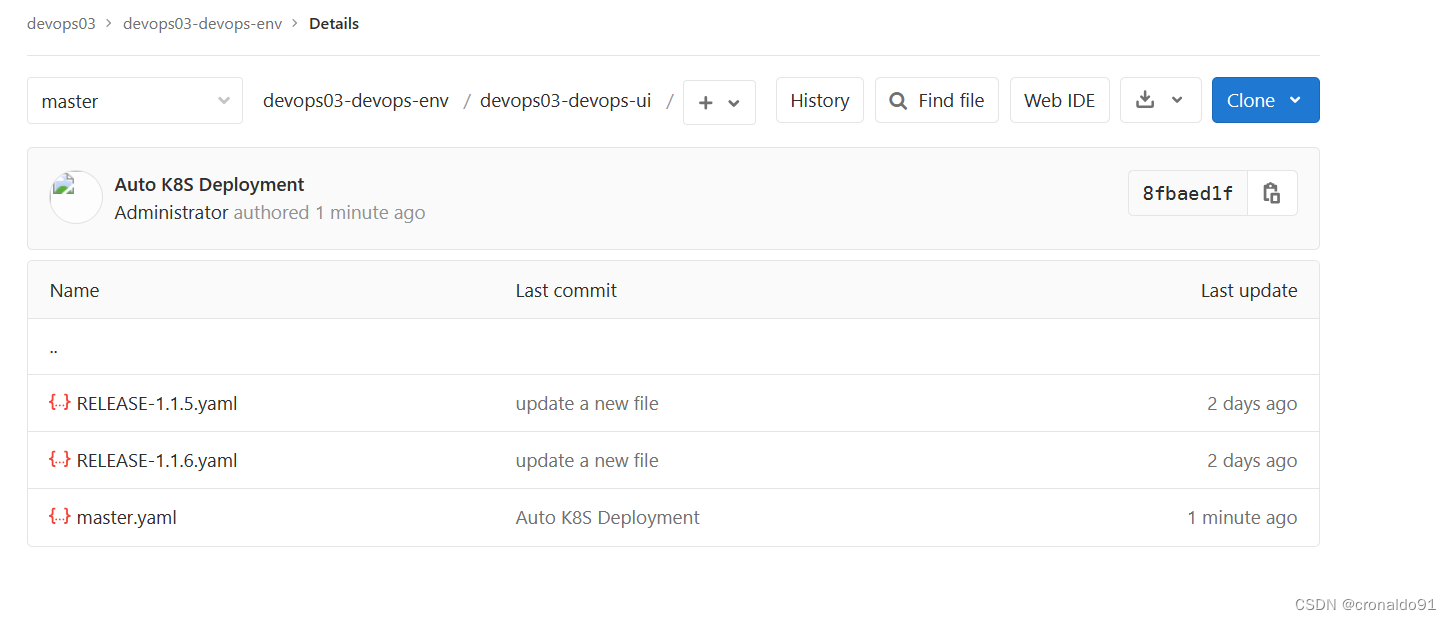
(15) 查看master.yaml文件(已同步更新端口号、命名空间、项目名称及镜像名称)


6.ArgoCD 完成前端项目应用发布
(1)K8S查看集群状态
# kubectl get node
(2)K8S master节点另开一个终端用watch命令观察pod变化
# watch -n 1 "kubectl get pod -n devops03"

(3)外部测试访问
# curl http://devops03-devops-ui.devops.com:31291
(4)K8S 删除命名空间devops03
# kubectl delete ns devops03
(5) 观察pod变化


(5)ArgoCD 查看已有项目

(6)ArgoCD 删除已有项目

(7)GitLab环境库注释其他的yaml文件
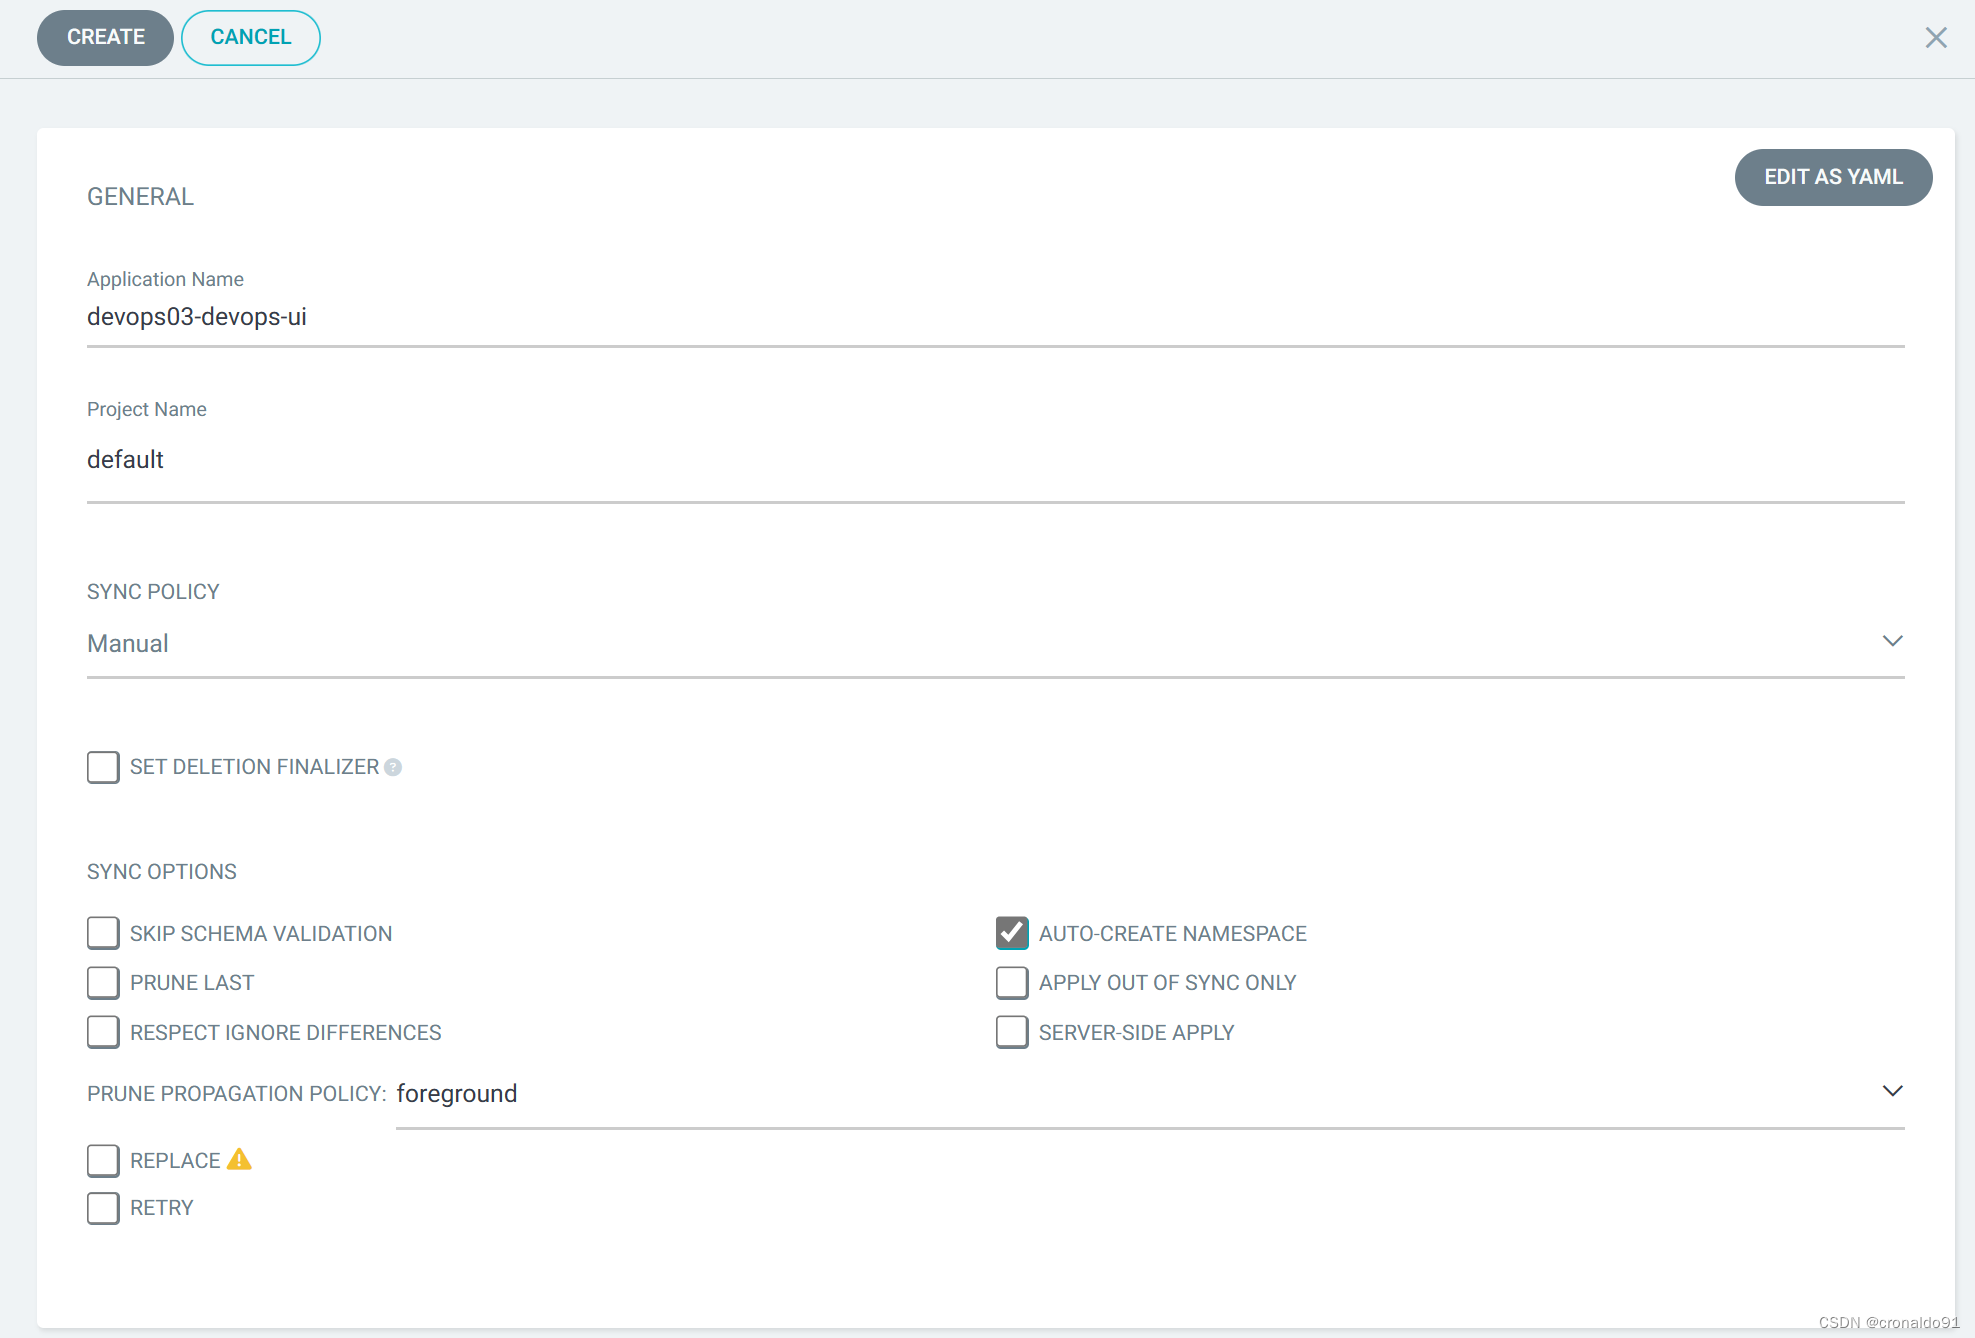
(8)ArgoCD 创建application (手动策略、自动创建命名空间、指定仓库与集群)

(9)填写配置
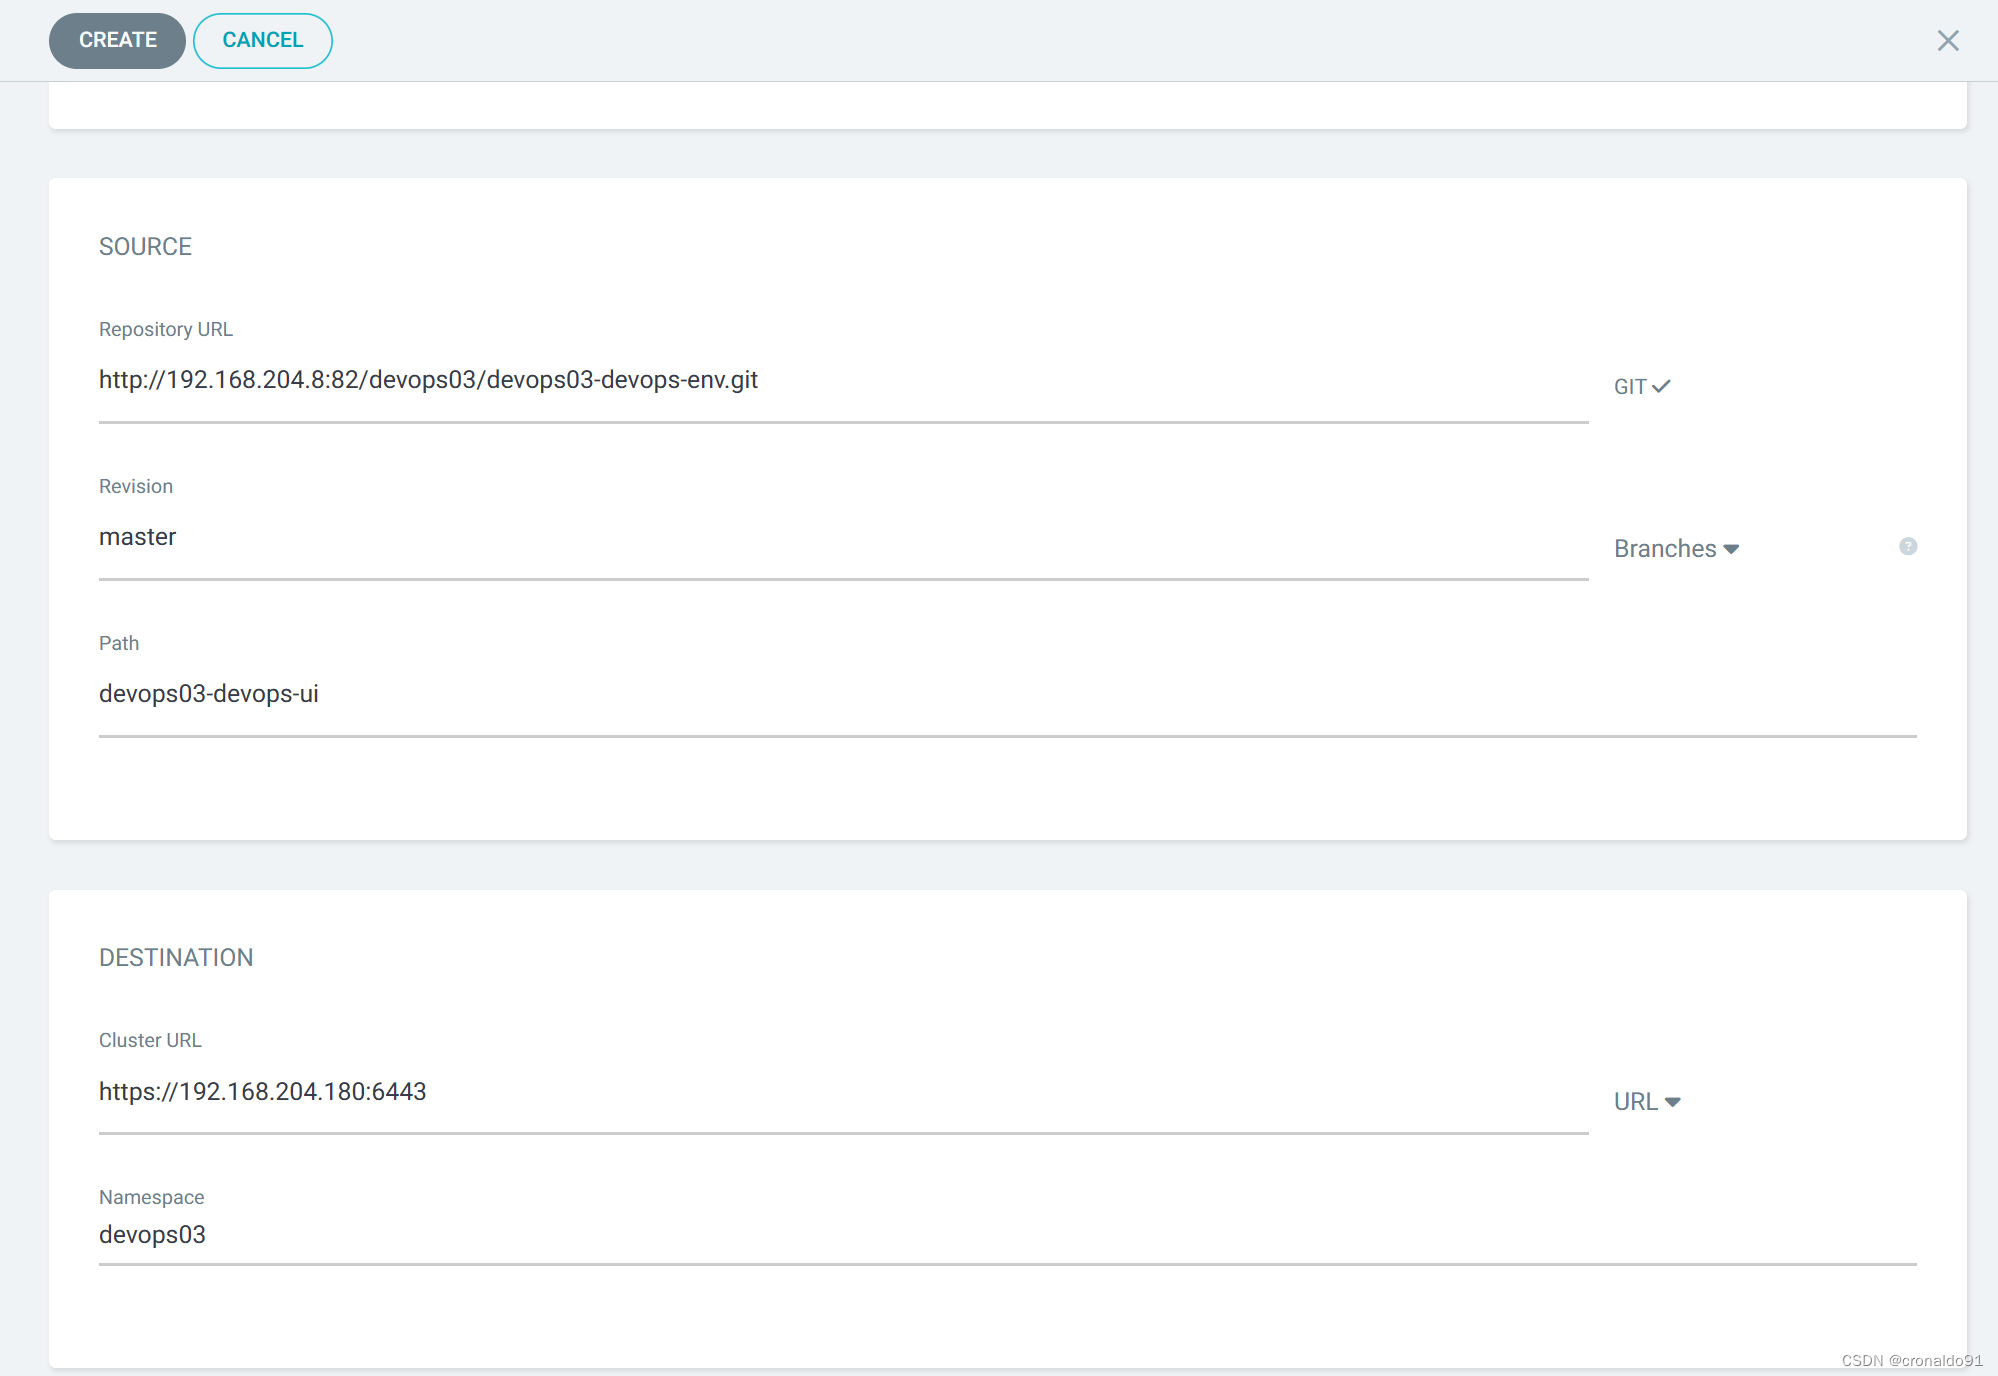
(10)完成创建

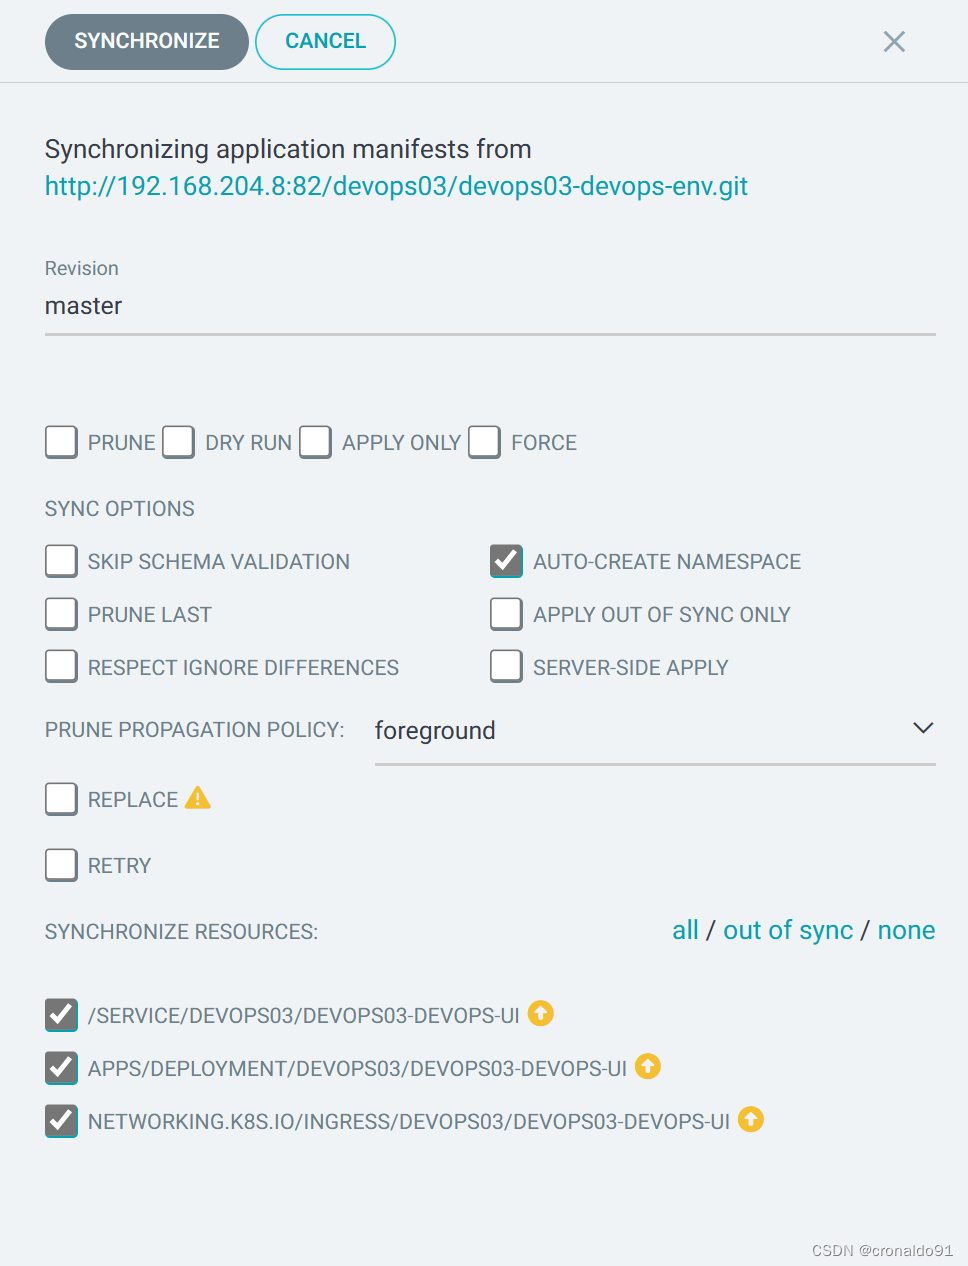
(11)点击 SYNCHRONIZE (同步)
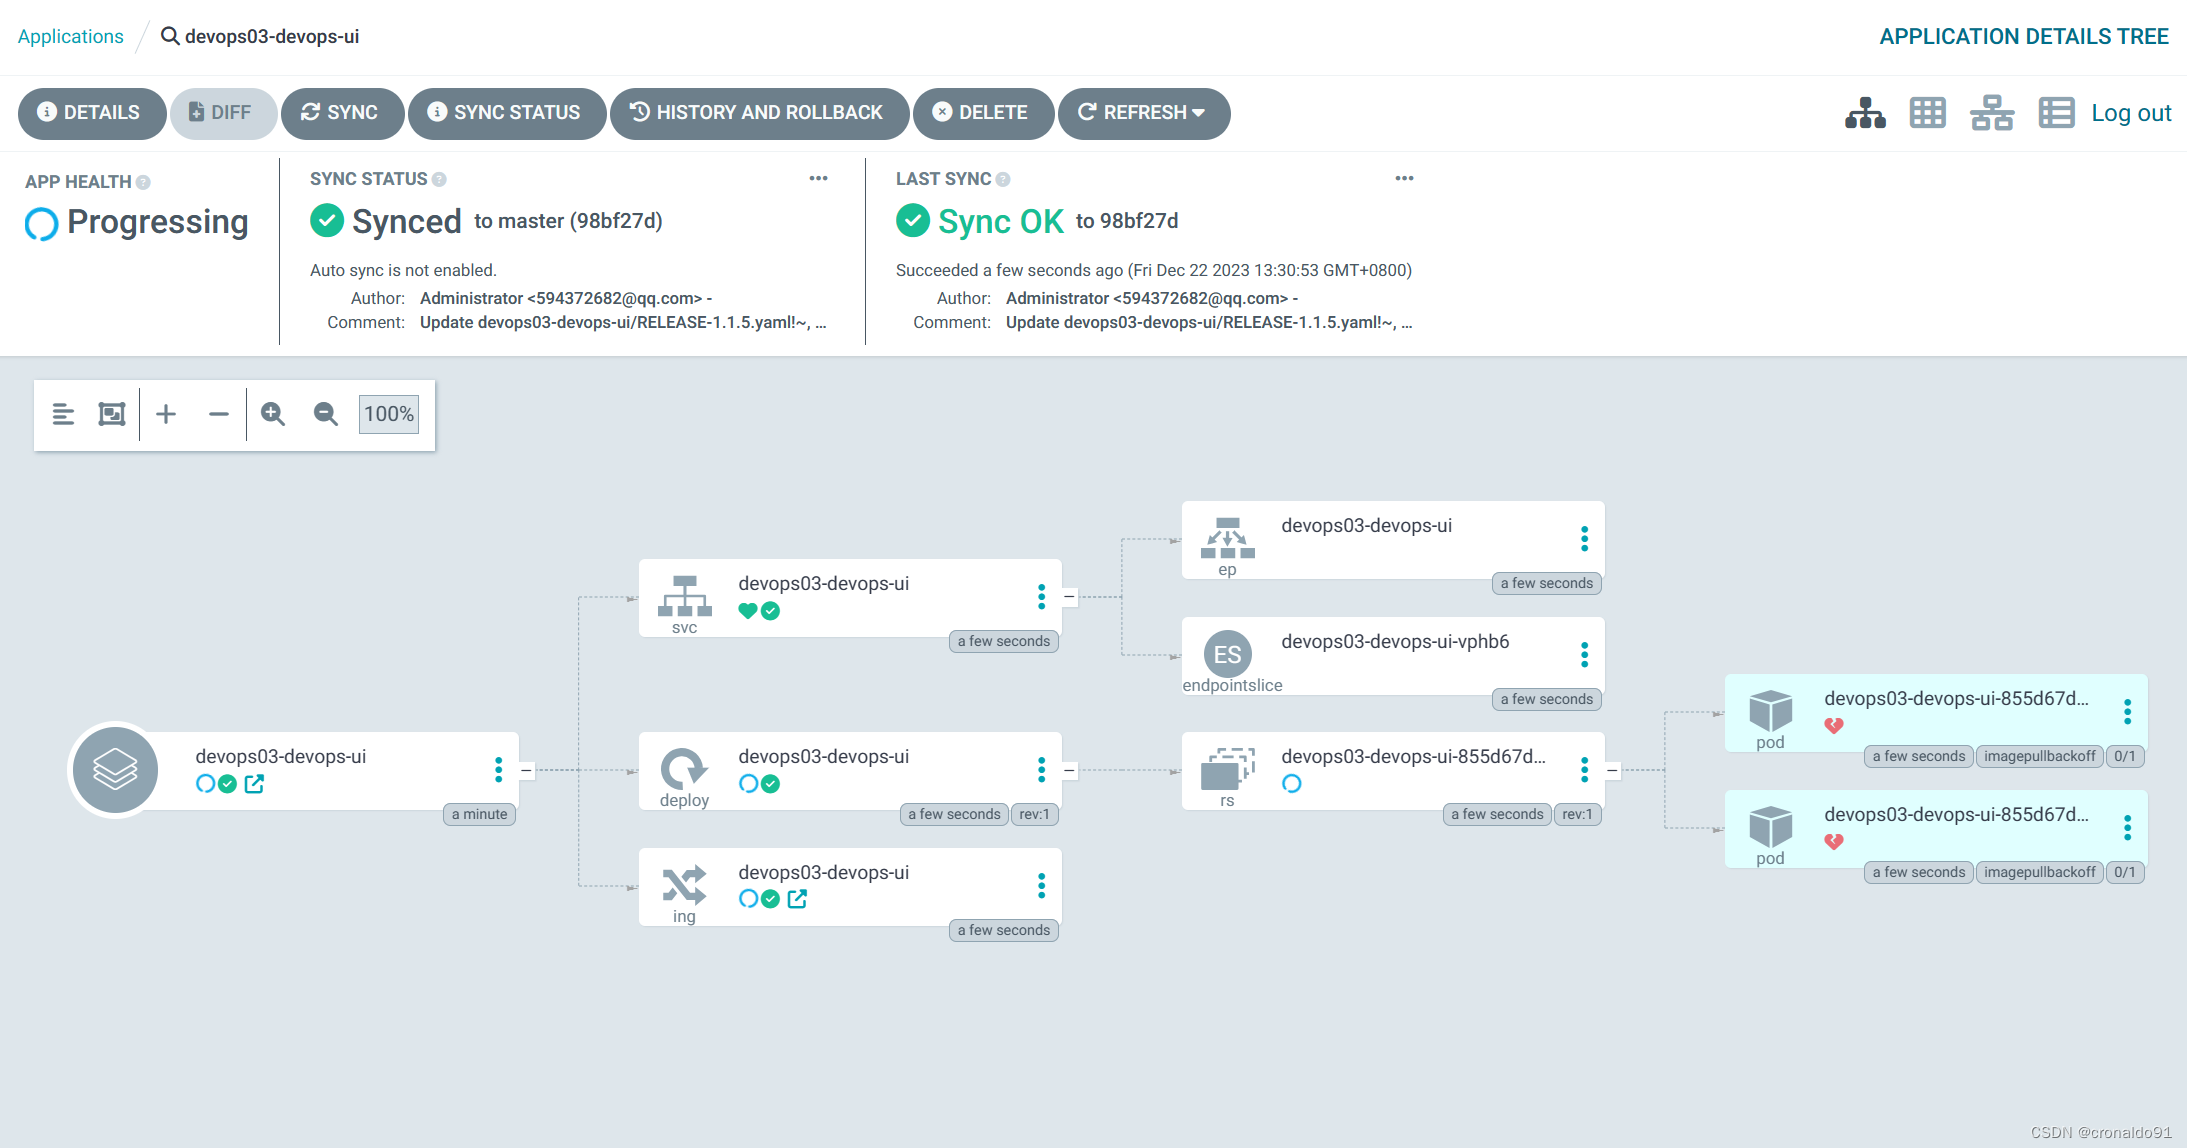
(12)观察pod变化


(13)ArgoCD 观察pod变化
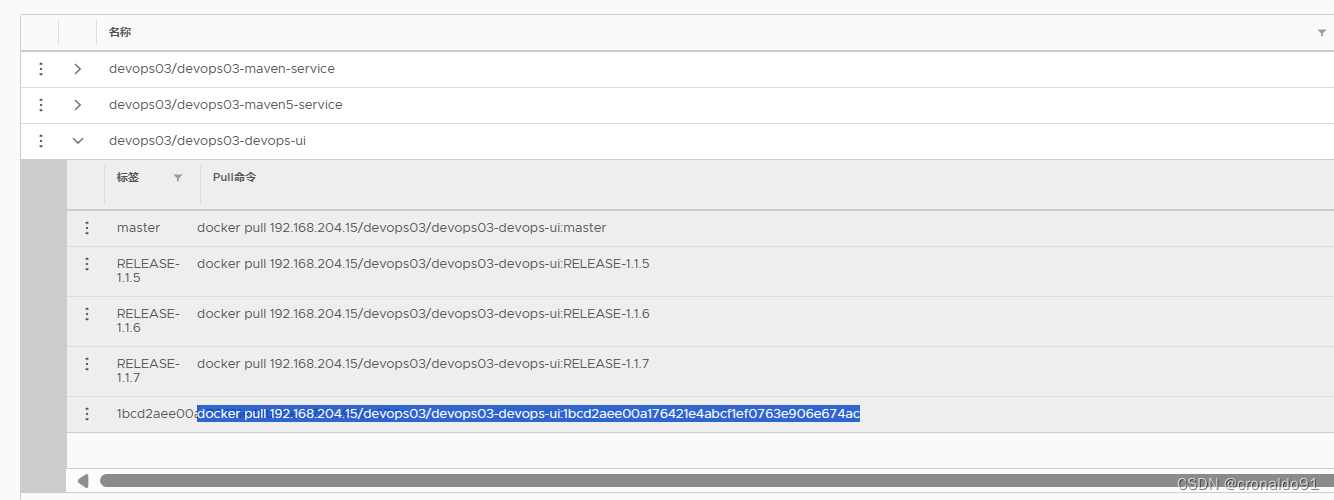
(14)查看Harbor仓库镜像文件
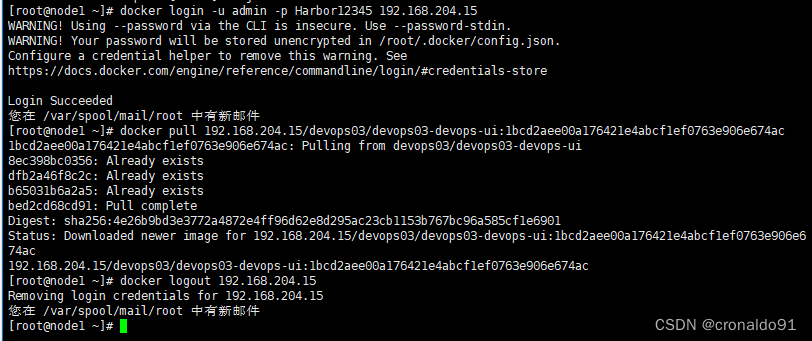
(15)K8S node节点连接Harbor拉取镜像
# docker login -u admin -p Harbor12345 192.168.204.15# docker pull 192.168.204.15/devops03/devops03-devops-ui:RELEASE-1.1.7# docker logout 192.168.204.15
node1 节点
node2节点

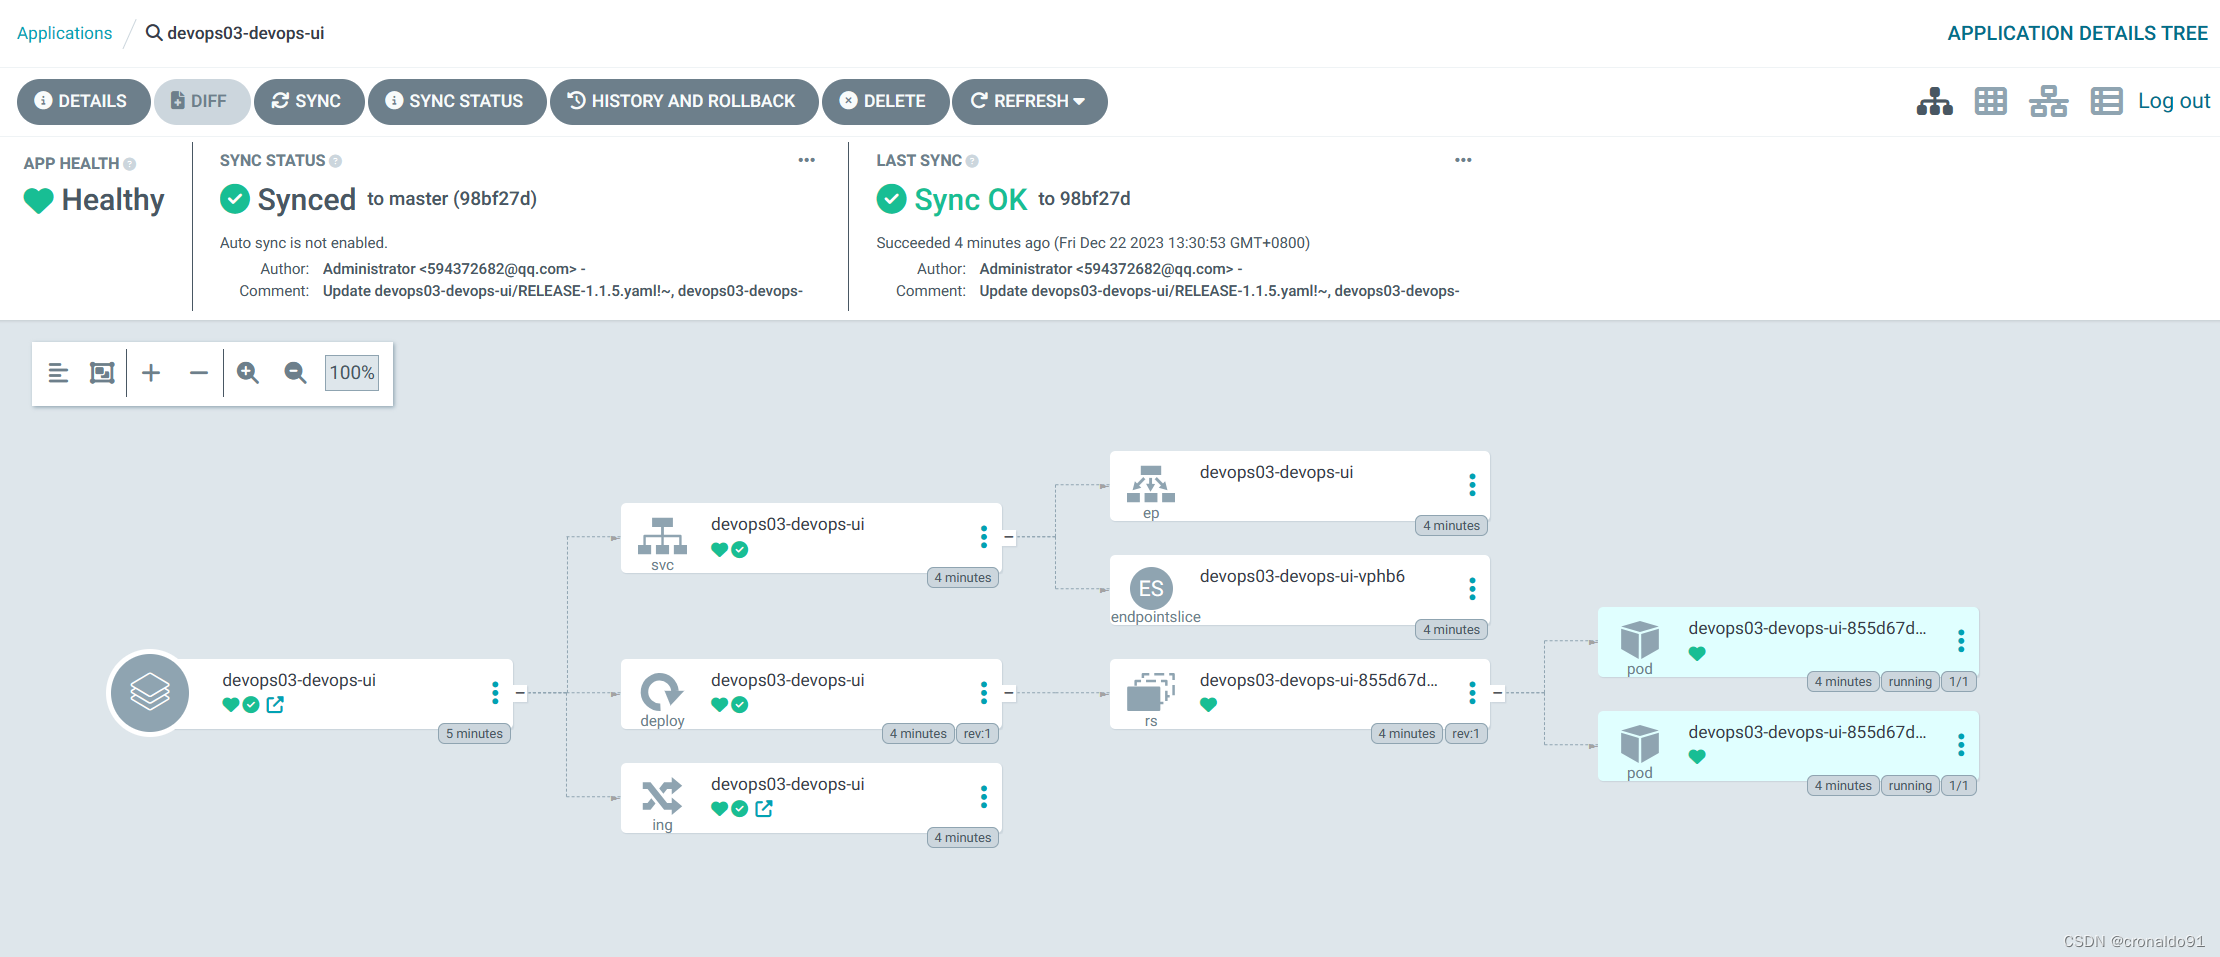
(16)观察pod变化


(17)ArgoCD 再次观察pod变化
(18) 外部测试访问
# curl http://devops03-devops-ui.devops.com:31291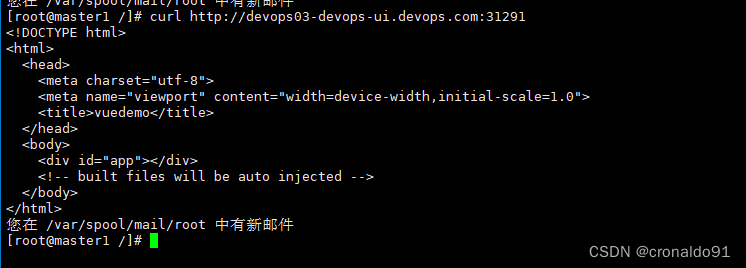
二、问题
1.Python获取GitLab指定仓库文件报错
(1)报错
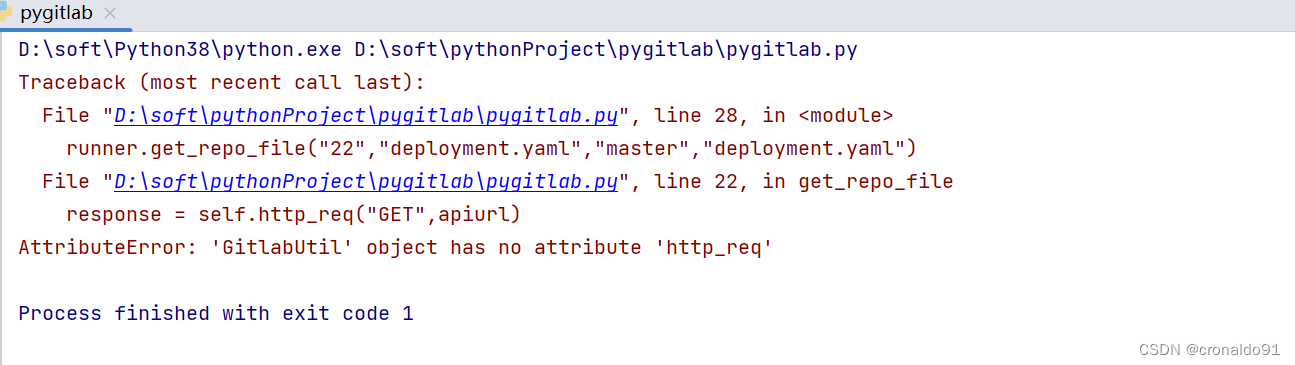
(2)原因分析
函数名错误
(3)解决方法
修改函数名称。
修改前:
![]()
修改后:
![]()
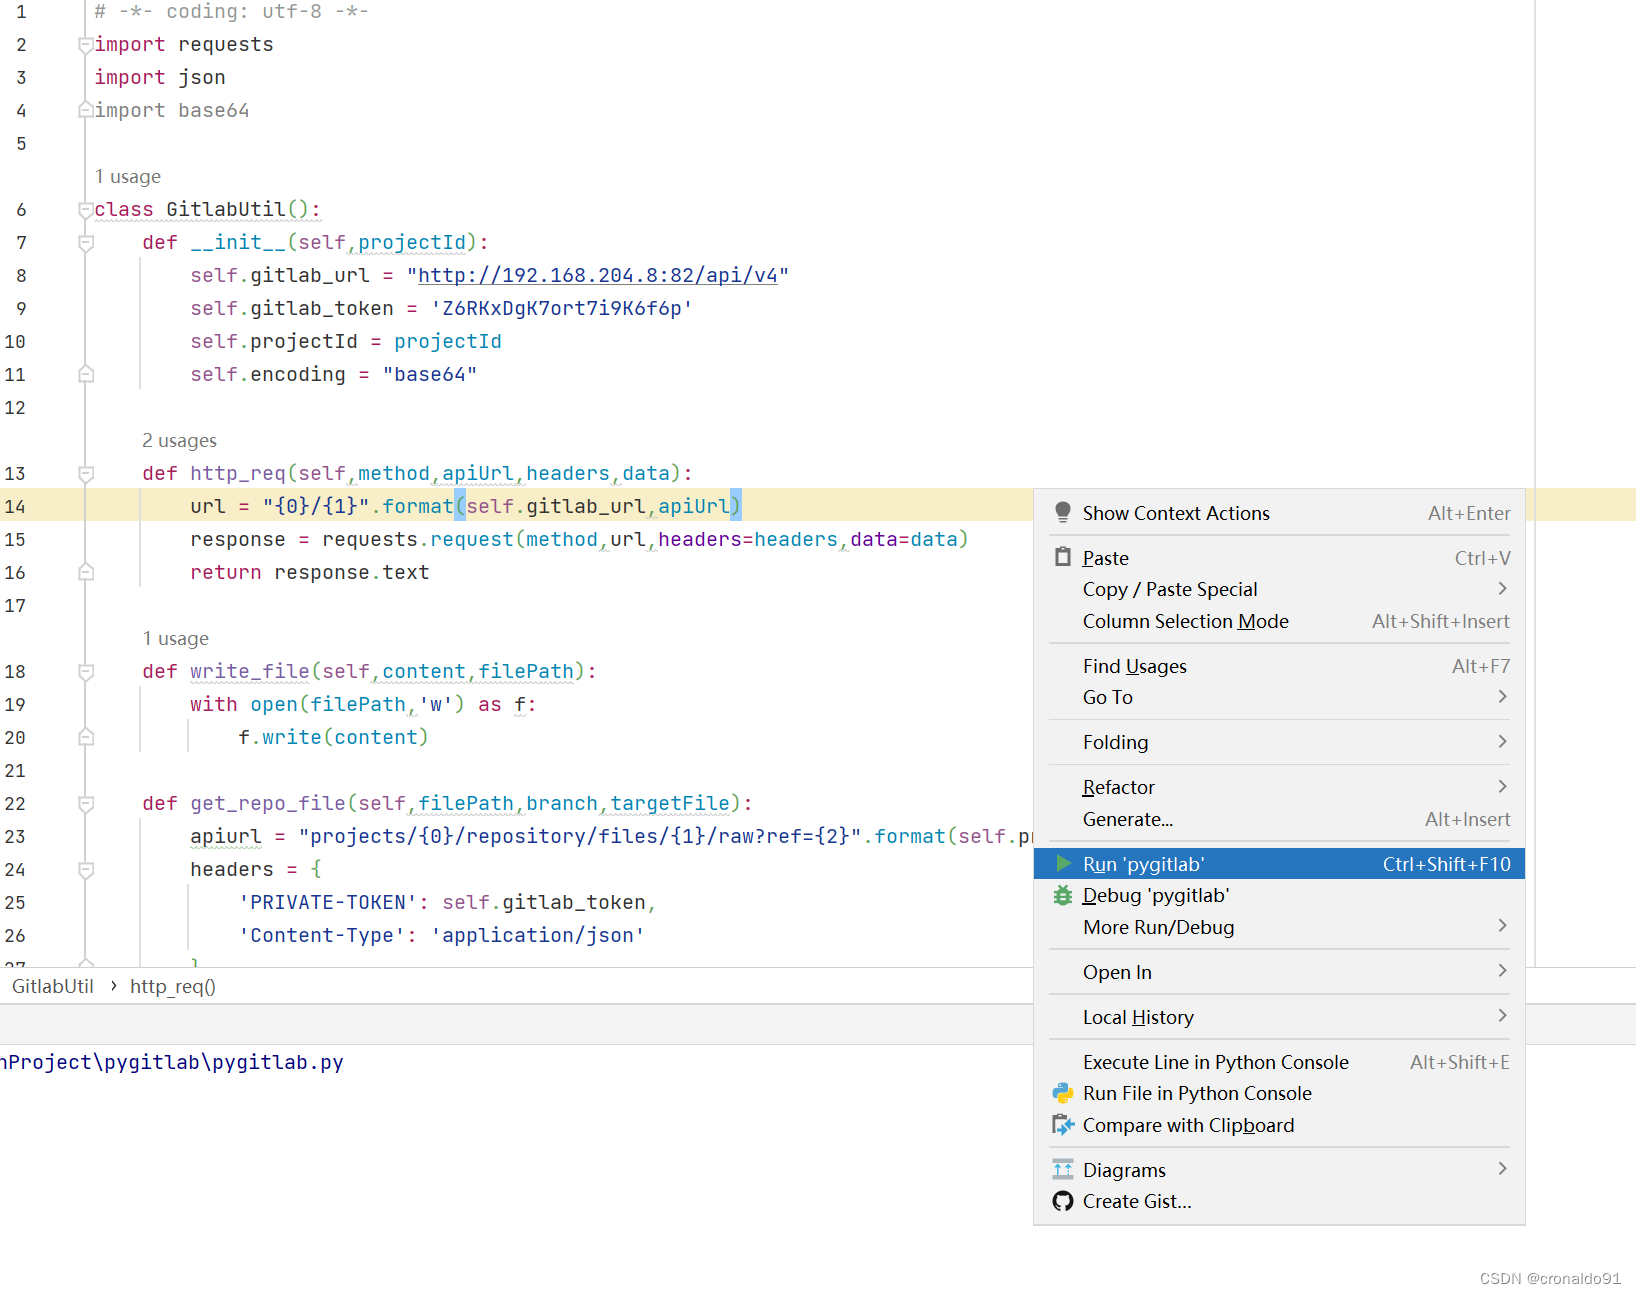
2. K8S master节点运行Python代码报错
(1)报错

(2)原因分析
encoding不是有效的关键词。
(3)解决方法
去掉encoding。
修改前:

修改后:

成功:

3. GitLabCI 运行流水线报错
(1)报错


(2)原因分析
行尾缺少双引号
(3)解决方法
添加双引号。
成功:

这篇关于持续集成交付CICD:GitLabCI 封装Python类 并结合 ArgoCD 完成前端项目应用发布的文章就介绍到这儿,希望我们推荐的文章对编程师们有所帮助!


