本文主要是介绍Android实现卫星菜单(一)自定义属性及重写onMeasure、onLayout方法,希望对大家解决编程问题提供一定的参考价值,需要的开发者们随着小编来一起学习吧!
自定义ViewGroup
1.自定义属性
a、attr.xml
b、在布局文件中使用
c、在自定义控件中读取
res的values下新建attr.xml
<?xml version="1.0" encoding="utf-8"?>
<resources><attr name="position"><enum name="left_top" value="0"/><enum name="left_bottom" value="1"/><enum name="right_top" value="2"/><enum name="right_bottom" value="3"/></attr><attr name="radius" format="dimension"/><declare-styleable name="ArcMenu"><attr name="position"/><attr name="radius"/></declare-styleable></resources>
ArcMenu.java
public class ArcMenu extends ViewGroup {private static final int POS_LEFT_TOP = 0;private static final int POS_LEFT_BOTTOM = 1;private static final int POS_RIGHT_TOP = 2;private static final int POS_RIGHT_BOTTOM = 3;private Position mPosition = Position.RIGHT_BOTTOM;private int mRadius;// 菜单的状态 打开或关闭private Status mCurrentStatus = Status.CLOSE;// 菜单的主按钮private View mCButton;private OnMenuItemClickListener mMenuItemClickListener;public enum Status {OPEN, CLOSE}/*** 菜单的位置枚举类*/public enum Position {LEFT_TOP, LEFT_BOTTOM, RIGHT_TOP, RIGHT_BOTTOM}/*** 点击子菜单项的回调接口*/public interface OnMenuItemClickListener {void onClick(View view, int pos);}public void setOnMenuItemClickListener(OnMenuItemClickListener mMenuItemClickListener) {this.mMenuItemClickListener = mMenuItemClickListener;}public ArcMenu(Context context, AttributeSet attrs) {this(context, attrs, 0);}public ArcMenu(Context context, AttributeSet attrs, int defStyleAttr) {super(context, attrs, defStyleAttr);mRadius = (int) TypedValue.applyDimension(TypedValue.COMPLEX_UNIT_DIP, 100,getResources().getDisplayMetrics());// 获取自定义属性TypedArray a = context.getTheme().obtainStyledAttributes(attrs, R.styleable.ArcMenu,defStyleAttr, 0);int pos = a.getInt(R.styleable.ArcMenu_position, POS_RIGHT_BOTTOM);switch (pos) {case POS_LEFT_TOP:mPosition = Position.LEFT_TOP;break;case POS_LEFT_BOTTOM:mPosition = Position.LEFT_BOTTOM;break;case POS_RIGHT_TOP:mPosition = Position.RIGHT_TOP;break;case POS_RIGHT_BOTTOM:mPosition = Position.RIGHT_BOTTOM;break;}mRadius = (int) a.getDimension(R.styleable.ArcMenu_radius,TypedValue.applyDimension(TypedValue.COMPLEX_UNIT_DIP, 100,getResources().getDisplayMetrics()));Log.i("TAG", "position = " + mPosition + ", radius = " + mRadius);a.recycle();}public ArcMenu(Context context) {this(context, null);}@Overrideprotected void onLayout(boolean changed, int l, int t, int r, int b) {}}activity_main
<?xml version="1.0" encoding="utf-8"?>
<RelativeLayout xmlns:android="http://schemas.android.com/apk/res/android"xmlns:tools="http://schemas.android.com/tools"xmlns:lin="http://schemas.android.com/apk/res-auto"android:layout_width="match_parent"android:layout_height="match_parent"><com.example.arcmenu.view.ArcMenuandroid:layout_width="match_parent"android:layout_height="match_parent"lin:position="right_bottom"lin:radius="100dp"></com.example.arcmenu.view.ArcMenu><com.example.arcmenu.view.ArcMenuandroid:layout_width="match_parent"android:layout_height="match_parent"lin:position="left_top"lin:radius="130dp"></com.example.arcmenu.view.ArcMenu></RelativeLayout>

转化成px输出了
https://github.com/daCapricorn/ArcMenu/tree/master/sample/res/drawable 这里有一些图片素材
主按钮由两张图片拼成
activity_main
<?xml version="1.0" encoding="utf-8"?>
<RelativeLayout xmlns:android="http://schemas.android.com/apk/res/android"xmlns:lin="http://schemas.android.com/apk/res-auto"xmlns:tools="http://schemas.android.com/tools"android:layout_width="match_parent"android:layout_height="match_parent"><com.example.arcmenu.view.ArcMenuandroid:layout_width="match_parent"android:layout_height="match_parent"lin:position="right_bottom"lin:radius="100dp"><RelativeLayoutandroid:layout_width="wrap_content"android:layout_height="wrap_content"android:background="@drawable/composer_button"><ImageViewandroid:id="@+id/id_button"android:layout_width="wrap_content"android:layout_height="wrap_content"android:layout_centerInParent="true"android:src="@drawable/composer_icn_plus"/></RelativeLayout><ImageViewandroid:layout_width="wrap_content"android:layout_height="wrap_content"android:src="@drawable/composer_music"android:tag="Music"/><ImageViewandroid:layout_width="wrap_content"android:layout_height="wrap_content"android:src="@drawable/composer_place"android:tag="Place"/><ImageViewandroid:layout_width="wrap_content"android:layout_height="wrap_content"android:src="@drawable/composer_sleep"android:tag="Sleep"/><ImageViewandroid:layout_width="wrap_content"android:layout_height="wrap_content"android:src="@drawable/composer_thought"android:tag="Sun"/><ImageViewandroid:layout_width="wrap_content"android:layout_height="wrap_content"android:src="@drawable/composer_with"android:tag="People"/></com.example.arcmenu.view.ArcMenu></RelativeLayout>
2.onMeasure
3.onLayout
@Overrideprotected void onMeasure(int widthMeasureSpec, int heightMeasureSpec) {int count = getChildCount();for (int i = 0; i < count; i++) {// 测量childmeasureChild(getChildAt(i), widthMeasureSpec, heightMeasureSpec);}super.onMeasure(widthMeasureSpec, heightMeasureSpec);}@Overrideprotected void onLayout(boolean changed, int l, int t, int r, int b) {if (changed) {layoutCButton();}}/*** 定位主菜单按钮*/private void layoutCButton() {mCButton = getChildAt(0);mCButton.setOnClickListener(this);int l = 0;int t = 0;int width = mCButton.getMeasuredWidth();int height = mCButton.getMeasuredHeight();switch (mPosition) {case LEFT_TOP:l = 0;t = 0;break;case LEFT_BOTTOM:l = 0;// 纵轴 控件的高度减去按钮的高度,让其显示在最下面t = getMeasuredHeight() - height;break;case RIGHT_TOP:l = getMeasuredWidth() - width;t = 0;break;case RIGHT_BOTTOM:l = getMeasuredWidth() - width;t = getMeasuredHeight() - height;break;}// 定位mCButton.layout(l, t, l + width, t + width);}效果
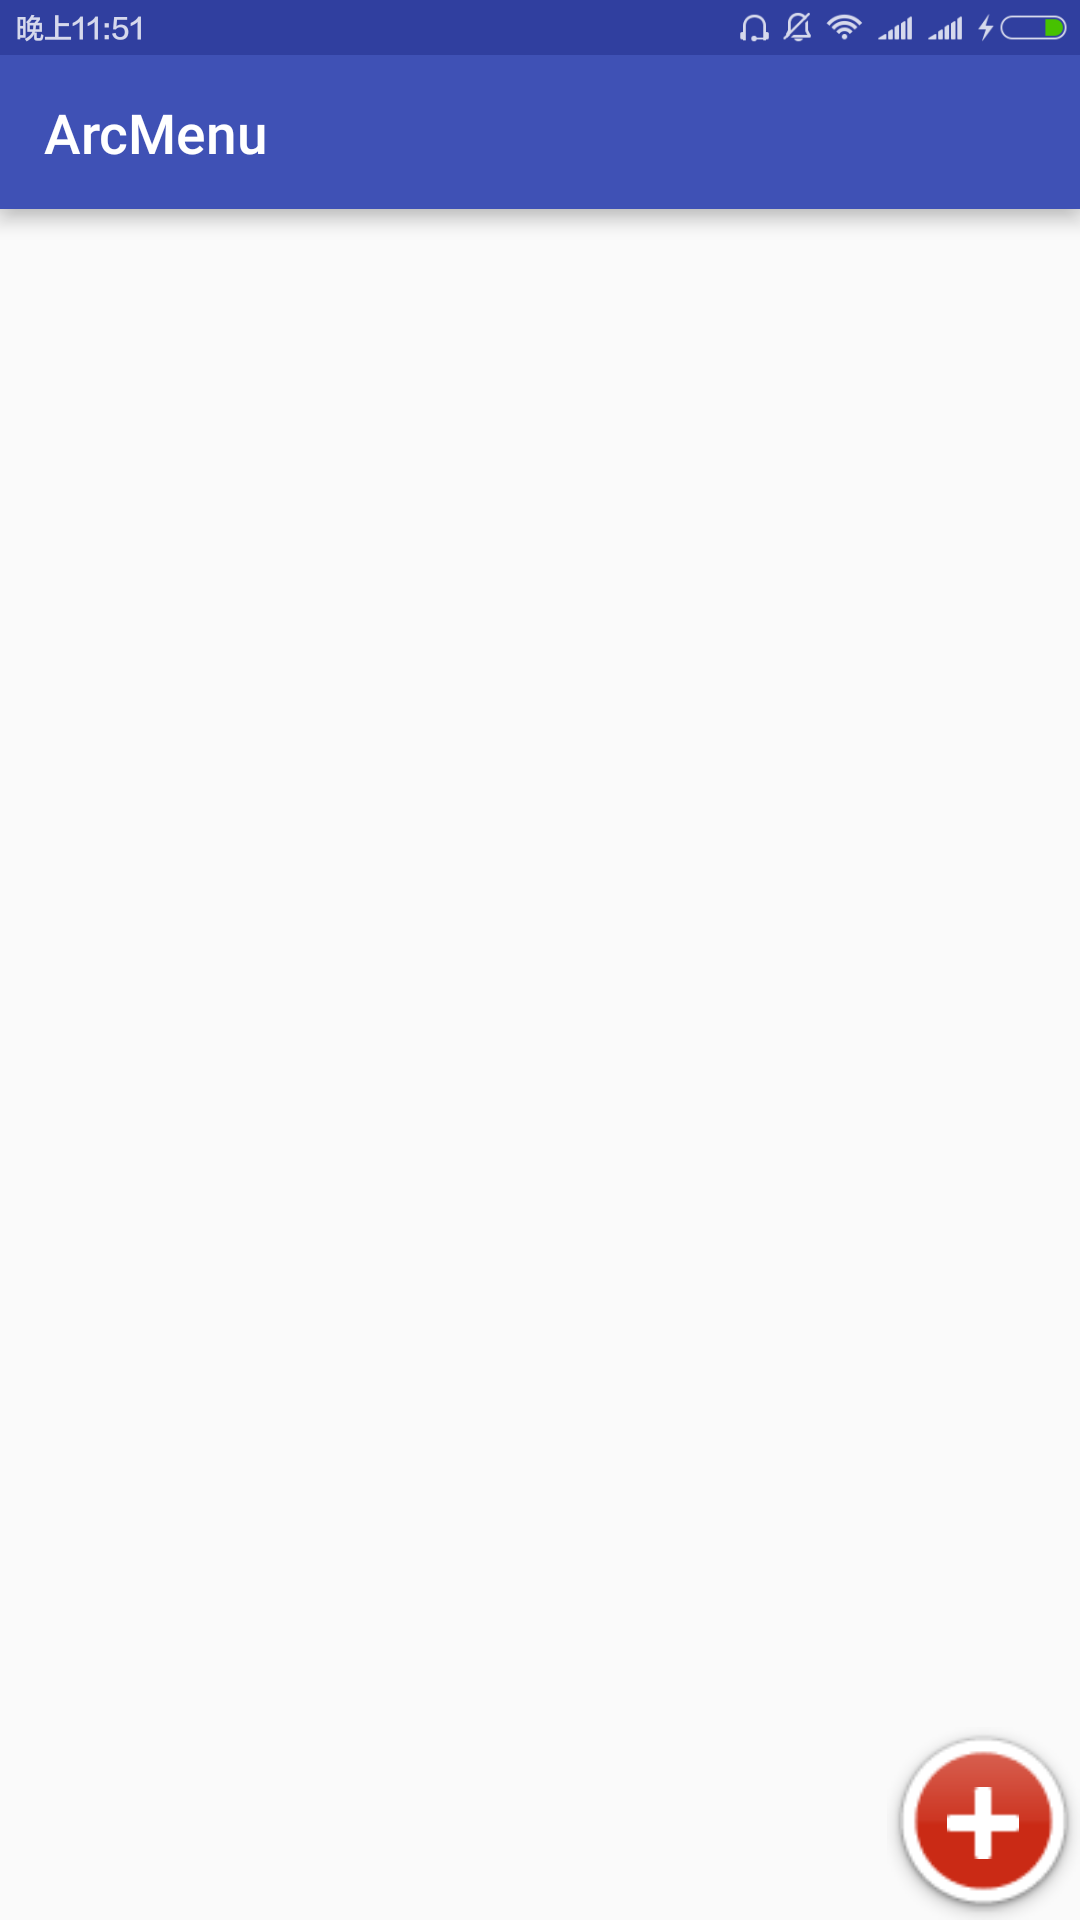
这篇关于Android实现卫星菜单(一)自定义属性及重写onMeasure、onLayout方法的文章就介绍到这儿,希望我们推荐的文章对编程师们有所帮助!


