本文主要是介绍C1任务三,希望对大家解决编程问题提供一定的参考价值,需要的开发者们随着小编来一起学习吧!
任务点一:
使用编辑器

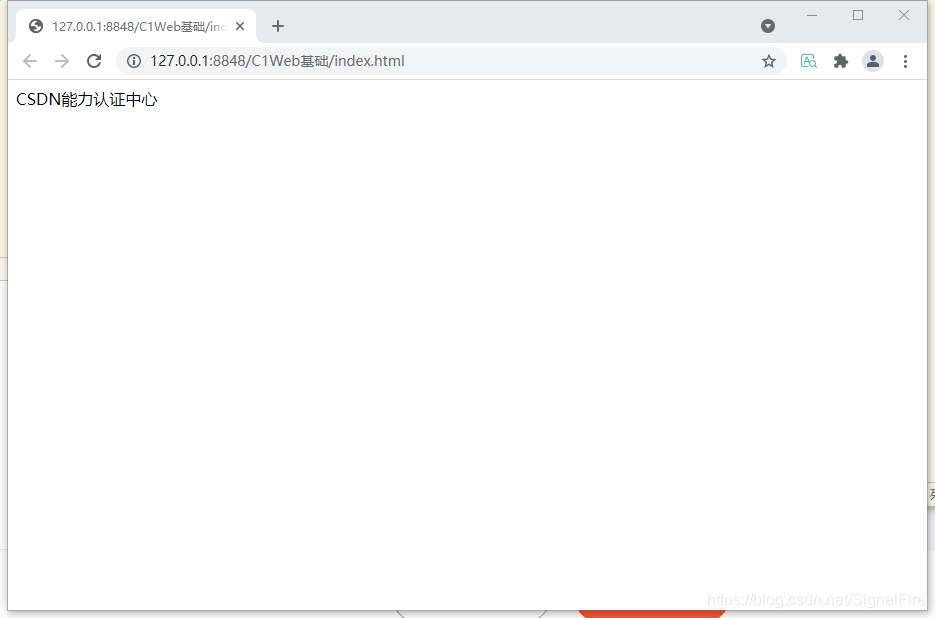
结果:
隔行换色以及添加按钮
源代码如下
<!DOCTYPE html>
<html>
<head>
<meta charset="utf-8">
<title></title>
<style>
.red{
color: red;
}
table{
border-collapse: collapse;
}
table tr:nth-child(2n-1){
background-color: #ebebeb;
}
</style>
</head>
<body>
<label class="red">CSDN能力认证中心</label>
<table border="1">
<tr>
<td>C1</td>
<td>见习工程师认证</td>
</tr>
<tr>
<td>C4</td>
<td>专项工程师认证</td>
</tr>
<tr>
<td>C5</td>
<td>全栈工程师认证</td>
</tr>
</table>
<br />
<button id="btn">我要考试</button>
</body>
<script>
var btn = document.getElementById("btn");
btn.onclick = function(){
alert("信息");
}
</script>
</html>
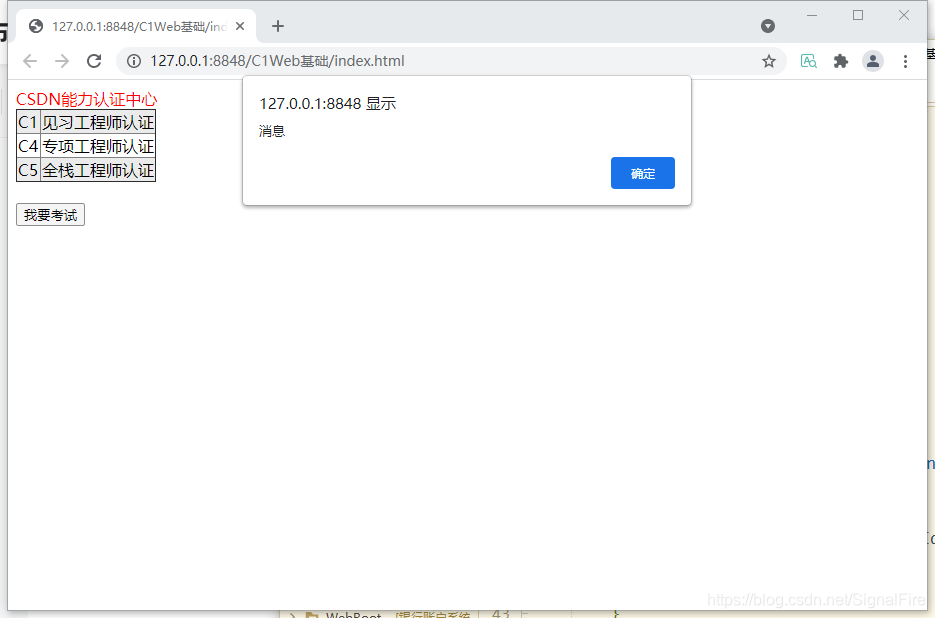
效果图如下

点击按钮弹出消息
任务点二:
所见即所得式开发
任务点三:
css盒子模型
源代码如下:
<!DOCTYPE html>
<html>
<head>
<meta charset="utf-8">
<title></title>
<style>
#box{
width: 950px;
height: 650px;
border: 5px solid #aaaaaa;
margin: 100px auto;
background-color: #fcdd9c;
color: aliceblue;
}
#left{
float: left;
width: 300px;
height: 620px;
margin: 10px;
}
#left div{
border: 1px solid #AAAAAA;
background-color: #c5d08e;
margin: 10px;
text-align: center;
}
#left-top{
width: 300px;
height: 200px;
line-height: 200px;
}
#left-bottom{
width: 300px;
height: 400px;
line-height: 400px;
}
#right-top{
float: right;
width: 600px;
height: 250px;
margin-top: 20px;
margin-right: 10px;
background-color: #C5D08E;
border: 1px solid #AAAAAA;
text-align: center;
line-height: 250px;
}
#right-bottom{
float: right;
width: 600px;
height: 350px;
margin-right: 10px;
margin-top: 10px;
/* border: 1px solid #AAAAAA; */
}
#box4{
float: left;
width: 350px;
height: 350px;
background-color: #C5D08E;
border: 1px solid #AAAAAA;
text-align: center;
line-height: 350px;
}
#box5{
float: right;
width: 240px;
height: 190px;
background-color: #C5D08E;
border: 1px solid #AAAAAA;
text-align: center;
line-height: 190px;
}
#box6{
float: right;
width: 240px;
height: 150px;
background-color: #C5D08E;
border: 1px solid #AAAAAA;
text-align: center;
line-height: 150px;
margin-top: 10px;
}
#box7{
position: absolute;
width: 200px;
height: 200px;
margin-top: -230px;
margin-left: 50px;
background-color: #f3a464;
line-height: 200px;
}
#box8{
position: absolute;
width: 200px;
height: 200px;
margin-top: -330px;
margin-left: 350px;
background-color: #f3a464;
line-height: 200px;
}
#box9{
width: 200px;
height: 200px;
margin-top: 530px;
margin-left: 350px;
background-color: #f3a464;
z-index: 0;
text-align: center;
}
</style>
</head>
<body>
<div id="box">
<div id="left">
<div id="left-top">1</div>
<div id="left-bottom">2</div>
</div>
<div id="right-top">
3
<div id="box7">7</div>
<div id="box8">8</div>
</div>
<div id="right-bottom">
<div id="box4">4</div>
<div id="box5">5</div>
<div id="box6">6</div>
</div>
<div id="box9">9</div>
</div>
</body>
</html>
效果图:

这篇关于C1任务三的文章就介绍到这儿,希望我们推荐的文章对编程师们有所帮助!


