本文主要是介绍Ubuntu系统 apt-get update失败,出现“Certificate verification failed ”错误以及“无法安全地用该源进行更新“等问题解决办法,希望对大家解决编程问题提供一定的参考价值,需要的开发者们随着小编来一起学习吧!
Ubuntu系统 apt-get update失败,出现“Certificate verification failed: The certificate is NOT trusted. ”错误以及“无法安全地用该源进行更新,所以默认禁用该源”问题解决办法
问题1:Certificate verification failed
以前使用的是清华源https://mirrors.tuna.tsinghua.edu.cn/ubuntu,最近重新使用Ubuntu发现无法更新软件,出现以下错误:
Certificate verification failed: The certificate is NOT trusted. The certificate chain uses expired certificate. Could not handshake: Error in the certificate verification.

通过查询得知是证书失效,需要重新安装ca-certificates。
使用命令失败:
apt-get install ca-certificates --reinstall
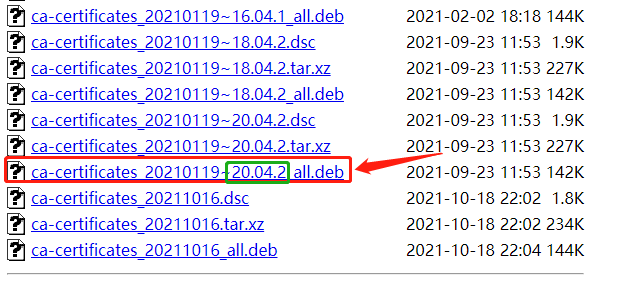
需要手动下载 ca-certificates deb 文件重新安装最新版,下载地址:
http://archive.ubuntu.com/ubuntu/pool/main/c/ca-certificates/
https://pkgs.org/download/ca-certificates
选择自己Ubuntu对应的版本的deb文件下载。
查看Ubuntu版本命令:
lsb_release -a
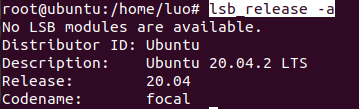
博主当前版本为20.04,所以选择该版本的deb文件:
下载完成后,对其进行解压安装:
dpkg -i ca-certificates_20210119~20.04.2_all.deb
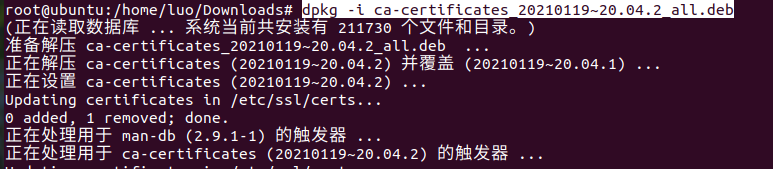
安装完成后,再输入apt-get update命令,不报错。
问题二:无法安全地用该源进行更新,所以默认禁用该源

解决办法:
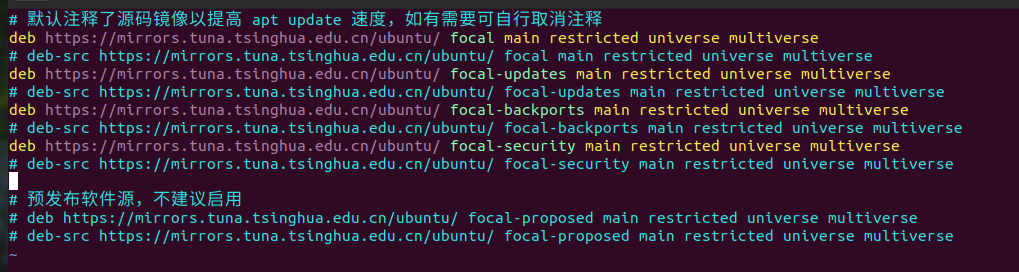
首先查看源列表,输入以下命令:
vim /etc/apt/sources.list
当前源列表里并没有ppa开头的源:
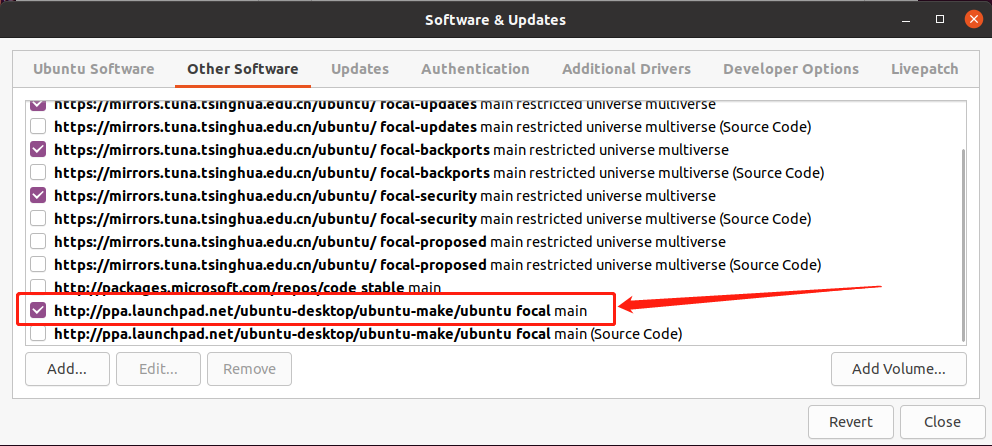
仓库 “http://ppa.launchpad.net/ubuntu-desktop/ubuntu-make/ubuntu
然后再设置->关于->软件更新中发现,ppa开头的那个源被勾选了,将其取消勾选即可:
再次输入命令:
sudo apt-get update
即可成功。此外,关于源的的更换可以参考以下文章:
https://zhuanlan.zhihu.com/p/142014944
具体做法是打开/etc/apt/sources.list文件,在其中添加如下条目:
``
#添加阿里源
deb http://mirrors.aliyun.com/ubuntu/ focal main restricted universe multiverse
deb-src http://mirrors.aliyun.com/ubuntu/ focal main restricted universe multiverse
deb http://mirrors.aliyun.com/ubuntu/ focal-security main restricted universe multiverse
deb-src http://mirrors.aliyun.com/ubuntu/ focal-security main restricted universe multiverse
deb http://mirrors.aliyun.com/ubuntu/ focal-updates main restricted universe multiverse
deb-src http://mirrors.aliyun.com/ubuntu/ focal-updates main restricted universe multiverse
deb http://mirrors.aliyun.com/ubuntu/ focal-proposed main restricted universe multiverse
deb-src http://mirrors.aliyun.com/ubuntu/ focal-proposed main restricted universe multiverse
deb http://mirrors.aliyun.com/ubuntu/ focal-backports main restricted universe multiverse
deb-src http://mirrors.aliyun.com/ubuntu/ focal-backports main restricted universe multiverse
#添加清华源
deb https://mirrors.tuna.tsinghua.edu.cn/ubuntu/ focal main restricted universe multiverse
# deb-src https://mirrors.tuna.tsinghua.edu.cn/ubuntu/ focal main restricted universe multiverse
deb https://mirrors.tuna.tsinghua.edu.cn/ubuntu/ focal-updates main restricted universe multiverse
# deb-src https://mirrors.tuna.tsinghua.edu.cn/ubuntu/ focal-updates main restricted universe multiverse
deb https://mirrors.tuna.tsinghua.edu.cn/ubuntu/ focal-backports main restricted universe multiverse
# deb-src https://mirrors.tuna.tsinghua.edu.cn/ubuntu/ focal-backports main restricted universe multiverse
deb https://mirrors.tuna.tsinghua.edu.cn/ubuntu/ focal-security main restricted universe multiverse
# deb-src https://mirrors.tuna.tsinghua.edu.cn/ubuntu/ focal-security main restricted universe multiverse multiverse
常用指令:
更新源
sudo apt-get update
如出现依赖问题,解决方式如下:
sudo apt-get -f install
更新软件:
sudo apt-get upgrade
这篇关于Ubuntu系统 apt-get update失败,出现“Certificate verification failed ”错误以及“无法安全地用该源进行更新“等问题解决办法的文章就介绍到这儿,希望我们推荐的文章对编程师们有所帮助!


