本文主要是介绍html通过CDN引入Vue组件抽出复用,希望对大家解决编程问题提供一定的参考价值,需要的开发者们随着小编来一起学习吧!
html通过CDN引入Vue组件抽出复用
近期遇到个需求,就是需要在.net MVC的项目中,对已有的项目的首页进行优化,也就是写原生html和js。但是咱是一个写前端的,写html还可以,.net的话,开发也不方便,还得安装Visual Studio启动项目。所以就计划在html文件中开发,然后移植到.net的项目中。
功能说明:需要开发一个dashboard,也就是大屏可视化,多个模块,然后由图表作为主要内容。那么就需要组件封装了,html如何封装组件呢?父组件又如何使用子组件呢?
效果图

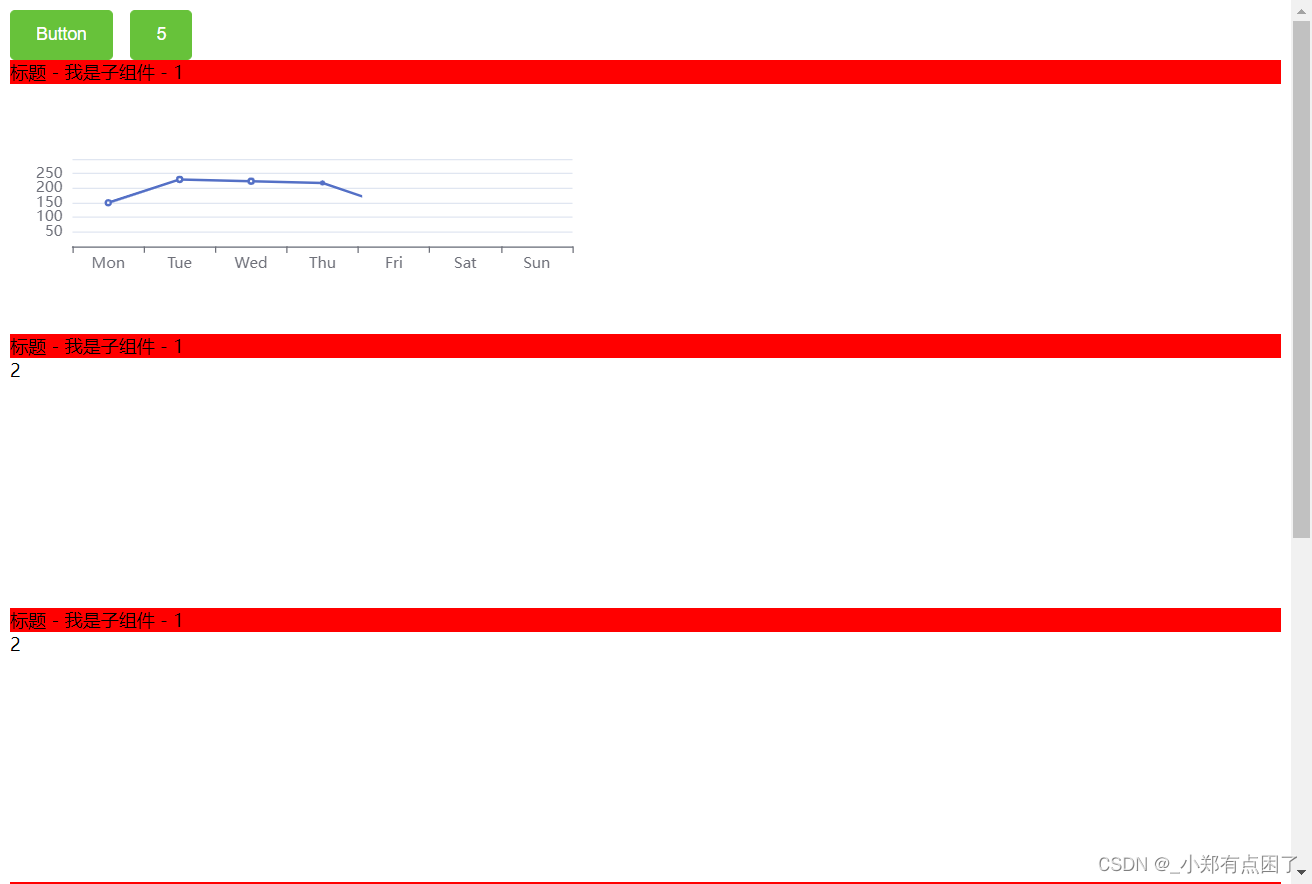
代码实现
子组件js
var link = document.createElement('link');
link.rel = 'stylesheet';
link.href = './son.css';
document.head.appendChild(link);let htmlstr = `<div><div class="son-box">{{ title }} - {{ content }} - {{str}}</div><div class="echart2">2</div></div>
`// my-component.js
Vue.component('my-component', {props: ['title', 'content'],template: htmlstr,data(){return{str:1}},mounted(){this.initEchart()},methods:{initEchart(){var option = {xAxis: {type: 'category',data: ['Mon', 'Tue', 'Wed', 'Thu', 'Fri', 'Sat', 'Sun']},yAxis: {type: 'value'},series: [{data: [150, 230, 224, 218, 135, 147, 260],type: 'line'}]};setTimeout(()=>{let chartDom2 = document.getElementsByClassName('echart2')[0]var myChart2 = echarts.init(chartDom2);myChart2.setOption(option);})}}
});
父组件html
<!DOCTYPE html>
<html lang="zh-CN">
<head><meta charset="UTF-8"><meta name="viewport" content="width=device-width, initial-scale=1.0"><title>Vue Grid Layout 示例</title><!-- 引入样式 --><link rel="stylesheet" href="https://unpkg.com/element-ui/lib/theme-chalk/index.css"><style>#loader-wrapper { position: fixed; top: 0; left: 0; width: 100vw; height: 100vh; z-index: 999999; }#loader {display: block; position: relative; left: 50%; top: 40%; z-index: 1001; width: 90px; height: 90px; margin: -45px 0 0 -45px; border-radius: 50%; border: 3px solid transparent;border-top-color: #fe9501;         -webkit-animation: spin 2s linear infinite;-ms-animation: spin 2s linear infinite;-moz-animation: spin 2s linear infinite;-o-animation: spin 2s linear infinite;animation: spin 2s linear infinite;}#loader:before {content: ""; position: absolute; top: 5px; left: 5px; right: 5px; bottom: 5px; border-radius: 50%; border: 3px solid transparent; border-top-color: #fe9501;-webkit-animation: spin 3s linear infinite;-moz-animation: spin 3s linear infinite;-o-animation: spin 3s linear infinite;-ms-animation: spin 3s linear infinite;animation: spin 3s linear infinite;}#loader:after {content: ""; position: absolute; top: 15px; left: 15px; right: 15px; bottom: 15px; border-radius: 50%; border: 3px solid transparent; border-top-color: #fe9501;-moz-animation: spin 1.5s linear infinite;-o-animation: spin 1.5s linear infinite;-ms-animation: spin 1.5s linear infinite;-webkit-animation: spin 1.5s linear infinite;animation: spin 1.5s linear infinite;}@-webkit-keyframes spin {0% { -webkit-transform: rotate(0deg); -ms-transform: rotate(0deg); transform: rotate(0deg); }100% { -webkit-transform: rotate(360deg); -ms-transform: rotate(360deg); transform: rotate(360deg); }}@keyframes spin {0% { -webkit-transform: rotate(0deg); -ms-transform: rotate(0deg); transform: rotate(0deg); }100% { -webkit-transform: rotate(360deg); -ms-transform: rotate(360deg); transform: rotate(360deg); }}.load-text{color: #fe9501;text-align: center;position: relative;top: 55%;transform: translateY(-50%);}html {font-size: 100%; /*100 ÷ 16 × 100% = 625%*/}@media screen and (min-width:800px) and (max-width:999px) {html { font-size: 65%; }}@media screen and (min-width:1000px) and (max-width:1024px) {html { font-size: 70%; }}@media screen and (min-width:1025px) and (max-width:1280px) {html { font-size: 90%; }}@media screen and (min-width:1281px) and (max-width:1680px) {html { font-size: 100%; }}@media screen and (min-width:1681px) and (max-width:1920px) {html { font-size: 100%; }}@media screen and (min-width:1921px) and (max-width:2240px) {html { font-size: 150%; }}@media screen and (min-width:2241px){html { font-size: 150%; }}.vue-grid-layout {background: #eee;}.vue-grid-item:not(.vue-grid-placeholder) {background: #ccc;border: 1px solid black;}.vue-grid-item .resizing {opacity: 0.9;}.vue-grid-item .static {background: #cce;}.vue-grid-item .text {font-size: 24px;text-align: center;position: absolute;top: 0;bottom: 0;left: 0;right: 0;margin: auto;height: 100%;width: 100%;}.vue-grid-item .no-drag {height: 100%;width: 100%;}.vue-grid-item .minMax {font-size: 12px;}.vue-grid-item .add {cursor: pointer;}.vue-draggable-handle {position: absolute;width: 20px;height: 20px;top: 0;left: 0;background: url("data:image/svg+xml;utf8,<svg xmlns='http://www.w3.org/2000/svg' width='10' height='10'><circle cx='5' cy='5' r='5' fill='#999999'/></svg>") no-repeat;background-position: bottom right;padding: 0 8px 8px 0;background-repeat: no-repeat;background-origin: content-box;box-sizing: border-box;cursor: pointer;}.vue-grid-item{display: flex;}.echart{width: 100%;height: 100%;min-height: 5rem;}</style>
</head>
<body><div id="app"><my-component title="标题" content="我是子组件"></my-component><my-component title="标题" content="我是子组件"></my-component><my-component title="标题" content="我是子组件"></my-component><my-component title="标题" content="我是子组件"></my-component><my-component title="标题" content="我是子组件"></my-component></div><!-- 引入Vue --><script src="https://cdn.jsdelivr.net/npm/vue/dist/vue.js"></script><!-- 引入Vuex --><script src="https://unpkg.com/vuex@3.6.2/dist/vuex.js"></script><!-- 引入gird组件 --><script src="./vue-grid-layout.common.js"></script><script src="./vue-grid-layout.umd.min.js"></script><!-- 引入组件库 --><script src="https://unpkg.com/element-ui/lib/index.js"></script><script src="https://cdnjs.cloudflare.com/ajax/libs/echarts/5.4.3/echarts.min.js"></script><!-- 引入子组件 --><script src="./son.js"></script><!-- 引入vuex --><script src="./store.js"></script><script>new Vue({el: '#app',store,data: {draggable: true,resizable: false,index: 0,visible:false,},mounted(){},methods: {}   });</script>
</body>
</html>
这篇关于html通过CDN引入Vue组件抽出复用的文章就介绍到这儿,希望我们推荐的文章对编程师们有所帮助!


