本文主要是介绍springboot 整合 Spring Security+JWT 实现token 认证和校验,希望对大家解决编程问题提供一定的参考价值,需要的开发者们随着小编来一起学习吧!
1.大概是这个样子

JWT 是什么?
Json web token (JWT), 是为了在网络应用环境间传递声明而执行的一种基于JSON的开放标准((RFC 7519).该token被设计为紧凑且安全的,特别适用于分布式站点的单点登录(SSO)场景。JWT的声明一般被用来在身份提供者和服务提供者间传递被认证的用户身份信息,以便于从资源服务器获取资源,也可以增加一些额外的其它业务逻辑所必须的声明信息,该token也可直接被用于认证,也可被加密
java 如何实现JWT
<dependency><groupId>com.auth0</groupId><artifactId>java-jwt</artifactId><version>4.3.
工具类
package com.example.testsecurity.utils;import com.auth0.jwt.JWT;
import com.auth0.jwt.JWTVerifier;
import com.auth0.jwt.algorithms.Algorithm;
import com.auth0.jwt.interfaces.DecodedJWT;
import lombok.extern.slf4j.Slf4j;
import org.springframework.stereotype.Component;import java.util.Date;
import java.util.HashMap;
import java.util.Map;@Slf4j
@Componentpublic class JwtTokenUtils {private static final long EXPIRE_TIME = 15 * 60 * 1000;//默认15分钟//私钥private static final String TOKEN_SECRET = "gsc12345678";/*** 生成签名,15分钟过期** @param **username*** @param **password*** @return*/public static String createToken(String userName) {try {// 设置过期时间Date date = new Date(System.currentTimeMillis() + EXPIRE_TIME);// 私钥和加密算法Algorithm algorithm = Algorithm.HMAC256(TOKEN_SECRET);// 设置头部信息Map<String, Object> header = new HashMap<>(2);header.put("Type", "Jwt");header.put("alg", "HS256");// 返回token字符串return JWT.create().withHeader(header).withClaim("userName", userName).withExpiresAt(date).sign(algorithm);} catch (Exception e) {e.printStackTrace();return null;}}/*** 生成token,自定义过期时间 毫秒** @param **username*** @param **password*** @return*/public static String createToken(String userName, long expireDate) {try {// 设置过期时间Date date = new Date(System.currentTimeMillis() + expireDate);// 私钥和加密算法Algorithm algorithm = Algorithm.HMAC256(TOKEN_SECRET);// 设置头部信息Map<String, Object> header = new HashMap<>(2);header.put("Type", "Jwt");header.put("alg", "HS256");// 返回token字符串return JWT.create().withHeader(header).withClaim("userName", userName).withExpiresAt(date).sign(algorithm);} catch (Exception e) {e.printStackTrace();return null;}}/*** 检验token是否正确** @param **token*** @return*/public static boolean verifyToken(String token) {try {Algorithm algorithm = Algorithm.HMAC256(TOKEN_SECRET);JWTVerifier verifier = JWT.require(algorithm).build();DecodedJWT jwt = verifier.verify(token);String userId = jwt.getClaim("userId").asString();log.info(userId);return true;} catch (Exception e) {log.error(e.getLocalizedMessage());return false;}}public static String getUserName(String token) {Algorithm algorithm = Algorithm.HMAC256(TOKEN_SECRET);JWTVerifier verifier = JWT.require(algorithm).build();DecodedJWT jwt = verifier.verify(token);String userName = jwt.getClaim("userName").asString();return userName;}
}
怎么和security 整合在一起了?
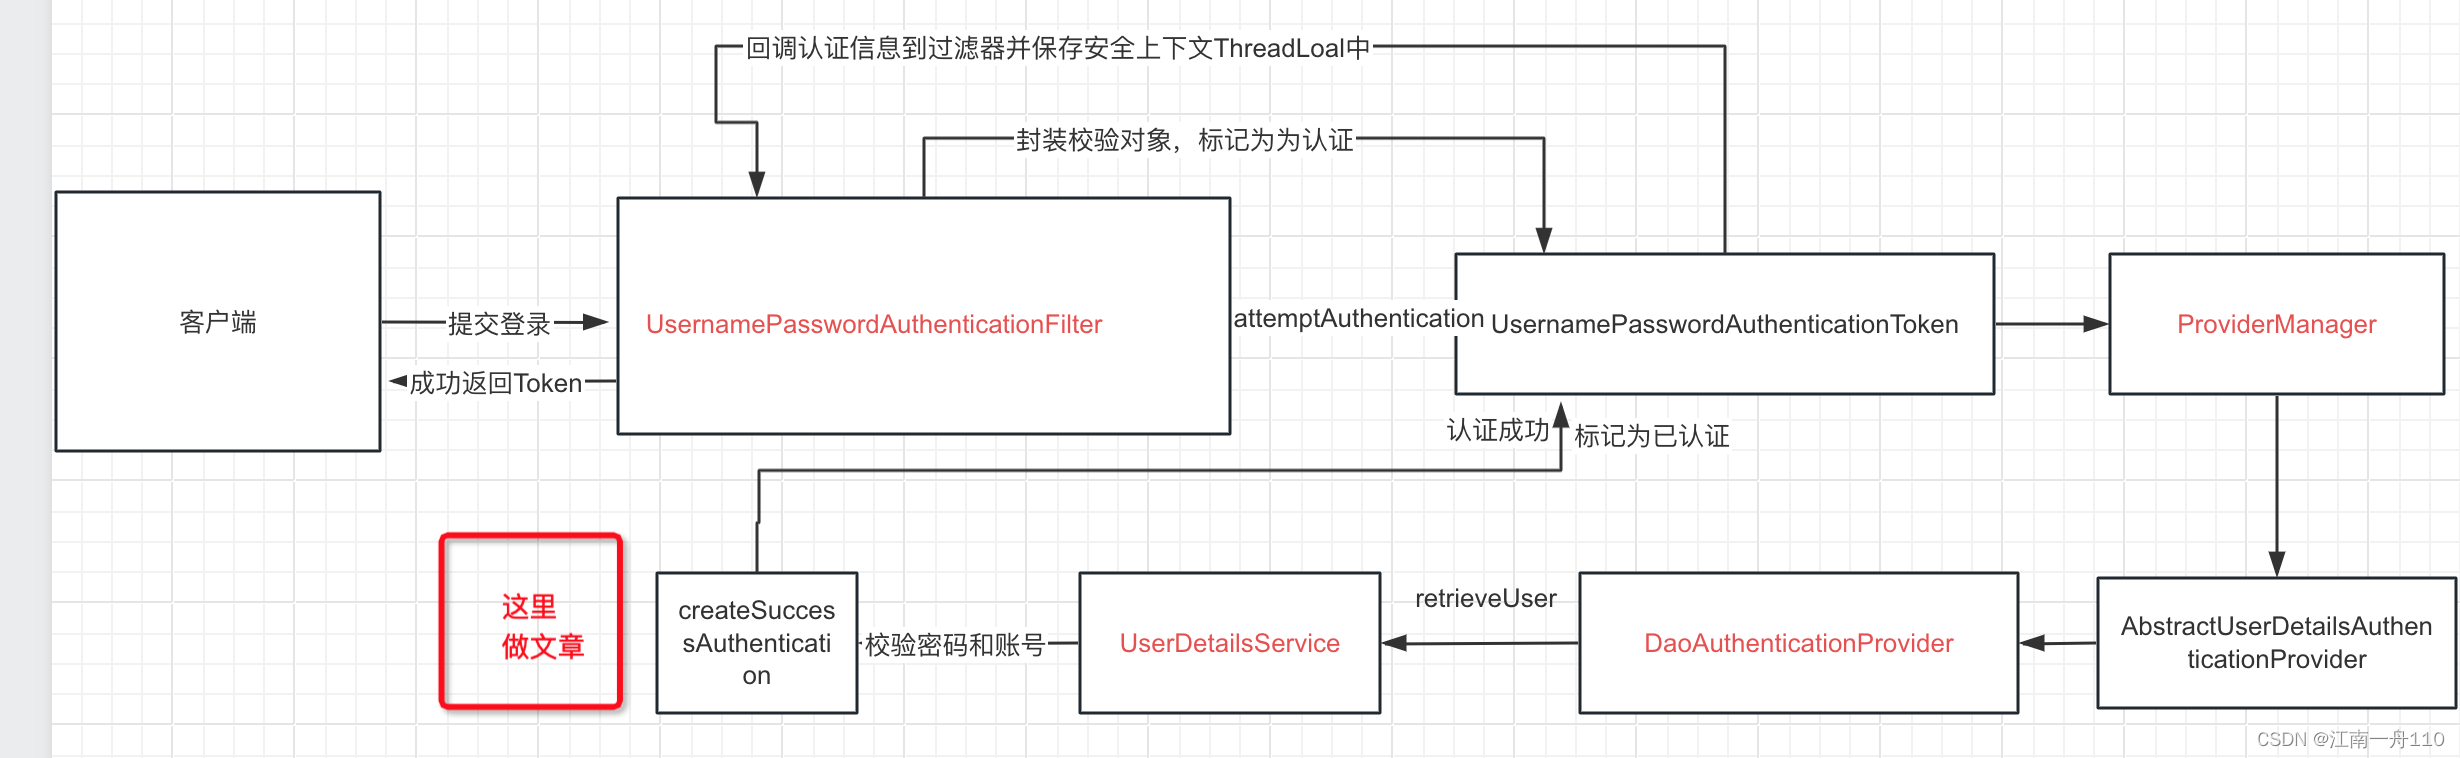
1.认证成功生成一个token返回给客户端,这里就做个简单的本地保存,一般存到缓存中比如redis 里面,就是认证处理器里面做处理
public void onAuthenticationSuccess(HttpServletRequest request, HttpServletResponse response, Authentication authentication) throws IOException, ServletException {Result result = Result.build(1, "登录成功");MyUser user = (MyUser) authentication.getPrincipal();log.info(user.getUser().getId() + "");String userName = user.getUser().getName();String token = JwtTokenUtils.createToken(userName, 1000 * 60*30);result.setData(token);String responsejson = objectMapper.writeValueAsString(result);response.setCharacterEncoding("utf-8");response.setContentType("application/json;charset=UTF-8");response.getWriter().println(responsejson);response.getWriter().flush();}
2。认证做完了,每次客户端调用其他接口的时间就要校验处理,JWT 过滤器处理,并把token中用户信息放到安全过滤器,供过滤器链上其他过滤器
package com.example.testsecurity.filter;import com.example.testsecurity.pojo.MyUser;
import com.example.testsecurity.pojo.Result;
import com.example.testsecurity.service.MyUserService;
import com.example.testsecurity.utils.JwtTokenUtils;
import com.fasterxml.jackson.databind.ObjectMapper;
import jakarta.servlet.FilterChain;
import jakarta.servlet.ServletException;
import jakarta.servlet.http.HttpServletRequest;
import jakarta.servlet.http.HttpServletResponse;
import lombok.extern.slf4j.Slf4j;
import org.springframework.beans.factory.annotation.Autowired;
import org.springframework.security.authentication.UsernamePasswordAuthenticationToken;
import org.springframework.security.core.context.SecurityContextHolder;
import org.springframework.stereotype.Component;
import org.springframework.util.ObjectUtils;
import org.springframework.web.filter.OncePerRequestFilter;import java.io.IOException;@Component
@Slf4j
public class JWTCheckFilter extends OncePerRequestFilter {@Autowiredprivate ObjectMapper objectMapper;@Autowiredprivate JwtTokenUtils jwtTokenUtils;@Autowiredprivate MyUserService userService;@Overrideprotected void doFilterInternal(HttpServletRequest request, HttpServletResponse response, FilterChain filterChain) throws ServletException, IOException {String requestURI = request.getRequestURI();//login 放行token 校验log.info(requestURI);if (requestURI.equals("/login")) {doFilter(request, response, filterChain);return;}String authorization = request.getHeader("Authorization");log.info(authorization);if (ObjectUtils.isEmpty(authorization)) {Result result = Result.build(-1, "token不存在", null);String responsejson = objectMapper.writeValueAsString(result);response.setCharacterEncoding("utf-8");response.setContentType("application/json;charset=UTF-8");response.getWriter().println(responsejson);response.getWriter().flush();return;}String jwtToken = authorization.replace("bearer ", "");log.error("jwtToken>>>" + jwtToken);boolean verifyToken = jwtTokenUtils.verifyToken(jwtToken);log.error(String.valueOf(verifyToken));if (!verifyToken) {Result result = Result.build(-1, "token失效", null);String responsejson = objectMapper.writeValueAsString(result);response.setCharacterEncoding("utf-8");response.setContentType("application/json;charset=UTF-8");response.getWriter().println(responsejson);response.getWriter().flush();return;}//有效获取用户安全信息String userName = jwtTokenUtils.getUserName(jwtToken);MyUser details = (MyUser) userService.loadUserByUsername(userName);//将认证信息放入安全上下文UsernamePasswordAuthenticationToken authenticationToken = new UsernamePasswordAuthenticationToken(details, null, details.getAuthorities());//获取安全上下文SecurityContextHolder.getContext().setAuthentication(authenticationToken);doFilter(request, response, filterChain);}
}
配置类中配置这个过滤器才能生效:
http.addFilterBefore(checkFilter, UsernamePasswordAuthenticationFilter.class);
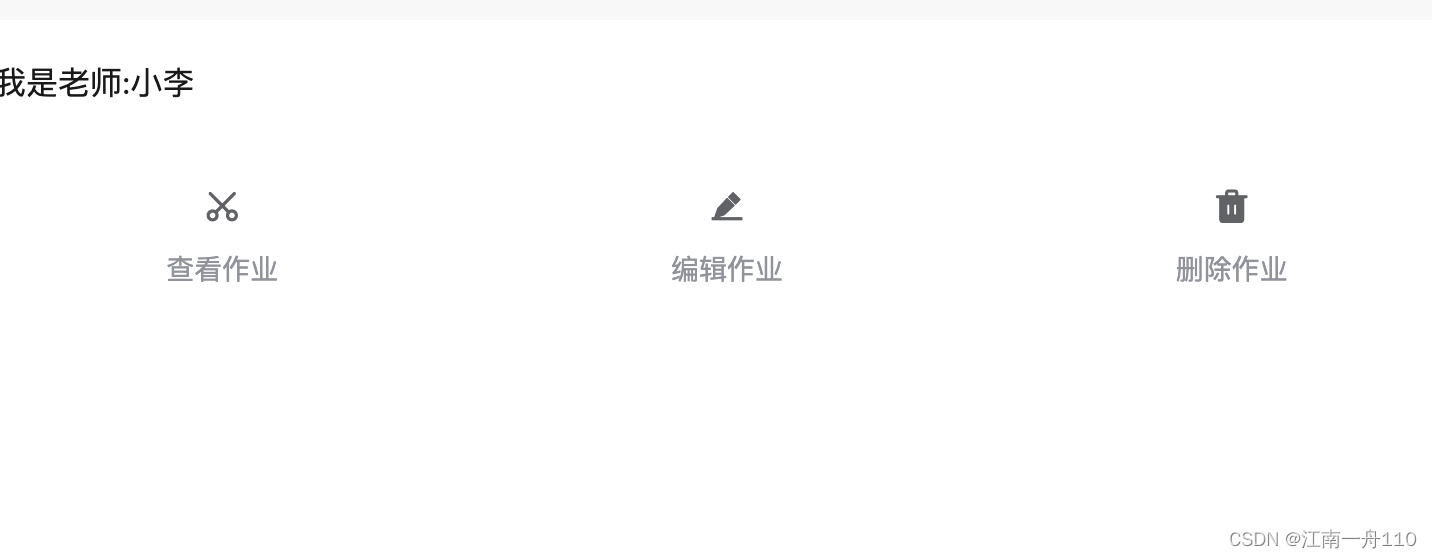
测试权限以及token 校验这个了写了前端uniapp
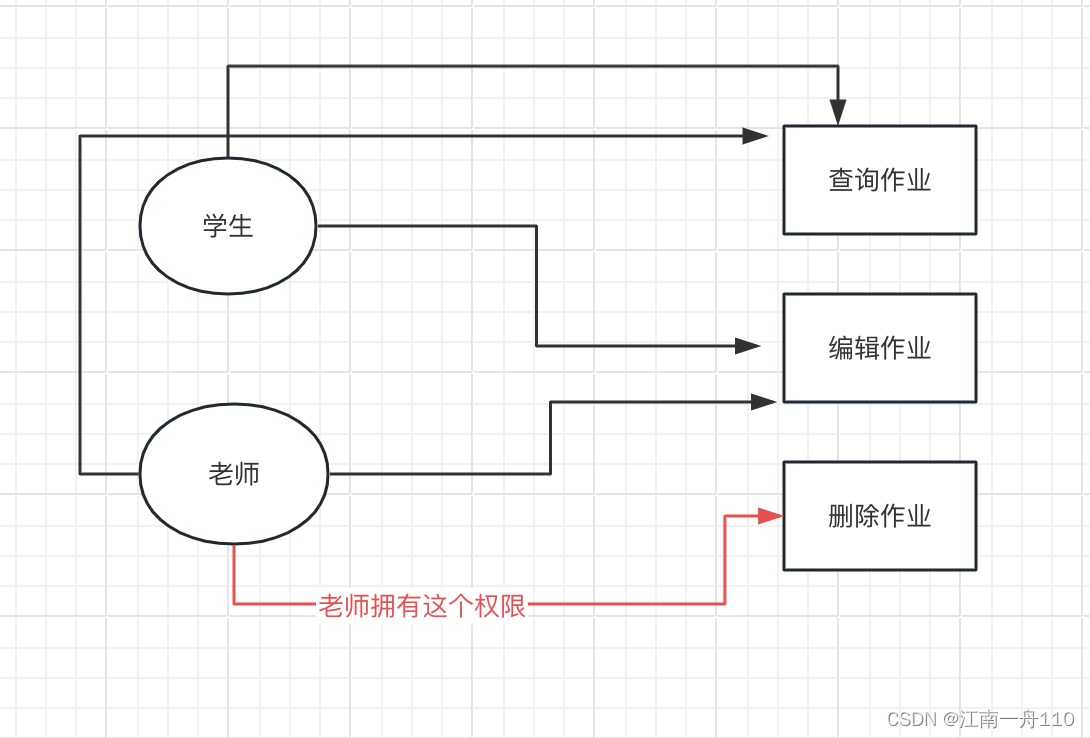
小李:老师 ,张三是学生,本数据库中
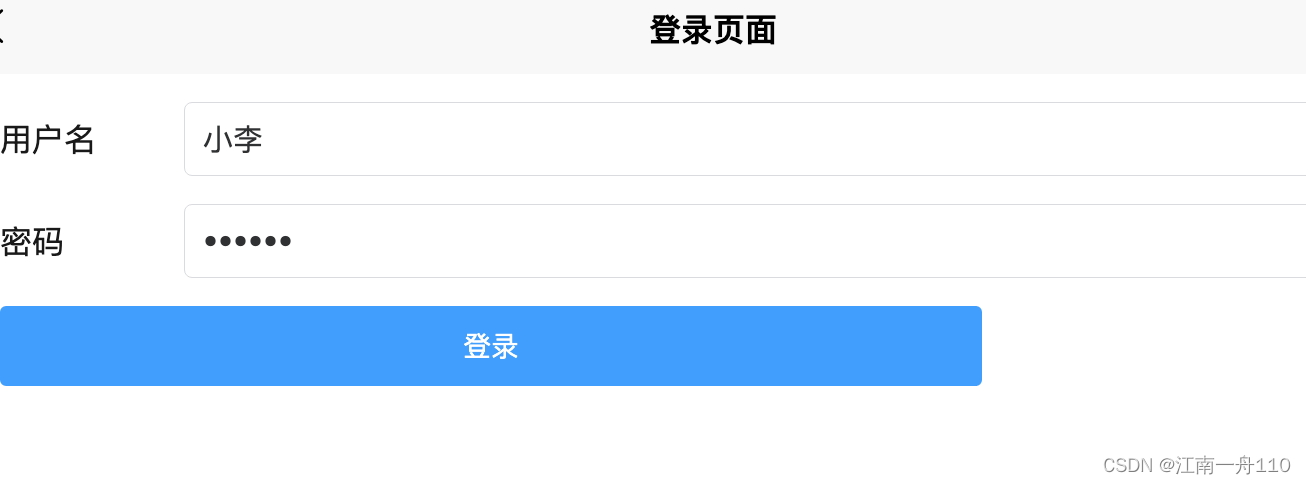
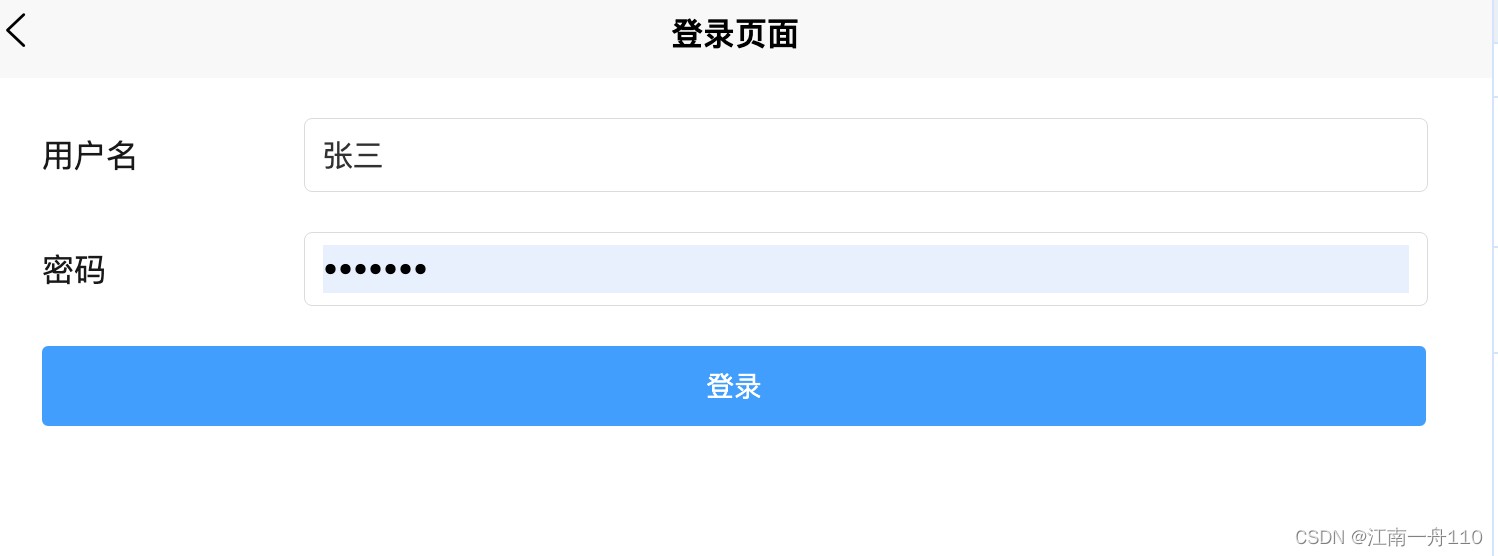

前端随便写了一下代码
<template><view class="box"><view class="username-box"><text>用户名</text><u--input placeholder="请输入用户名" border="surround" v-model="username"></u--input></view><view class="pwd-box"><text>密码</text><u--input type="password" placeholder="请输入用户名" border="surround" v-model="password"></u--input></view><u-button text="登录" type="primary" class="submit-btn" @click="login"></u-button></view>
</template><script>export default {data() {return {username: '',password: '',loginUrl: 'http://127.0.0.1:8989/login'}},methods: {login() {let params = {username: this.username,password: this.password}uni.request({url: this.loginUrl,method: 'POST',header: {'content-type': 'application/x-www-form-urlencoded',},data: params,success: (res) => {console.log(res.data);const {code,data} = res.dataif (code == 1) {//登录成功//保存tokenuni.setStorageSync('token', data)uni.navigateTo({url: '/pages/index/index'})}}});}}}
</script><style scoped lang="scss">.box {.submit-btn {margin: 20rpx 32rpx;width: 686rpx;}.username-box,.pwd-box {margin: 20rpx 32rpx 0;display: flex;align-items: center;>text {padding-right: 10rpx;display: block;width: 120rpx;}}}
</style>
<template><view><view class="title-box"><view v-if="this.menuList.length==3">我是老师:{{currentUserName}}</view><view v-else>我是学生:{{currentUserName}}</view></view><u-grid :border="false" @click="click"><u-grid-item v-for="(baseListItem,baseListIndex) in menuList" :key="baseListIndex"><u-icon :customStyle="{paddingTop:20+'rpx'}" :name="baseListItem.name" :size="22"></u-icon><text class="grid-text">{{baseListItem.title}}</text></u-grid-item></u-grid><u-toast ref="uToast" /></view>
</template><script>import {commonUrl} from '../constant.js'export default {data() {return {// menuList: [{// 		name: 'cut',// 		title: '查看作业'// 	},// 	{// 		name: 'edit-pen-fill',// 		title: '编辑作业'// 	},// 	{// 		name: 'trash-fill',// 		title: '删除作业'// 	},// ],menuList: [],authorityArr: [],currentUserName: ''}},onLoad() {},onShow() {this.menuList = []this.loadMenu()},methods: {loadMenu() {uni.request({url: commonUrl.userInfoUrl,method: 'GET',header: {'Authorization': 'bearer' + ' ' + uni.getStorageSync('token') || ''},success: (res) => {console.log('用户信息', res.data.authorities, typeof res.data.authorities);this.authorityArr = res.data.authorities;this.currentUserName = res.data.namethis.authorityArr.forEach((item, index) => {console.log('item ???', item, index);console.log(item.authority);if (item.authority == 'look:zy') {this.menuList.push({name: 'cut',title: '查看作业'})}if (item.authority == 'edit:zy') {console.log('aaa');this.menuList.push({name: 'edit-pen-fill',title: '编辑作业'})}if ('del:zy' == item.authority) {this.menuList.push({name: 'trash-fill',title: '删除作业'})}})},})},click(name) {switch (name) {case 0:this.lookzy()breakcase 1:this.editzy()breakcase 2:this.delzy()break}},loadData(url) {uni.request({url: url,header: {'Authorization': 'bearer' + ' ' + uni.getStorageSync('token') || ''},success: (res) => {console.log('res', res.data);const {code,message} = res.dataif (code != 0) {this.$refs.uToast.success(`访问失败`)uni.redirectTo({url: '/pages/login/login'})return}this.$refs.uToast.success(message)}})},lookzy() {this.loadData(commonUrl.zyUrl)},editzy() {this.loadData(commonUrl.editUrl)},delzy() {this.loadData(commonUrl.delUrl)}}}
</script><style lang="scss">.title-box {padding: 20rpx 12rpx 20rpx}.grid-text {font-size: 14px;color: #909399;padding: 10rpx 0 20rpx 0rpx;/* #ifndef APP-PLUS */box-sizing: border-box;/* #endif */}
</style>
备注以上只是简单的写了一个例子,token最好还是放到redis中
认证成功和校验的时候,去处理还有注销的时候去删除这个token 的key
这篇关于springboot 整合 Spring Security+JWT 实现token 认证和校验的文章就介绍到这儿,希望我们推荐的文章对编程师们有所帮助!


