本文主要是介绍openshift+SkyDive 监控---离线安装,希望对大家解决编程问题提供一定的参考价值,需要的开发者们随着小编来一起学习吧!
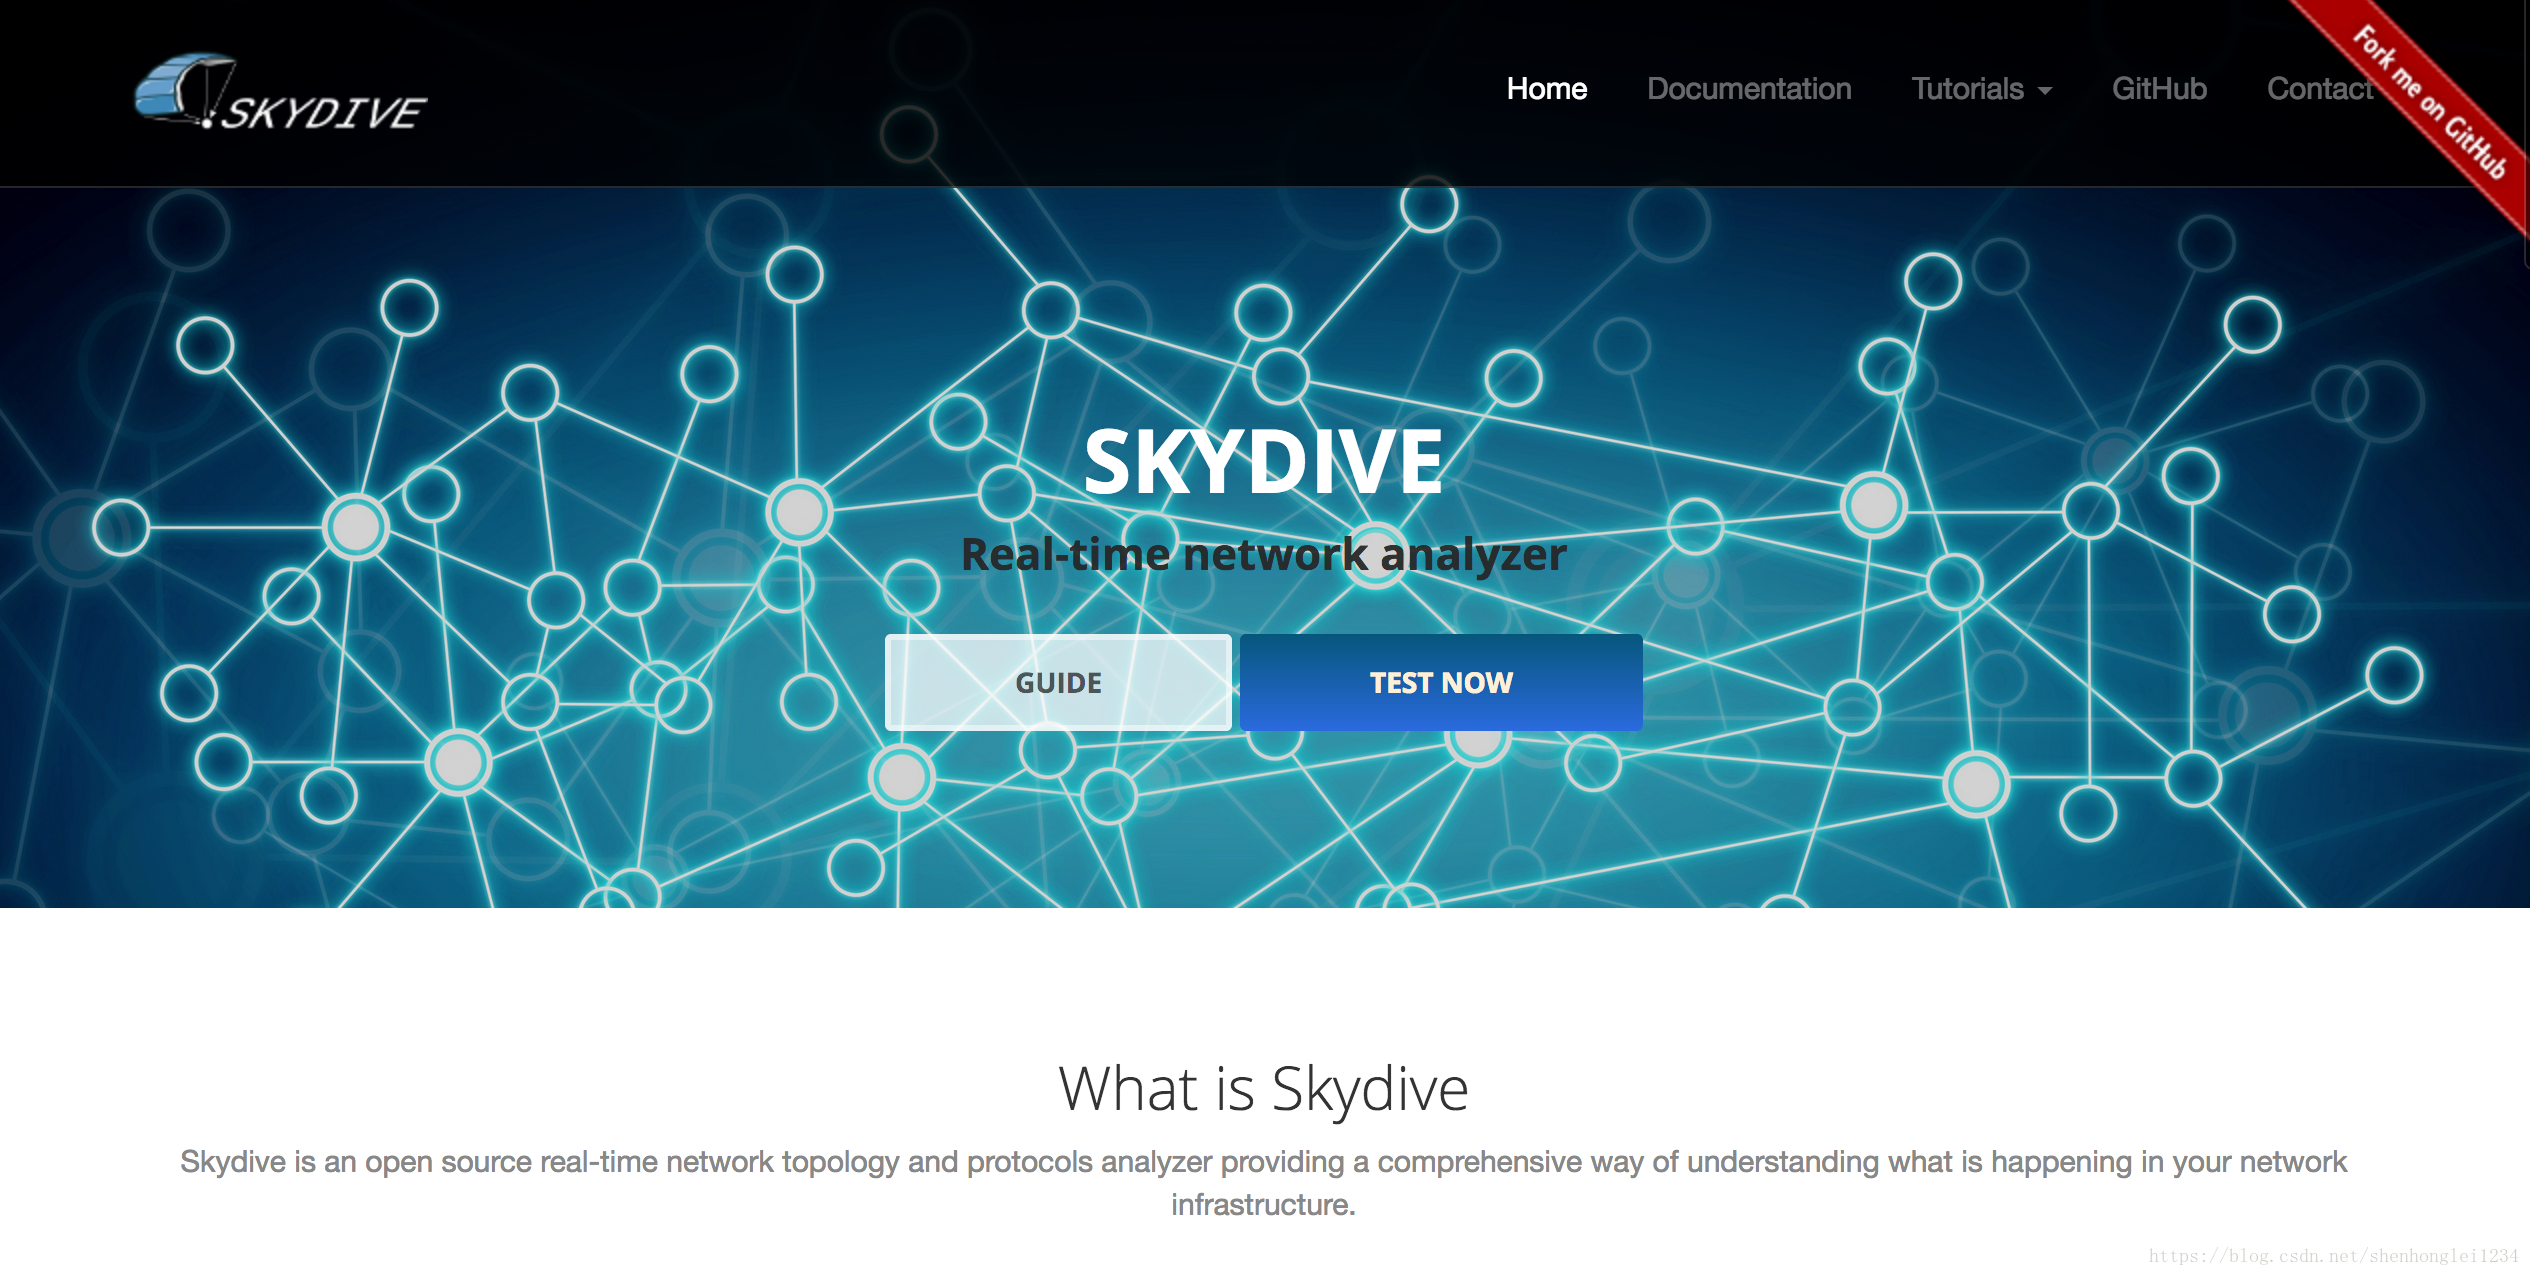
What is Skydive
Skydive is an open source real-time network topology and protocols analyzer providing a comprehensive way of understanding what is happening in your network infrastructure.
Skydive是一种开放源码的实时网络拓扑和协议分析器,
它提供了一种全面的方法来理解网络基础设施中正在发生的事情
SkyDive视频教程 官方学习地址
github—源码查看,skydive-project/skydive
需要用到的yaml文件和镜像,百度网盘下载
链接:https://pan.baidu.com/s/1JqLwEQlSBqLJrCh7eOSGqw 密码:oz0w
下面开始在openshift中部署skydive,简单步骤,及过程中需要注意的几个小问题:
- 环境:openshift是一个master两个node:
大概步骤是,参考链接:https://github.com/skydive-project/skydive/tree/master/contrib/openshift
1.oc new-project skydive
2.oc create -f skydive-template.yaml
3.oc adm policy add-scc-to-user privileged system:serviceaccount:skydive:default
4.oc new-app --template=skydive
5.oc get pods
6.oc get ds
7.oc delete route skydive-analyzer
8.oc expose svc skydive-analyzer- 下面详细列述,具体操作过程中需要注意的几点内容:
第一步骤:使用oc命令登录,然后创建项目,执行如下:
[root@master skydive]# oc login
Authentication required for https://master.ose.org:8443 (openshift)
Username: redhat
Password:
Login successful.You don't have any projects. You can try to create a new project, by runningoc new-project <projectname>[root@master skydive]# oc new-project skydive
Now using project "skydive" on server "https://master.ose.org:8443".You can add applications to this project with the 'new-app' command. For example, try:oc new-app centos/ruby-22-centos7~https://github.com/openshift/ruby-ex.gitto build a new example application in Ruby.
[root@master skydive]# oc get project
NAME      DISPLAY NAME   STATUS
skydive                  Active
[root@master skydive]#
第二步骤:将文件上传openshift master节点服务器某目录下,可以使用sz命令上传或者FileZilla等:
文件下载地址:链接:https://pan.baidu.com/s/1JqLwEQlSBqLJrCh7eOSGqw 密码:oz0w
[root@master skydive]# ls
elasticsearch.tar  skydive.tar  skydive-template.yaml
第三步骤:在skydive-template.yaml目录下Install the template
[root@master skydive]# ls
elasticsearch.tar  skydive.tar  skydive-template.yaml
[root@master skydive]# oc create -f skydive-template.yaml
template "skydive" created
第四步骤:使用管理员登录oc login -u system:admin,执行授权:
oc adm policy add-scc-to-user privileged system:serviceaccount:skydive:default
[root@master skydive]# oc login -u system:admin
Logged into "https://master.ose.org:8443" as "system:admin" using existing credentials.You have access to the following projects and can switch between them with 'oc project <projectname>':defaultkube-systemloggingmanagement-infraopenshiftopenshift-infra* skydiveUsing project "skydive".
[root@master skydive]# oc adm policy add-scc-to-user privileged system:serviceaccount:skydive:default
第五步骤:Instanciate the template,实例化模板:
[root@master skydive]# oc new-app --template=skydive
--> Deploying template skydive--> Creating resources with label app=skydive ...service "skydive-analyzer" createddeploymentconfig "skydive-analyzer" createddaemonset "skydive-agent" createdroute "skydive-analyzer" created
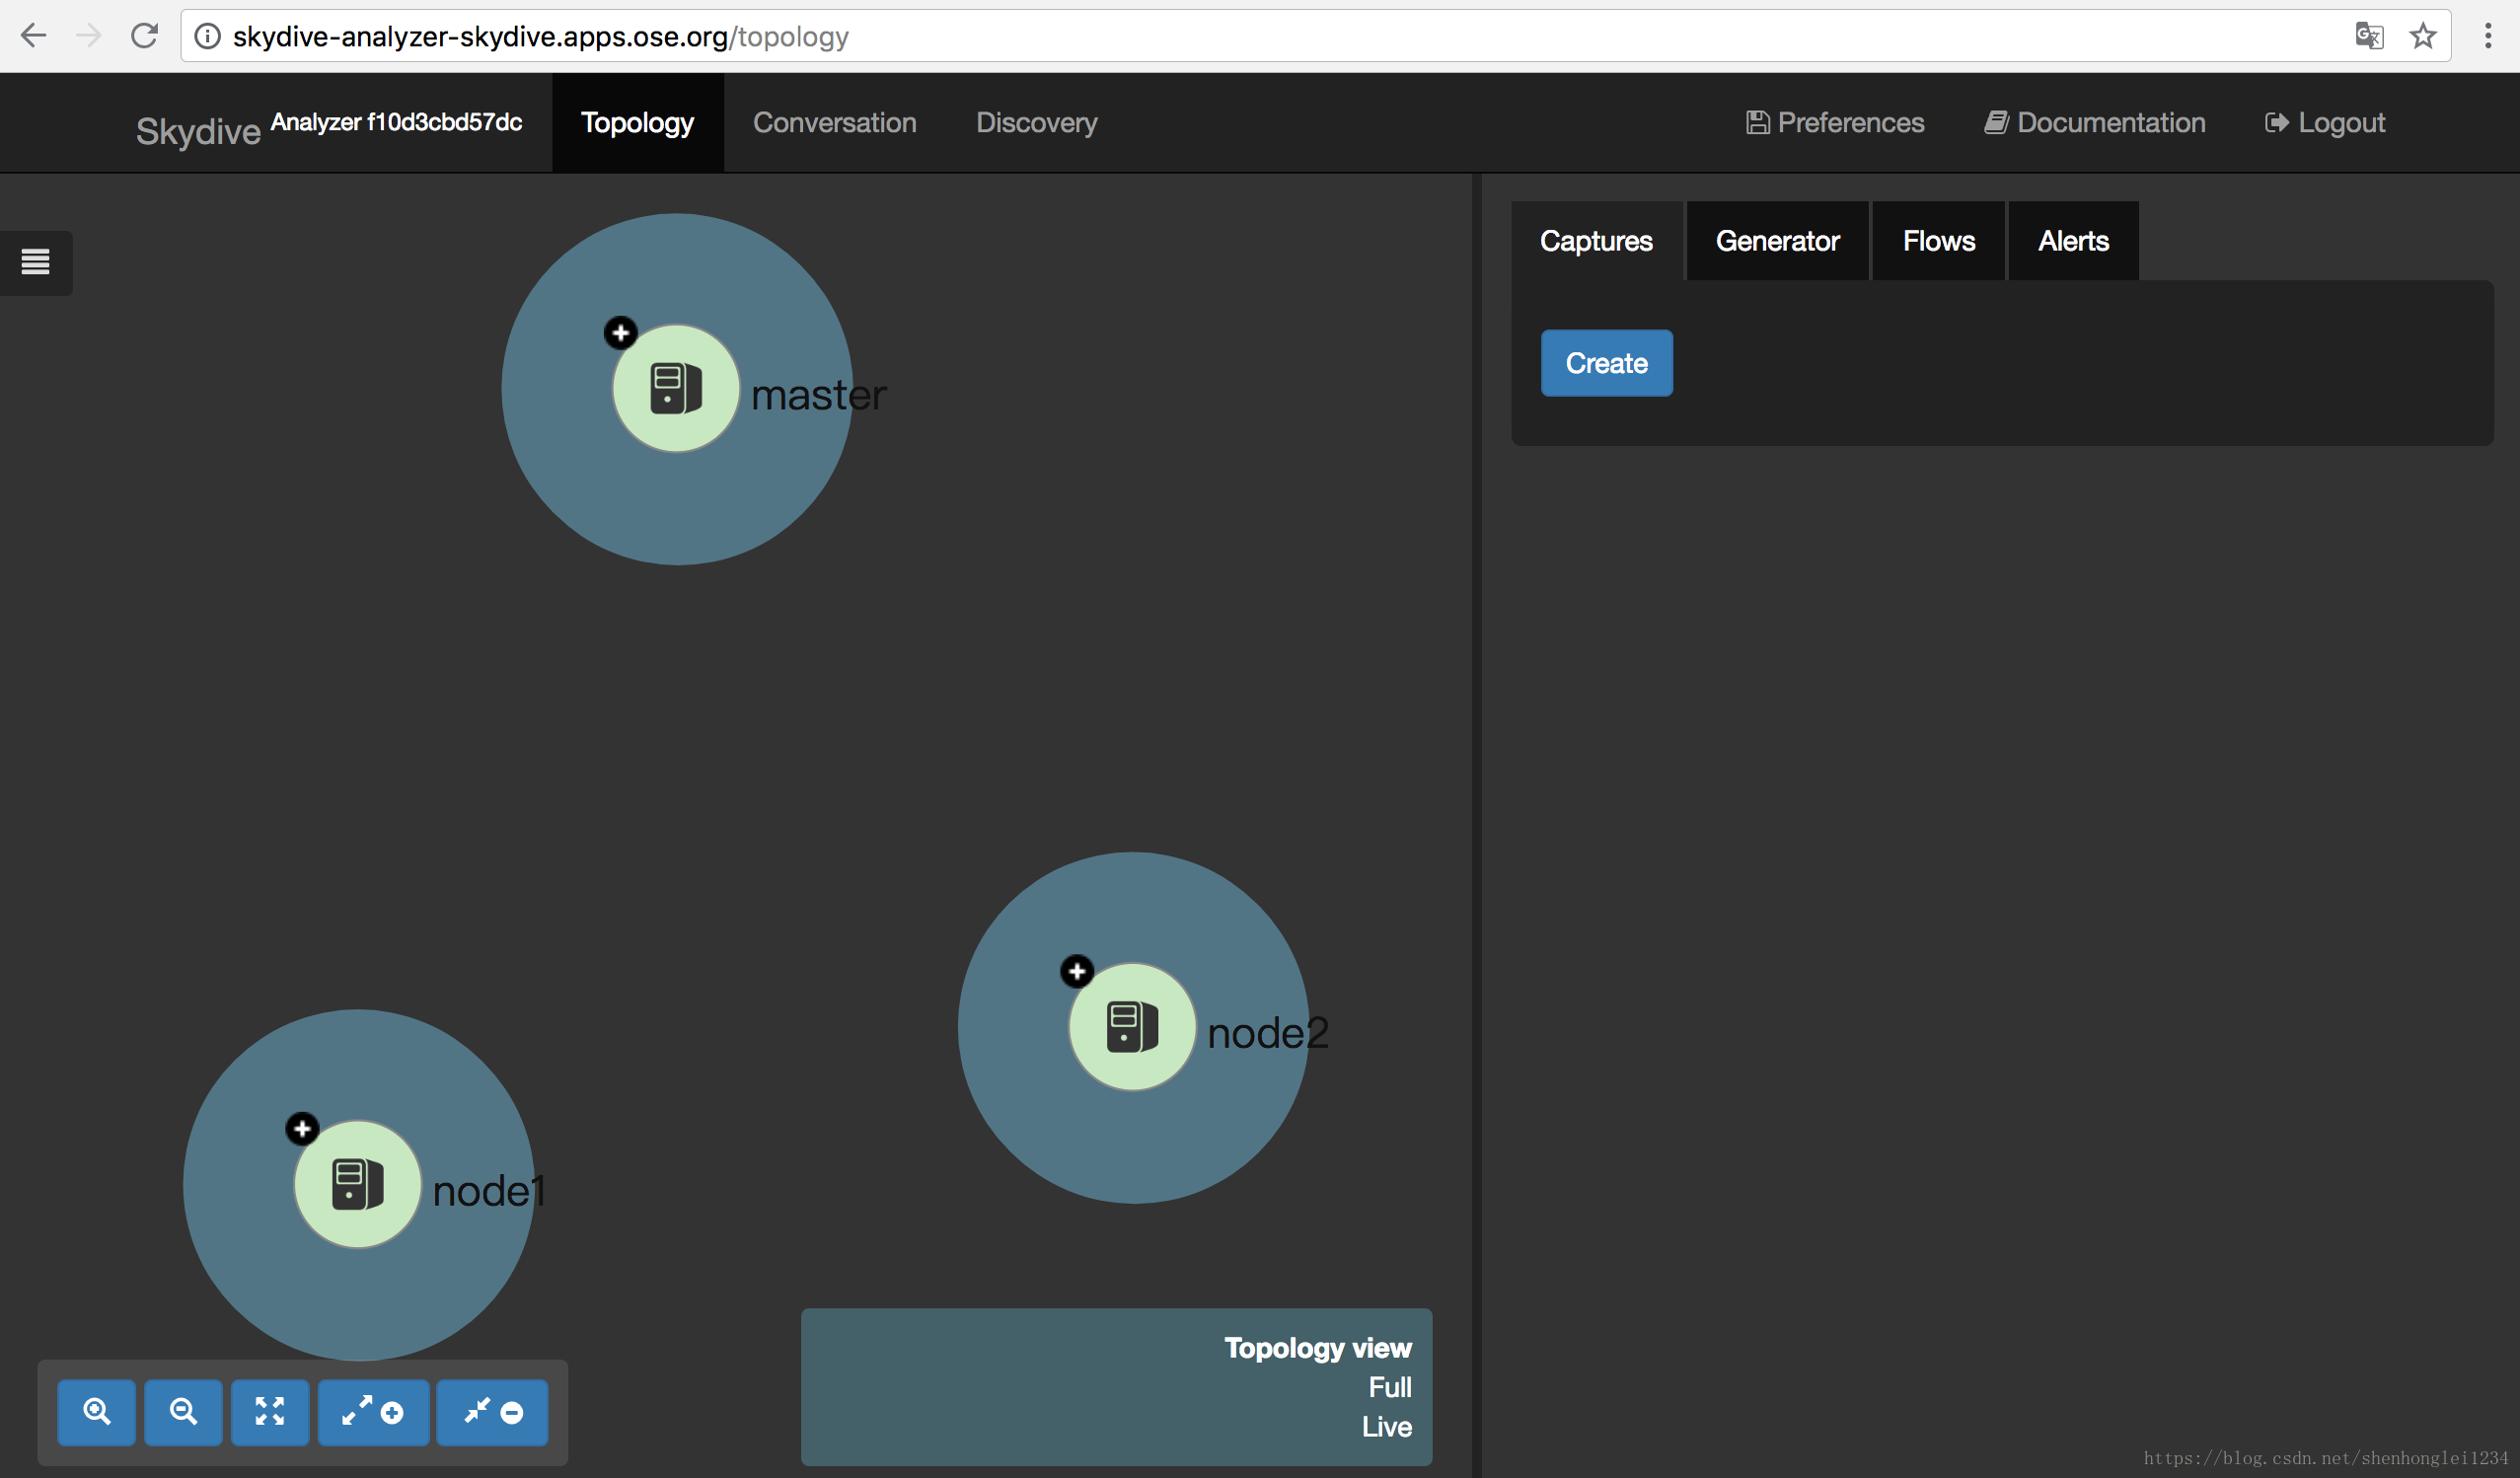
--> SuccessRun 'oc status' to view your app.第六步骤:Check that everything is working and created,检查是否一切正常:
[root@master skydive]# oc get pod
NAME                       READY     STATUS    RESTARTS   AGE
skydive-agent-5sbcj        1/1       Running   0          7m
skydive-agent-67i3k        1/1       Running   0          7m
skydive-agent-w7i07        1/1       Running   0          7m
skydive-analyzer-1-gbwkq   2/2       Running   1          7m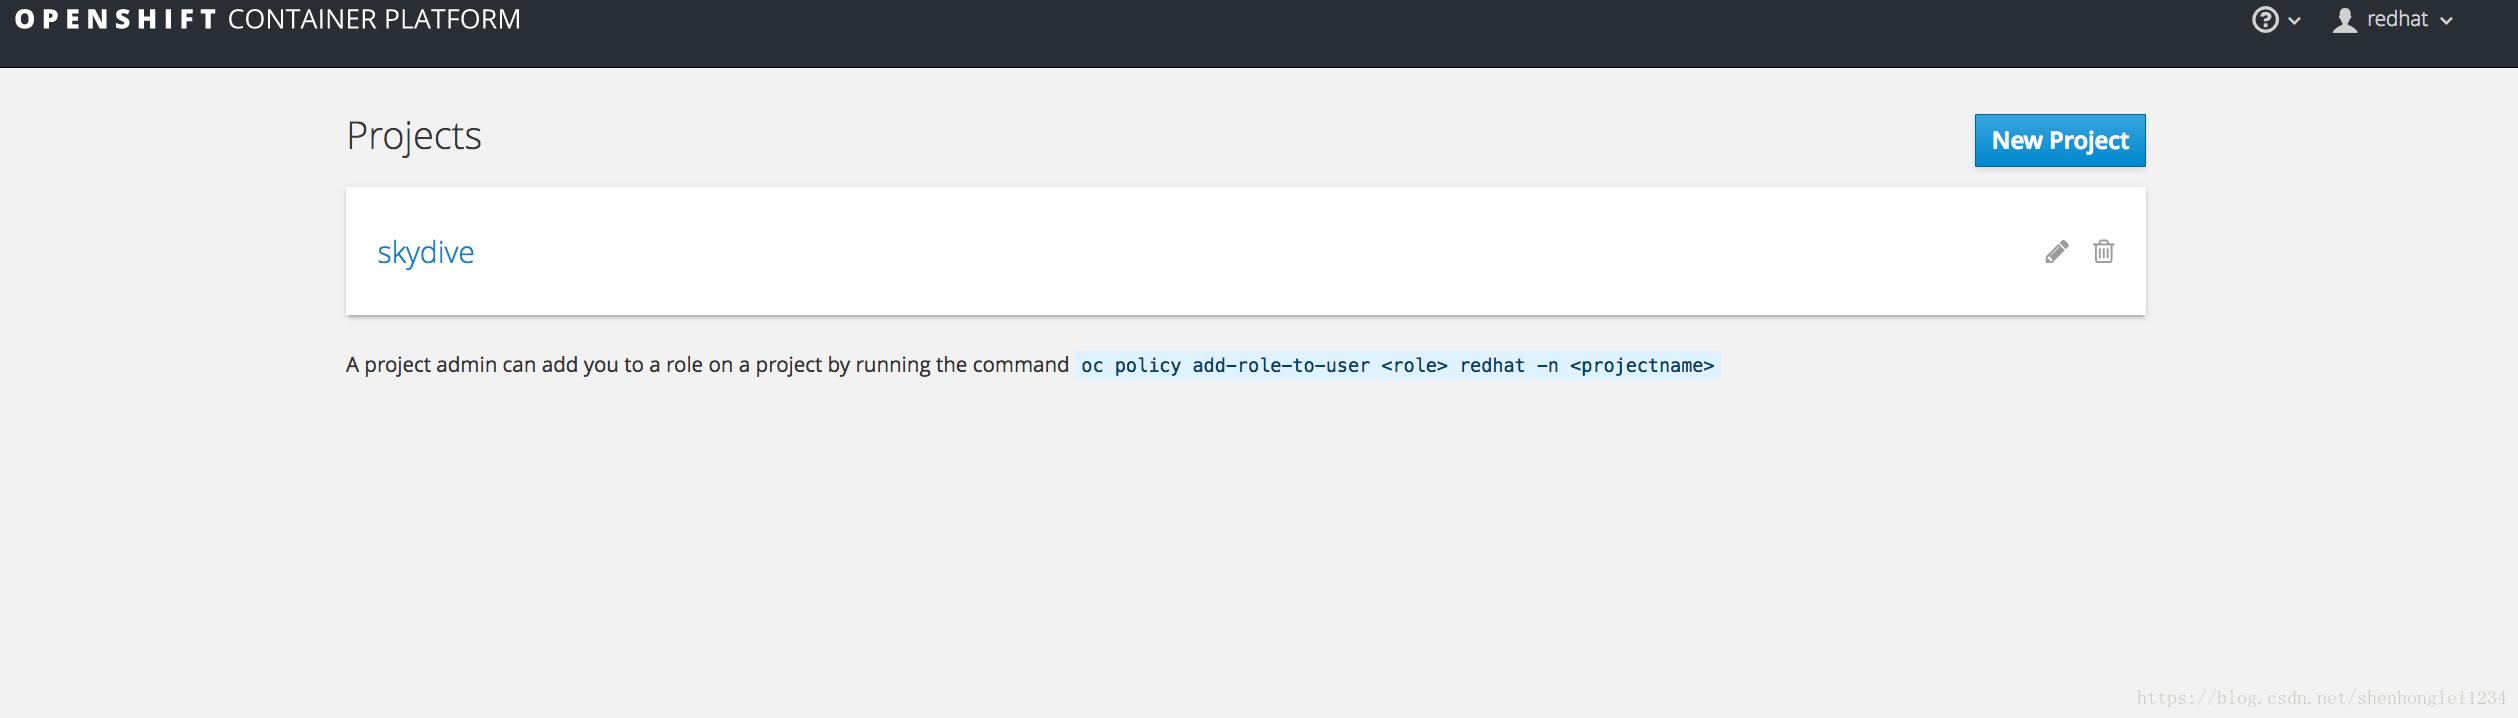

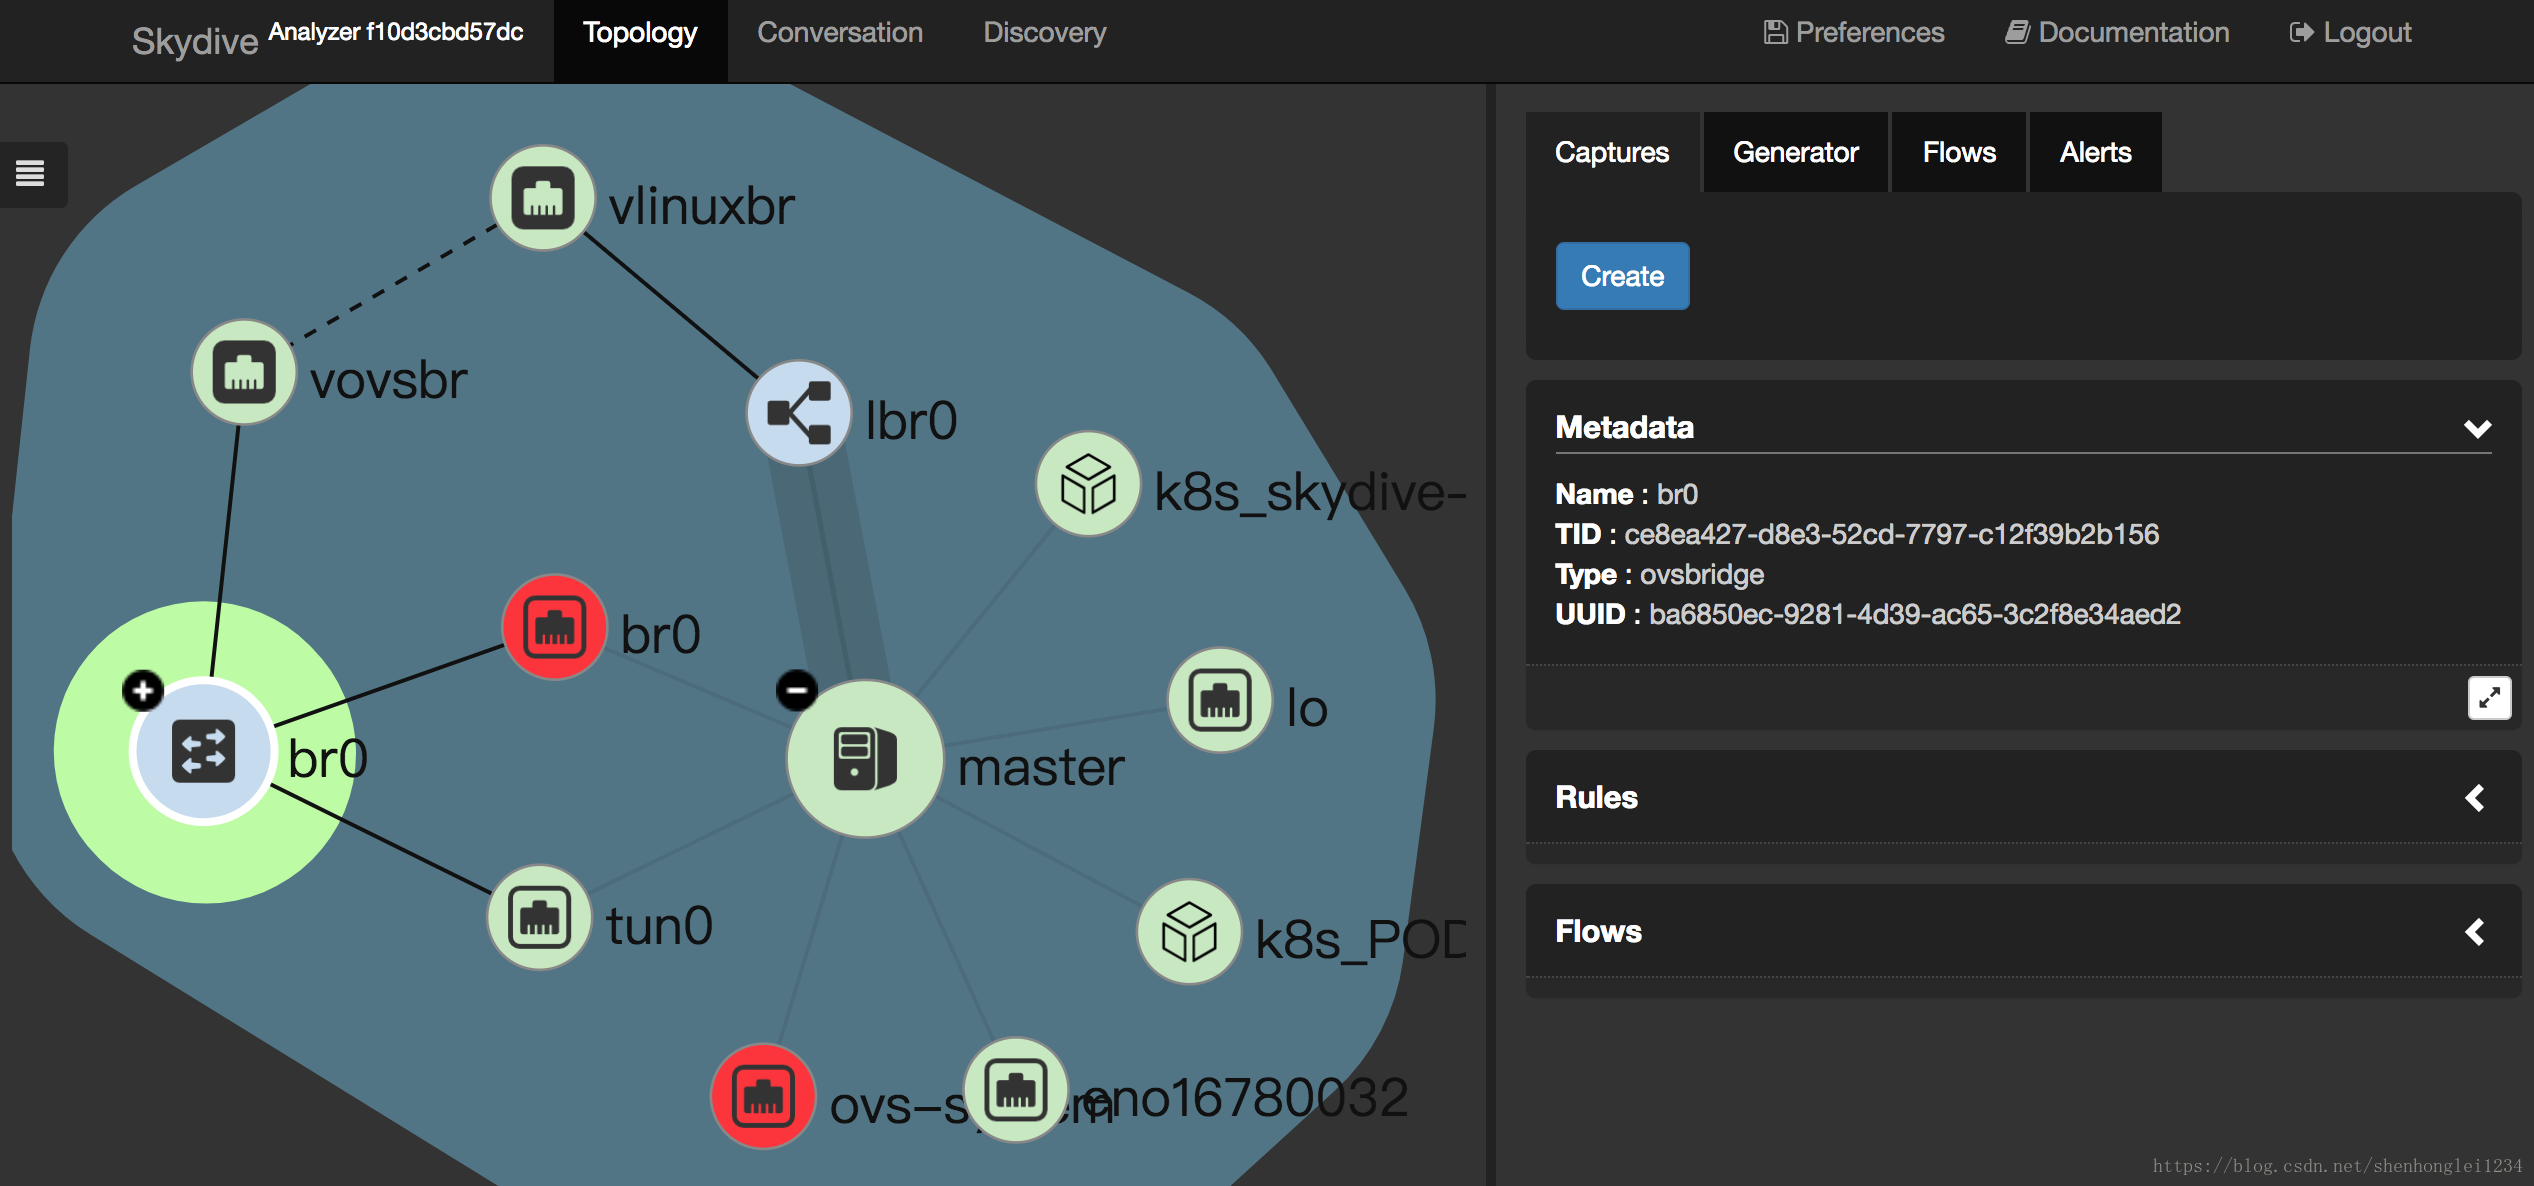
注意:http://skydive-analyzer-skydive.apps.ose.org/topology 打开时有些浏览器不兼容,最好用chrome
ps: 另外一个问题,镜像处理:
由于我的网络原因,我先将镜像下载,然后上传到服务器,使用命令将它上传到docker,然后push到openshift自己镜像仓库,具体操作如下:
oc import-image registry.ose.org:5000/docker.io/skydive/skydive:latest –confirm –insecure -n openshift
[root@master skydive]# docker load -i skydive.tar
[root@master skydive]# docker load -i elasticsearch.tar
[root@master skydive]# docker tag docker.io/skydive/skydive registry.ose.org:5000/docker.io/skydive/skydive
[root@master skydive]# docker push registry.ose.org:5000/docker.io/skydive/skydive
The push refers to a repository [registry.ose.org:5000/docker.io/skydive/skydive]
918cda4ac29c: Already exists
7fb731a2e174: Already exists
91d4719b3ccf: Already exists
Pushing tag for rev [ee05e2e60a85] on {http://registry.ose.org:5000/v1/repositories/docker.io/skydive/skydive/tags/latest}
-- 导入到openshift默认的镜像仓库:
[root@master skydive]# oc import-image docker.io/skydive/skydive:latest --confirm --insecure -n openshift
The import completed successfully.Name:                   skydive
Namespace:              openshift
Created:                3 days ago
Labels:                 <none>
Annotations:            openshift.io/image.dockerRepositoryCheck=2018-06-08T01:47:11Z
Docker Pull Spec:       172.30.97.33:5000/openshift/skydive
Unique Images:          0
Tags:                   1latesttagged from docker.io/skydive/skydive:latestwill use insecure HTTPS or HTTP connections! error: Import failed (InternalError): Internal error occurred: Get http://registry-1.docker.io/v2/: dial tcp: lookup registry-1.docker.io on 10.10.31.101:53: server misbehaving3 days ago
大概命令如下:
docker load -i skydive.tar
docker load -i elasticsearch.tardocker tag docker.io/skydive/skydive registry.ose.org:5000/docker.io/skydive/skydive
docker push registry.ose.org:5000/docker.io/skydive/skydive
oc import-image registry.ose.org:5000/docker.io/skydive/skydive --confirm --insecure -n openshiftdocker tag docker.io/elasticsearch:2 registry.ose.org:5000/docker.io/elasticsearch
docker push registry.ose.org:5000/docker.io/elasticsearch
oc import-image registry.ose.org:5000/docker.io/elasticsearch --confirm --insecure -n openshift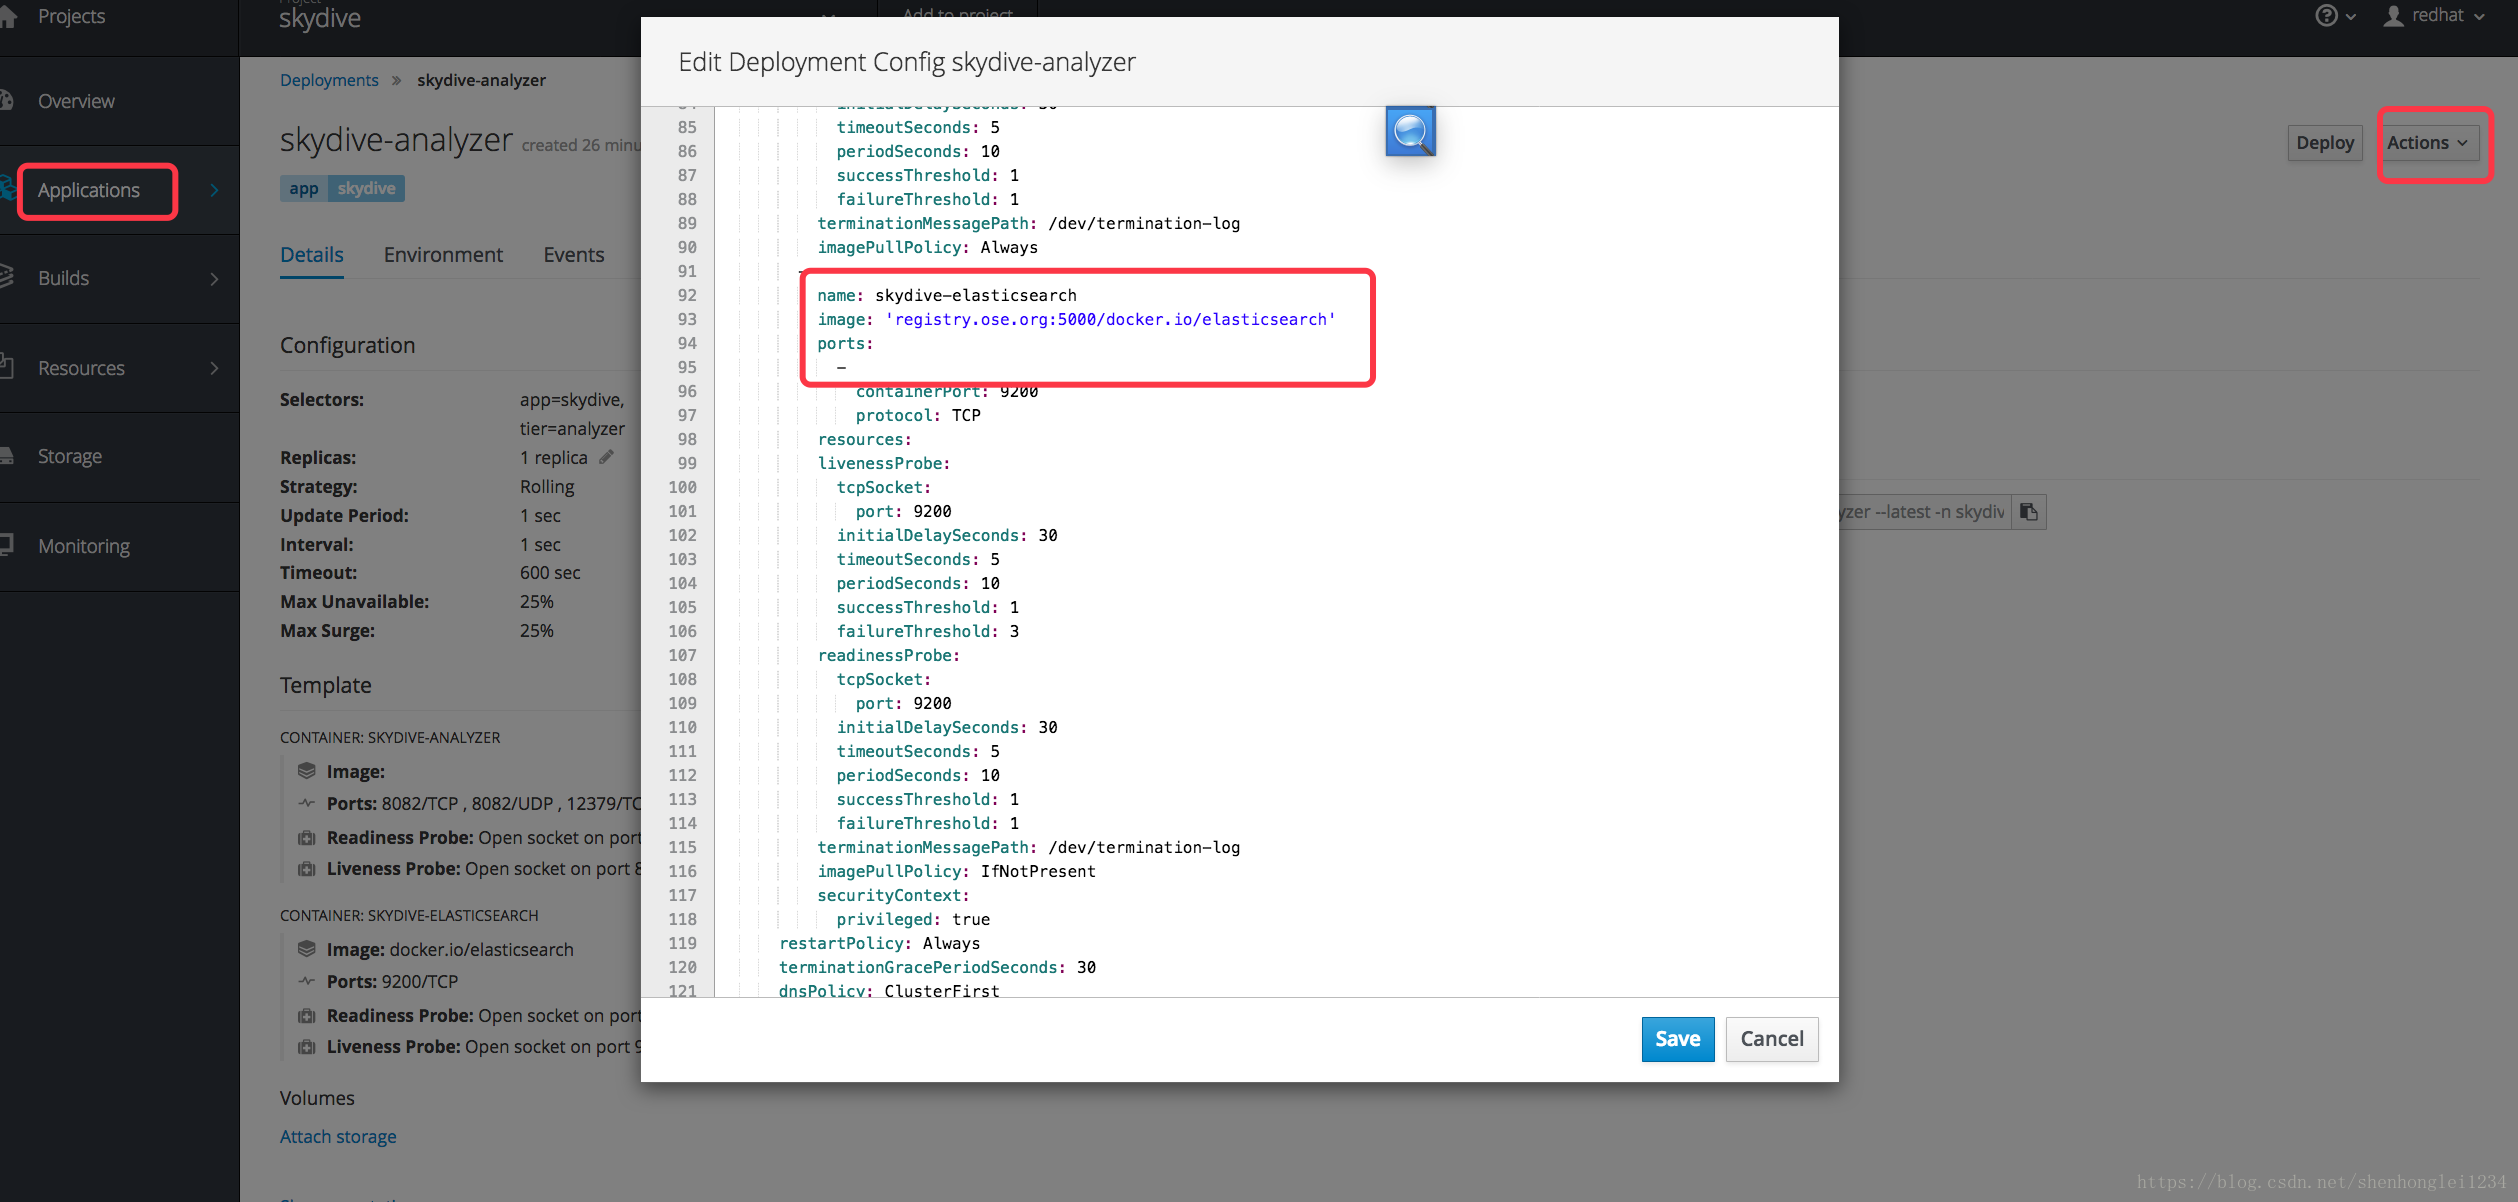
记得,pod和deployments的images,要修改下yaml文件 ,对应就可以启动了。
这篇关于openshift+SkyDive 监控---离线安装的文章就介绍到这儿,希望我们推荐的文章对编程师们有所帮助!


