本文主要是介绍前端量子纠缠 效果炸裂 multipleWindow3dScene,希望对大家解决编程问题提供一定的参考价值,需要的开发者们随着小编来一起学习吧!
我 | 在这里
🕵️ 读书 | 长沙 ⭐软件工程 ⭐ 本科
🏠 工作 | 广州 ⭐ Java 全栈开发(软件工程师)
🎃 爱好 | 研究技术、旅游、阅读、运动、喜欢流行歌曲
✈️已经旅游的地点 | 新疆-乌鲁木齐、新疆-吐鲁番、广东-广州、广东-佛山、湖南-长沙、湖南-张家界、山西、上海、郑州等。老家河南嘞
🏷️ 标签 | 男 自律狂人 目标明确 责任心强
✈️公众号 | 热爱技术的小郑 。文章底部有个人公众号二维码。回复 Java全套视频教程 或 前端全套视频教程 即可获取 300G+ 教程资料及项目实战案例
🚀 邮箱 | 2977429967@qq.com
✈️ GitHub传送门 开源项目 + 实战Demo
为何而写?
🍍 好记性不如烂笔头,记录学习的相关知识 、项目 BUG 解决
🍇 复盘总结,加深记忆,方便自己查看
🍑 分享知识,咱就是这么乐于助人、专注填坑20年、哈哈哈哈
目标描述
🏆 没有伞的孩子、只能用力奔跑。向着架构师的方向努力、做一个有始有终的人。
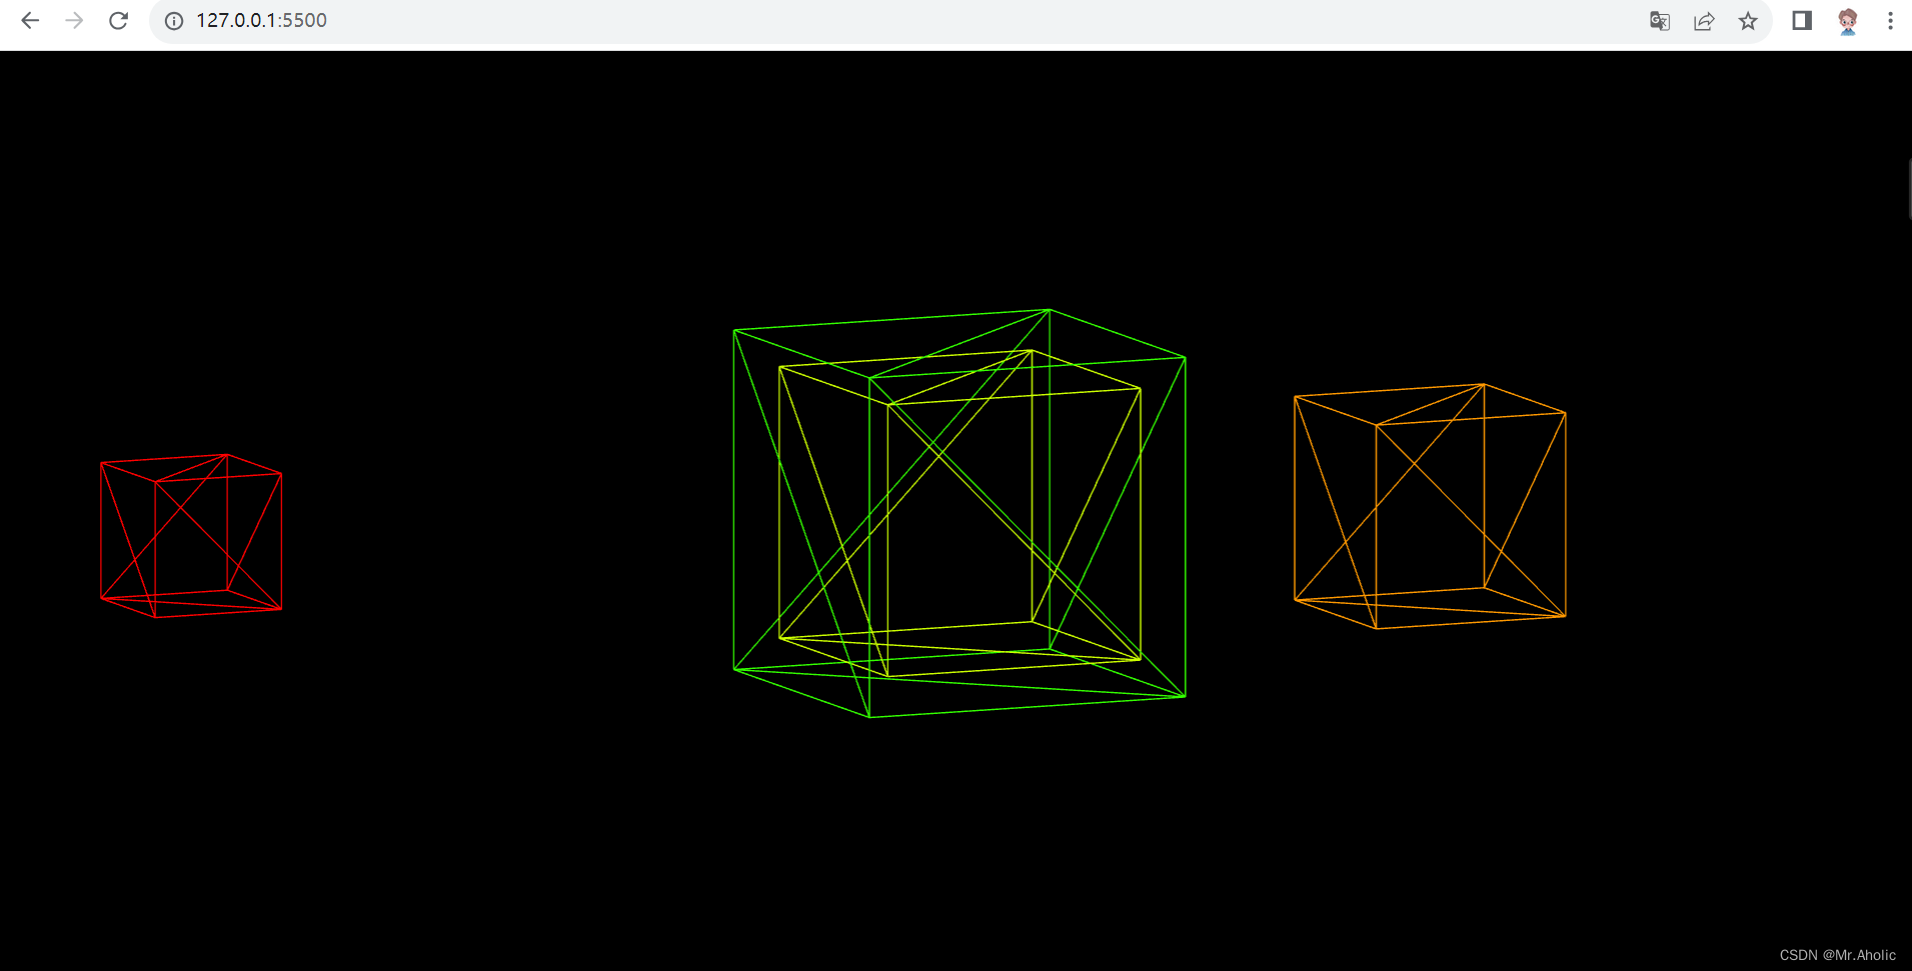
视频效果
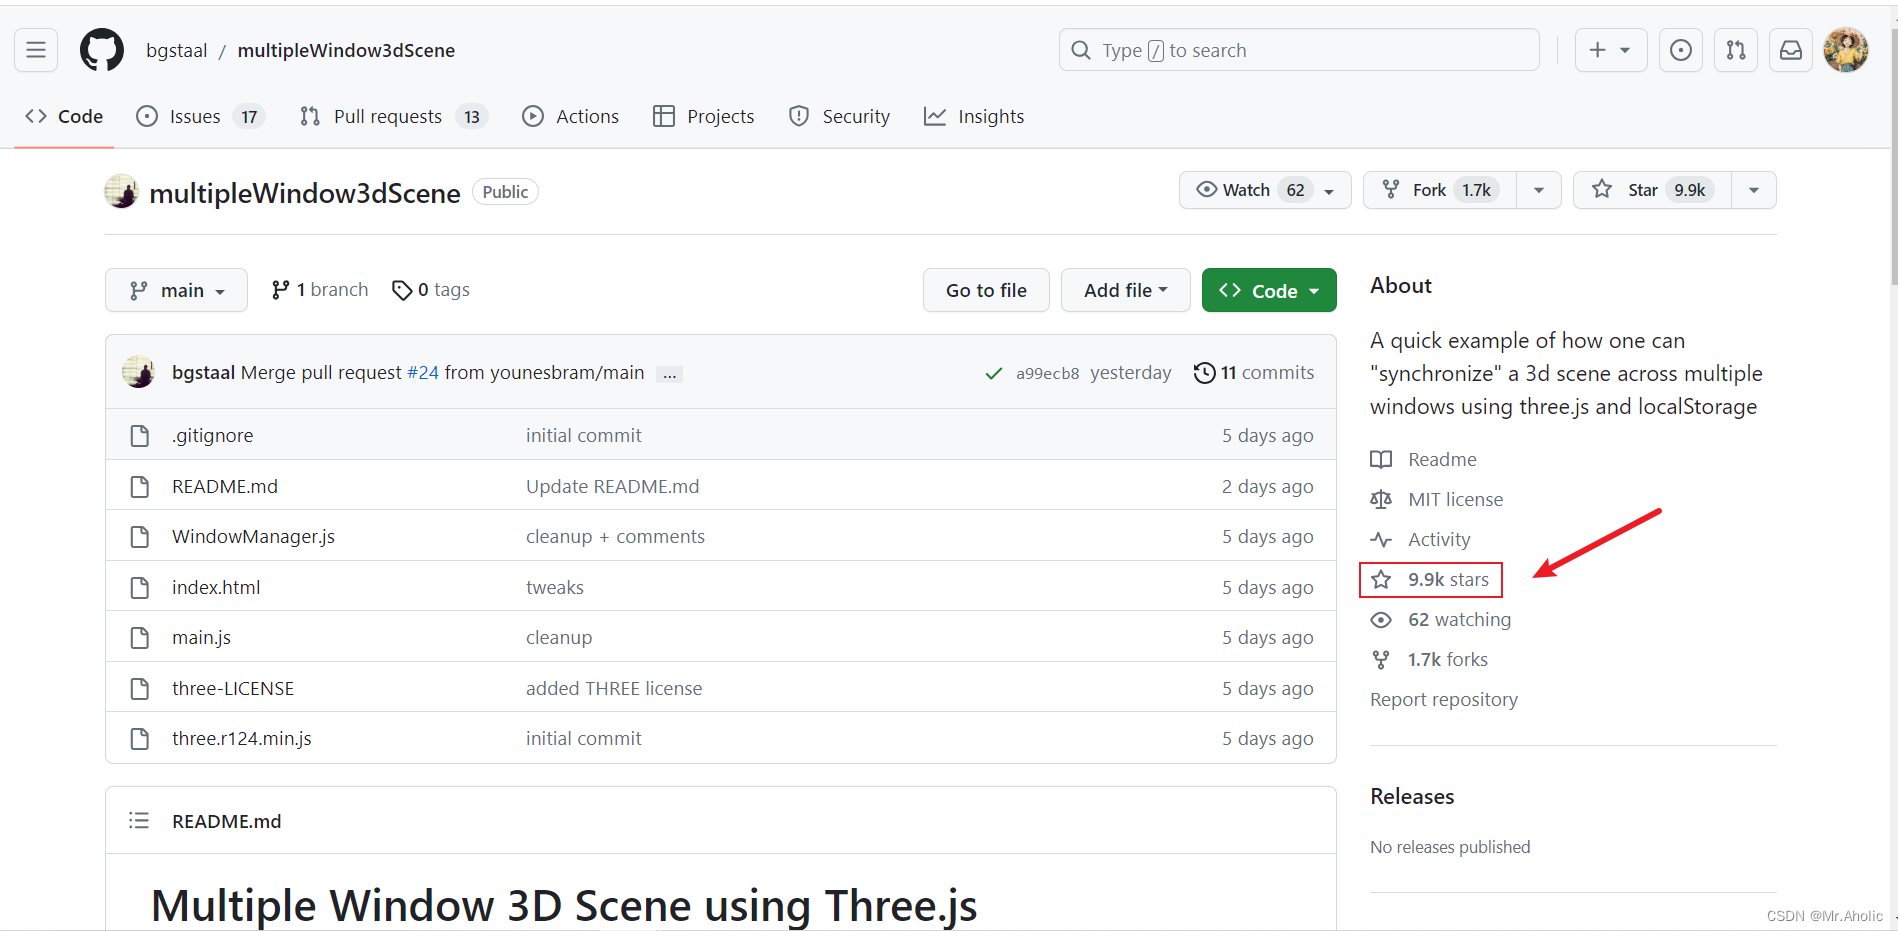
源码地址
改项目目前已达到 9.9k stars
项目地址:https://github.com/bgstaal/multipleWindow3dScene
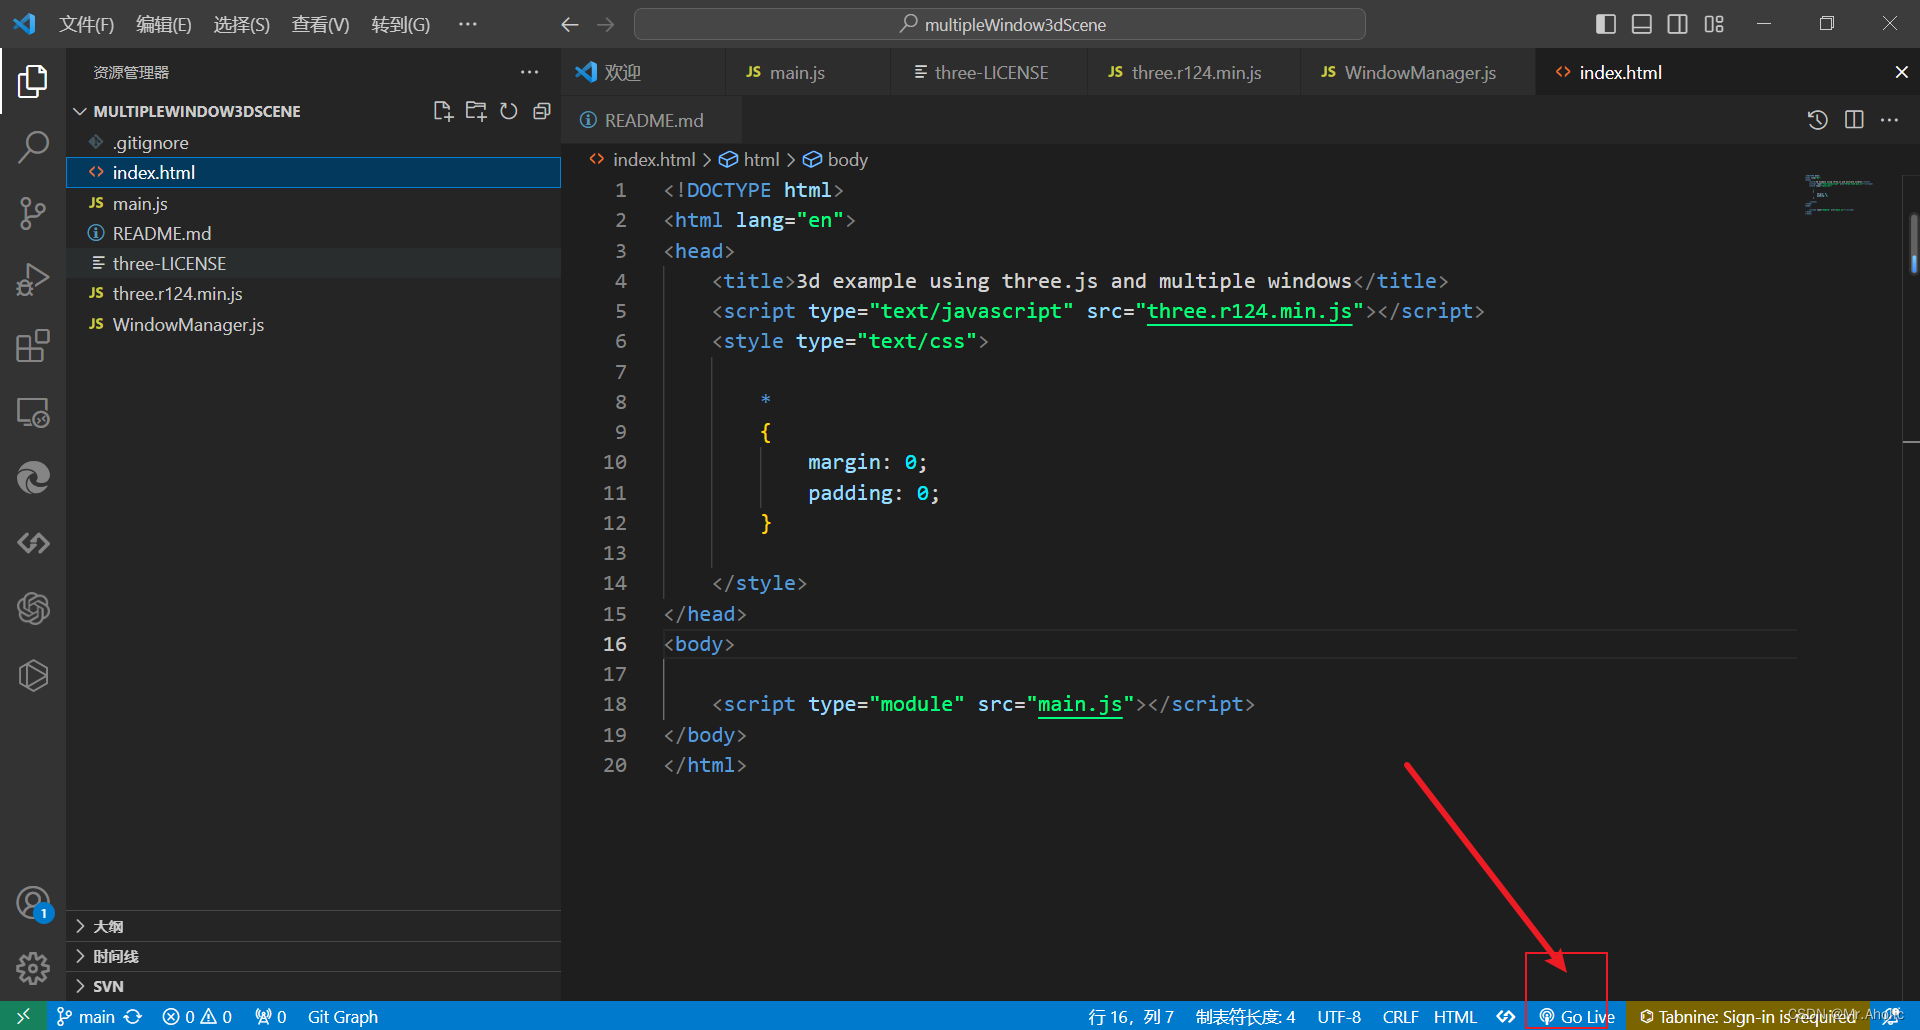
运行
1、Vscode安装 Live Server这个插件
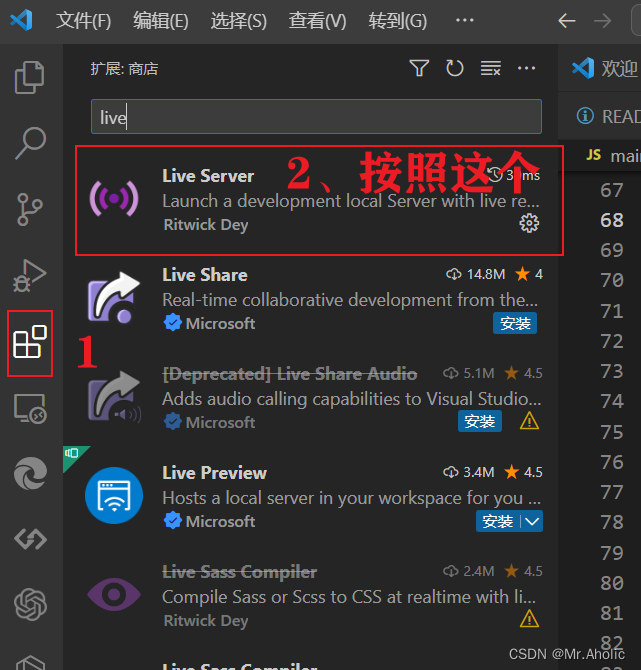
2、点击Go live 就可以看到运行效果了
部分源码
import WindowManager from './WindowManager.js'const t = THREE;
let camera, scene, renderer, world;
let near, far;
let pixR = window.devicePixelRatio ? window.devicePixelRatio : 1;
let cubes = [];
let sceneOffsetTarget = {x: 0, y: 0};
let sceneOffset = {x: 0, y: 0};let today = new Date();
today.setHours(0);
today.setMinutes(0);
today.setSeconds(0);
today.setMilliseconds(0);
today = today.getTime();let internalTime = getTime();
let windowManager;
let initialized = false;// get time in seconds since beginning of the day (so that all windows use the same time)
function getTime ()
{return (new Date().getTime() - today) / 1000.0;
}if (new URLSearchParams(window.location.search).get("clear"))
{localStorage.clear();
}
else
{	// this code is essential to circumvent that some browsers preload the content of some pages before you actually hit the urldocument.addEventListener("visibilitychange", () => {if (document.visibilityState != 'hidden' && !initialized){init();}});window.onload = () => {if (document.visibilityState != 'hidden'){init();}};function init (){initialized = true;// add a short timeout because window.offsetX reports wrong values before a short period setTimeout(() => {setupScene();setupWindowManager();resize();updateWindowShape(false);render();window.addEventListener('resize', resize);}, 500)	}function setupScene (){camera = new t.OrthographicCamera(0, 0, window.innerWidth, window.innerHeight, -10000, 10000);camera.position.z = 2.5;near = camera.position.z - .5;far = camera.position.z + 0.5;scene = new t.Scene();scene.background = new t.Color(0.0);scene.add( camera );renderer = new t.WebGLRenderer({antialias: true, depthBuffer: true});renderer.setPixelRatio(pixR);world = new t.Object3D();scene.add(world);renderer.domElement.setAttribute("id", "scene");document.body.appendChild( renderer.domElement );}function setupWindowManager (){windowManager = new WindowManager();windowManager.setWinShapeChangeCallback(updateWindowShape);windowManager.setWinChangeCallback(windowsUpdated);// here you can add your custom metadata to each windows instancelet metaData = {foo: "bar"};// this will init the windowmanager and add this window to the centralised pool of windowswindowManager.init(metaData);// call update windows initially (it will later be called by the win change callback)windowsUpdated();}function windowsUpdated (){updateNumberOfCubes();}function updateNumberOfCubes (){let wins = windowManager.getWindows();// remove all cubescubes.forEach((c) => {world.remove(c);})cubes = [];// add new cubes based on the current window setupfor (let i = 0; i < wins.length; i++){let win = wins[i];let c = new t.Color();c.setHSL(i * .1, 1.0, .5);let s = 100 + i * 50;let cube = new t.Mesh(new t.BoxGeometry(s, s, s), new t.MeshBasicMaterial({color: c , wireframe: true}));cube.position.x = win.shape.x + (win.shape.w * .5);cube.position.y = win.shape.y + (win.shape.h * .5);world.add(cube);cubes.push(cube);}}function updateWindowShape (easing = true){// storing the actual offset in a proxy that we update against in the render functionsceneOffsetTarget = {x: -window.screenX, y: -window.screenY};if (!easing) sceneOffset = sceneOffsetTarget;}function render (){let t = getTime();windowManager.update();// calculate the new position based on the delta between current offset and new offset times a falloff value (to create the nice smoothing effect)let falloff = .05;sceneOffset.x = sceneOffset.x + ((sceneOffsetTarget.x - sceneOffset.x) * falloff);sceneOffset.y = sceneOffset.y + ((sceneOffsetTarget.y - sceneOffset.y) * falloff);// set the world position to the offsetworld.position.x = sceneOffset.x;world.position.y = sceneOffset.y;let wins = windowManager.getWindows();// loop through all our cubes and update their positions based on current window positionsfor (let i = 0; i < cubes.length; i++){let cube = cubes[i];let win = wins[i];let _t = t;// + i * .2;let posTarget = {x: win.shape.x + (win.shape.w * .5), y: win.shape.y + (win.shape.h * .5)}cube.position.x = cube.position.x + (posTarget.x - cube.position.x) * falloff;cube.position.y = cube.position.y + (posTarget.y - cube.position.y) * falloff;cube.rotation.x = _t * .5;cube.rotation.y = _t * .3;};renderer.render(scene, camera);requestAnimationFrame(render);}// resize the renderer to fit the window sizefunction resize (){let width = window.innerWidth;let height = window.innerHeightcamera = new t.OrthographicCamera(0, width, 0, height, -10000, 10000);camera.updateProjectionMatrix();renderer.setSize( width, height );}
}
这篇关于前端量子纠缠 效果炸裂 multipleWindow3dScene的文章就介绍到这儿,希望我们推荐的文章对编程师们有所帮助!


