本文主要是介绍aio_pika篇---实现收发功能,希望对大家解决编程问题提供一定的参考价值,需要的开发者们随着小编来一起学习吧!
aip_pika篇—实现收发功能
发送
publisher.py
import asynciofrom aio_pika import DeliveryMode, ExchangeType, Message, connectasync def main() -> None:# Perform connectionconnection = await connect(host='127.0.0.1',port=5672,login='ai.litter',password='r7n2ApE2yYk3yVz',virtualhost='sli')async with connection:# Creating a channelchannel = await connection.channel()logs_exchange = await channel.declare_exchange("ai.litter", ExchangeType.DIRECT,durable=True)# Sending the messagefor i in range(1000):message_body = 'hello - {}'.format(str(i)).encode()message = Message(body=message_body,delivery_mode=DeliveryMode.PERSISTENT,)await asyncio.sleep(1)# routing_key = "hello"routing_key = "pool_queue"await logs_exchange.publish(message, routing_key=routing_key)print(f" [x] Sent {message.body!r}")if __name__ == "__main__":asyncio.run(main())

接收并发送
import aio_pika
from aio_pika import ExchangeType,Message
from aio_pika.abc import AbstractRobustConnection, AbstractIncomingMessage
from aio_pika.pool import Pool
from utils import receive_taskasync def main() -> None:loop = asyncio.get_event_loop()async def get_connection() -> AbstractRobustConnection:# return await aio_pika.connect_robust("amqp://guest:guest@localhost/")return await aio_pika.connect_robust(host='127.0.0.1', port=5672, login='ai.litter',password='r7n2ApE2yYk3yVz', virtualhost='slife')connection_pool: Pool = Pool(get_connection, max_size=2, loop=loop)async def get_channel() -> aio_pika.Channel:async with connection_pool.acquire() as connection:return await connection.channel()channel_pool: Pool = Pool(get_channel, max_size=10, loop=loop)async def consume() -> None:async with channel_pool.acquire() as channel:await channel.set_qos(20)direct_exchange = await channel.declare_exchange("ai.litter", ExchangeType.DIRECT, durable=True)queue_name = "pool_queue"queue = await channel.declare_queue(queue_name, durable=False, auto_delete=False,)await queue.bind(direct_exchange, routing_key=queue_name)async with queue.iterator() as queue_iter:message: AbstractIncomingMessageasync for message in queue_iter:try:print('task received, handling')print(str(message.body))await receive_task(message.body, publish_func=publish)except Exception as e:print('message nacked, exception=', e)await message.nack(requeue=False)else:print('task finished')try:await message.ack()except:await channel.reopen()async def publish(message: bytes, queue_name: str) -> None:async with channel_pool.acquire() as channel:# queue_name = "test_queue"routing_key = "test_queue"# Declaring exchangeexchange = await channel.declare_exchange("direct", auto_delete=True)# Declaring queuequeue = await channel.declare_queue(queue_name, auto_delete=True)# Binding queueawait queue.bind(exchange, routing_key)await exchange.publish(Message(# bytes("wwwwwwwwwwwwww", "utf-8"),message,# content_type="text/plain",# headers={"foo": "bar"},),routing_key,)async with connection_pool, channel_pool:task = loop.create_task(consume())print('amqp consumer created, waiting for task...')# await asyncio.wait([publish('hello world -- {}'.format(str(i)).encode(), queue_name) for i in range(5)])await taskif __name__ == "__main__":asyncio.run(main())import asyncio
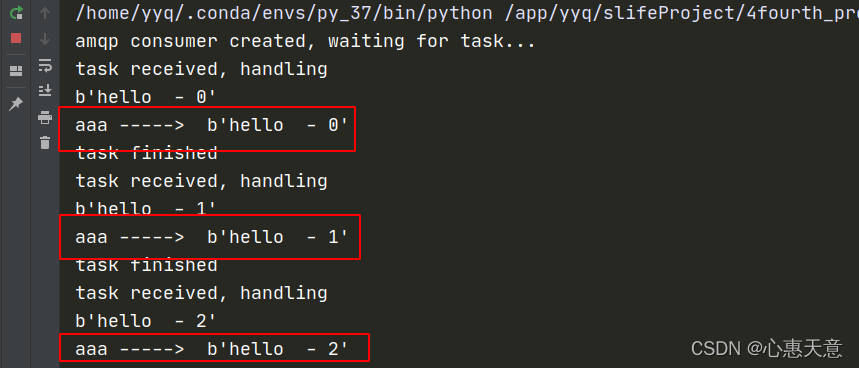
查看收到的内容
utils.py
from typing import Callable, Coroutine, Any
import asyncio
from asyncio import queuesasync def receive_task(body: bytes, publish_func: Callable[[bytes, str], Coroutine[Any, Any, None]]):print("aaa ----->  " + str(body))await asyncio.wait([publish_func('good Job -- {}'.format(str(body)).encode(), 'hello')])
这篇关于aio_pika篇---实现收发功能的文章就介绍到这儿,希望我们推荐的文章对编程师们有所帮助!


