本文主要是介绍从零开始vue3+vite+ts+pinia+router4后台管理(1),希望对大家解决编程问题提供一定的参考价值,需要的开发者们随着小编来一起学习吧!
写在前面的话
公司上半年重构了后台管理页面,用了vue3+elementPlus +vite++ts+pinia+vue-router4 ,想记录一下一个公司后台管理项目从零到开始的过程
# 克隆项目 gitee地址
git clone https://gitee.com/3439/vue3dny-admin.git# 进入项目目录
cd vue3dny-admin# 安装依赖
npm install# 本地开发 启动项目
npm run dev
要实现的功能
- 登陆 动态路由侧边栏
- 标签栏
- 页面布局切换
- element plus 表格的二次封装
- element plus 表单的二次封装
- 一些常用的自定义指令
- 虚拟表格
- 表格的拖拽排序
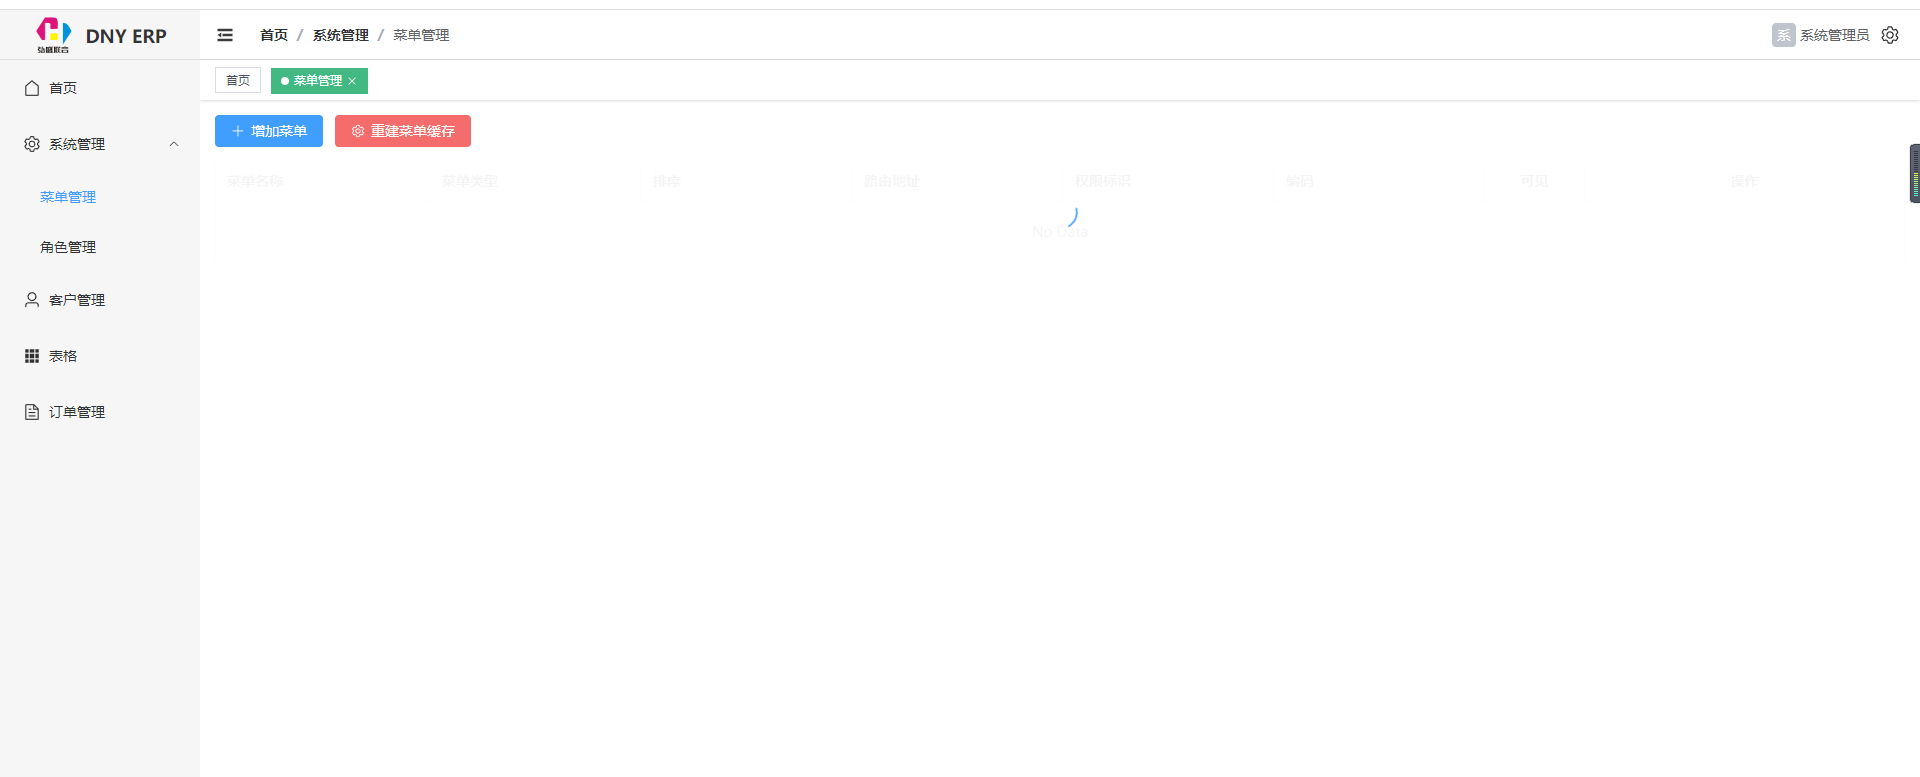
效果图
项目规范和目录
-
组件命名大驼峰,如
TagsView -
一个功能模块一个文件夹,文件夹名全部小写,入口文件为
index.vue -
公共组件放在
components文件夹下,页面组件放在对应的页面components文件夹下 -
hooks放hooks函数 utils公用函数
-
所有的请求接口放在
api文件夹下,api文件夹的ts文件要和views功能模块一一对应
├── public
│   └──  favicon.ico
├── src
│   ├── api                 # 接口请求
│   │   ├── dashboad.ts
│   │   └── system.ts
│	│	└── user.ts
│   ├── assets              # 静态资源
│   │   └── logo.png
│   ├── components          # 公共组件
│   │   └── Table           # 表格组件
│   │       └── index.vue
│   ├── layout              # 布局组件
|   |   ├── components
│   │   └── index.vue
│   ├── views               # 页面
│   │   ├── dashboard
│   │   │   └── index.vue
│   │   └── system
│   │       └── index.vue
│	│	└──user
│   │       └── user.vue
│   ├── router              # 路由
│   │   ├── index.ts
│   │   └── routes.ts
│   ├── store               # 状态管理
│   │   ├── permission.ts
│   ├── styles              # 样式
│   │   └── index.css
│   ├── utils               # 工具函数
│   │   ├── index.ts
│   │   └── request.ts
│   ├── App.vue            # 入口组件
│   └── main.ts            # 入口文件
│   └── permission.ts      # 入口权限判断ts
├── .gitignore             # git忽略文件
|── index.html             # 入口html文件
├── package.json           # 依赖包
├── README.md              # 项目说明
├── tsconfig.node.json     # TypeScript 编译器的配置文件
└── vite.config.js         # vite配置
代码的结构一定要整洁 有规范 后期才能容易维护
技术栈和版本
Vite 需要 Node.js 版本 14.18+,16+,其他直接看我的package.json简单又方便
{"name": "vue3dny-admin","private": true,"version": "0.0.0","type": "module","scripts": {"dev": "vite","build": "vue-tsc && vite build","preview": "vite preview"},"dependencies": {"@element-plus/icons-vue": "^2.1.0","axios": "^1.5.0","element-plus": "^2.3.14","js-cookie": "^3.0.5","nprogress": "^0.2.0","pinia": "^2.1.6","vue": "^3.3.4","vue-router": "^4.2.4"},"devDependencies": {"@types/node": "^20.6.0","@vitejs/plugin-vue": "^4.2.3","typescript": "^5.0.2","vite": "^4.4.5","vue-tsc": "^1.8.5"}
}
vue3中vite的@路径别名和Vite 配置文件
1、在项目中安装依赖包**
安装@types/node 这个配置地址时会用到
npm install @types/node --save-dev
2、 修改vite.config.ts配置路径别名@和Vite 配置文件,因为我这个测试项目用的接口比较少,用的是fastmock模拟前端数据,正式项目推荐apiFox 它是API 文档、API 调试、API Mock、API 自动化测试一体化协作平台,具体的大家官网查看吧
// https://vitejs.dev/config/
import { defineConfig } from 'vite'
import vue from '@vitejs/plugin-vue'
import path from "path";//这个path用到了上面安装的@types/node// https://vitejs.dev/config/
export default ({ mode }) => {return defineConfig({plugins: [vue()],//这里进行配置别名resolve: {alias: {'@': path.resolve('./src') // @代替src}},lintOnSave: false,//设置eslintserver: {port: 9527, // 设置服务启动端口号open: false, // 设置服务启动时是否自动打开浏览器host: '192.168.1.17',//自己本地的ip地址proxy: {'/apis': {target: 'https://www.fastmock.site/mock/fcb67647c7d0753834b840970f8e6ae8/dnyapi', //接口的域名secure: false, // 如果是https接口,需要配置这个参数changeOrigin: true, // 如果接口跨域,需要进行这个参数配置rewrite: (path) => path.replace(/^\/apis/, '/')}}}})
}
3、修改tsconfig.json 中的信息
{"compilerOptions": {"target": "ES2020",// 指定ECMAScript目标版本"useDefineForClassFields": true,// 是否校验TypeScript数据类型"module": "ESNext",// 生成代码的模板标准"removeComments": true,	// 是否删除注释"outDir": "./dist", // 指定输出目录"lib": ["ES2020", "DOM", "DOM.Iterable"],"skipLibCheck": false,"baseUrl": "./",	// 解析非相对模块的基地址,默认是当前目录"paths": {"@/*": ["src/*"]},	// 路径映射,相对于baseUrl/* Bundler mode */"moduleResolution": "bundler","allowImportingTsExtensions": true,"resolveJsonModule": true,"isolatedModules": true,"noEmit": true,"jsx": "preserve",/* Linting */"strict": true,"noUnusedLocals": true,"noUnusedParameters": true,"noFallthroughCasesInSwitch": true},"include": ["src/**/*.ts", "src/**/*.d.ts", "src/**/*.tsx", "src/**/*.vue"],"references": [{ "path": "./tsconfig.node.json" }]
}
main.ts配置
import { createApp } from 'vue' //引入vue
import App from './App.vue'//引入入口组件
const app = createApp(App)// 创建vue实例
import router from './router/index'// 引入路由
import ElementPlus from 'element-plus'//引入element-plus
import 'element-plus/dist/index.css'//引入element-plus样式
import './style.css'//引入全局样式
import "@/permission.ts"//路由钩子权限
import * as ElementPlusIconsVue from '@element-plus/icons-vue'//引入element-plus图标
for (const [key, component] of Object.entries(ElementPlusIconsVue)) {app.component(key, component)
}// 全局导入plus图标import vlog from '@/utils/vue-awesome-console.ts'//解决console.log打印出对象的问题 自己用的
// 你可以选择将 vlog 方法挂在 console 对象上,然后像使用 console.log 一样使用 console.vlog
// 同时你也可以根据项目中的开发/生产模式,进行不同的使用方式
if (process.env.NODE_ENV === 'development' ) {window.console.vlog = vlog
} else {window.console.vlog = () => {}
}
import {createPinia} from 'pinia'//(读音:皮尼亚)引入状态管理
const pinia = createPinia()// 创建pinia实例
app.use(router)// 注册路由
app.use(ElementPlus)// 注册element-plus
app.use(pinia)// 注册状态管理
app.mount('#app')// 挂载vue实例
这篇关于从零开始vue3+vite+ts+pinia+router4后台管理(1)的文章就介绍到这儿,希望我们推荐的文章对编程师们有所帮助!


