本文主要是介绍emq 的用户密码认证,希望对大家解决编程问题提供一定的参考价值,需要的开发者们随着小编来一起学习吧!
MQTT 认证设置 EMQ 消息服务器认证由一系列认证插件(Plugin)提供,系统支持按用户名密码、ClientID 或匿名认证。
系统默认开启匿名认证(anonymous),通过加载认证插件可开启的多个认证模块组成认证链:
           ----------------           ----------------           ------------
Client --> | Username认证 | -ignore-> | ClientID认证 | -ignore-> | 匿名认证 | ---------------- ---------------- ------------ | | | \|/ \|/ \|/ allow | deny allow | deny allow | deny
注解
EMQ 2.0 消息服务器还提供了 MySQL、PostgreSQL、Redis、MongoDB、HTTP、LDAP 认证插件。
开启匿名认证 etc/emq.conf 配置启用匿名认证:
## Allow Anonymous authentication
mqtt.allow_anonymous = true
EMQ 2.0 版本提供的认证插件包括:
插件 说明 emq_auth_clientid ClientId 认证/鉴权插件 emq_auth_username 用户名密码认证/鉴权插件 emq_auth_ldap LDAP 认证/鉴权插件 emq_auth_http HTTP 认证/鉴权插件 emq_auth_mysql MySQ L认证/鉴权插件 emq_auth_pgsql Postgre 认证/鉴权插件 emq_auth_redis Redis 认证/鉴权插件 emq_auth_mongo MongoDB 认证/鉴权插件
用户名密码认证 基于 MQTT 登录用户名(username)、密码(password)认证。
etc/plugins/emq_auth_username.conf 中配置默认用户:
auth.user.$N.username = admin
auth.user.$N.password = public
启用 emq_auth_username 插件:
./bin/emqttd_ctl plugins load emq_auth_username
使用 ./bin/emqttd_ctl users 命令添加用户:
$ ./bin/emqttd_ctl users add <Username> <Password>
ClientId 认证 基于 MQTT 客户端 ID 认证。
etc/plugins/emq_auth_clientid.conf:
auth.client.$N.clientid = clientid
auth.client.$N.password = passwd
启用 emq_auth_clientid 插件:
./bin/emqttd_ctl plugins load emq_auth_clientid
LDAP 插件认证 etc/plugins/emq_auth_ldap.conf 配置 LDAP 参数:
auth.ldap.servers = 127.0.0.1
auth.ldap.port = 389
auth.ldap.timeout = 30
auth.ldap.user_dn = uid=%u,ou=People,dc=example,dc=com
auth.ldap.ssl = false
启用 LDAP 认证插件:
./bin/emqttd_ctl plugins load emq_auth_ldap
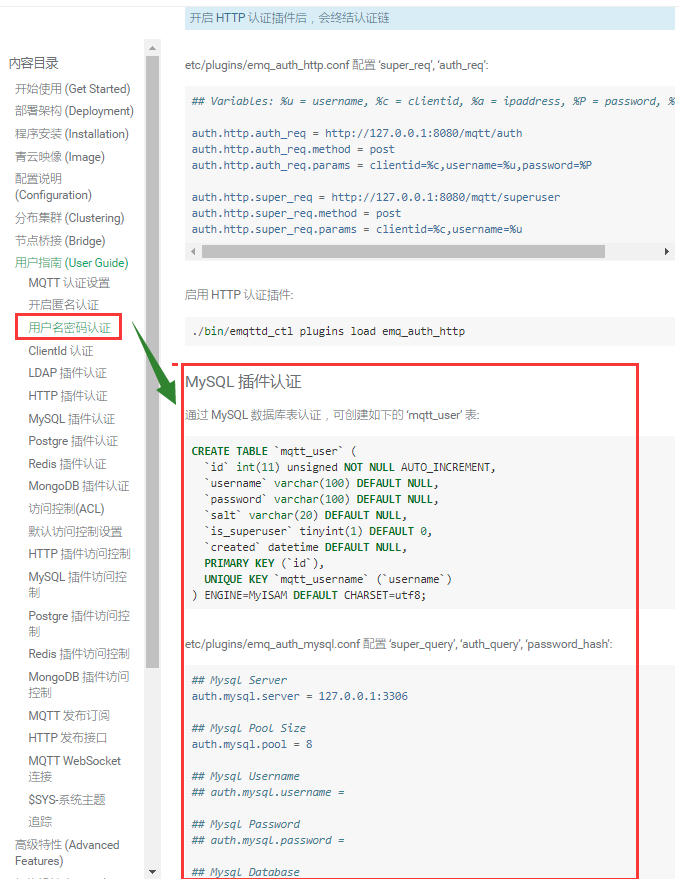
HTTP 插件认证 etc/plugins/emq_auth_http.conf 配置 ‘super_req’, ‘auth_req’:
## Variables: %u = username, %c = clientid, %a = ipaddress, %P = password, %t = topic
auth.http.auth_req = http://127.0.0.1:8080/mqtt/authauth.http.auth_req.method = postauth.http.auth_req.params = clientid=%c,username=%u,password=%P
auth.http.super_req = http://127.0.0.1:8080/mqtt/superuserauth.http.super_req.method = postauth.http.super_req.params = clientid=%c,username=%u
启用 HTTP 认证插件:
./bin/emqttd_ctl plugins load emq_auth_http
MySQL 插件认证 通过 MySQL 数据库表认证,可创建如下的 ‘mqtt_user’ 表:
CREATE TABLE `mqtt_user` ( `id` int(11) unsigned NOT NULL AUTO_INCREMENT, `username` varchar(100) DEFAULT NULL, `password` varchar(100) DEFAULT NULL, `salt` varchar(20) DEFAULT NULL, `is_superuser` tinyint(1) DEFAULT 0, `created` datetime DEFAULT NULL, PRIMARY KEY (`id`), UNIQUE KEY `mqtt_username` (`username`) ) ENGINE=MyISAM DEFAULT CHARSET=utf8; etc/plugins/emq_auth_mysql.conf 配置 ‘super_query’, ‘auth_query’, ‘password_hash’:
## Mysql Server
auth.mysql.server = 127.0.0.1:3306
## Mysql Pool Sizeauth.mysql.pool = 8
## Mysql Username## auth.mysql.username =
## Mysql Password## auth.mysql.password =
## Mysql Databaseauth.mysql.database = mqtt
## Variables: %u = username, %c = clientid
## Authentication Query: select password onlyauth.mysql.auth_query = select password from mqtt_user where username = ‘%u’ limit 1
## Password hash: plain, md5, sha, sha256, pbkdf2auth.mysql.password_hash = sha256
## %% Superuser Queryauth.mysql.super_query = select is_superuser from mqtt_user where username = ‘%u’ limit 1
注解
如果系统已有MQTT认证表,可通过配置’auth_query’查询语句集成。
启用 MySQL 认证插件:
./bin/emqttd_ctl plugins load emq_auth_mysql
Postgre 插件认证 通过 PostgreSQL 数据库表认证,可创建如下的 ‘mqtt_user’ 表:
CREATE TABLE mqtt_user (id SERIAL primary key, is_superuser boolean, username character varying(100), password character varying(100), salt character varying(40) ); etc/plugins/emq_auth_pgsql.conf 配置 ‘auth_query’、’password_hash’:
## Postgre Server
auth.pgsql.server = 127.0.0.1:5432
auth.pgsql.pool = 8
auth.pgsql.username = root
#auth.pgsql.password =
auth.pgsql.database = mqtt
auth.pgsql.encoding = utf8
auth.pgsql.ssl = false
## Variables: %u = username, %c = clientid, %a = ipaddress
## Authentication Query: select password onlyauth.pgsql.auth_query = select password from mqtt_user where username = ‘%u’ limit 1
## Password hash: plain, md5, sha, sha256, pbkdf2auth.pgsql.password_hash = sha256
## sha256 with salt prefix## auth.pgsql.password_hash = salt sha256
## sha256 with salt suffix## auth.pgsql.password_hash = sha256 salt
## Superuser Queryauth.pgsql.super_query = select is_superuser from mqtt_user where username = ‘%u’ limit 1
启用 Postgre 认证插件:
./bin/emqttd_ctl plugins load emq_auth_pgsql
Redis 插件认证 Redis 认证。MQTT 用户记录存储在 Redis Hash, 键值: “mqtt_user:<Username>”
etc/plugins/emq_auth_redis.conf 设置 ‘super_cmd’、’auth_cmd’、’password_hash’:
## Redis Server
auth.redis.server = 127.0.0.1:6379
## Redis Pool Sizeauth.redis.pool = 8
## Redis Databaseauth.redis.database = 0
## Redis Password## auth.redis.password =
## Variables: %u = username, %c = clientid
## Authentication Query Commandauth.redis.auth_cmd = HGET mqtt_user:%u password
## Password hash: plain, md5, sha, sha256, pbkdf2auth.redis.password_hash = sha256
## Superuser Query Commandauth.redis.super_cmd = HGET mqtt_user:%u is_superuser
启用 Redis 认证插件:
./bin/emqttd_ctl plugins load emq_auth_redis
MongoDB 插件认证 按 MongoDB 用户集合认证,例如创建 ‘mqtt_user’ 集合:
{username: "user",password: "password hash", is_superuser: boolean (true, false), created: "datetime" } etc/plugins/emq_auth_mongo.conf 设置 ‘super_query’、’auth_query’:
## Mongo Server
auth.mongo.server = 127.0.0.1:27017
## Mongo Pool Sizeauth.mongo.pool = 8
## Mongo User## auth.mongo.user =
## Mongo Password## auth.mongo.password =
## Mongo Databaseauth.mongo.database = mqtt
## auth_queryauth.mongo.auth_query.collection = mqtt_user
auth.mongo.auth_query.password_field = password
auth.mongo.auth_query.password_hash = sha256
auth.mongo.auth_query.selector = username=%u
## super_queryauth.mongo.super_query.collection = mqtt_user
auth.mongo.super_query.super_field = is_superuser
auth.mongo.super_query.selector = username=%u
启用 MongoDB 认证插件:
./bin/emqttd_ctl plugins load emq_auth_mongo
这篇关于emq 的用户密码认证的文章就介绍到这儿,希望我们推荐的文章对编程师们有所帮助!