本文主要是介绍Vant 实现简单的登录注册模块以及个人用户中心,希望对大家解决编程问题提供一定的参考价值,需要的开发者们随着小编来一起学习吧!
效果图:
代码:
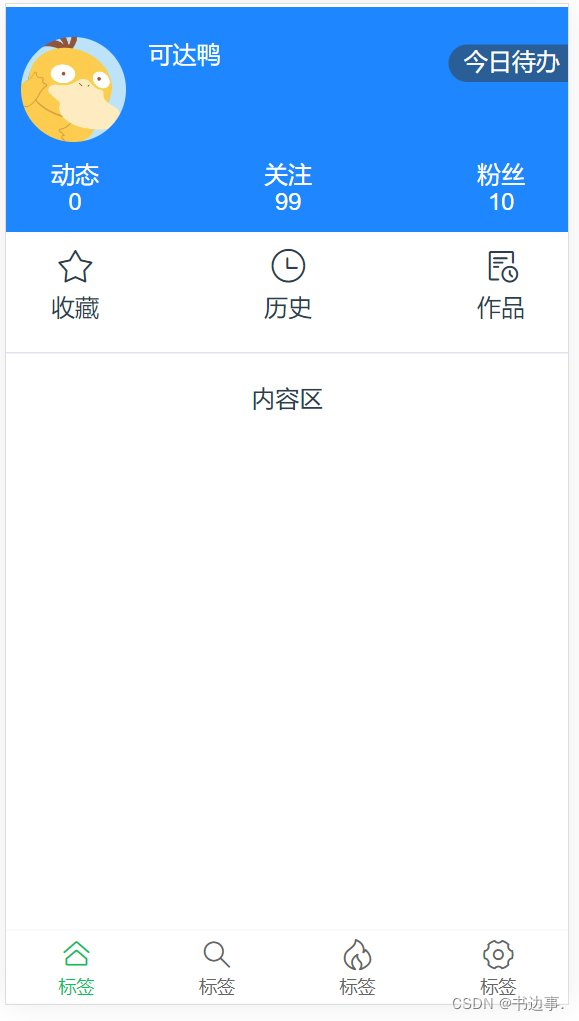
个人中心:
<template><div><div class="top"><div><img class="tar" src="@/assets/lz.jpg" alt=""><p style="float:left;color:#FFFFFF;margin-left:15px;margin-top:20px">可达鸭</p><div style="float:right;height:25px;background-color:#295F96;margin-top:25px;width: 80PX; border-radius: 15px 0px 0px 15px;color:#FFFFFF"> <a href="#" style="color:#FFFFFF">今日待办</a></div></div><div> </div><div style="clear: both"><div style="margin-top:10px;color:#FFFFFF;float:left;margin-left:30px;"><div>动态</div><div>0</div></div><div style="margin-top:10px;color:#FFFFFF;float:left;margin-left:110px;"><div>关注</div><div>99</div></div><div style="margin-top:10px;color:#FFFFFF;float:left;margin-left:110px;"><div>粉丝</div><div>10</div></div></div></div><div style=""><div style="float:left;margin-left:30px;margin-top:10px"><div ><van-icon size="25" name="star-o" /></div><div style="margin-top:3px">收藏</div></div><div style="float:left;margin-left:110px;margin-top:10px"><div ><van-icon size="25" name="clock-o" /></div><div style="margin-top:3px">历史</div></div><div style="float:left;margin-left:110px;margin-top:10px"><div ><van-icon size="25" name="todo-list-o" /></div><div style="margin-top:3px">作品</div></div><div style="clear: both;;width:100%;height:10px"></div></div><div style="margin-top:10px; clear: both; border-top: 1px solid #e2e2ee;"><div> </div><div>内容区</div></div><div style="clear:both;"><van-tabbarv-model="active"active-color="#07c160"
><van-tabbar-item icon="home-o">标签</van-tabbar-item><van-tabbar-item icon="search">标签</van-tabbar-item><van-tabbar-item icon="fire-o">标签</van-tabbar-item><van-tabbar-item icon="setting-o">标签</van-tabbar-item>
</van-tabbar></div><div></div></div>
</template>
<style scoped>.top{height: 150px;width: 100%;background-color: #1e87ff;margin-top:-58px}.tar{margin-top: 20px;height: 70px;width: 70px;border-radius: 50%;float: left;margin-left:10px;}
</style>
<script>import Tabbar from '@/components/tab/Tabbar.vue'export default{data(){return{userName:'',pwd:'',active: 0}},//axios //getApi() ---> axios aixos.get('http://localhost:8080/api')//后端得到了请求 --数据处理 --数据传回 //本地的浏览器得到数据components:{Tabbar,},created(){var userLogin = localStorage.getItem("userLogin");userLogin = JSON.parse(userLogin);console.log(userLogin.name);console.log(userLogin.pwd);this.userName = userLogin.name;this.pwd = userLogin.pwd;},methods:{exit(){localStorage.removeItem("userLogin"); //移除保存的数据this.$router.replace("/home");},onClickLeft() {Toast('返回');},onClickRight() {Toast('按钮');}}}
</script>
<style>.top{height: 100px;width: 100%;background-color: #1e87ff;margin-top:-58px}.tar{margin-top: 20px;height: 70px;width: 70px;border-radius: 50%;}
</style>
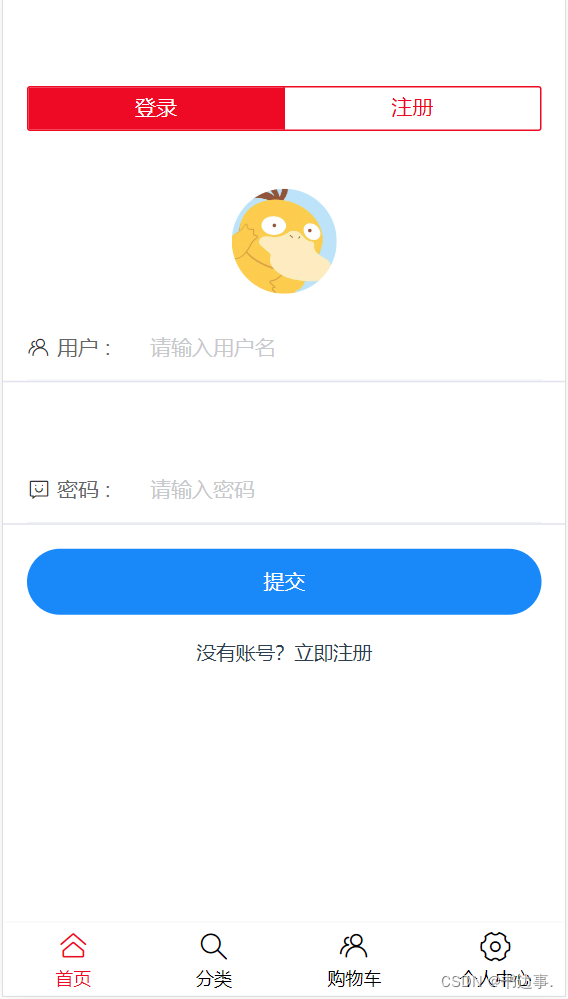
登录:
<template><van-form @submit="onSubmit"><div ><div> </div><img class="tar" src="@/assets/lz.jpg" alt=""></div><van-fieldleft-icon="friends-o"v-model="username"style="margin-top:10px"name="用户名"label="用户 :"placeholder="请输入用户名":rules="[{ required: true, message: '请填写用户名' }]"label-width="50"class="input"/><van-fieldleft-icon="smile-comment-o"v-model="password"type="password"name="密码"label="密码 :"placeholder="请输入密码"label-width="50":rules="[{ required: true, message: '请填写密码' }]"class="input"/><div style="margin: 16px;"><van-button round block type="info" native-type="submit">提交</van-button></div><div class="reg"><div @click="toRegister" style="font-size: small;">没有账号?立即注册</div></div></van-form></template>
<script>
import { Dialog } from 'vant';export default{data(){return{username:'',password:'',show:false,userList:[],}},methods:{onSubmit(){var list = localStorage.getItem("userList");console.log(list);if(list == null ){Dialog.alert({title: '尊敬的用户您好:',message: '登录账户不存在,重新登录!',theme: 'round-button',}).then(() => {this.username = '';this.password = '';}); }else{this.userList = JSON.parse(list);for(var i = 0 ; i < this.userList.length ; i++){console.log(this.userList[i].name);console.log(this.userList[i].pwd);if(this.userList[i].name == this.username && this.userList[i].pwd == this.password){Dialog.alert({title: '尊敬的用户您好:',message: '登录成功!',theme: 'round-button',}).then(() => {this.$router.replace({path:'/home'});});localStorage.setItem("userLogin",JSON.stringify(this.userList[i]));return ;}}Dialog.alert({title: '尊敬的用户您好:',message: '登录账户不存在,重新登录!',theme: 'round-button',}).then(() => {this.username = '';this.password = '';}); }},toRegister(){this.$router.replace('/user/register')}},components:{[Dialog.Component.name]: Dialog.Component,}}
</script>
<style scoped>/* .juli{margin-top: 50px;background-color: pink;} */.input{margin-top: 50px;border-bottom: 1px solid #e2e2ee;}.tar{margin-top: 20px;height: 70px;width: 70px;border-radius: 50%;}/* .back{} */
</style>
这篇关于Vant 实现简单的登录注册模块以及个人用户中心的文章就介绍到这儿,希望我们推荐的文章对编程师们有所帮助!


