本文主要是介绍开始尝试从0写一个项目--前端(四),希望对大家解决编程问题提供一定的参考价值,需要的开发者们随着小编来一起学习吧!
后台和用户分离
添加代码
src/router/index.js
{path: "/user",component: () => import("@/views/user/User.vue")},src/views/login/Login.vue
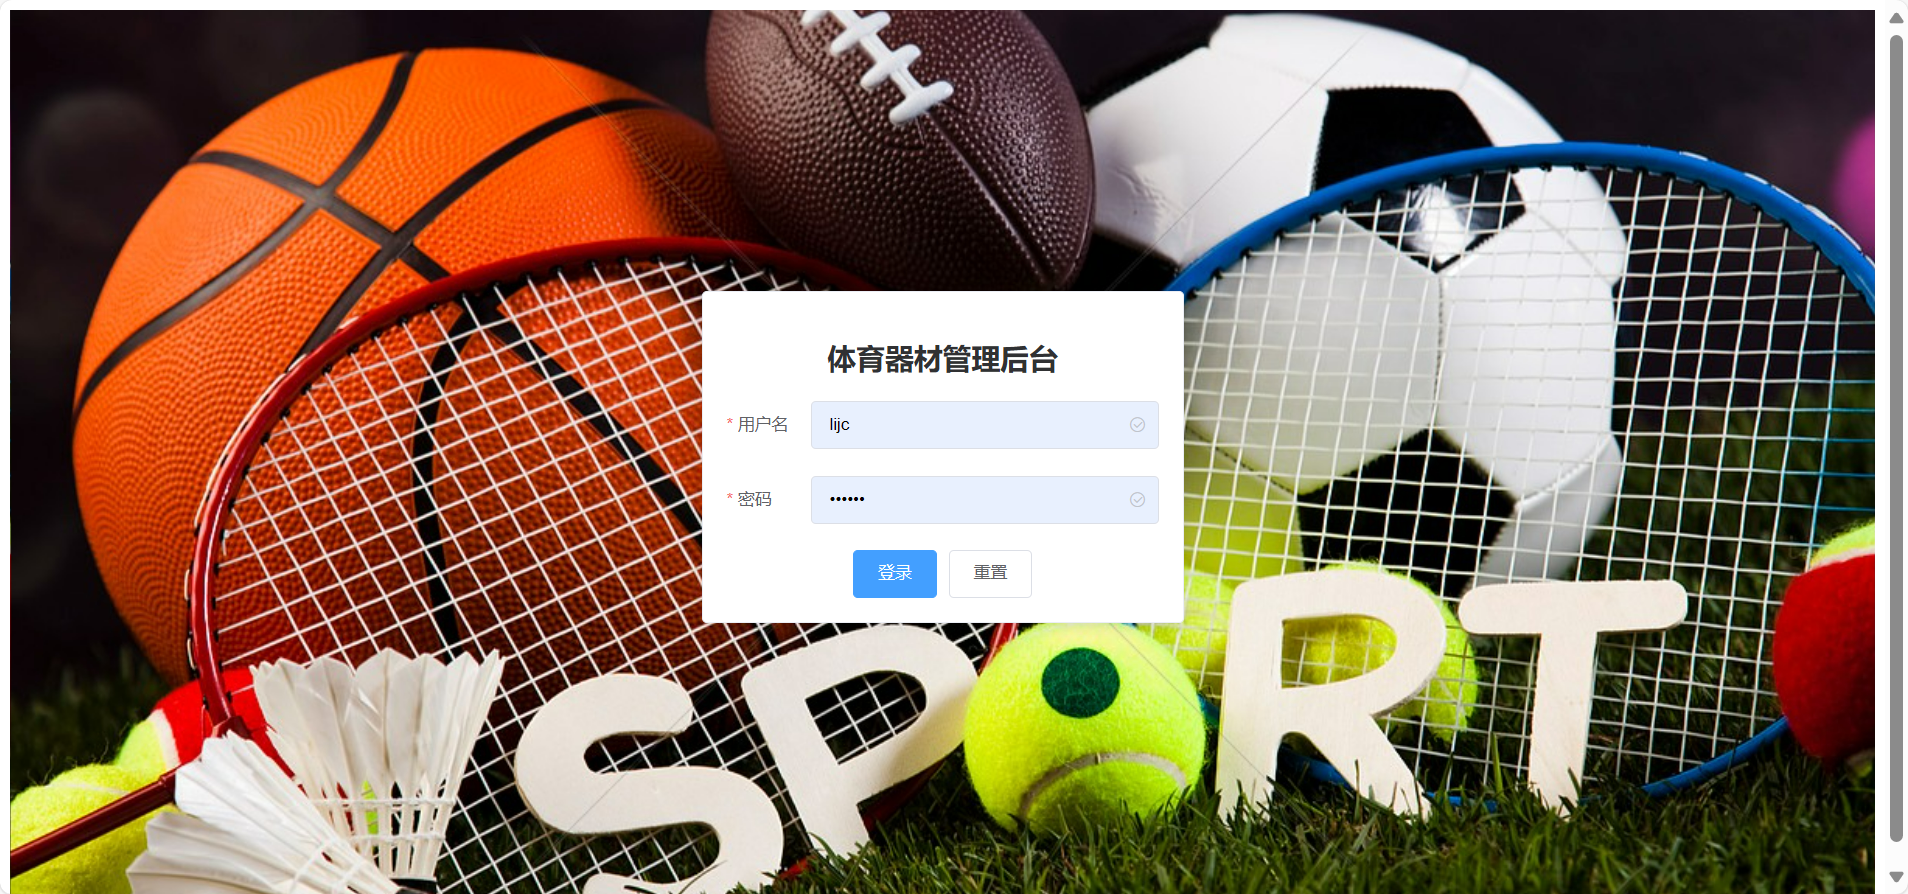
<template><div class="login-background"><el-card class="box-card"><h2>体育器材管理后台</h2><el-form :model="ruleForm" status-icon :rules="rules" ref="ruleForm" label-position="left" label-width="70px"class="login-from"><el-form-item label="用户名" prop="username"><el-input v-model="ruleForm.username"></el-input></el-form-item><el-form-item label="密码" prop="password"><el-input type="password" v-model="ruleForm.password" autocomplete="off"></el-input></el-form-item></el-form><div class="btnGroup"><el-button type="primary" @click="submitForm('ruleForm')" v-loading="loading">登录</el-button><el-button @click="resetForm('ruleForm')">重置</el-button></div></el-card></div>
</template><script>
// import request from '@/utils/request'
import {login} from '@/api/Student';
import {userLogin} from "@/api/User";export default {data() {return {ruleForm: {username: "",password: "",},rules: {username: [{required: true, message: "用户名不能为空!", trigger: "blur"},],password: [{required: true, message: "密码不能为空!", trigger: "blur"},],},loading: false, // 是否显示加载动画};},methods: {submitForm(formName) {// 验证表单中的账号密码是否有效,因为在上面rules中定义为了必填 required: truethis.$refs[formName].validate((valid) => {// 点击登录后,让登录按钮开始转圈圈(展示加载动画)this.loading = true;// 如果经过校验,账号密码都不为空,则发送请求到后端登录接口if (valid) {let _this = this;// 使用 axios 将登录信息发送到后端/* request({url: "/api/admin/student/login",               // 请求地址method: "post",                       // 请求方法headers: {                            // 请求头"Content-Type": "application/json",},data: {                             // 请求参数username: _this.ruleForm.username,password: _this.ruleForm.password,},}) *///封装传给请求的数据const data = {username: _this.ruleForm.username,password: _this.ruleForm.password,}if (data.username === 'admin') {login(data).then((res) => { // 当收到后端的响应时执行该括号内的代码,res 为响应信息,也就是后端返回的信息if (res.data.code === 1) {  // 当响应的编码为 1 时,说明登录成功sessionStorage.setItem('jwtToken', res.data.data.token); // 假设后端返回了token// 跳转页面到首页this.$router.push('/');// 显示后端响应的成功信息this.$message({message: '登录成功!',type: "success",});} else {  // 当响应的编码不为 1 时,说明登录失败// 显示后端响应的失败信息this.$message({message: res.data.msg,type: "error",});}// 不管响应成功还是失败,收到后端响应的消息后就不再让登录按钮显示加载动画了_this.loading = false;console.log(res);});} else {userLogin(data).then((res) => { // 当收到后端的响应时执行该括号内的代码,res 为响应信息,也就是后端返回的信息if (res.data.code === 1) {  // 当响应的编码为 1 时,说明登录成功sessionStorage.setItem('jwtToken', res.data.data.token); // 假设后端返回了token// 跳转页面到首页this.$router.push('/user');// 显示后端响应的成功信息this.$message({message: '登录成功!',type: "success",});} else {  // 当响应的编码不为 1 时,说明登录失败// 显示后端响应的失败信息this.$message({message: res.data.msg,type: "error",});}// 不管响应成功还是失败,收到后端响应的消息后就不再让登录按钮显示加载动画了_this.loading = false;console.log(res);});}} else {  // 如果账号或密码有一个没填,就直接提示必填,不向后端请求console.log("error submit!!");this.loading = false;return false;}});},resetForm(formName) {this.$refs[formName].resetFields();},},
};
</script><style scoped>
/* 设置登录面板居中,宽度为400px */
.box-card {margin: auto auto;width: 400px;
}/* 设置登录面板中的表单居中 */
.login-from {margin: auto auto;
}/* 背景图片 */
.login-background {background-image: url('/src/assets/bg.jpeg');background-size: cover;background-position: center;height: 100vh;display: flex;/* 如果你想要使用Flexbox来居中el-card  */justify-content: center;/* 水平居中 */align-items: center;/* 垂直居中 */
}
</style>
src/api/User.js
import request from '@/utils/request'/* 登录 */
export const userLogin = (data) =>request({'url': '/api/user/login','method': 'post',data: data})/* 退出登录 */
export const userLogOut = (params) =>request({'url': '/api/user/logout','method': 'post',params})
src/views/user
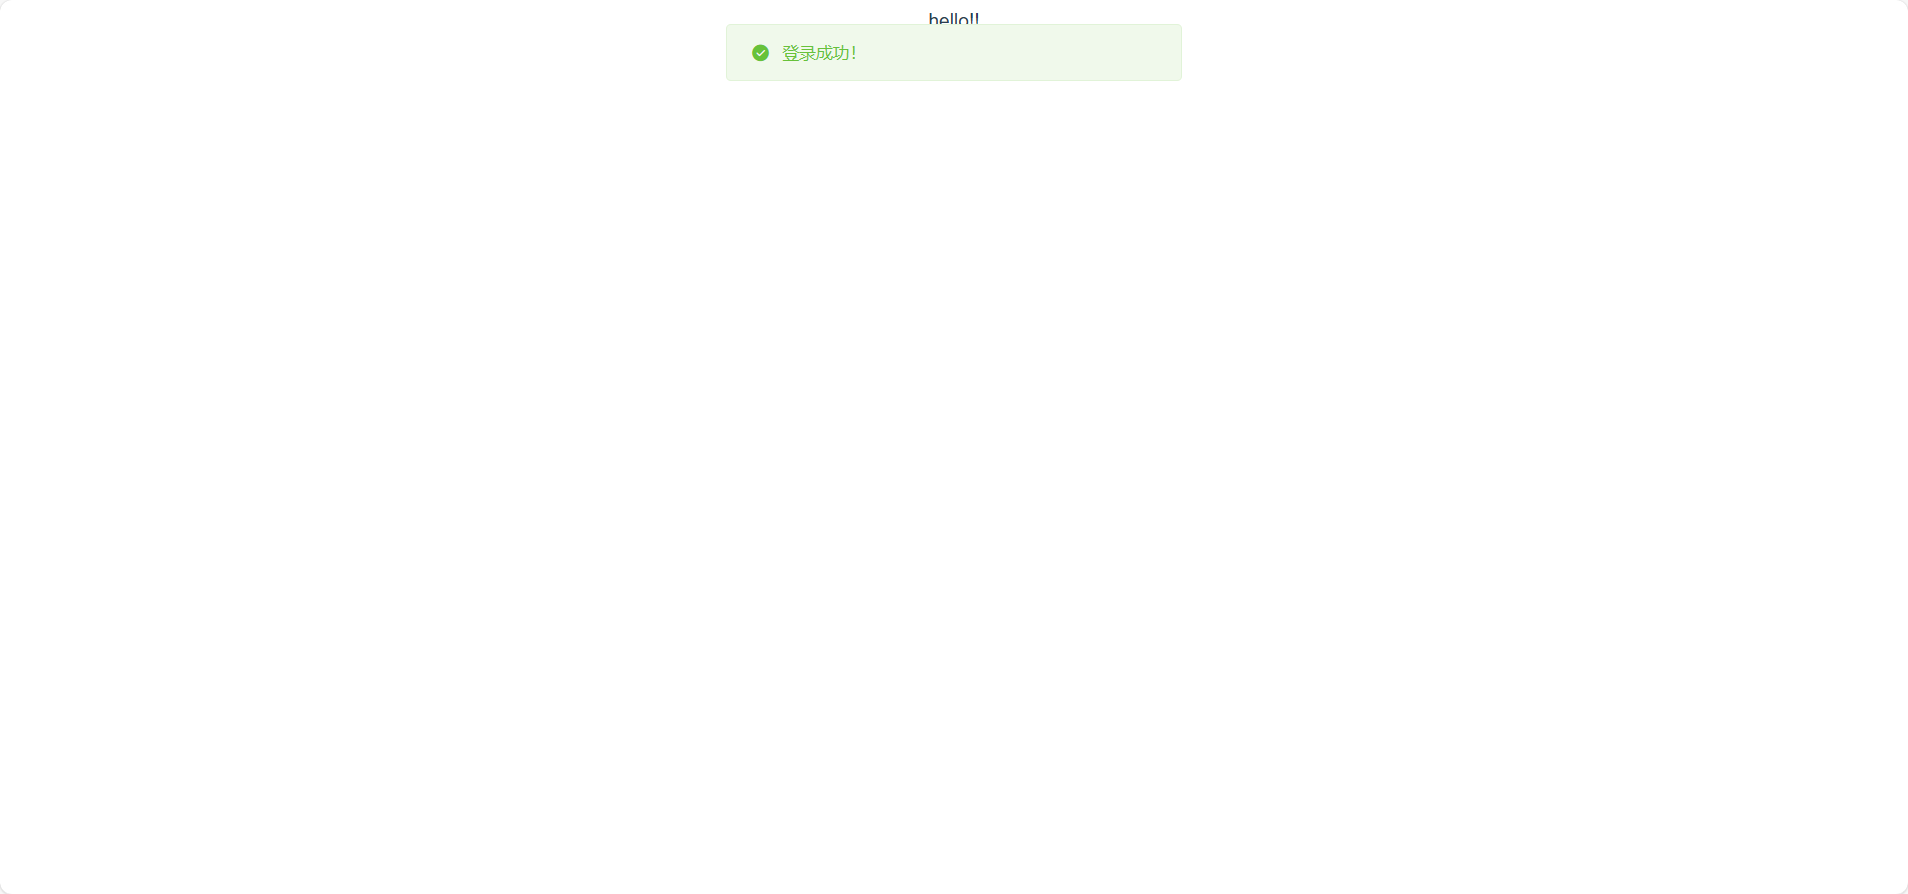
<template><div>hello!!</div>
</template><script></script>
测试
设计用户界面
src/router/index.js
//用户{path: "/user",component: () => import("@/views/home/User.vue"),redirect: "/index",children: [{path: "/index",component: () => import("@/views/user/Index.vue"),meta: {title: "用户主页面"},},{path: "/borrow",component: () => import("@/views/user/Borrow.vue"),meta: {title: "借用器材界面"},}]},src/views/user/Index.vue
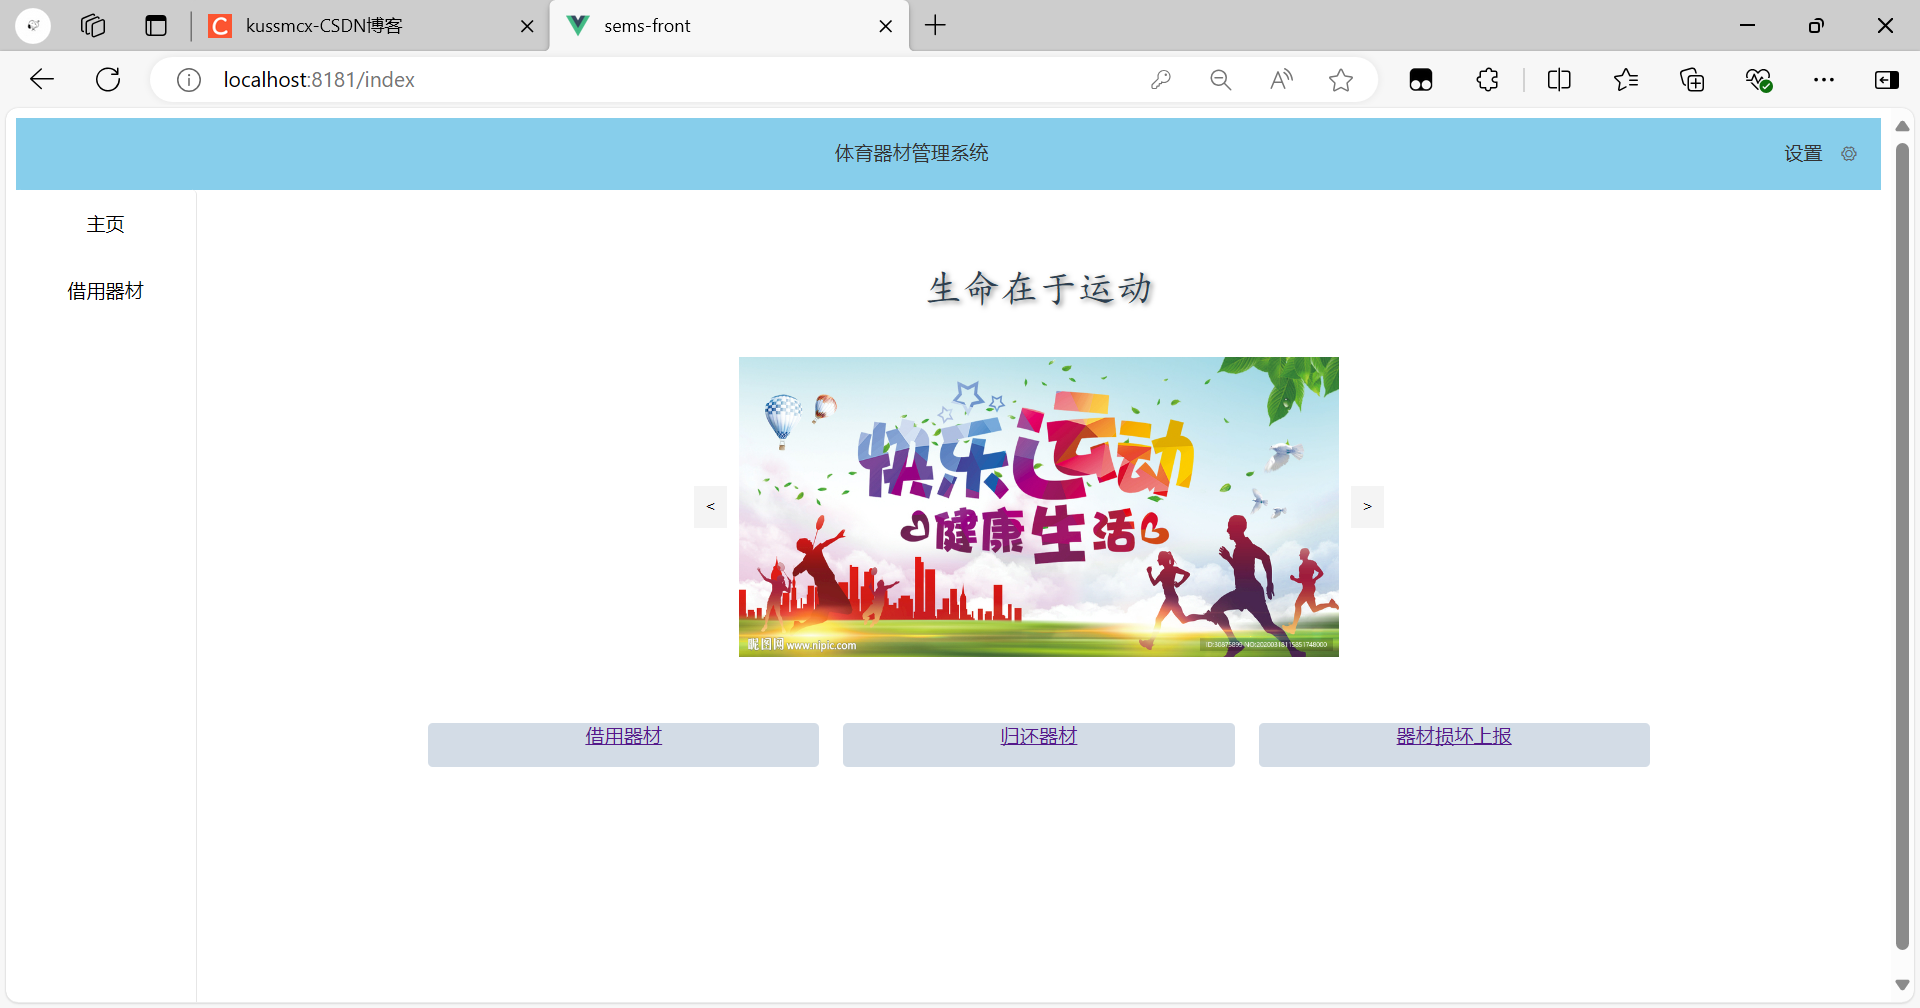
<template><div><link href="https://fonts.font.im/css?family=Pacifico" rel="stylesheet"><div class="main-title">生命在于运动</div><div class="image-container"><button @click="prevImage"><</button><img :src="currentImageSource" :alt="currentAlt" class="my-img"><button @click="nextImage">></button></div><br><br><br><el-row :gutter="20" type="flex" justify="center"><el-col :span="6"><div class="grid-content bg-purple"><router-link to="/borrow">借用器材</router-link></div></el-col><el-col :span="6"><div class="grid-content bg-purple"><router-link to="/borrow">归还器材</router-link></div></el-col><el-col :span="6"><div class="grid-content bg-purple"><router-link to="/borrow">器材损坏上报</router-link></div></el-col></el-row></div>
</template><script>
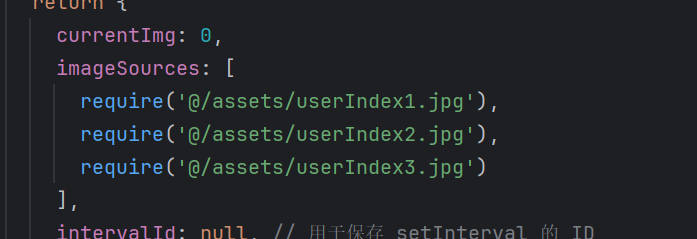
import {pageEquipment} from "@/api/Equipment";export default {data() {return {currentImg: 0,imageSources: [require('@/assets/userIndex1.jpg'),require('@/assets/userIndex2.jpg'),require('@/assets/userIndex3.jpg')],intervalId: null, // 用于保存 setInterval 的 IDautoplay: true, // 控制是否自动播放name: '', //器材名称,对应上面的输入框page: 1, //页码pageSize: 10, // 每页记录数total: 0, //总记录数records: [] //当前页要展示的数据集合};},created() {this.pageQuery()},computed: {currentImageSource() {return this.imageSources[this.currentImg];},currentAlt() {return `体育运动照片 ${this.currentImg + 1}`;}},methods: {nextImage() {this.currentImg = (this.currentImg + 1) % this.imageSources.length;if (this.autoplay) {this.startAutoplay();}},prevImage() {this.currentImg = (this.currentImg - 1 + this.imageSources.length) % this.imageSources.length;if (this.autoplay) {this.startAutoplay();}},startAutoplay() {clearInterval(this.intervalId); // 清除之前的定时器this.intervalId = setInterval(() => this.nextImage(), 3000); // 每3秒切换一次图片},stopAutoplay() {clearInterval(this.intervalId);this.intervalId = null;},pageQuery() {//准备参数const params = {page: this.page,pageSize: this.pageSize,name: this.name}pageEquipment(params).then(res => {if (res.data.code === 1) {this.total = res.data.data.totalthis.records = res.data.data.records}}).catch(() => {this.$router.push("/login")})},//每页记录数发生变化时触发handleSizeChange(pageSize) {this.pageSize = pageSizethis.pageQuery()},//page发生变化时触发handleCurrentChange(page) {this.page = pagethis.pageQuery()},},mounted() {if (this.autoplay) {this.startAutoplay();}},beforeDestroy() {this.stopAutoplay(); // 组件销毁前清除定时器},
};
</script><style scoped>.main-title {font-family: 'Pacifico', cursive;font-size: 2em; /* 增大字体大小 */text-shadow: 2px 2px 4px rgba(0, 0, 0, 0.5); /* 添加文字阴影 */text-align: center; /* 居中文本 */margin-top: 1em; /* 上边距 */margin-bottom: 1em; /* 下边距 */
}.my-img {max-width: 500px; /* 设定最大宽度 */height: 250px; /* 自动调整高度,以保持长宽比 *//* 或者你可以设定具体的宽度和高度,但要注意保持长宽比 *//* width: 500px; *//* height: auto; */
}.image-container {display: flex;align-items: center;justify-content: center;}button {background-color: #f4f4f4;border: none;padding: 10px;cursor: pointer;margin: 0 10px;
}.el-row {margin-bottom: 20px;&:last-child {margin-bottom: 0;}
}.el-col {border-radius: 4px;
}.bg-purple-dark {background: #99a9bf;
}.bg-purple {background: #d3dce6;
}.bg-purple-light {background: #e5e9f2;
}.grid-content {border-radius: 4px;min-height: 36px;
}.row-bg {padding: 10px 0;background-color: #f9fafc;
}</style>src/views/home/User.vue
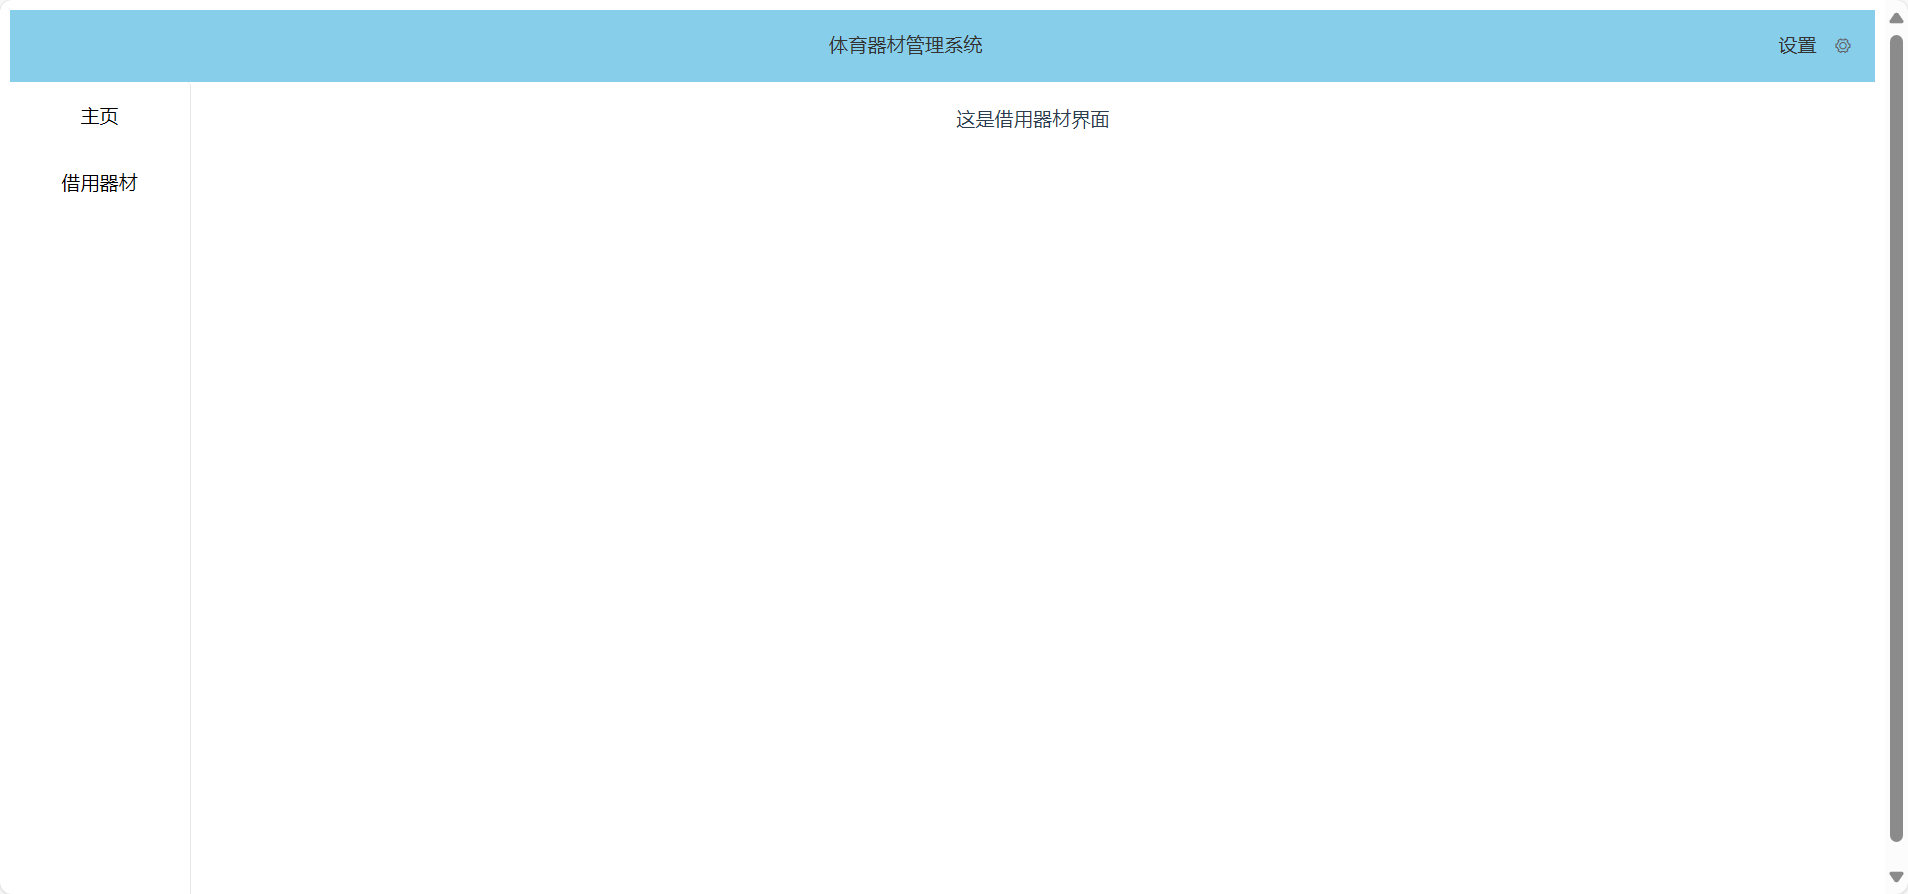
<template><div class="backgroundFull"><el-container><el-header><div class="right-div"><span>设置</span><el-dropdown><i class="el-icon-setting" style="margin-left: 15px"></i><el-dropdown-menu slot="dropdown"><el-dropdown-item><el-button @click="logout" style="border: none;">修改密码</el-button></el-dropdown-item><el-dropdown-item><el-button @click="logout" style="border: none;">退出登录</el-button></el-dropdown-item></el-dropdown-menu></el-dropdown></div><div>体育器材管理系统</div></el-header><el-container><el-menu class="custom-menu-width"><el-menu-item><router-link to="/index" class="custom-link-text">主页</router-link></el-menu-item><el-menu-item><router-link to="/borrow" class="custom-link-text">借用器材</router-link></el-menu-item></el-menu><el-main><router-view/></el-main></el-container></el-container></div>
</template><script>
import { logOut } from '@/api/Student';export default {data() {return {user: {username: "",id: null,},};},methods: {logout() {// 移除本地用户登录信息sessionStorage.removeItem('userInfo');logOut().then(res => {this.$message({message: '退出成功!',}),// 跳转页面到登录页this.$router.push('/login');})}},mounted() {if (sessionStorage.getItem('userInfo')) {// 将用户信息存储到sessionStorage中this.user = JSON.parse(sessionStorage.getItem('userInfo'));}},
};
</script><style scoped>
.el-header,
.el-footer {background-color: #87ceeb;color: #333;text-align: center;line-height: 60px;/* width: 100%;height: 100px; */
}body>.el-container {margin-bottom: 40px;
}.el-container:nth-child(5) .el-aside,
.el-container:nth-child(6) .el-aside {line-height: 260px;
}.el-container:nth-child(7) .el-aside {line-height: 320px;
}/* 铺满整个页面 */
.backgroundFull {height: 100vh;display: flex;flex-direction: column;
}/* 靠右 */
.right-div {float: right;
}/* 靠左 */
.left-div {float: left;
}/* 导航样式 */
.custom-menu-width {width: 150px; /* 你可以根据需要调整这个宽度值 *//* 如果需要,你还可以添加其他样式,比如背景色、边框等 */background-color: #ffffff; /* 示例背景色 */border-radius: 4px; /* 示例边框圆角 */
}/* 定义一个类来修改router-link中文本的样式 */
.custom-link-text {font-size: 16px; /* 设置字体大小 */color: #000000; /* 设置文字颜色 */text-decoration: none; /* 移除下划线(如果默认有的话) *//* 可以添加更多样式,如字体家族、行高等 */
}
</style>
src/views/user/Borrow.vue
<!--借用器材-->
<template><div>这是借用器材界面</div>
</template>
测试
记得在这里修改展示的图片
未完。。。
这篇关于开始尝试从0写一个项目--前端(四)的文章就介绍到这儿,希望我们推荐的文章对编程师们有所帮助!


