本文主要是介绍springboot学习(四十六) springboot中jackson特殊使用,希望对大家解决编程问题提供一定的参考价值,需要的开发者们随着小编来一起学习吧!
1、全局时间配置
在application.yml中配置
spring:jackson:date-format: yyyy-MM-dd HH:mm:ss
或在application.properties中配置
spring.jackson.date-format=yyyy-MM-dd HH:mm:ss
实体中包含时间类型:
/**** @author zhuquanwen* @vesion 1.0* @date 2021/6/14 14:06* @since jdk1.8*/
@Data
@Builder
public class Model {private Integer id;private int age;private String name;private Date createTime;
}
测试controller:
/**** @author zhuquanwen* @vesion 1.0* @date 2021/6/14 14:08* @since jdk1.8*/
@RestController
@RequestMapping("/jackson/type1")
public class JacksonType1Controller {@GetMapping("/res")public Model res() {return Model.builder().id(1).age(12).name("xiaoxiao").createTime(new Date()).build();}
}
测试结果:

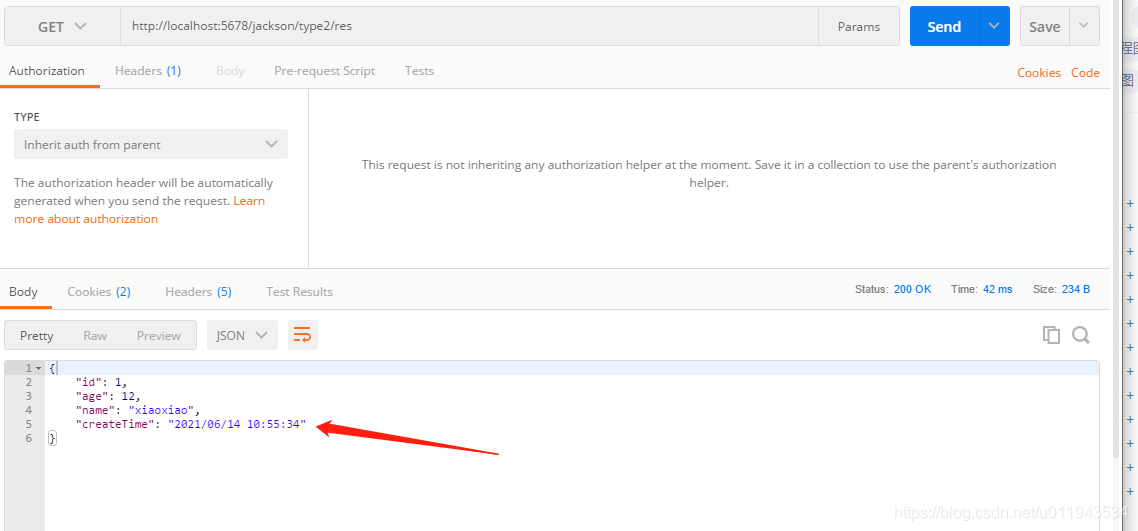
2、使用@JsonFormat为某个属性设置序列化方式
实体:
/**** @author zhuquanwen* @vesion 1.0* @date 2021/6/14 14:06* @since jdk1.8*/
@Data
@Builder
public class Model {private Integer id;private int age;private String name;@JsonFormat(pattern = "yyyy/MM/dd HH:mm:ss")private Date createTime;
}
测试controller:
/**** @author zhuquanwen* @vesion 1.0* @date 2021/6/14 14:08* @since jdk1.8*/
@RestController
@RequestMapping("/jackson/type2")
public class JacksonType2Controller {@GetMapping("/res")public Model res() {return Model.builder().id(1).age(12).name("xiaoxiao").createTime(new Date()).build();}
}
测试结果:
3、使用@JsonPropertyOrder调整属性的序列化顺序
实体:
/***** @author zhuquanwen* @vesion 1.0* @date 2021/6/14 14:06* @since jdk1.8*/
@Data
@Builder
@JsonPropertyOrder(value={"name", "age"})
public class Model {private Integer id;private int age;private String name;private Date createTime;
}
controller:
/**** @author zhuquanwen* @vesion 1.0* @date 2021/6/14 14:08* @since jdk1.8*/
@RestController
@RequestMapping("/jackson/type3")
public class JacksonType3Controller {@GetMapping("/res")public Model res() {return Model.builder().id(1).age(12).name("xiaoxiao").createTime(new Date()).build();}
}
测试结果:

4、使用@JsonProperty修改属性名称
实体:
/***** @author zhuquanwen* @vesion 1.0* @date 2021/6/14 14:06* @since jdk1.8*/
@Data
@Builder
public class Model {private Integer id;private int age;//调整序列化的名称@JsonProperty("myName")private String name;private Date createTime;
}
controller:
/**** @author zhuquanwen* @vesion 1.0* @date 2021/6/14 14:08* @since jdk1.8*/
@RestController
@RequestMapping("/jackson/type4")
public class JacksonType4Controller {@GetMapping("/res")public Model res() {return Model.builder().id(1).age(12).name("xiaoxiao").createTime(new Date()).build();}
}
测试结果:

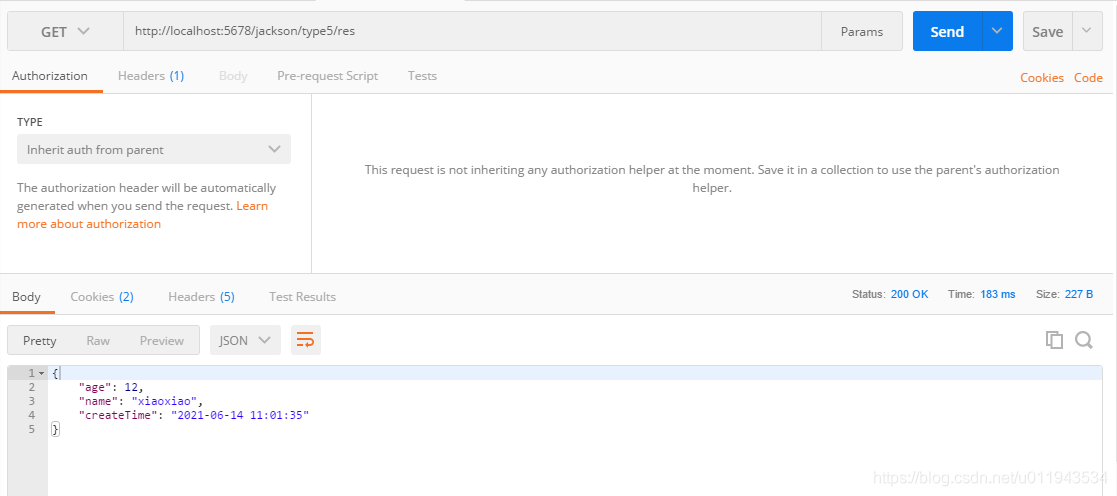
5、使用@JsonInclude使属性值为null不参与序列化
实体:
/***** @author zhuquanwen* @vesion 1.0* @date 2021/6/14 14:06* @since jdk1.8*/
@Data
@Builder
public class Model {@JsonInclude(value= JsonInclude.Include.NON_NULL)private Integer id;private int age;private String name;private Date createTime;
}
controller:
/**** @author zhuquanwen* @vesion 1.0* @date 2021/6/14 14:08* @since jdk1.8*/
@RestController
@RequestMapping("/jackson/type5")
public class JacksonType5Controller {@GetMapping("/res")public Model res() {return Model.builder().age(12).name("xiaoxiao").createTime(new Date()).build();}
}
测试结果:
6、使用@JsonIgnore使某个属性不参与序列化
实体:
/***** @author zhuquanwen* @vesion 1.0* @date 2021/6/14 14:06* @since jdk1.8*/
@Data
@Builder
public class Model {@JsonIgnoreprivate Integer id;private int age;private String name;private Date createTime;
}
controller:
/**** @author zhuquanwen* @vesion 1.0* @date 2021/6/14 14:08* @since jdk1.8*/
@RestController
@RequestMapping("/jackson/type6")
public class JacksonType6Controller {@GetMapping("/res")public Model res() {return Model.builder().id(1).age(12).name("xiaoxiao").createTime(new Date()).build();}
}
测试结果:

7、自定义注解实现序列化和反序列化
将字符串转为数组的序列化处理
package com.iscas.base.biz.test.service;import com.fasterxml.jackson.core.JsonGenerator;
import com.fasterxml.jackson.core.type.TypeReference;
import com.fasterxml.jackson.databind.BeanProperty;
import com.fasterxml.jackson.databind.JsonMappingException;
import com.fasterxml.jackson.databind.JsonSerializer;
import com.fasterxml.jackson.databind.SerializerProvider;
import com.fasterxml.jackson.databind.ser.ContextualSerializer;
import com.iscas.common.web.tools.json.JsonUtils;import java.io.IOException;
import java.util.List;
import java.util.Objects;/*** @author zhuquanwen* @version 1.0* @date 2022/6/6 14:04* @since jdk11*/
public class CustomSerialize extends JsonSerializer<String> implements ContextualSerializer {@Overridepublic void serialize(String value, JsonGenerator gen, SerializerProvider serializers) throws IOException {if (value == null) {gen.writeNull();} else {TypeReference<List<String>> typeReference = new TypeReference<>() {};gen.writeObject(JsonUtils.fromJson(value, typeReference));}}@Overridepublic JsonSerializer<?> createContextual(SerializerProvider prov, BeanProperty property) throws JsonMappingException {//判断beanProperty是不是空if (property == null){return prov.findNullValueSerializer(property);}//判断类型是否是Stringif (Objects.equals(property.getType().getRawClass(),String.class)){CustomStrFormatter annotation = property.getAnnotation(CustomStrFormatter.class);if (annotation != null){// 这里可以获取注解中的一些参数String pattern = annotation.pattern();return this;}}return prov.findValueSerializer (property.getType (), property);}
}
将数组反序列化为JSON字符串的处理
package com.iscas.base.biz.test.service;import com.fasterxml.jackson.core.JsonParser;
import com.fasterxml.jackson.core.JsonToken;
import com.fasterxml.jackson.databind.BeanProperty;
import com.fasterxml.jackson.databind.DeserializationContext;
import com.fasterxml.jackson.databind.JsonDeserializer;
import com.fasterxml.jackson.databind.JsonMappingException;
import com.fasterxml.jackson.databind.deser.ContextualDeserializer;
import com.iscas.common.web.tools.json.JsonUtils;
import org.apache.commons.lang3.StringUtils;import java.util.ArrayList;
import java.util.List;
import java.util.Objects;/*** @author zhuquanwen* @version 1.0* @date 2022/6/6 14:04* @since jdk11*/
public class CustomDeserialize extends JsonDeserializer<String> implements ContextualDeserializer {@Overridepublic String deserialize(JsonParser p, DeserializationContext ctxt) {try {if (p != null && StringUtils.isNotEmpty(p.getText())) {List<String> strs = new ArrayList<>();JsonToken jsonToken;while (!p.isClosed() && (jsonToken = p.nextToken()) != null && !JsonToken.FIELD_NAME.equals(jsonToken) &&!JsonToken.END_ARRAY.equals(jsonToken)) {strs.add(p.getValueAsString());}return JsonUtils.toJson(strs);} else {return null;}} catch (Exception e) {throw new RuntimeException(e);}}@Overridepublic JsonDeserializer<?> createContextual(DeserializationContext ctxt, BeanProperty property) throws JsonMappingException {//判断beanProperty是不是空if (property == null) {return ctxt.findNonContextualValueDeserializer(property.getType());}//判断类型是否是Stringif (Objects.equals(property.getType().getRawClass(), String.class)) {CustomStrFormatter annotation = property.getAnnotation(CustomStrFormatter.class);if (annotation != null) {// 这里可以获取注解中的一些参数String pattern = annotation.pattern();return this;}}return ctxt.findContextualValueDeserializer(property.getType(), property);}
}
自定义注解
package com.iscas.base.biz.test.service;import com.fasterxml.jackson.annotation.JacksonAnnotationsInside;
import com.fasterxml.jackson.databind.annotation.JsonDeserialize;
import com.fasterxml.jackson.databind.annotation.JsonSerialize;import java.lang.annotation.Retention;
import java.lang.annotation.RetentionPolicy;/*** @author zhuquanwen* @version 1.0* @date 2022/6/6 14:02* @since jdk11*/
@Retention(RetentionPolicy.RUNTIME)
@JacksonAnnotationsInside
@JsonSerialize(using = CustomSerialize.class)
@JsonDeserialize(using = CustomDeserialize.class)
public @interface CustomStrFormatter {// todo 可以定义格式化方式String pattern() default "";
}
实体中使用自定义注解
@Data@Accessors(chain = true)public static class TestModel {private String id;private List<String> strs1;@CustomStrFormatterprivate String strs2;}
测试:
@RequestMapping("/test/serial")
@RestController
@Slf4j
public class TestJsonFormatterController {/*** 测试序列化* */@GetMappingpublic TestModel test1() {TestModel testModel = new TestModel();testModel.setId("1").setStrs1(List.of("1", "2", "3")).setStrs2("[\"3\", \"4\"]");return testModel;}@PostMappingpublic String test2(@RequestBody TestModel testModel) {log.info("接收到的testModel:{}", testModel.toString());return "success";}
}
这篇关于springboot学习(四十六) springboot中jackson特殊使用的文章就介绍到这儿,希望我们推荐的文章对编程师们有所帮助!


