本文主要是介绍Spring Boot - 自定义starter,希望对大家解决编程问题提供一定的参考价值,需要的开发者们随着小编来一起学习吧!
1. 运行原理
关于Spring Boot的运行原理,还是要回归到@SpringBootApplication注解上来,此注解是一个组合注解:
@Target(ElementType.TYPE)
@Retention(RetentionPolicy.RUNTIME)
@Documented
@Inherited
@SpringBootConfiguration
@EnableAutoConfiguration
@ComponentScan(excludeFilters = {@Filter(type = FilterType.CUSTOM, classes = TypeExcludeFilter.class),@Filter(type = FilterType.CUSTOM, classes = AutoConfigurationExcludeFilter.class) })
public @interface SpringBootApplication {
...
}
核心功能是由@EnableAutoConfiguration提供的。其源码如下。
@Target(ElementType.TYPE)
@Retention(RetentionPolicy.RUNTIME)
@Documented
@Inherited
@AutoConfigurationPackage
@Import(EnableAutoConfigurationImportSelector.class)
public @interface EnableAutoConfiguration {
...
}
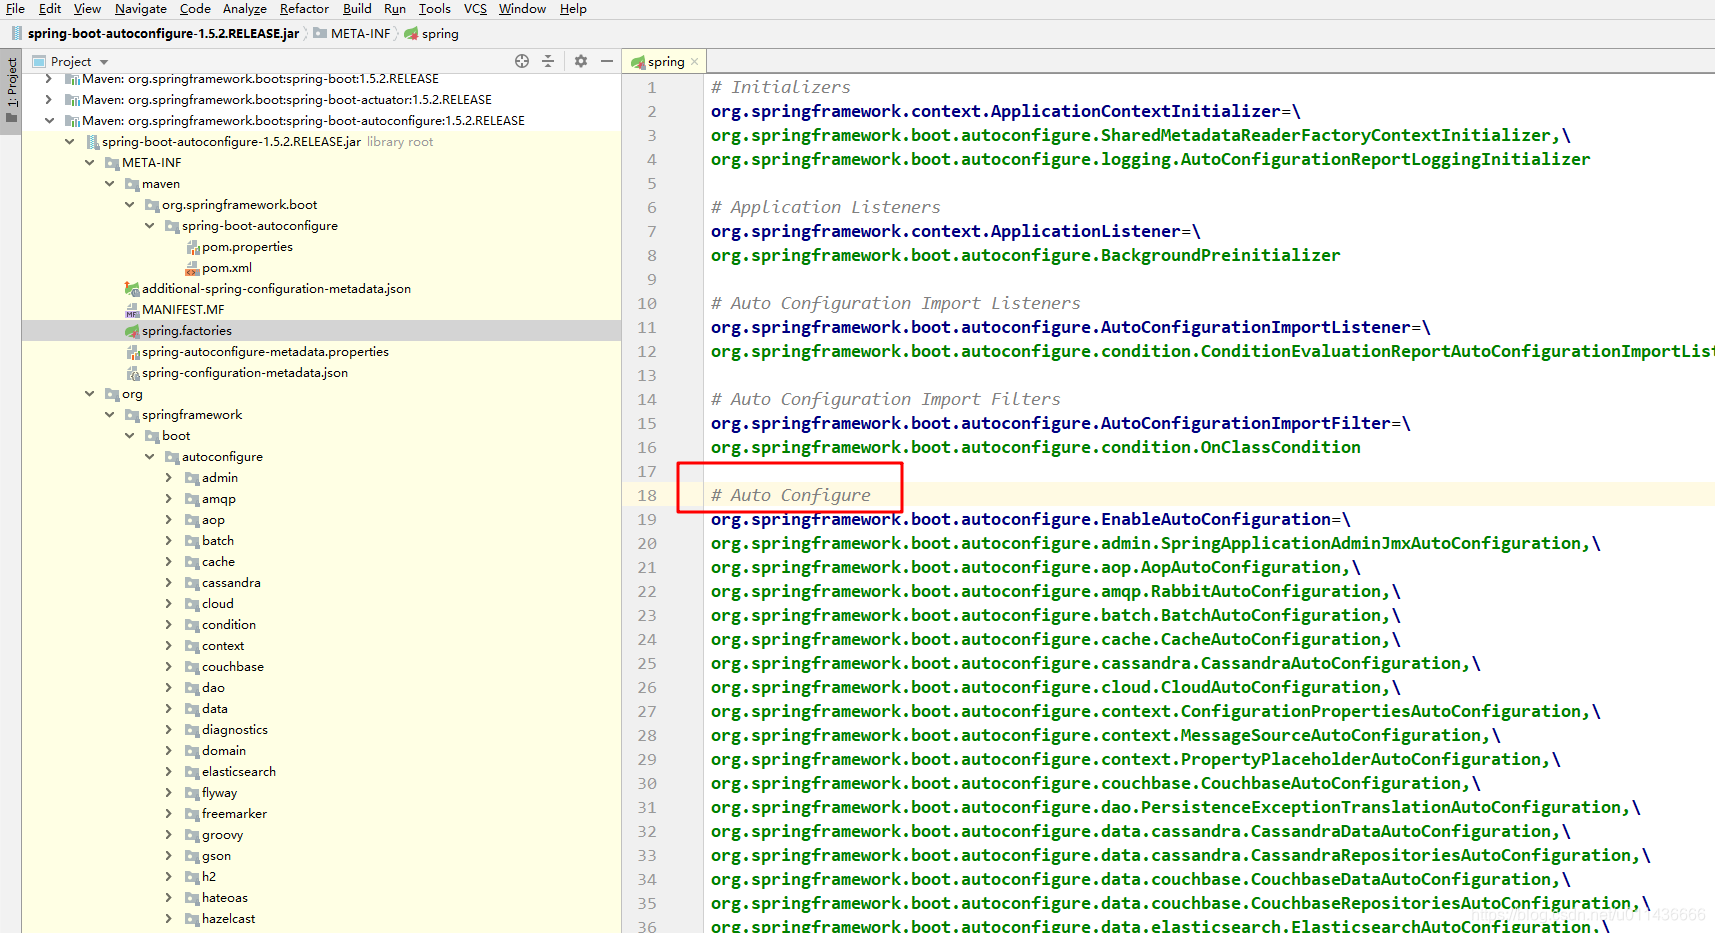
这里的关键是由@Import注解导入的配置功能,借助EnableAutoConfigurationImportSelector,@EnableAutoConfiguration可以帮助Spring Boot应用将所有符合条件的@Configuration配置都加载到当前Spring Boot创建并使用的IoC容器中。借助于Spring框架原有的一个工具类:SpringFactoriesLoader的支持,使用其loadFactoryNames方法来扫描具有META-INF/spring.factories文件的jar包,而spring-boot-autoconfigure-1.5.2.RELEASE.jar包里就有此文件,此文件里声明了大量的自动配置:
2.核心注解
任意打开上面一个Auto Configure文件,一般都有条件注解,以@ConditionalOn…开头的注解,如:
//当类路径下有指定的条件@ConditionalOnClass({ EnableAspectJAutoProxy.class, Aspect.class, Advice.class })//指定的属性是否有执行的值@ConditionalOnProperty(prefix = "spring.aop", name = "auto", havingValue = "true", matchIfMissing = true)//当前项目时web项目的条件下@ConditionalOnWebApplication//等等 ...
此处简单的分析一下@ConditionalOnWebApplication的实现,看看这个条件是如何构造的。
@Target({ ElementType.TYPE, ElementType.METHOD })
@Retention(RetentionPolicy.RUNTIME)
@Documented
@Conditional(OnWebApplicationCondition.class)
public @interface ConditionalOnWebApplication {}
进入到其代码OnWebApplicationCondition查看,有以下几个判断条件,最终通过ConditionOutcome类的对象返回boolean来判断。
@Order(Ordered.HIGHEST_PRECEDENCE + 20)
class OnWebApplicationCondition extends SpringBootCondition {private static final String WEB_CONTEXT_CLASS = "org.springframework.web.context."+ "support.GenericWebApplicationContext";@Overridepublic ConditionOutcome getMatchOutcome(ConditionContext context,AnnotatedTypeMetadata metadata) {boolean required = metadata.isAnnotated(ConditionalOnWebApplication.class.getName());ConditionOutcome outcome = isWebApplication(context, metadata, required);if (required && !outcome.isMatch()) {return ConditionOutcome.noMatch(outcome.getConditionMessage());}if (!required && outcome.isMatch()) {return ConditionOutcome.noMatch(outcome.getConditionMessage());}return ConditionOutcome.match(outcome.getConditionMessage());}private ConditionOutcome isWebApplication(ConditionContext context,AnnotatedTypeMetadata metadata, boolean required) {ConditionMessage.Builder message = ConditionMessage.forCondition(ConditionalOnWebApplication.class, required ? "(required)" : "");//判断条件:WEB_CONTEXT_CLASS 是否在类路径中if (!ClassUtils.isPresent(WEB_CONTEXT_CLASS, context.getClassLoader())) {return ConditionOutcome.noMatch(message.didNotFind("web application classes").atAll());}//判断条件:容器里是否有名为session的scopeif (context.getBeanFactory() != null) {String[] scopes = context.getBeanFactory().getRegisteredScopeNames();if (ObjectUtils.containsElement(scopes, "session")) {return ConditionOutcome.match(message.foundExactly("'session' scope"));}}//判断条件:容器的Environment是否是StandardServletEnvironmentif (context.getEnvironment() instanceof StandardServletEnvironment) {return ConditionOutcome.match(message.foundExactly("StandardServletEnvironment"));}//判断条件:ResourceLoader是否是WebApplicationContextif (context.getResourceLoader() instanceof WebApplicationContext) {return ConditionOutcome.match(message.foundExactly("WebApplicationContext"));}return ConditionOutcome.noMatch(message.because("not a web application"));}}
3.example starter实战
- 新建Maven项目,pom文件如下:
<?xml version="1.0" encoding="UTF-8"?>
<project xmlns="http://maven.apache.org/POM/4.0.0"xmlns:xsi="http://www.w3.org/2001/XMLSchema-instance"xsi:schemaLocation="http://maven.apache.org/POM/4.0.0 http://maven.apache.org/xsd/maven-4.0.0.xsd"><modelVersion>4.0.0</modelVersion><groupId>com.example</groupId><artifactId>example-spring-boot-starter</artifactId><version>1.0</version><dependencies><dependency><groupId>org.springframework.boot</groupId><artifactId>spring-boot-autoconfigure</artifactId></dependency></dependencies><dependencyManagement><dependencies><dependency><!-- Import dependency management from Spring Boot --><groupId>org.springframework.boot</groupId><artifactId>spring-boot-dependencies</artifactId><version>1.5.2.RELEASE</version><type>pom</type><scope>import</scope></dependency></dependencies></dependencyManagement>
</project>
- 属性代码
package com.example.autoconfigure;import org.springframework.boot.context.properties.ConfigurationProperties;@ConfigurationProperties("example.service")
public class ExampleServiceProperties {private String prefix;private String suffix;public String getPrefix() {return prefix;}public void setPrefix(String prefix) {this.prefix = prefix;}public String getSuffix() {return suffix;}public void setSuffix(String suffix) {this.suffix = suffix;}
}- 自动配置类
package com.example.autoconfigure;import org.springframework.beans.factory.annotation.Autowired;
import org.springframework.boot.autoconfigure.condition.ConditionalOnClass;
import org.springframework.boot.autoconfigure.condition.ConditionalOnMissingBean;
import org.springframework.boot.autoconfigure.condition.ConditionalOnProperty;
import org.springframework.boot.context.properties.EnableConfigurationProperties;
import org.springframework.context.annotation.Bean;
import org.springframework.context.annotation.Configuration;@Configuration
//此类存在时自动配置这个bean
@ConditionalOnClass(ExampleService.class)
@EnableConfigurationProperties(ExampleServiceProperties.class)
public class ExampleAutoConfigure {private final ExampleServiceProperties properties;@Autowiredpublic ExampleAutoConfigure(ExampleServiceProperties properties) {this.properties = properties;}@Bean@ConditionalOnMissingBean//参数enabled为true才可以配置ExampleService @ConditionalOnProperty(prefix = "example.service", value = "enabled", havingValue = "true")ExampleService exampleService() {return new ExampleService(properties.getPrefix(), properties.getSuffix());}}- ExampleService类及方法
package com.example.autoconfigure;public class ExampleService {private String prefix;private String suffix;public ExampleService(String prefix, String suffix) {this.prefix = prefix;this.suffix = suffix;}public String wrap(String word) {return prefix + word + suffix;}
}- 注册配置
若想自动配置生效,需要注册自动配置类。在\src\main\resources目录下建文件\META-INF\spring.factories,并填写如下注册内容:
org.springframework.boot.autoconfigure.EnableAutoConfiguration=com.example.autoconfigure.ExampleAutoConfigure
此时项目结构如下所示:

我们可以使用mvn install将其安装到本地库,在其他项目中引入后进行使用。
- 使用demo
步骤类似于使用其他starter,首先引入依赖:
<dependency><groupId>com.example</groupId><artifactId>example-spring-boot-starter</artifactId><version>1.0</version></dependency>
要注意的是, //参数enabled为true才可以配置ExampleService,所以我们要在配置文件中加上
example.service:enabled: trueprefix: (suffix: )
相当于手动加一个开关(这里只是为了演示默认,并无太大意义),否则会有如下错误:
***************************
APPLICATION FAILED TO START
***************************Description:Field exampleService in com.kyee.nqm.commons.controller.DemoController required a bean of type 'com.example.autoconfigure.ExampleService' that could not be found.- Bean method 'exampleService' in 'ExampleAutoConfigure' not loaded because @ConditionalOnProperty (example.service.enabled=true) did not find property 'enabled'Action:Consider revisiting the conditions above or defining a bean of type 'com.example.autoconfigure.ExampleService' in your configuration.
装配及使用:
@AutowiredExampleService exampleService;@GetMapping("/exampleService")public Response exampleService() {return Response.success(exampleService.wrap(" hello world "));}
然后调用此接口,可以看到,输入的 hello world 被包裹了一对(),我们的starter可以正常使用了。:)

这篇关于Spring Boot - 自定义starter的文章就介绍到这儿,希望我们推荐的文章对编程师们有所帮助!


