本文主要是介绍KIBANA的安装教程(超详细),希望对大家解决编程问题提供一定的参考价值,需要的开发者们随着小编来一起学习吧!
前言
Kibana 是一个开源的基于浏览器的可视化工具,主要用于分析和展示存储在 Elasticsearch 索引中的数据。它允许用户通过各种图表、地图和其他可视化形式来探索和理解大量数据。Kibana 与 Elasticsearch 和 Logstash 紧密集成,共同构成了所谓的 ELK 堆栈,这是一个流行的日志管理和日志分析平台。Kibana 提供了丰富的可视化选项,如折线图、条形图、饼图、热图、区域图、仪表、目标、时间轴等,以及创建和共享仪表板的能力。此外,Kibana 还支持开发工具,用户可以使用这些工具处理索引、添加虚拟索引、添加、更新或删除数据,并创建可视化。
安装kibana
1、下载资源包kibana-7.6.2-linux-x86_64.tar.gz。
#下载地址
https://artifacts.elastic.co/downloads/kibana/kibana-7.6.2-linux-x86_64.tar.gz2、上传资源包到node01机器,并解压到指定安装路径
##路径地址
/opt/module/kibana/kibana-7.6.2-linux-x86_643、修改kibana.yml配置文件
vim /opt/module/kibana/kibana-7.6.2-linux-x86_64/config/kibana.yml##
# Kibana is served by a back end server. This setting specifies the port to use.
server.port: 5601# Specifies the address to which the Kibana server will bind. IP addresses and host names are both valid values.
# The default is 'localhost', which usually means remote machines will not be able to connect.
# To allow connections from remote users, set this parameter to a non-loopback address.
server.host: "192.168.100.108"# Enables you to specify a path to mount Kibana at if you are running behind a proxy.
# Use the `server.rewriteBasePath` setting to tell Kibana if it should remove the basePath
# from requests it receives, and to prevent a deprecation warning at startup.
# This setting cannot end in a slash.
#server.basePath: ""# Specifies whether Kibana should rewrite requests that are prefixed with
# `server.basePath` or require that they are rewritten by your reverse proxy.
# This setting was effectively always `false` before Kibana 6.3 and will
# default to `true` starting in Kibana 7.0.
#server.rewriteBasePath: false# The maximum payload size in bytes for incoming server requests.
#server.maxPayloadBytes: 1048576# The Kibana server's name.  This is used for display purposes.
#server.name: "your-hostname"# The URLs of the Elasticsearch instances to use for all your queries.
elasticsearch.hosts: ["http://192.168.100.108:9200","http://192.168.100.110:9200","http://192.168.100.109:9200"]# When this setting's value is true Kibana uses the hostname specified in the server.host
# setting. When the value of this setting is false, Kibana uses the hostname of the host
# that connects to this Kibana instance.
#elasticsearch.preserveHost: true# Kibana uses an index in Elasticsearch to store saved searches, visualizations and
# dashboards. Kibana creates a new index if the index doesn't already exist.
#kibana.index: ".kibana"# The default application to load.
#kibana.defaultAppId: "home"# If your Elasticsearch is protected with basic authentication, these settings provide
# the username and password that the Kibana server uses to perform maintenance on the Kibana
# index at startup. Your Kibana users still need to authenticate with Elasticsearch, which
# is proxied through the Kibana server.
#elasticsearch.username: "kibana"
#elasticsearch.password: "pass"# Enables SSL and paths to the PEM-format SSL certificate and SSL key files, respectively.
# These settings enable SSL for outgoing requests from the Kibana server to the browser.
#server.ssl.enabled: false
#server.ssl.certificate: /path/to/your/server.crt
#server.ssl.key: /path/to/your/server.key# Optional settings that provide the paths to the PEM-format SSL certificate and key files.
# These files are used to verify the identity of Kibana to Elasticsearch and are required when
# xpack.security.http.ssl.client_authentication in Elasticsearch is set to required.
#elasticsearch.ssl.certificate: /path/to/your/client.crt
#elasticsearch.ssl.key: /path/to/your/client.key# Optional setting that enables you to specify a path to the PEM file for the certificate
# authority for your Elasticsearch instance.
#elasticsearch.ssl.certificateAuthorities: [ "/path/to/your/CA.pem" ]# To disregard the validity of SSL certificates, change this setting's value to 'none'.
#elasticsearch.ssl.verificationMode: full# Time in milliseconds to wait for Elasticsearch to respond to pings. Defaults to the value of
# the elasticsearch.requestTimeout setting.
#elasticsearch.pingTimeout: 1500# Time in milliseconds to wait for responses from the back end or Elasticsearch. This value
# must be a positive integer.
#elasticsearch.requestTimeout: 30000# List of Kibana client-side headers to send to Elasticsearch. To send *no* client-side
# headers, set this value to [] (an empty list).
#elasticsearch.requestHeadersWhitelist: [ authorization ]# Header names and values that are sent to Elasticsearch. Any custom headers cannot be overwritten
# by client-side headers, regardless of the elasticsearch.requestHeadersWhitelist configuration.
#elasticsearch.customHeaders: {}# Time in milliseconds for Elasticsearch to wait for responses from shards. Set to 0 to disable.
#elasticsearch.shardTimeout: 30000# Time in milliseconds to wait for Elasticsearch at Kibana startup before retrying.
#elasticsearch.startupTimeout: 5000# Logs queries sent to Elasticsearch. Requires logging.verbose set to true.
#elasticsearch.logQueries: false# Specifies the path where Kibana creates the process ID file.
#pid.file: /var/run/kibana.pid# Enables you specify a file where Kibana stores log output.
#logging.dest: stdout# Set the value of this setting to true to suppress all logging output.
#logging.silent: false# Set the value of this setting to true to suppress all logging output other than error messages.
#logging.quiet: false# Set the value of this setting to true to log all events, including system usage information
# and all requests.
#logging.verbose: false# Set the interval in milliseconds to sample system and process performance
# metrics. Minimum is 100ms. Defaults to 5000.
#ops.interval: 5000# Specifies locale to be used for all localizable strings, dates and number formats.
# Supported languages are the following: English - en , by default , Chinese - zh-CN .
i18n.locale: "zh-CN"
vim /home/lbs/software/kibana/config/kibana.yml#配置端口号
server.port: 5601
#配置网络访问地址
server.host: "0.0.0.0"
#配置es链接地址(es集群,可以用逗号分隔)
elasticsearch.hosts: ["http://10.0.0.87:9200","http://10.0.0.81:9200","http://10.0.0.82:9200"]
#配置中文语言界面
i18n.locale: "zh-CN"4、执行以下命令创建manage_script.sh管理脚本
echo '#!/bin/bash
KIBANA_HOME="/opt/module/kibana/kibana-7.6.2-linux-x86_64" # Kibana安装目录
KIBANA_BIN="$KIBANA_HOME/bin/kibana"  # Kibana 可执行文件路径
PID_FILE="$KIBANA_HOME/kibana.pid"
LOG_FILE_PATH="$KIBANA_HOME/logs"start_kibana() {if [ -f "$PID_FILE" ]; thenecho "Kibana is already running."elseecho "Starting Kibana..."mkdir -p ${LOG_FILE_PATH}nohup $KIBANA_BIN > "${LOG_FILE_PATH}/kibana.log" 2>&1 &echo $! > $PID_FILEecho "Kibana started."fi
}stop_kibana() {if [ -f "$PID_FILE" ]; thenPID=$(cat $PID_FILE)echo "Stopping Kibana..."kill $PIDrm $PID_FILEecho "Kibana stopped."elseecho "Kibana is not running."fi
}status_kibana() {if [ -f "$PID_FILE" ]; thenPID=$(cat $PID_FILE)if ps -p $PID > /dev/null 2>&1; thenecho "Kibana is running. PID: $PID"elseecho "Kibana is not running, but pid file exists."fielseecho "Kibana is not running."fi
}case "$1" instart)start_kibana;;stop)stop_kibana;;status)status_kibana;;*)echo "Usage: $0 {start|stop|status}"exit 1
esac' > /opt/module/kibana/kibana-7.6.2-linux-x86_64/bin/manage_script.sh
chmod +x /opt/module/kibana/kibana-7.6.2-linux-x86_64/bin/manage_script.sh5、启动kibana
##启动命令
/opt/module/kibana/kibana-7.6.2-linux-x86_64/bin/manage_script.sh start
6、停止kibana
##停止命令
/opt/module/kibana/kibana-7.6.2-linux-x86_64/bin/manage_script.sh stop
7、查看kibana的状态
#查看kibana状态
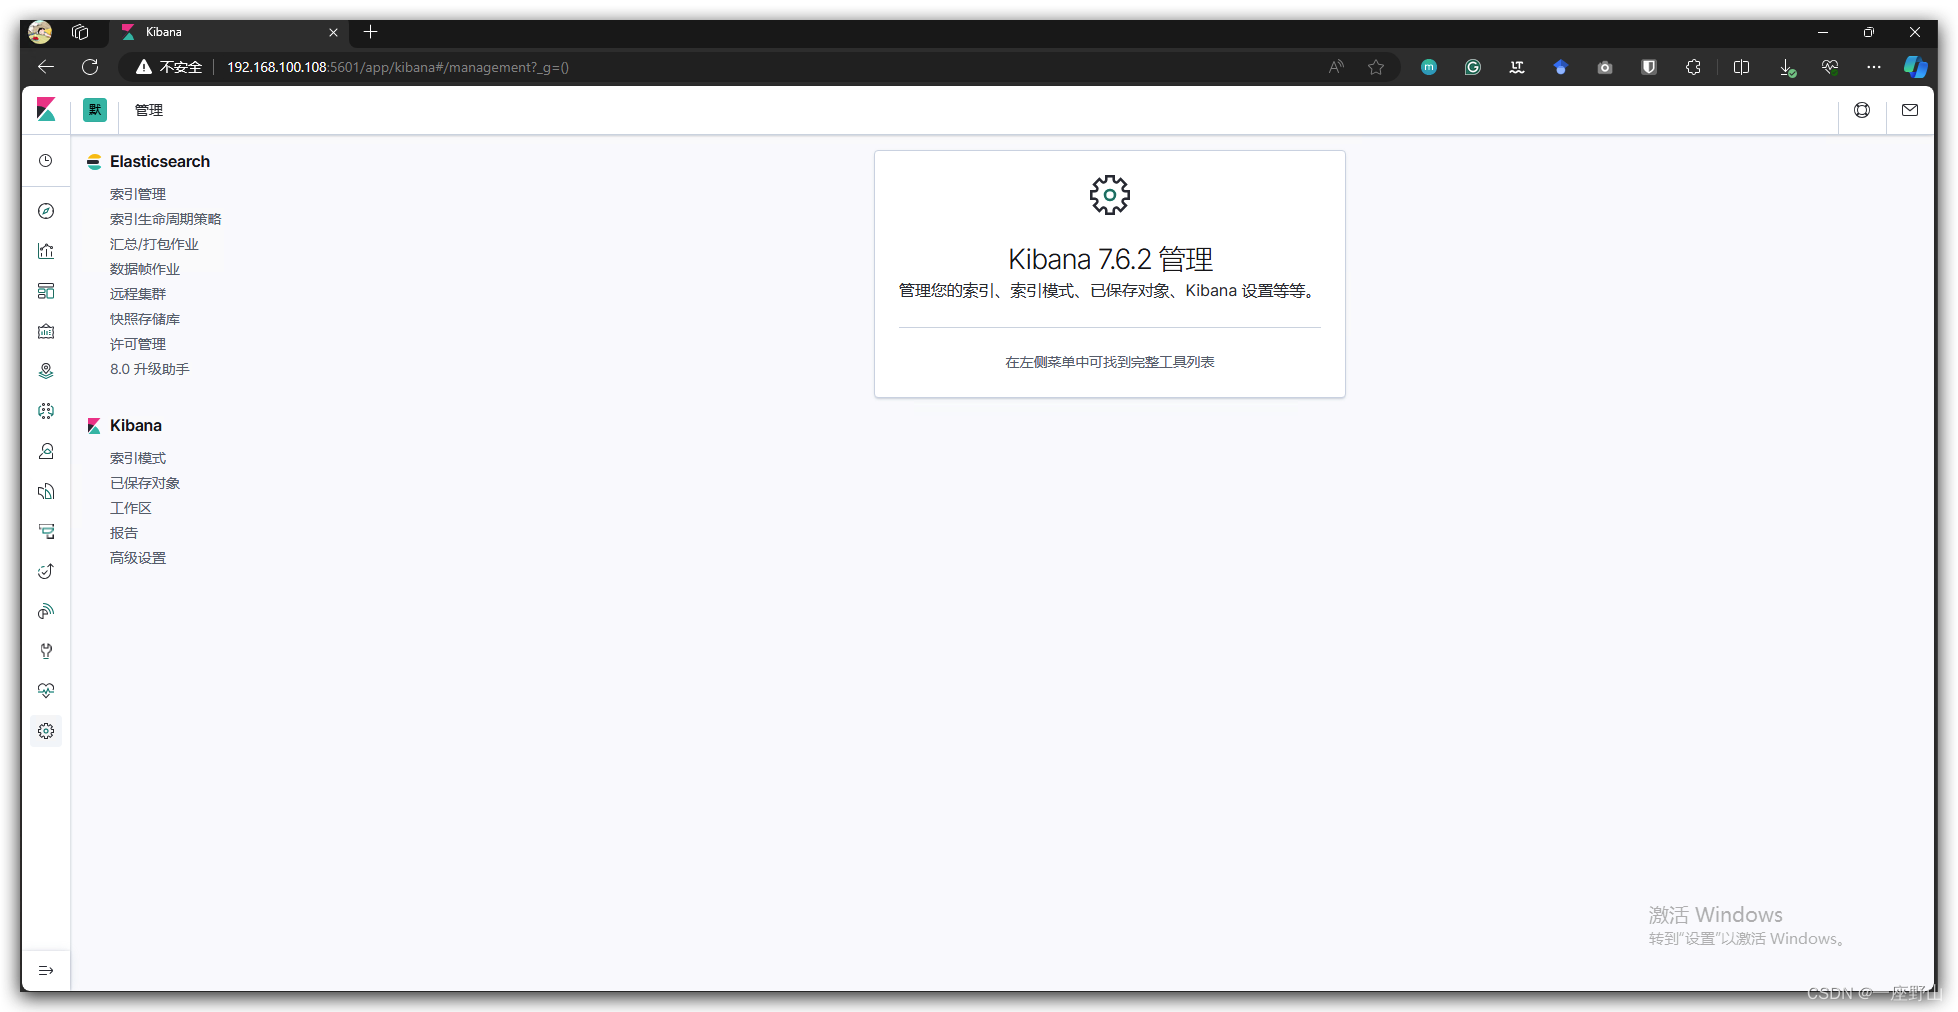
/opt/module/kibana/kibana-7.6.2-linux-x86_64/bin/manage_script.sh status8、浏览器访问 kibana 192.168.100.108:5601

这篇关于KIBANA的安装教程(超详细)的文章就介绍到这儿,希望我们推荐的文章对编程师们有所帮助!


