本文主要是介绍MindSpore实践图神经网络之GCN,希望对大家解决编程问题提供一定的参考价值,需要的开发者们随着小编来一起学习吧!
GCN介绍
-
图卷积网络(GCN)于2016年提出,旨在对图结构数据进行半监督学习。它提出了一种基于卷积神经网络有效变体的可扩展方法,可直接在图上操作。该模型在图边缘的数量上线性缩放,并学习隐藏层表示,这些表示编码了局部图结构和节点特征。
-
GCN(图卷积神经网络) 类似CNN(卷积神经网络),只不过CNN用于二维数据结构,GCN用于图数据结构。GCN实际上跟CNN的作用一样,就是一个特征提取器,只不过它的对象是图数据。GCN精妙地设计了一种从图数据中提取特征的方法。
-
GCN包含两个图卷积层。每一层以节点特征和邻接矩阵为输入,通过聚合相邻特征来更新节点特征。
环境配置
- 配置MindSpore环境
# 控制台安装mindspore
conda create -n py39_ms18 python=3.9
conda activate py39_ms18pip install https://ms-release.obs.cn-north-4.myhuaweicloud.com/1.8.1/MindSpore/cpu/x86_64/mindspore-1.8.1-cp39-cp39-linux_x86_64.whl --trusted-host ms-release.obs.cn-north-4.myhuaweicloud.com -i https://pypi.tuna.tsinghua.edu.cn/simple# 验证是否安装成功
python -c "import mindspore;mindspore.run_check()"conda activate py39_ms18- 配置python环境
conda activate py39_ms18pip install numpy
pip install scipy
pip install sklearn
pip install pyyaml
# 缺包
pip  install matplotlib
算子开发
- 算子开发:Layer、Model
# 定义算子:Layer
class GraphConvolution(nn.Cell):def __init__(self,feature_in_dim,feature_out_dim,dropout_ratio=None,activation=None):super(GraphConvolution, self).__init__()self.in_dim = feature_in_dimself.out_dim = feature_out_dimself.weight_init = glorot([self.out_dim, self.in_dim])self.fc = nn.Dense(self.in_dim,self.out_dim,weight_init=self.weight_init,has_bias=False)self.dropout_ratio = dropout_ratioif self.dropout_ratio is not None:self.dropout = nn.Dropout(keep_prob=1-self.dropout_ratio)self.dropout_flag = self.dropout_ratio is not Noneself.activation = get_activation(activation)self.activation_flag = self.activation is not Noneself.matmul = P.MatMul()def construct(self, adj, input_feature):"""GCN graph convolution layer."""dropout = input_featureif self.dropout_flag:dropout = self.dropout(dropout)fc = self.fc(dropout)output_feature = self.matmul(adj, fc)if self.activation_flag:output_feature = self.activation(output_feature)return output_feature# 定义模型:Model
class GCN(nn.Cell):def __init__(self, config, input_dim, output_dim):super(GCN, self).__init__()self.layer0 = GraphConvolution(input_dim, config.hidden1, activation="relu", dropout_ratio=config.dropout)self.layer1 = GraphConvolution(config.hidden1, output_dim, dropout_ratio=None)def construct(self, adj, feature):output0 = self.layer0(adj, feature)output1 = self.layer1(adj, output0)return output1
- 数据处理utils
# 归一化邻接矩阵
def normalize_adj(adj):"""Symmetrically normalize adjacency matrix."""rowsum = np.array(adj.sum(1))d_inv_sqrt = np.power(rowsum, -0.5).flatten()d_inv_sqrt[np.isinf(d_inv_sqrt)] = 0.d_mat_inv_sqrt = sp.diags(d_inv_sqrt)return adj.dot(d_mat_inv_sqrt).transpose().dot(d_mat_inv_sqrt).tocoo()# 加载数据集  : Cora
def get_adj_features_labels(data_dir):"""Get adjacency matrix, node features and labels from dataset."""g = ds.GraphData(data_dir)nodes = g.get_all_nodes(0)nodes_list = nodes.tolist()row_tensor = g.get_node_feature(nodes_list, [1, 2])features = row_tensor[0]labels = row_tensor[1]nodes_num = labels.shape[0]class_num = labels.max() + 1labels_onehot = np.eye(nodes_num, class_num)[labels].astype(np.float32)neighbor = g.get_all_neighbors(nodes_list, 0)node_map = {node_id: index for index, node_id in enumerate(nodes_list)}adj = np.zeros([nodes_num, nodes_num], dtype=np.float32)for index, value in np.ndenumerate(neighbor):# The first column of neighbor is node_id, second column to last column are neighbors of the first column.# So we only care index[1] > 1.# If the node does not have that many neighbors, -1 is padded. So if value < 0, we will not deal with it.if value >= 0 and index[1] > 0:adj[node_map[neighbor[index[0], 0]], node_map[value]] = 1adj = sp.coo_matrix(adj)adj = adj + adj.T.multiply(adj.T > adj) + sp.eye(nodes_num)nor_adj = normalize_adj(adj)nor_adj = np.array(nor_adj.todense())return nor_adj, features, labels_onehot, labels# 数据集划分
def get_mask(total, begin, end):"""Generate mask."""mask = np.zeros([total]).astype(np.float32)mask[begin:end] = 1return mask
Windows环境跑脚本报错(1)
问题描述
/mnt/d/mindspore_gallery/models/gnn/gcn/data
cora
data_mr exist
scripts/run_process_data.sh: line 46: cd: ../../../utils/graph_to_mindrecord: No such file or directory
根因分析
- 由报错信息可以看出可能是数据集存放路径不对,或者windows下脚本和Linux不一致
解决办法
- 修改路径,改为如下路径
../../utils/graph_to_mindrecord
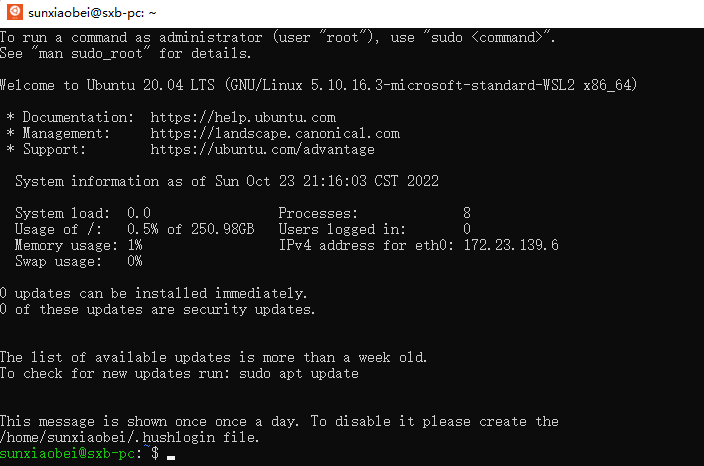
- 改到Linux环境,如果没有Linux环境可以安装WSL2,创建Ubuntu环境
Windows环境跑脚本报错(2)
问题描述
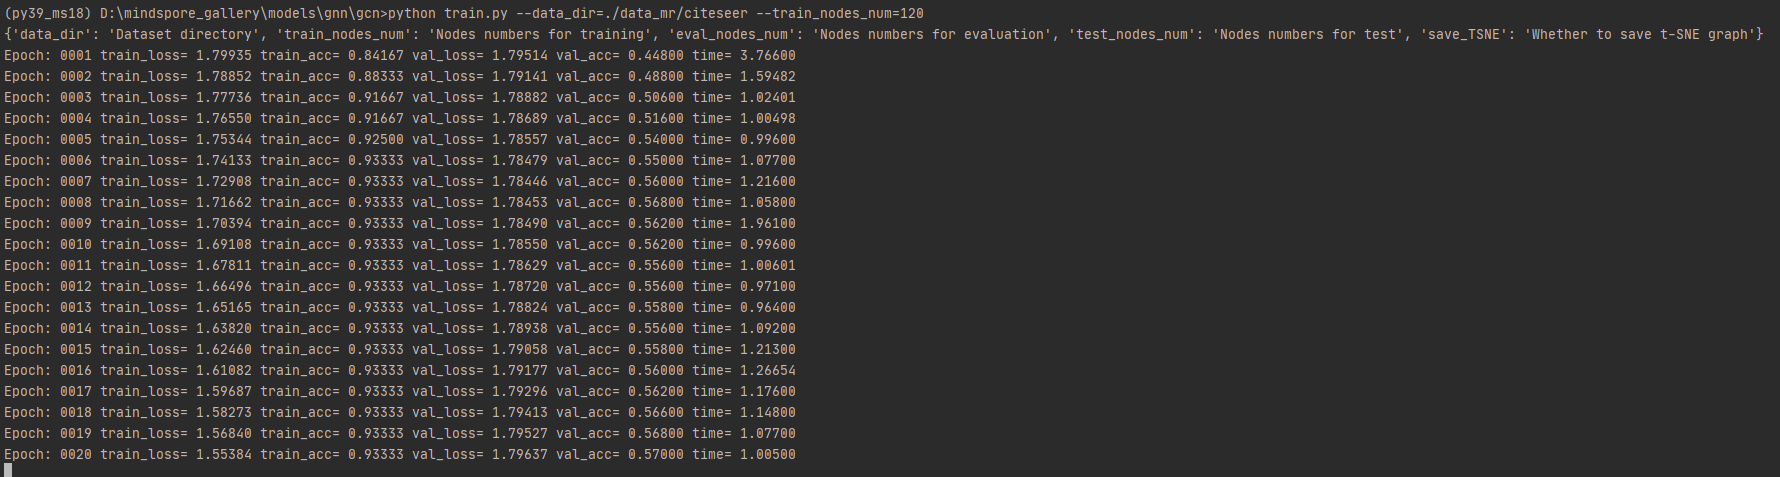
{'data_dir': 'Dataset directory', 'train_nodes_num': 'Nodes numbers for training', 'eval_nodes_num': 'Nodes numbers for evaluation', 'test_nodes_num': 'Nodes numbers for test', 'save_TSNE': 'Whether to save t-SNE graph'}
Traceback (most recent call last):File "D:\mindspore_gallery\models\gnn\gcn\train.py", line 196, in <module>run_train()File "D:\mindspore_gallery\models\gnn\gcn\model_utils\moxing_adapter.py", line 105, in wrapped_funcrun_func(*args, **kwargs)File "D:\mindspore_gallery\models\gnn\gcn\train.py", line 114, in run_traincontext.set_context(mode=context.GRAPH_MODE,File "C:\Users\sunxiaobei\.conda\envs\py39_ms18\lib\site-packages\mindspore\_checkparam.py", line 1210, in wrapperreturn func(*args, **kwargs)File "C:\Users\sunxiaobei\.conda\envs\py39_ms18\lib\site-packages\mindspore\_checkparam.py", line 1179, in wrapperreturn func(*args, **kwargs)File "C:\Users\sunxiaobei\.conda\envs\py39_ms18\lib\site-packages\mindspore\context.py", line 911, in set_contextraise ValueError(f"For 'context.set_context', package type {__package_name__} support 'device_target' "
ValueError: For 'context.set_context', package type mindspore support 'device_target' type cpu, but got Ascend.
根因分析
- 从log上不难看出,是代码指定的设备不一致,当前设备只有CPU,但是指定的是Ascent , 需要指定和实际环境一致的设备
解决办法
- 修改代码,指定CPU
context.set_context(mode=context.GRAPH_MODE,device_target="CPU", save_graphs=False) # CPU Ascend GPU
运行代码
python train.py --data_dir=./data_mr/citeseer --train_nodes_num=120
这篇关于MindSpore实践图神经网络之GCN的文章就介绍到这儿,希望我们推荐的文章对编程师们有所帮助!


